It’s clever really, you drill a hole down a length, then make a cut in to the hole, then you cut up the length into the pieces you need and tadaa, you have a friction system!
4 Likes
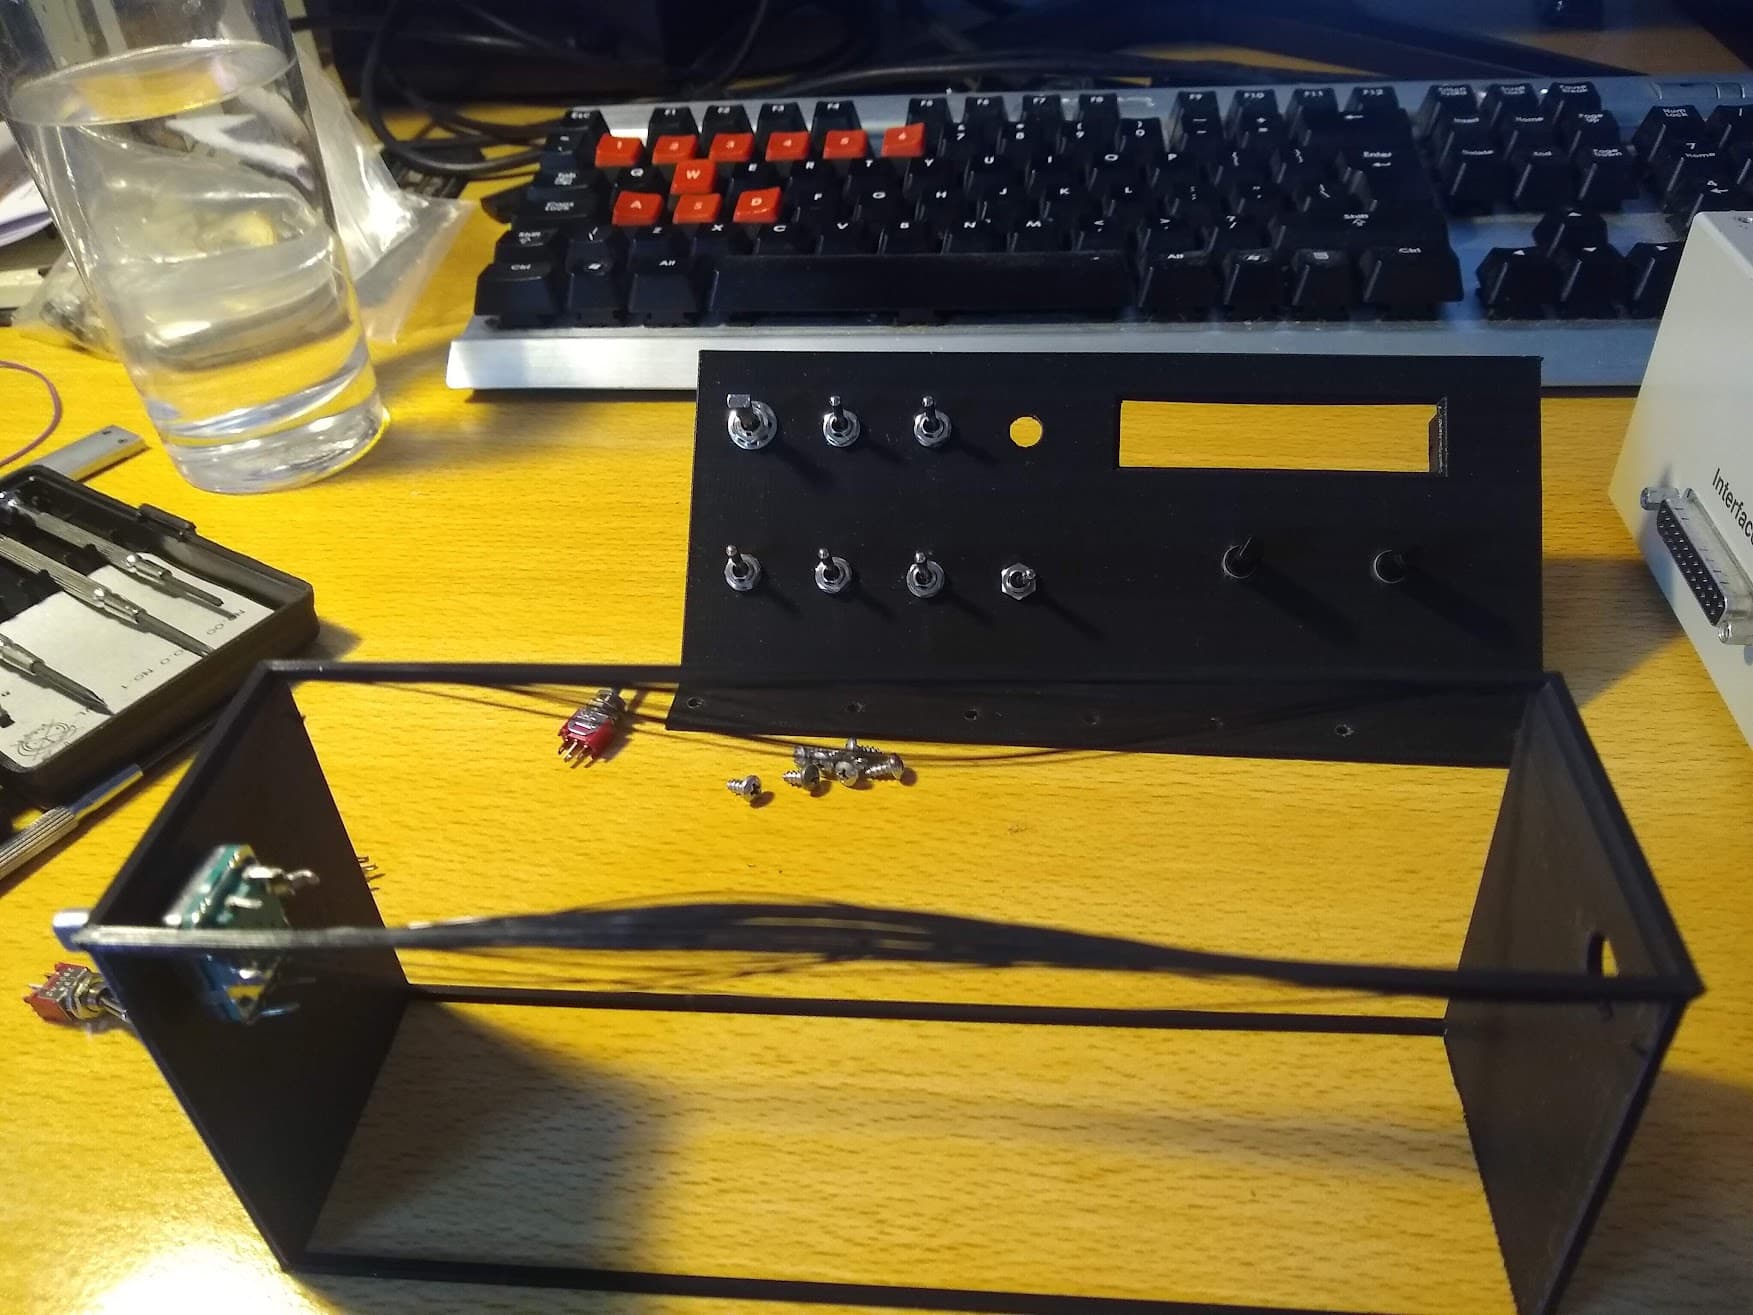
Component fitting! The MAX7219 also fits but is not shown on this image, it will have to have it’s headers resoldered in reverse(so many components you get with breakout boards have the headers soldered on the FWD side pointing towards the user…) and thus that is on the menu today.
I only have one Arduino Leonardo and that one is reversed for the G27 shifter project so I will use a knockoff mini and just do everything with Python and PyFirmata again. Currently writing the software too as I am working on the board, it wont have much, some resistors to reduce noise, HCT165E PISO chips and that’s about it. There’s not much to it really, just reading switches and rotary encoders and then send some data from a simulator to the max display chip.
2 Likes
What happened here?
Calibrated the extruder steps? Increase the flowrate?
1 Like
Supports needed I think. Looks like the two side pieces are printed vertically and this is bridging between the two?
2 Likes
@Fridge is bang on the money! It was more of a hail marry print since the extruder needed to bridge about 170mm and I’ve never done that. Only smaller bits that work fine. It gets a straight line about 50% of the distance then sags. Once a few lines have sagged the initial start of the bridge is firm enough for it to allows the extruder to make a straight line. Obviously it’s not a very good structural part but it wasn’t necessary either and I figured i may as well see what my Ender is capable off.
2 Likes
Aaah! I never imagined @TheAlmightySnark would try printing such an overhang! ![]()
I’d print the walls separately, and then assemble them into a box.
But that’s perhaps the over all idea…?
Anyway, I have had printed parts delaminating into threads, like that, even if they were printed directly on the bed. Increasing the flow helped. I also calibrated the E steps to make sure it pushed enough filament.
2 Likes
Yep, E-steps and flow is calibrated, I just went a bit rogue and printed straight in vs my usually hours and hours and hours and… off testing and reading and doubting!
And yeah, it’s going to get glued to the top anyway, but i enjoy printing it as a whole. I see that as a challenge, which has no added value mind you!
2 Likes
You rebel, you… ![]()
1 Like

1 Like
I don’t know how the other slicers do it, but Prusaslicer is really good at auto generating supports where needed, and they tend to be very easy to remove by hand. I like the idea of printing it all as one piece, but would use the auto supports and just knock them out after printing.
Not that you asked for advice, or needed it lol.
![]()
1 Like
Hey it’s good advice for someone that doesn’t know yet! I personally prefer painting the support points in Prusa Slicer, I love that feature that is missing in slicers like Cura, though Cura has a lovely tree support that works really well.
Anyway, there’s a lot to say about slicers!
1 Like