Fellow simmers! Time for another DIY project. I have never owned a pair of rudder pedals, and the choice of project was therefor easy to make. I wanted something sturdy, something that i could rest my feet on without being worried that the pedals might break. Since I´m using center stick, I also required a wide stance. For some time, I had scanned the internet for different designs. Most people seem to agree that either something from BAUR (now Virpil) or Slaw is the way to go. I looked at lots of pictures and videos of these rudder pedals and realized that the genius and relatively simple design was something I could build myself. My rudder pedals came out to be some kind of mix between BAUR, Slaw and Crosswind pedals.
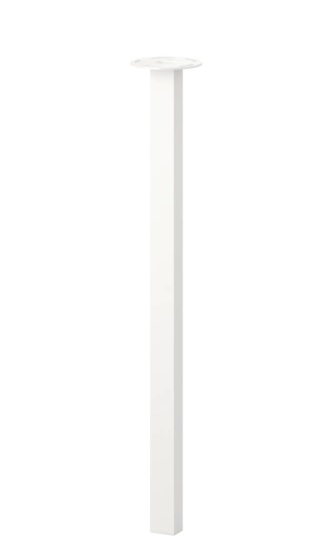
The fundamentals of my pedals are built from IKEA table leg “GODVIN”. They measure 3x4 cm and seemed perfect for my needs.
I used the free 2D physics sandbox software “Algodoo” to make some simple drawings. Time for the build!

These two parts will be the center parts of the parallelogram. Some 8 mm holes in the center and the outer edges.

This is one of the short legs in the parallelogram. The left most hole are for the pedals, and the two right holes are for connecting to the parallelogram. The holes are 22 mm in diameter, for fitting 22 mm flinged bearings. I used cheap step drill for this purpose. It wore out quite fast, but i managed to cut all my holes with one set!


Dark picture, but this shows the design of the parallelogram. Black metal paint was added.


The bearings fitted perfectly, had to smash them in lightly with a hammer. Two bearings were used per link.

This is when I realized the size of the pedals! Much larger than I thougt, although the measurements were copied from other pedals. The width is about 53 cm.

The base part. Three parts screwed together. Two bearing equipped center axis which the parallelogram will spin around. The hole to the left is for cam axis lever.

Time to create the pedals themselves. I made them from 2 mm steel sheet. I decided to make something that would look like the pedals in our beloved Viggen.


They are f*cking enormous!

Here riveted onto connectors for the brake axis.

Made a set of holes, and added rubber for looks and for comfort (here not glued yet). ,

This is a side shot showing my solution for brake axis. As you can see, the elongated hole in front of the axis will keep the brake within desired range (min to max). Here at max brake, because no spring attached yet.

Here with heavy spring attached!

Cam with cam lever axis. Created the cam to have a distinct center bump.

Back shot with main axis spring. Spring force can easily be adjusted with the nut.
Electronics:
Decided to use hall sensors, as I was comfortable with using them since other projects. Bought a “pro micro” clone as main board.

This small plastic box is mounted beneath the rudder pedals and will contain the main axis sensor, the pro micro and also the cables from the brake axis. Glued a USB to USB micro to allow easy disconnection of the pedals.

Hopefully, you can here see the sensor for the brake axis. I wanted to hide the sensor inside the pipe. I wasn´t sure this would work, since the magnet do not spin around it´s own axis. However, this turned out to work perfectly fine when testing with MMJoy.

Here you can see the cable from the brake axis´ leading down to the main board.

Electronic box with USB connection.
Final shot:

As someone who have never flown with rudder pedals before, I must say it adds more to the experience than I thougt, even in fixed wings. Being able to taxi without repeatedly pressing a button on the throttle is really something else ![]()

