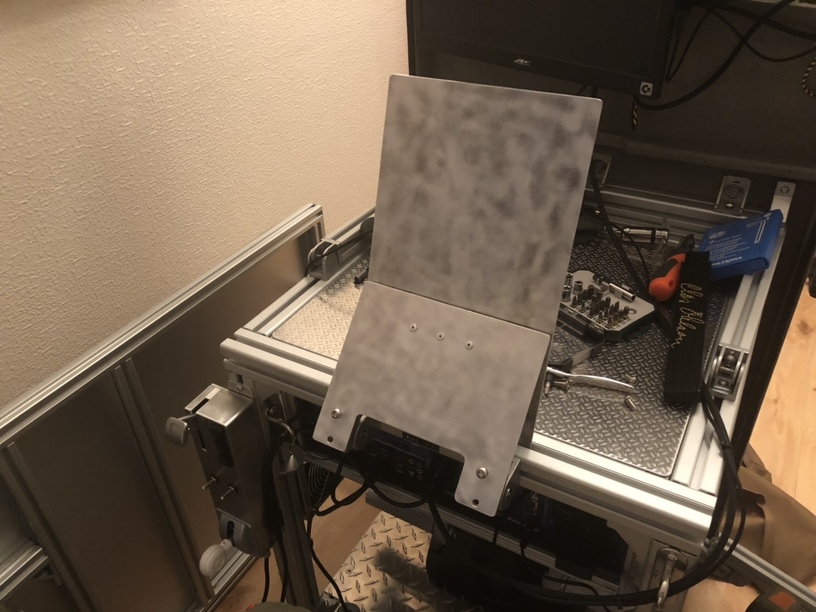
Making a foldable structure in aluminium, that will hold both the keyboard and the 2D screen.
It’s made out of scrap aluminium. Since the surface of the sheet aluminium has got some scratches, I elected to treat the surface with a rotating steel brush. I went for that ”Squiggle” pattern you see on some german WWI aircraft engine cowlings.
You won’t see much of it when the keyboard and screen is attached, but it’s always fun to try something new.
Now I can remove the foldable arm from the inside of the lid.
With the purchase of the Rift S I got to remove the arms for the Rift Sensors.
The inside of the lid will be routed to remove some weight…
Oooh…
The seat is made from a 2" gym pad. The kind you use to balance on one foot. It has a upper layer of latex foam from an old bed mattress.
The two knee supports are made from some car insulation foam that I got at an auto parts store, and a chopped up old memory foam pillow.
The new back rest foam comes from a used boat seat.
So, after I have removed all the installations from the SimBox top lid (Oculus sensors and monitor) I thought that I don’t need the structural integrity of the lid… So, I brought forth the router…!
It’s a 18mm glued birch board. The whole lid, with the attachment bracket, weighs 10.5kg.
I sought out to remove 10mm but for various ressons ended up removing 13mm… For those of you who excel in math, that’s like 5mm remaining…I think?
The lid is now 8.5kg but feels reeeally thin.
When the SimBox is folded shut, It serves as a sort of table. Nobody’s going to sit there, but may want to place some things on there.
Maybe I should reinforce the lid, on the inside?
With what? Just some epoxy resin? With some fibreglass?
Aluminium netting with epoxy?
In a way… 10.5kg is a heavy lid. There is a very real danger of getting your paws stuck in the mechanism. If I remove some material from the other half of the lid, I could perhaps reduce the weight by 30%.
I also though I’d put up some of my patches in the recess.
Also it was a good opportunity to try out that routing technique?
I would have thought 5mm glued birch is still fine - certainly the 7mm ply I’ve used for stuff appears to be okay with a frame around it. I haven’t tried epoxy resin, but that does sound like a neat idea to improve rigidity!
Alternatively the 13mm depth carve out could fit some 10mm T-extruders - I guess aluminium ones would be best to save weight. Unsure how that would compare in rigidity to the epoxy.
I did find some interesting articles about ‘resin impregnating wood’ for strength - but unsure whether glued birch would have the pores to suck in the resin or whether it would just be a ‘skin’ on top.
Absolutely!
But i skimped on the design of the ladle. It wasn’t rigid enough and the router could move up and down, causing some deeper cuts that needed evening out. So I reinforced the ladle and made another run. This is why it got to be 13 instead of 10mm deep…
That made me chuckle! Nice work - I would have never thought about using that technique.
I’m going to go ahead and mark 8 October 2019 as the date I first foretold the birth of the all-carbon-fibre construction SimBox CarboNG which can be lifted away to the attic by one hand when not in use.