What goes up - must come down! This tutorial was really nicely formatted. I was very interested to learn (through the excellent voice-overs) about the landing restrictions and that the conventional landing is actually a somewhat abnormal procedure (with all kinds of attendant restrictions).
Starting out the instructor goes over a lot of the details about the conventional landing and walks us through imputing the TACAN station and inbound course on the left DDI. This provides us a nice course line for terminal TACANs (ones collocated with the airport), but be careful that you don’t use this technique with navaids that aren’t located on the field.

Starting the descent down to the recommended pattern altitude for the overhead break. I find the 800’ pattern/break altitude to be uncomfortably low - as a turbojet/turboprop pilot that is more used to a 1,500’ pattern elevation. I’d be interested to know why the Navy / Marines use such a low pattern - unless there has been a study that shows that gets you under the clouds a larger percentage of the time (probably). Maybe lower = better depth perception with the waves and whitecaps too. I’m sure they have their reasons.

Very nice instructions prior to the break procedure, and then abbreviated instructions once you are going through the process. @Baltic_Dragon is the master of building great trigger points for missions…I don’t know how he does it.


On the break…4G and around 10 units of AOA…

Downwind switching to radar altimeter, VSTOL mode, ensuring flaps AUTO, and gear down…

The one thing I love about the Harrier is it is definitely a pilot’s plane. You want to put it somewhere - move the stick and really move the throttle and make it happen. It does require some planning, but it is also pretty responsive and I do find myself using some occasionally large throttle movements to keep me right where I want to be.

First landing felt a bit high on the pitch and I should have used a burst of throttle to flatten out my AOA (I feel)…

Instructor gives guidance for a touch and go, a second pattern, and finally a third full stop landing - all provided nicely in the tutorial…! Making the turn to the downwind to set up for another overhead break…


Turning back inbound targeting 800’ and 360 knots…

Better second landing…

After another touch and go, time for the final circuit…

This time we deflect the nozzles into the braking realm to help in deceleration after touchdown…


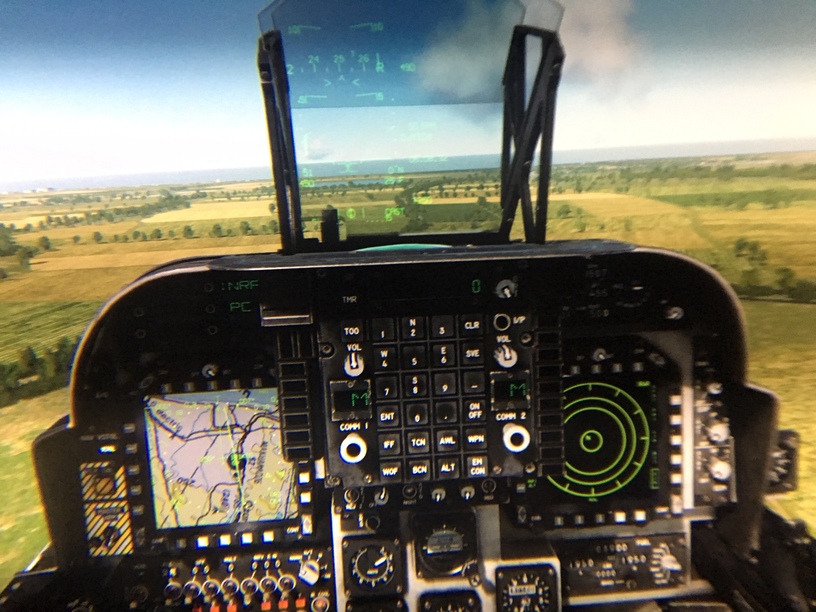
A closeup view of the moving map through my HP Reverb…the cockpit looks awesome!

A bit blurry because I don’t want to hold the lens of the phone too close to avoid scratching my Reverb lens…

Another great mission design…looking forward to continuing!