Put here as a sort of bookmark, as I can never find these things again. All sourced from the site https://www.masterarms.se so don’t complain at me.
Crank
A defensive/offensive maneuver that defeats enemy missiles but allows you to maintain radar contact with bandit.
Beam
A defensive maneuver to defeat enemy missiles.
Notch
A defensive maneuver intended to cause enemy radar to lose lock by zeroing out the doppler shift of your echo.
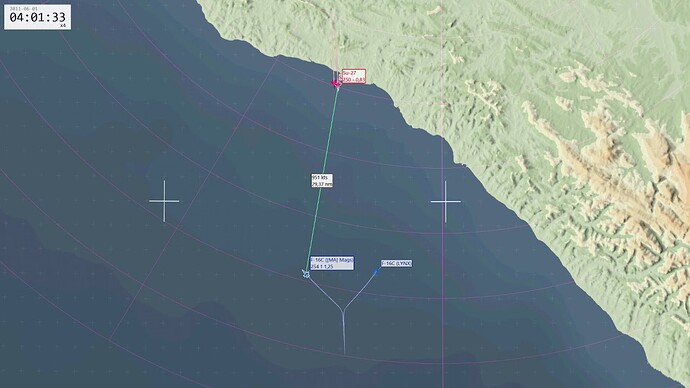
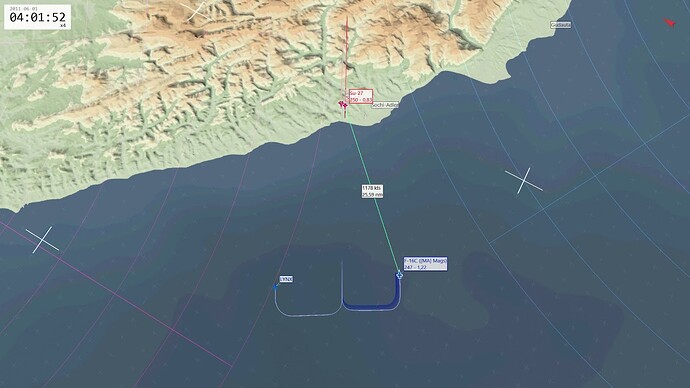
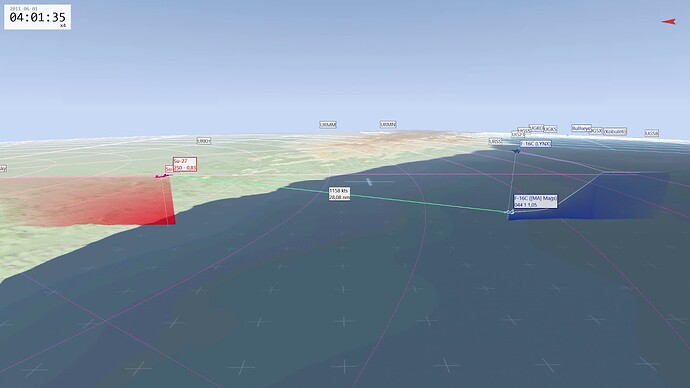
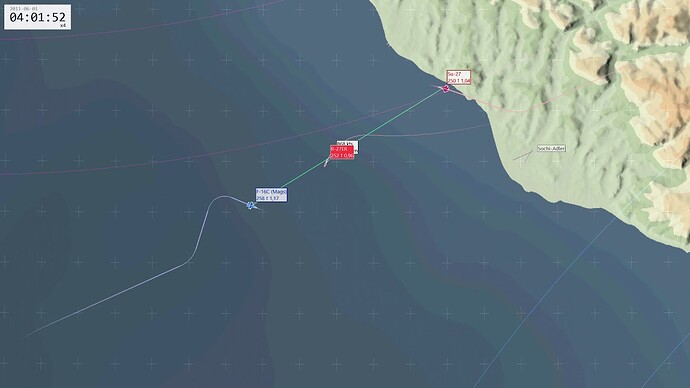
Skate
Early launch, crank, going cold, recommiting, second launch, crank, going cold outside of MAR (Minimum Abort Range - the distance you can run away from an opponents missile) and disengaging. Notice the cranking approach to deny the enemy a chance to hit with a long shot.
Short Skate
Launch-and-leave before entering MAR. Notice the cranking approach to deny the enemy a chance to hit with a long shot.
Banzai
Launch-and-decide tactic. A launch outside of MAR, followed by a crank, then going to the merge due to enemy still flying. Notice the cranking approach to deny the enemy a chance to hit with a long shot.