DCS F-5E A-G Training Flight

On this flight we are going to train practice bomb deliveries with the F-5E on the NTTR.

Before departing we will have to do some planning first. We are going to drop BDU-33 practice bombs, which I understand have the ballistics of a the Mk-82 LDGP bomb. We select the first delivery profile with a dive angle of 15°, release speed of 480 KTAS and 1’500 ft above the target. This ensures that during pullout we will stay above the frag clearance altitude of 1’200 ft AGL. This delivery profile requires a sight depression of 109 MILS from flight path. This value still needs to be corrected for the AOA of the aircraft, and since the F-5E has a Zero Sight Line (from where the sight depression angle is applied) that is usually below the flight path, the AOA correction needs to be subtracted. Unfortunately the values from the real weapons delivery manual do not apply in DCS, so I usually apply a generic correction of -20. Therefore our sight depression will be 89 MILS.

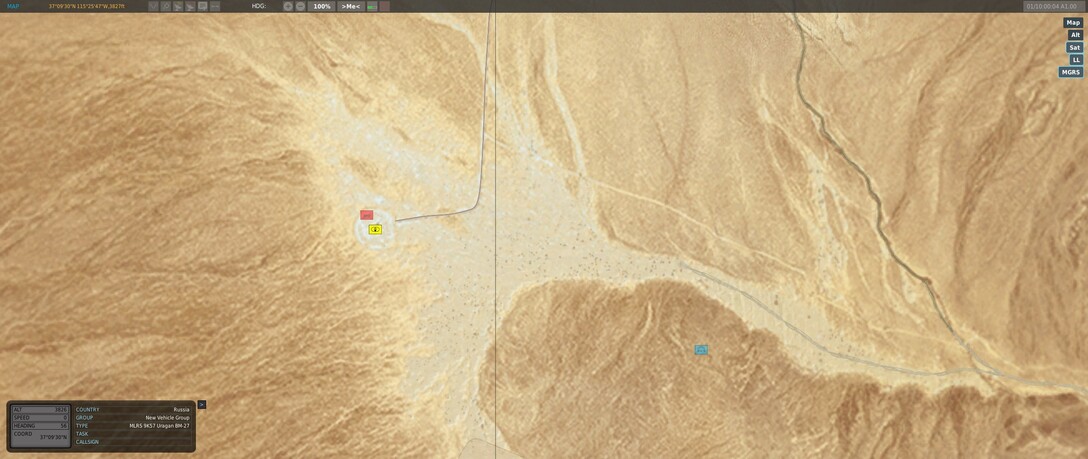
Next we will have to review our target. Notice at the top left that the target has an elevation of 3’478 ft. Since our drop altitude is 1’500 ft above target, we make a mental note that our drop alt will be 5’000 ft MSL.

Next we have to determine our drop speed, which the profile specifies as 480 kts True Air Speed. This is depending on temperature. The temperature set for this mission is 31°C, which in DCS is at sea level. We will drop at 5’000 ft MSL and the temperature gradient is 2°C per thousand feet. An online calculator shows that 480 KTAS at 5’000 ft MSL and 21°C is 435 KIAS, which I mark with the speed bug on the air speed indicator.

Bombs are loaded, we are ready to go.


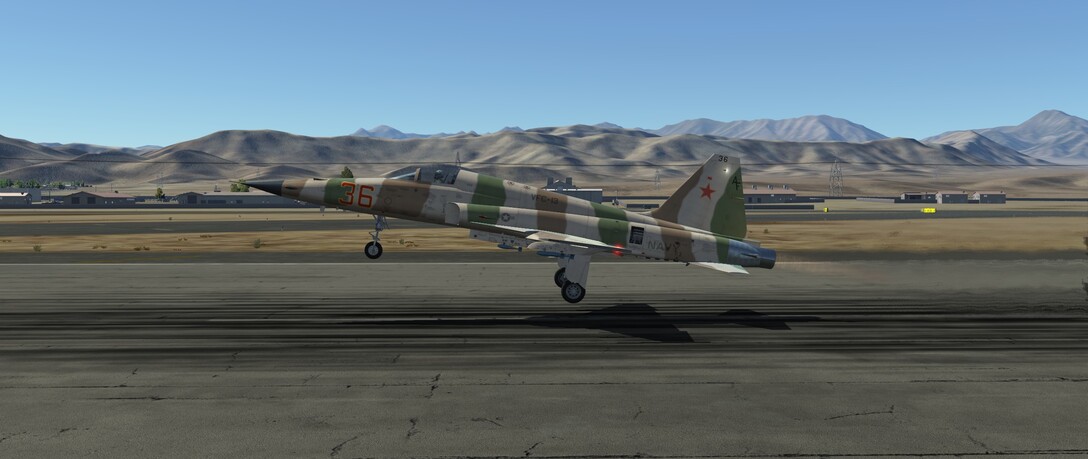
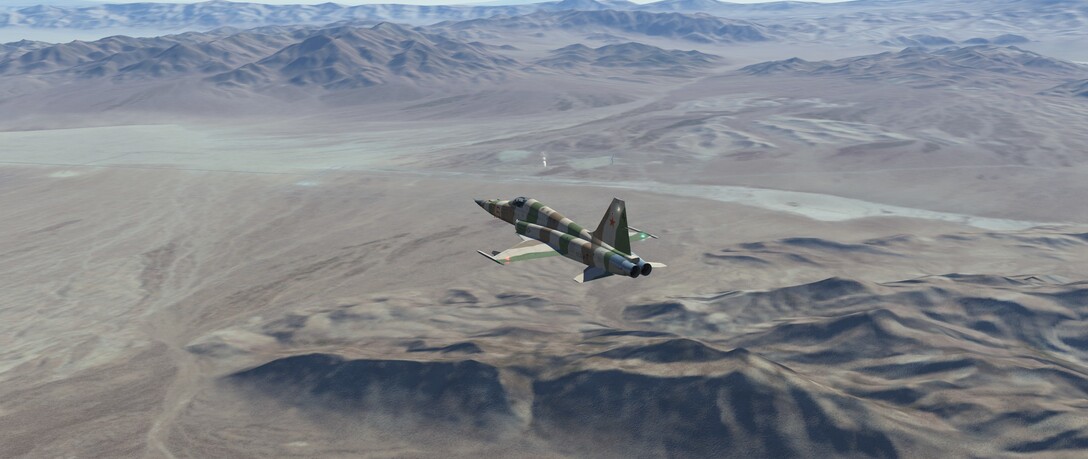
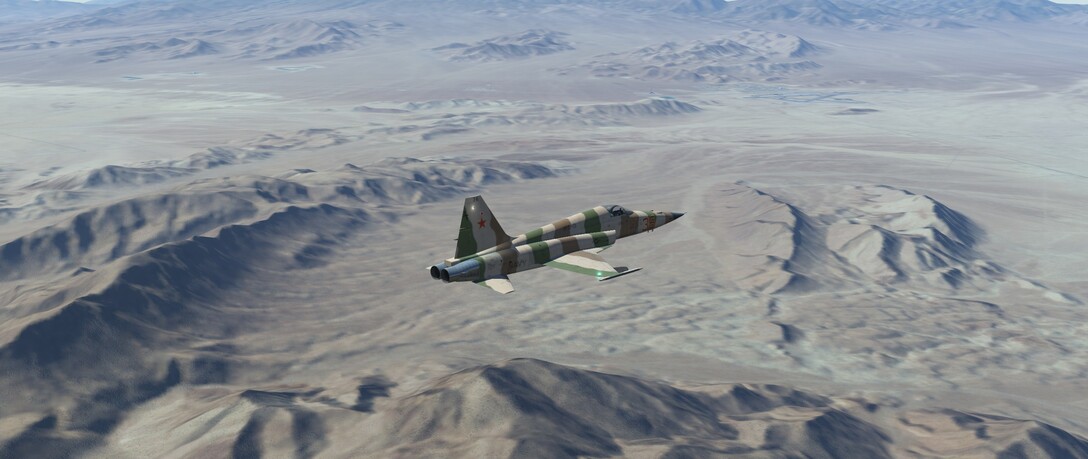
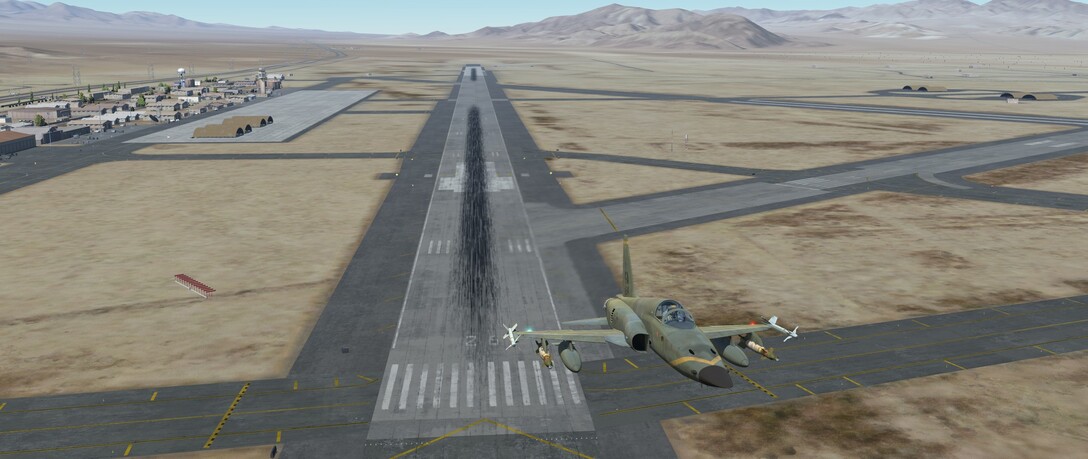
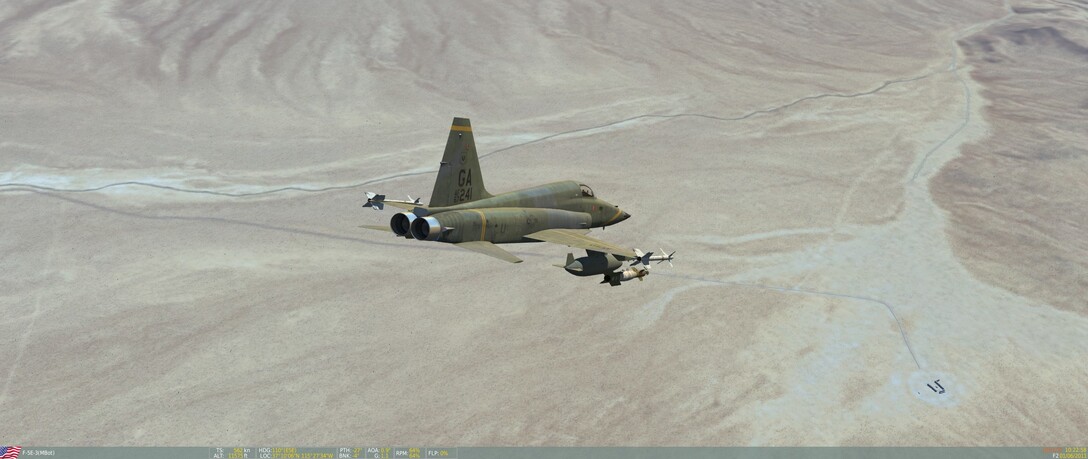
Departing Creech AFB.

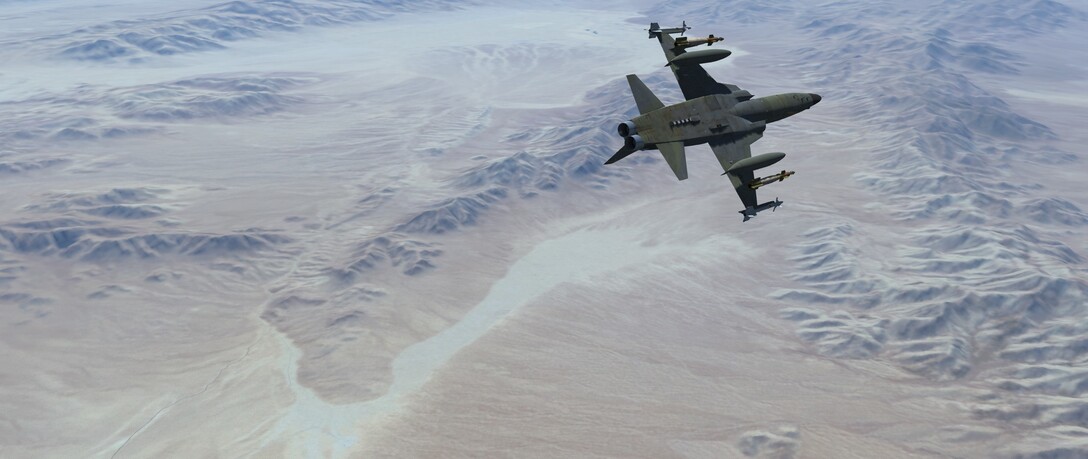
The Nevada map and the F-5E match like “die Faust auf’s Auge”.

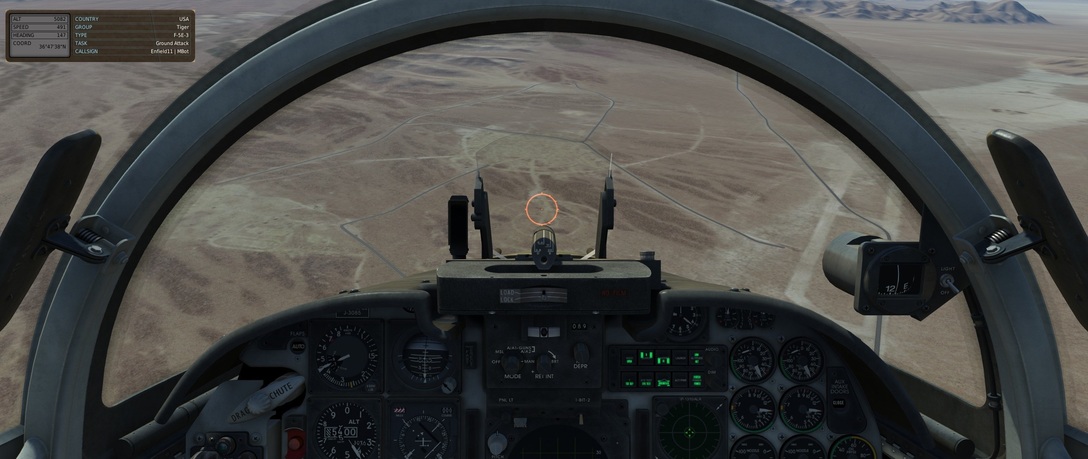
The circle below is our target.

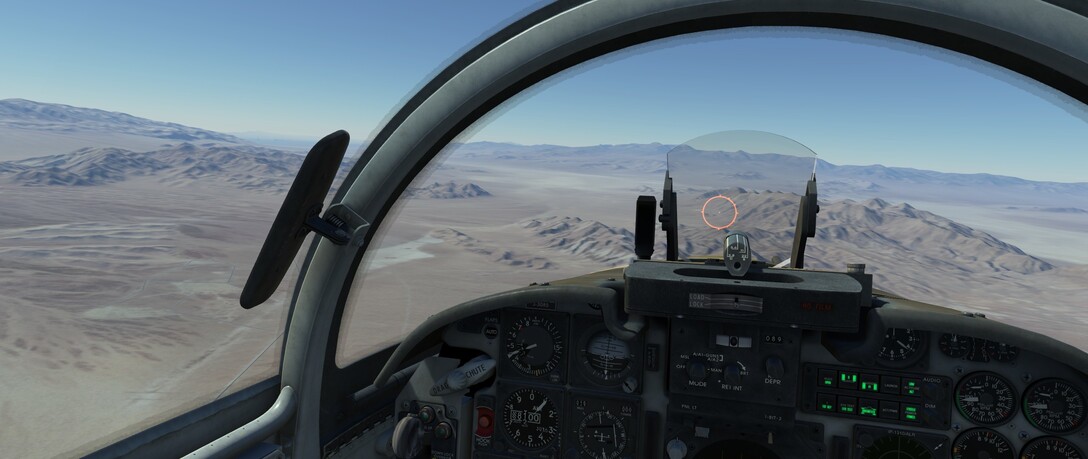
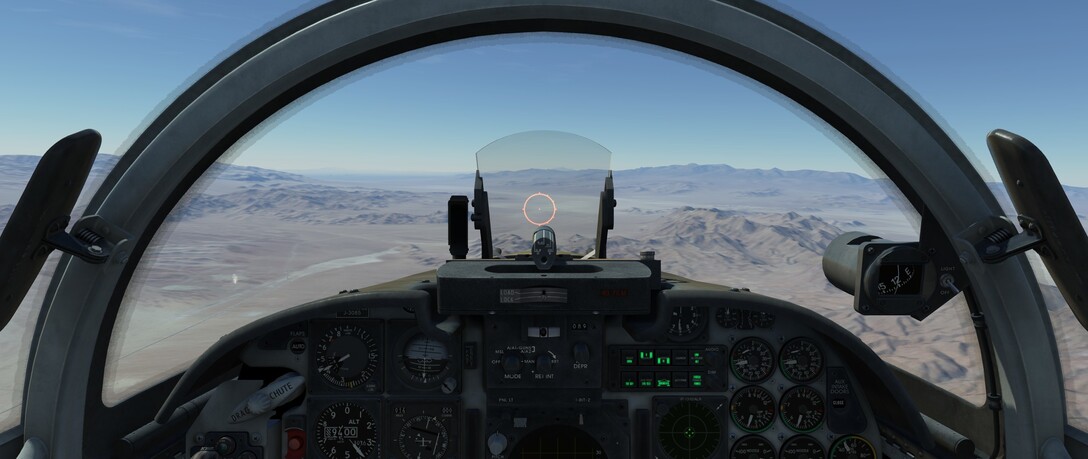
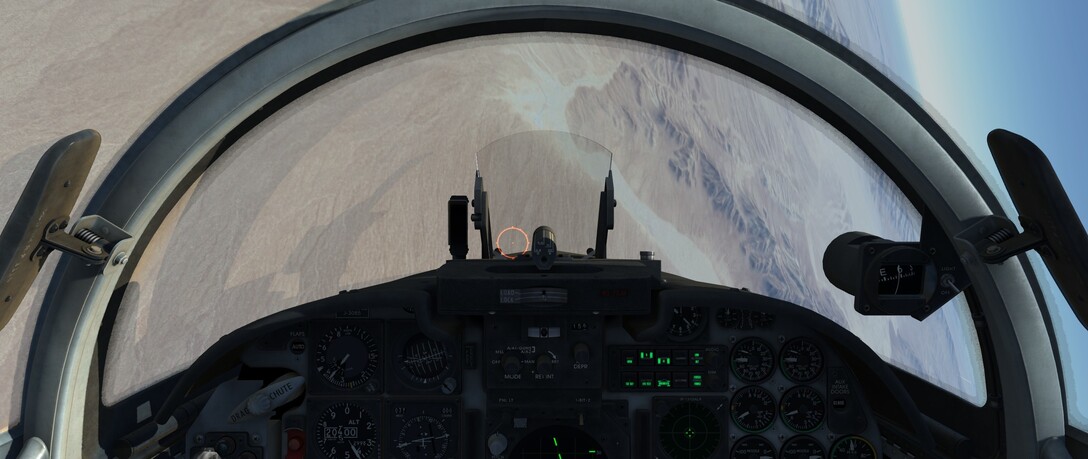
In the base leg for the first bomb run. Now is a good time to make sure that all weapons witches are set correctly and to review the delivery parameters: 15°, 5’000 ft, 435 KIAS. good rule of thumb to get a 15° dive angle is to place it at the lower edge of the side mirror.

Rolling in.

Aiming the aircraft at the Aim Off Point beyond the target.

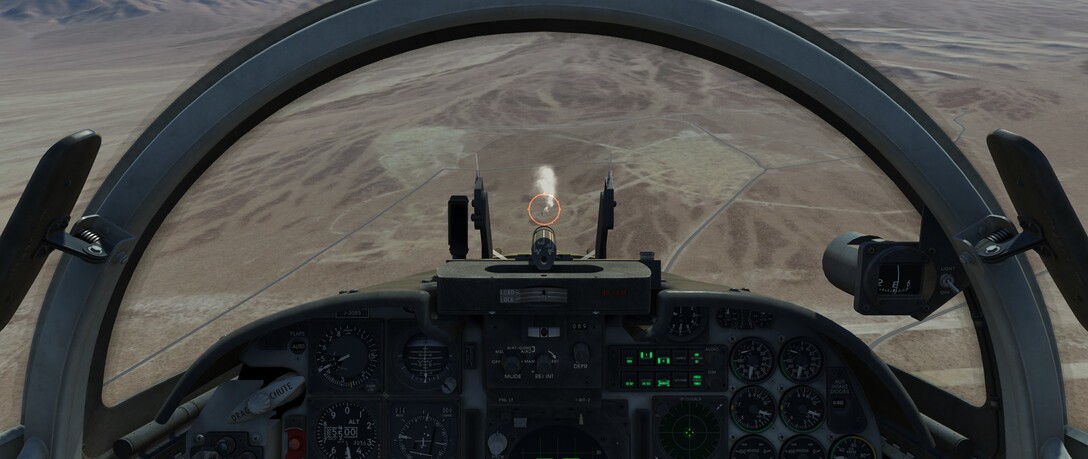
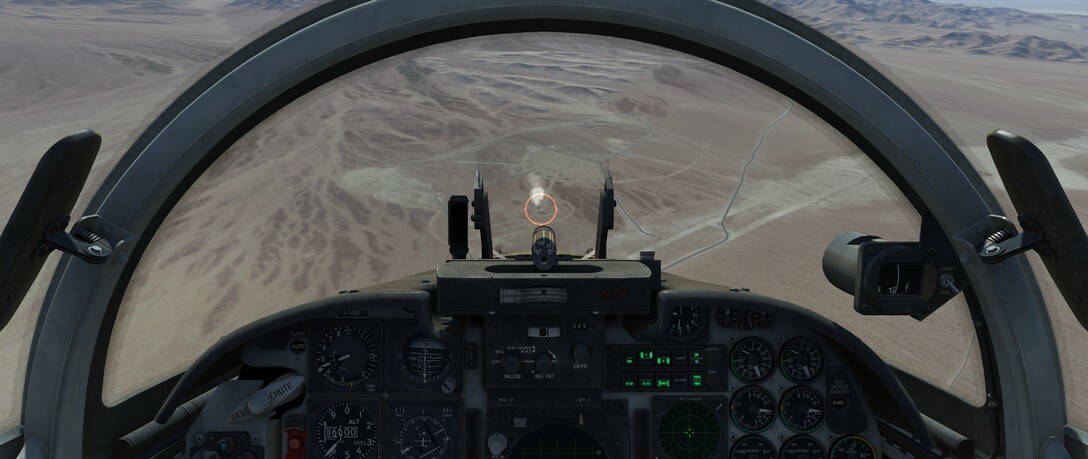
Rolling out and doing the initial pipper placement by putting the target roughly half-way between the flight path and the pipper. At this point I usually do a quick mental recap of the error corrections: Dropping SLOW gets a SHORT bomb, dropping SHALLOW gets a SHORT bomb, dropping LOW gets a LONG bomb.

Sight picture at drop, speed is slightly fast, which would require an early drop. Dive angle is spot on, requiring no correction. But altitude is too high (short bomb), therefore I decided to delay the release and aim a little long.

Notice the indicated altitude and the actual altitude at the top left. Unfortunately there is a fairly large altimeter lag which needs to be accounted for and further complicating bomb delivery. Hopefully Belsimtek will fix that bug sometimes.
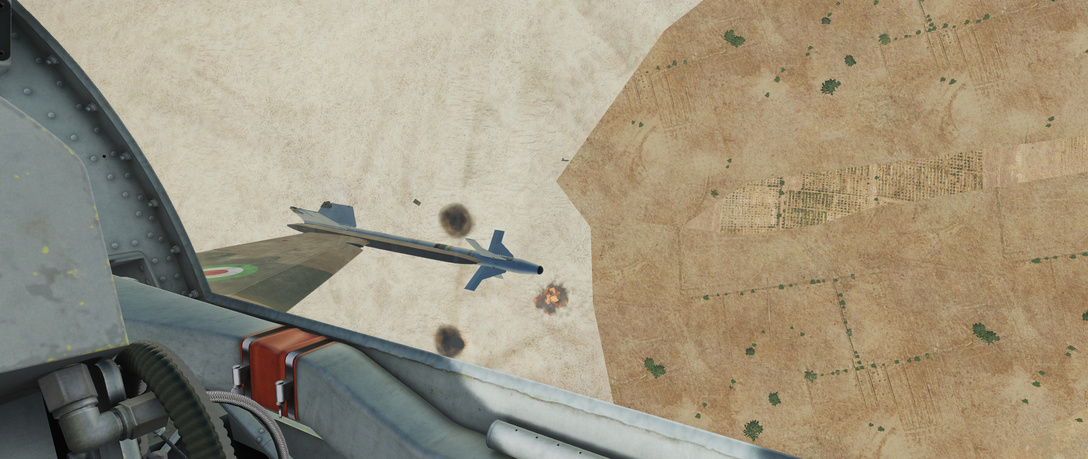
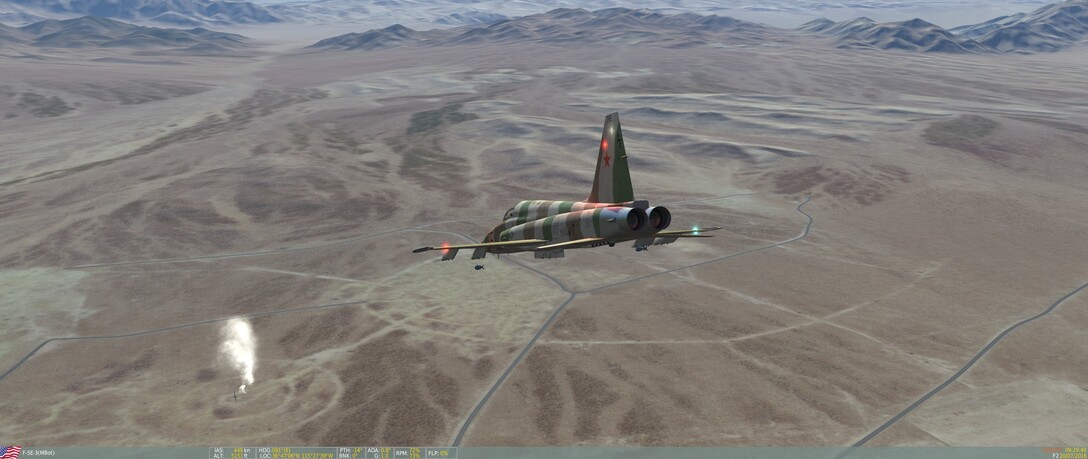
Pullout with 5+ Gs.

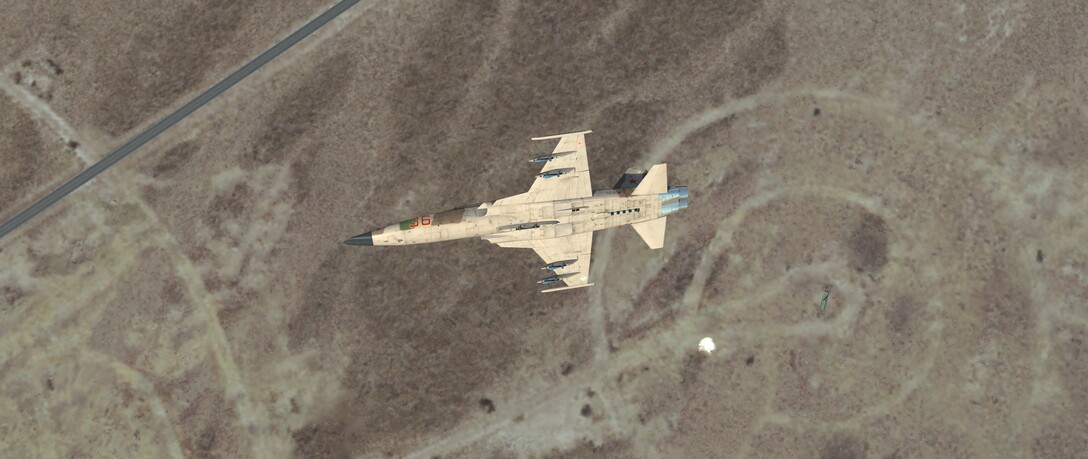
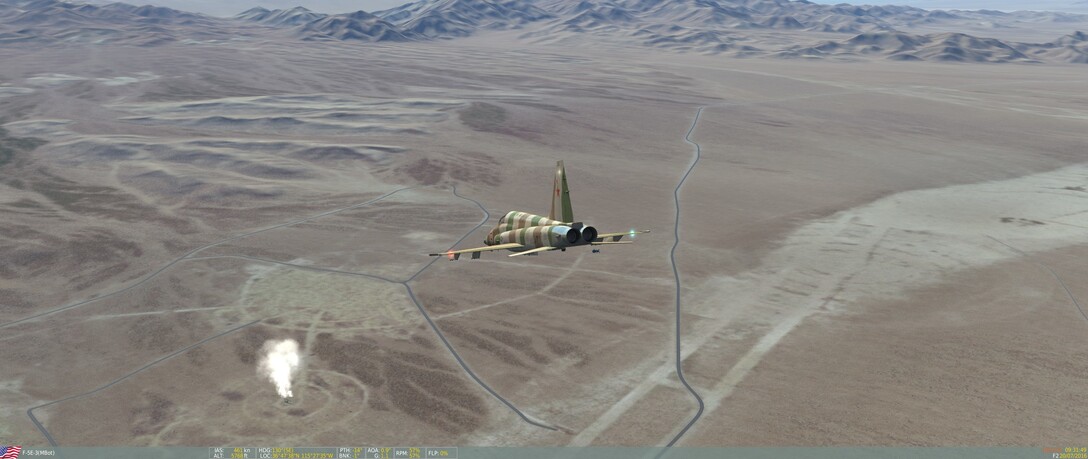
Rolling over to observe the impact. The bomb lands 240 ft long, pretty much exactly where the pipper was at delivery. At pipper on target the altitude was too high (which would have resulted in a short bombs). At drop the pipper altitude was was at release alt and the pipper beyond the target, therefore the bomb also landed beyond target. Less drop delay should have been applied, somewhere half-ways between alt at pipper-on-target and planned release alt. I think we can do better than this.

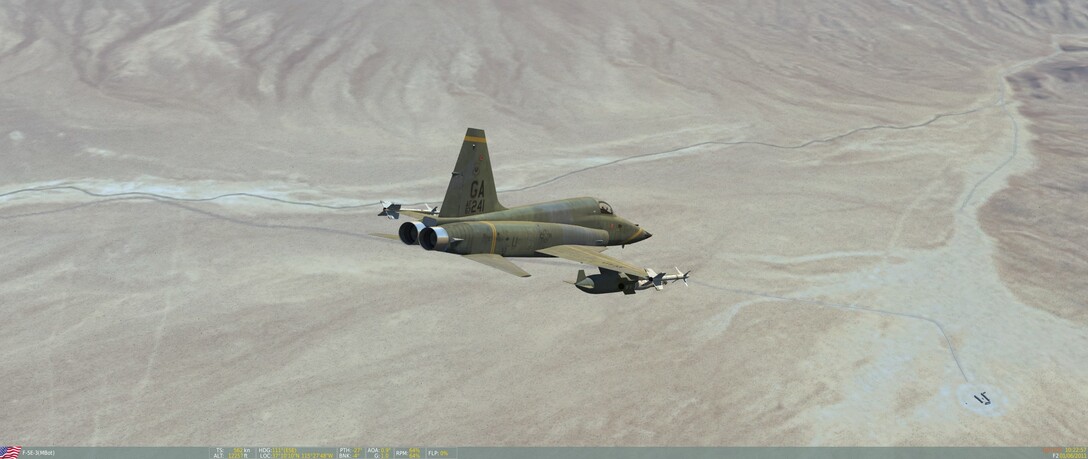
Approaching for the second run.

Roll in.

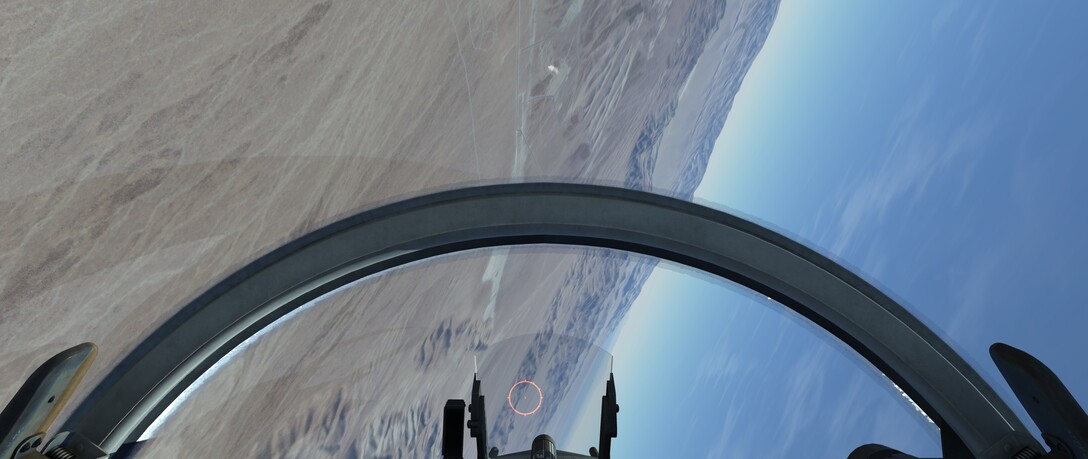
Pulling the nose on the Aim Off Point and rolling the jet round it.

We rolled out too far to the right. Correction is needed.

Corrected to the left and making initial pipper placement. Dive angle looks good. Speed is too high, retarding throttle. Quick mental recap of delivery parameters and error corrections.

Shortly before drop (unfortunately I missed to do a screenshot at drop). Speed is 15 kts high (long bomb). Dive angle shows 5° steep (long bomb), but in fact is 3° shallow (short bomb). Apparently the ADI was not aligned well after the hard pull down (bug or normal?). Altitude is already low and getting lower until the drop low (short bomb).

Bomb away.

Bomb lands 120 ft short. Not bad.

Approaching for the 3rd pass. Again offset enough to let the target move to the lower edge of the mirror for that 15° dive angle.

Roll in.

Roll out.

Speed looks good. Dive angle looks good. Mental review of error corrections (low-long/high-short). This might be a good pass.

Pipper on target, but still too high. Delaying the drop.

Dropping now.

Bomb away.

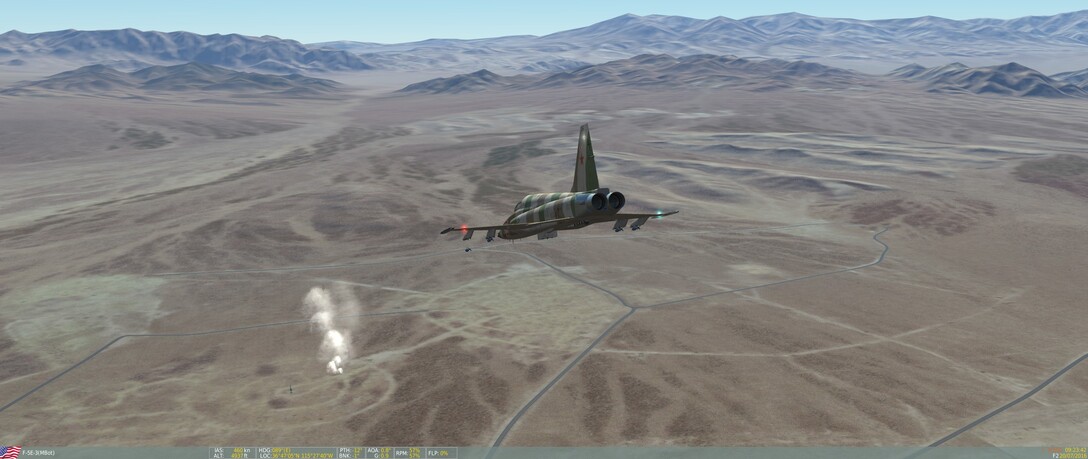
Rolling over and waiting the observe the impact. Good bomb! About 60 ft long.

Setting up the fourth bomb run.

Roll in.

Putting the flight path beyond the target for the roll out.

Roll out and initial pipper placement.

Pipper on target. On speed. Too steep (long bomb), too high (short bomb). Delaying drop to correct.

Drop.

Bomb away.

Good bomb! About 50 ft long.

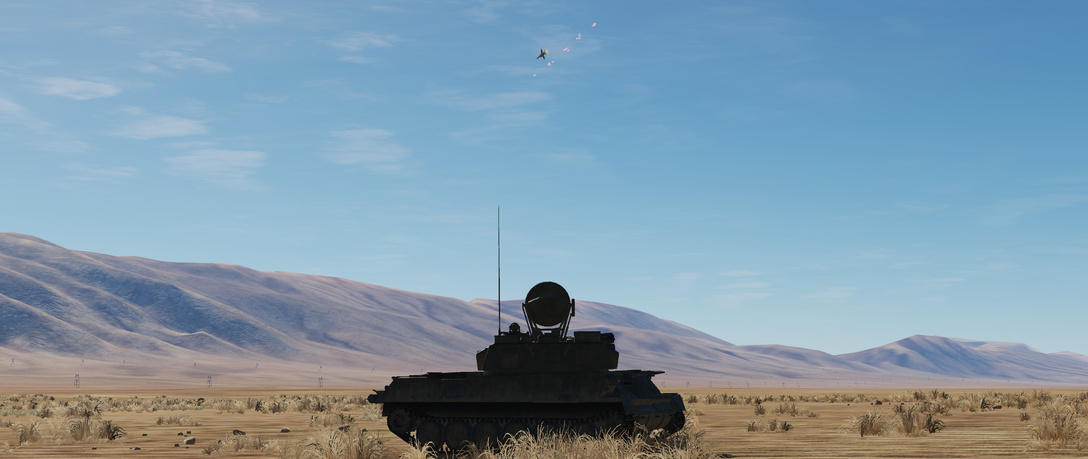
Turning in for the last attack.

On the base leg.

Roll in.

Coming down, slightly fast. Pulling back the throttle.

Pipper on target. Dive angle ok, speed fast (long bomb), altitude very high (short bomb). Delaying the drop.

Bomb drop. It is already clear by now that this won’t be a very good bomb.

Bomb away.

Pull out.

Yep, 300 ft long and worst bomb for today.

Time to head home.


15 Likes

loved it ! great training … who ever wants to get better in bombing should read the whole thing … especially correcting the AOA which is something i was suffering from and after tons of tests i m totally agreeing with @MBot -20 on the DEPR would do magic while comparing to the bombing profiles you will have on the F-5E manual !

Thank you for sharing this @MBot

2 Likes

Oh man. As someone who understands the concepts but struggles with the execution, this is spectacular.

Kudos @MBot :thumbsup:

Dropping bombs like this is just so much more satisfying than computer aided deliveries, 10 times more satisfying than LGB deliveries and 100 times more satisfying than JDAM deliveries :slight_smile: Pull up, roll over, peeking over your shoulder and waiting for what kind of impact you will get is thrilling.

An excellent AAR - thanks @MBot . Also…

2 Likes

Absolutely superb write-up!

you really should its lovely … i just participated the RED FLAG Tournament on the 104th … managed to get 1 ground and one air kill mig-21 was awsome, editing the video and will upload later :smiley:

and i didnt got shot down for 3 sorties :wink:

1 Like

Where can I find that nice kneeboard?

Right here :slight_smile:

1 Like

Today we are going to practice LGB delivery with the F-5E. The fun thing about laser guided bombs with this aircraft is that you have to deliver the bomb the same way as a dumb bomb, using technique rather than technology. You have to work hard to get the bomb as close as possible to the target, then laser guidance adds pinpoint precision on top of it.

This Uragan Multiple Rocket Launcher is our target for today. To spice things up a bit there is a Shilka close by, ready to defend the area.

Our Forwar Air Controller overlooking the target area. He will provide the laser illumination for our attack.

Satellite view of the target area. Of note is the target elevation of 3’827 ft which will be relevant for the planing of our attack.

Our aircraft ready at the ramp at Creech AFB, armed with two GBU-12 500lb laser guided bombs. I love the fictional USAF Euro livery for the Tiger (download here USAF European Camouflage ***Fictional***).

Time to plan our attack. I select the 30°/520KTAS/7’000ft AGL medium altitude delivery profile for the Mk-82. This will allow for a safe recover above any ground threats and gives the bombs sufficient time for tracking.

Target elevation is 3’800 ft. We drop at 7’000 ft AGL, so at 10’800 ft MSL. Altitude loss for recovery will be 1’600 ft. In order to ensure a minimum safety altitude of 3’000 ft above target, abort altitude is 8’400 ft MSL. Abort altitude for fragmentation clearance is 2’000 ft which is well covered.

520 kts TAS at release altitude is 440 KIAS, which I deal in at the air speed indicator.

The delivery profile calls for a pipper depression from flight path of 176 MILS. Corrected for AOA this is 156 MILS, which I dial into the gunsight.

Now lets start up the jet and move our.


As we check out the target below, we contact the FAC over radio and arrange for laser illumination. We climb to 22’000 ft to have sufficient altitude for the delivery.

In the base leg for the attack run. To get a 30° dive angle, the target should just be visible to the side if you lean in a bit.

Roll-in.

Pull-down.

Putting the flight-path on target, then rolling out.

Pulling up for the initial pipper placement with the target about half-ways between the pipper and the aim off point. Dive angle is slightly low but ok-ish (short bomb). Initial speed is looking ok. I pull in the throttle all the way as speed will build up quickly in a 30° dive. Quick recap of error corrections: Shallow->Short, Slow->Short, Low->Long.

Picture at pipper-on-target. I decide to delay the drop a bit due to the shallow dive angle and the high altitude.

The true flight data at the very same moment (status bar at the bottom). Notice that altitude is 400 ft lower than indicated in the cockpit. Belsimtek, please fix that altimeter in the F-5E!

This is the sight picture at drop after a short delay to account for error corrections.

True flight parameters at drop. 3° shallow (slightly short bomb), 18 kts slow (short bomb), 800 ft high (long bomb). Added together this is probably a short bomb altogether. But remember, the pipper at this point is already beyond the target, so short is good.

Bombs away.

5G recovery bottoming out at 10’115 ft MSL. This is 6000 ft above target, so well above the planned safety limit.

Bombs tracking.

Thats what this laser guidance is good for after all.

That is what we like to see when pulling off the target.

Back home.

9 Likes

I have been greatly neglecting my true love, the F-5E Tiger II. Time to practice manual bombing. It is a skill that quickly deteriorates if not used frequently. Dropped 10 bombs in total, most probably wouldn’t have me qualified. But one was pretty sweet :slight_smile:

(anyone noticed I recently found out how to easily record videos?)

3 Likes

F-5E bombing practice continues:

For the first flight’s 5 bombs I used my favorite attack profile (15°/480 KTAS/1500 ft), with excellent results. In the next flight I tried a medium altitude delivery profile (30°/520 KTAS/ 7000 ft). While this keeps you safely above most of the AAA, the higher release altitude naturally leads to a decrease in accuracy. Considering I haven’t tried this in 6 months, I was very pleased to land all 5 bombs within 75m of the target.

There is little in DCS which gives greater satisfaction than putting bombs on target using a fixed pipper. Next I would like to get proficient with a pop-up deliver profile, but since this requires a fair amount of planning and calculation to perform with the necessary precision, I am not quite sure how to tackle this.

I can’t wait to ripple 18 Mk-82 with the F-4E :slight_smile:

4 Likes

As established in the other thread, attacking with dumb bombs requires a lot of ordinance to improve the chance of a hit. So let’s load 9 Mk-82:

While the amount of bombs is truly impressive for an aircraft of this size, it is of course a ridiculous loadout that is hardly feasible operationally (blew a tire on one take off and it flies like a pig). A Tiger is no Phantom after all.

I have to admit, even with this amount of bombs, landing one close enough from medium altitude to actually damage the target took multiple attempts to achieve. As such this actually sounds in line with real life experience. While 9 bombs are a lot for the F-5E it is still rather little in the big picture (think 4 Intruders dropping 28 Mk-82 each). I remember reading that the USAF calculated a Phantom dropping 12 Mk-82 had a 10% chance of destroying a Soviet tank in wartime conditions.

5 Likes

nicely done there mbot im gonna have to try that my self :slight_smile:

well i did try it … next one is gonna be a bit more higher :slight_smile:

Time to get back into some F-5E air-ground action!

IRIAF training mission against a mock Iraqi SA-6 site.

First run against the Straight Flush radar.

Slightly short but still a kill.

The next 3 bombs all land long without effect. Manual bombing is hard!

Number 5 is on the numbers for the delivery profile.

Bomb away.

Looking good…

Shack!

Recovering back at Shiraz Air Base.

11 Likes

89mils, 15degs, 400kias, Altitude ?

I’ve used 80mils, 30degs, 5000’ with some success. I don’t think my numbers actually work. I only use them because 5+3=8 so I can always remember. Otherwise it seems more luck than math in my case.

1 Like

480 KTAS, 15° dive, 1500 ft AGL, 89 mils. I usually initiate the attack from at least 4500 ft AGL, which gives sufficient time to stabilize and to some quick mental error corrections to apply to the release point (Slow = Short bomb, Shallow = Short bomb, Low = Long bomb).

Of all the profiles I tried it is the one that works best for me. 15° might sound fairly shallow at first, but when actually diving at the target it feels steep enough. Also speed is much easier to control at 15° versus steeper dive angles.

2 Likes

Let’s make a low-level pop-up attack against a live Iraqi SA-6 site.

Popping up with 30° offset.

Rolling in.

I didn’t do much planning for the pop-up geometry or plot any terrain references, pretty much flying the thing by rule of thumb. Therefore this didn’t result in a very precise attack. Speed is 15 knots fast (long bomb), dive angle is 4° shallow (short bomb). I figured this would average itself out. Since I was already going through the planned drop height at 6500 ft well before the pipper was on target, I delayed the release. The further I would descend below nominal release alt, the longer the bomb would land in relation to the pipper. I figured releasing at this moment would do the trick.

Dropping 3’000 lbs of bombs at once kind of helps too.

Ahmed isn’t too happy about it.

I file that under lucky :slight_smile:

No soup for you.

8 Likes