Looks good! Sorry to hear about the grass landing, just remember you are not alone in having blasted model pieces to the high heavens with a spray can.
1 Like
I’ll just have to try to make it look like 23 mm impact holes.
Just had a look and the varnish was still wet. Definitely too thick a layer on there.
Still, I could already see the panel lines in the coat on the undamaged wing
Under the right angle, you can see the huge pool of varnish that built up on this wingtip.

Not visible from most angles luckily
A very uneven elevator surface. Damage from the crash and recovery Should I put on another layer before the NE PAS MARCHER letters decal?
The dirt traces on the wings almost look convincingly like bullet holes. Again, they will interfere with NE PAS MARCHER though.
I just got started putting decals on the bottom and sides.
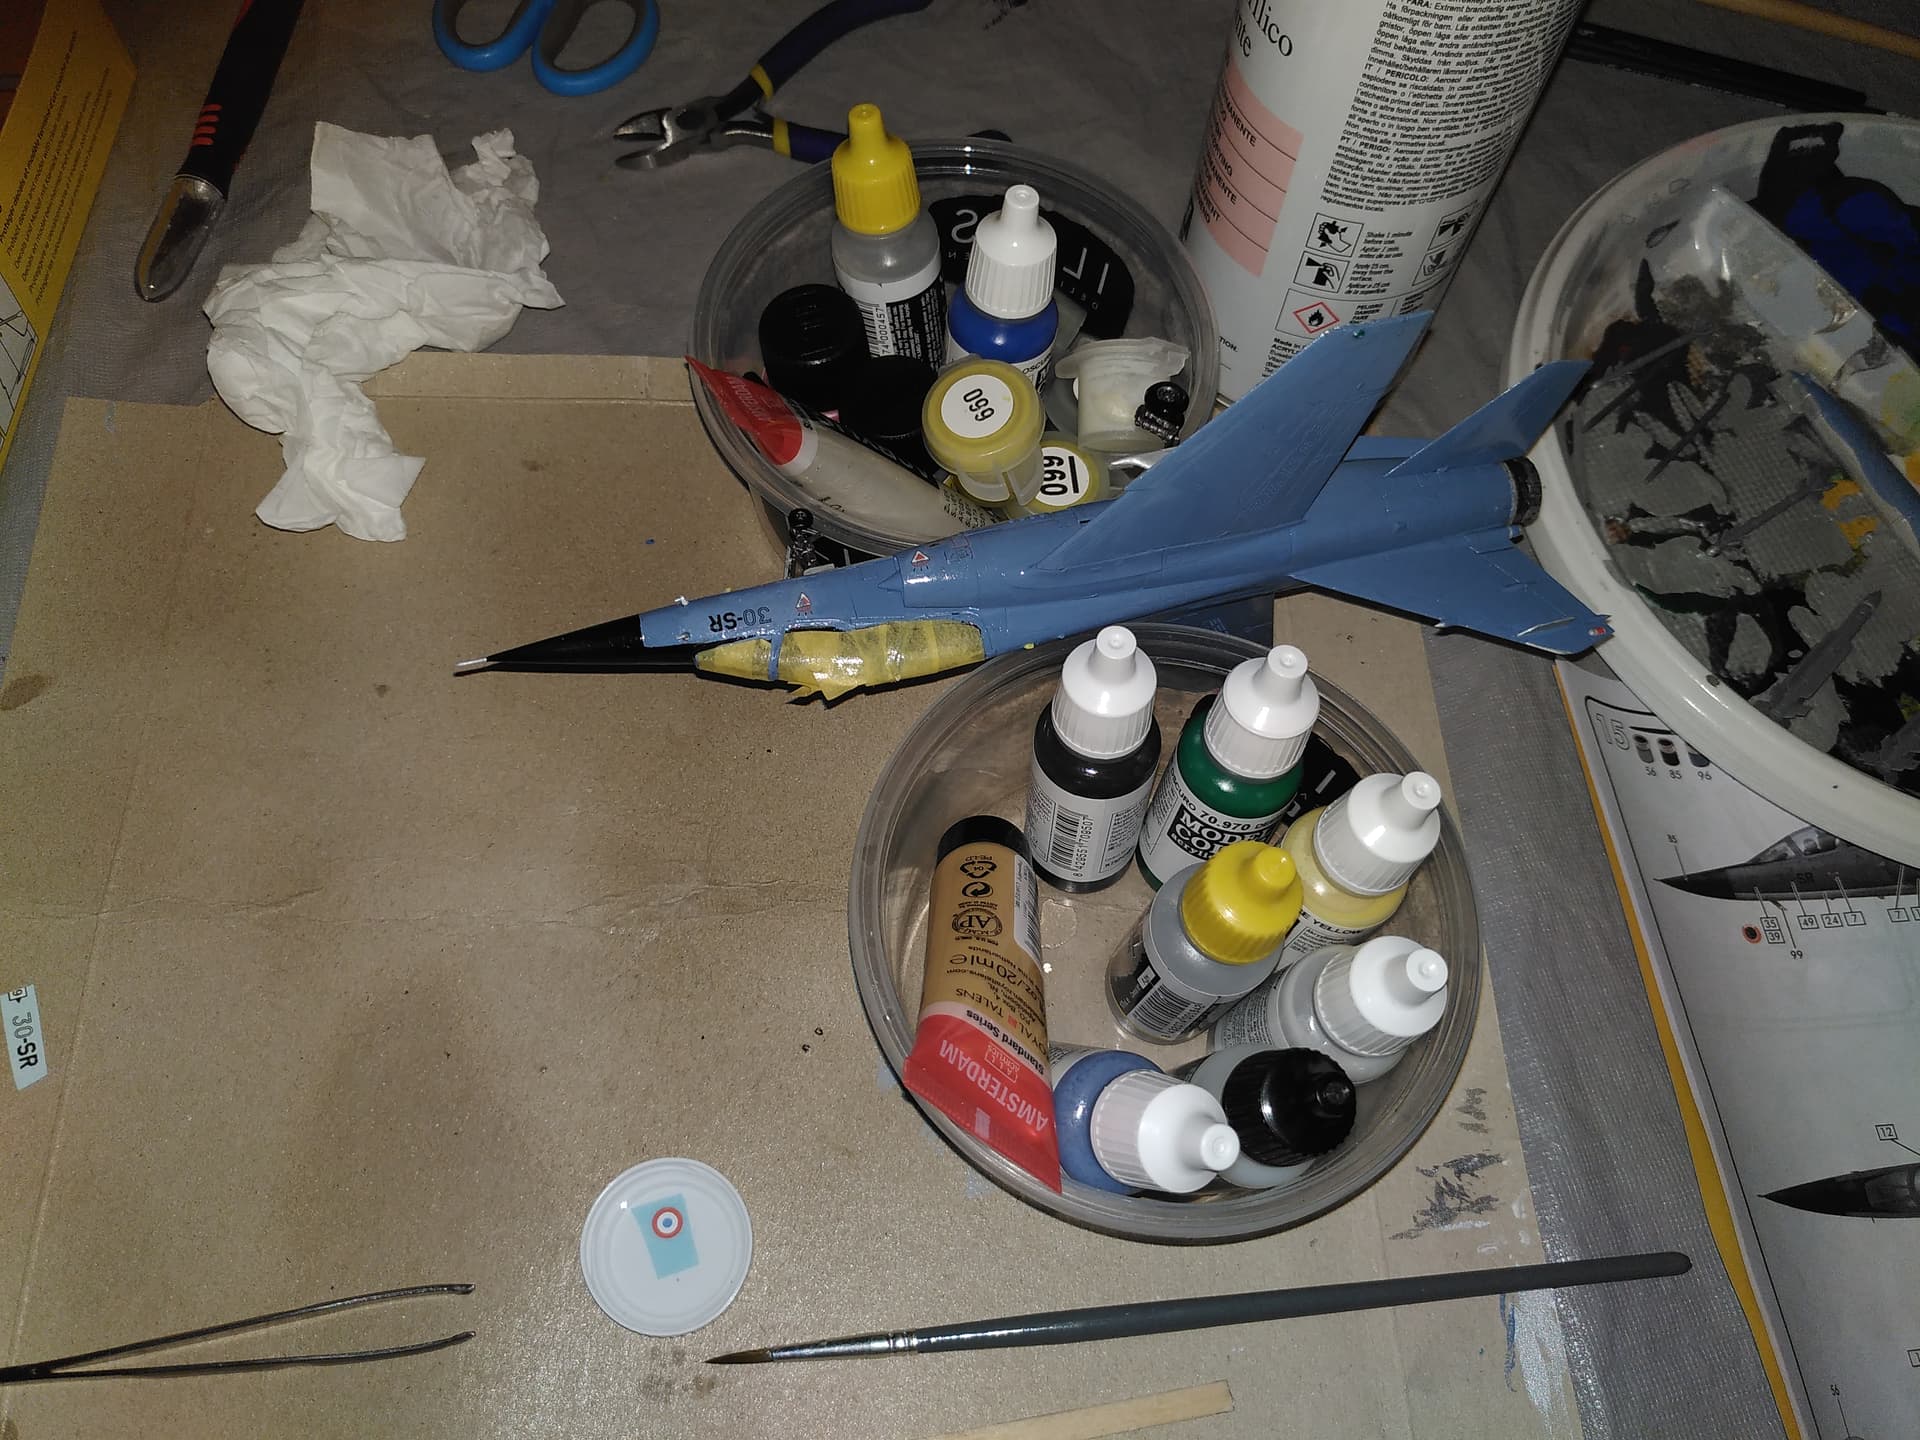
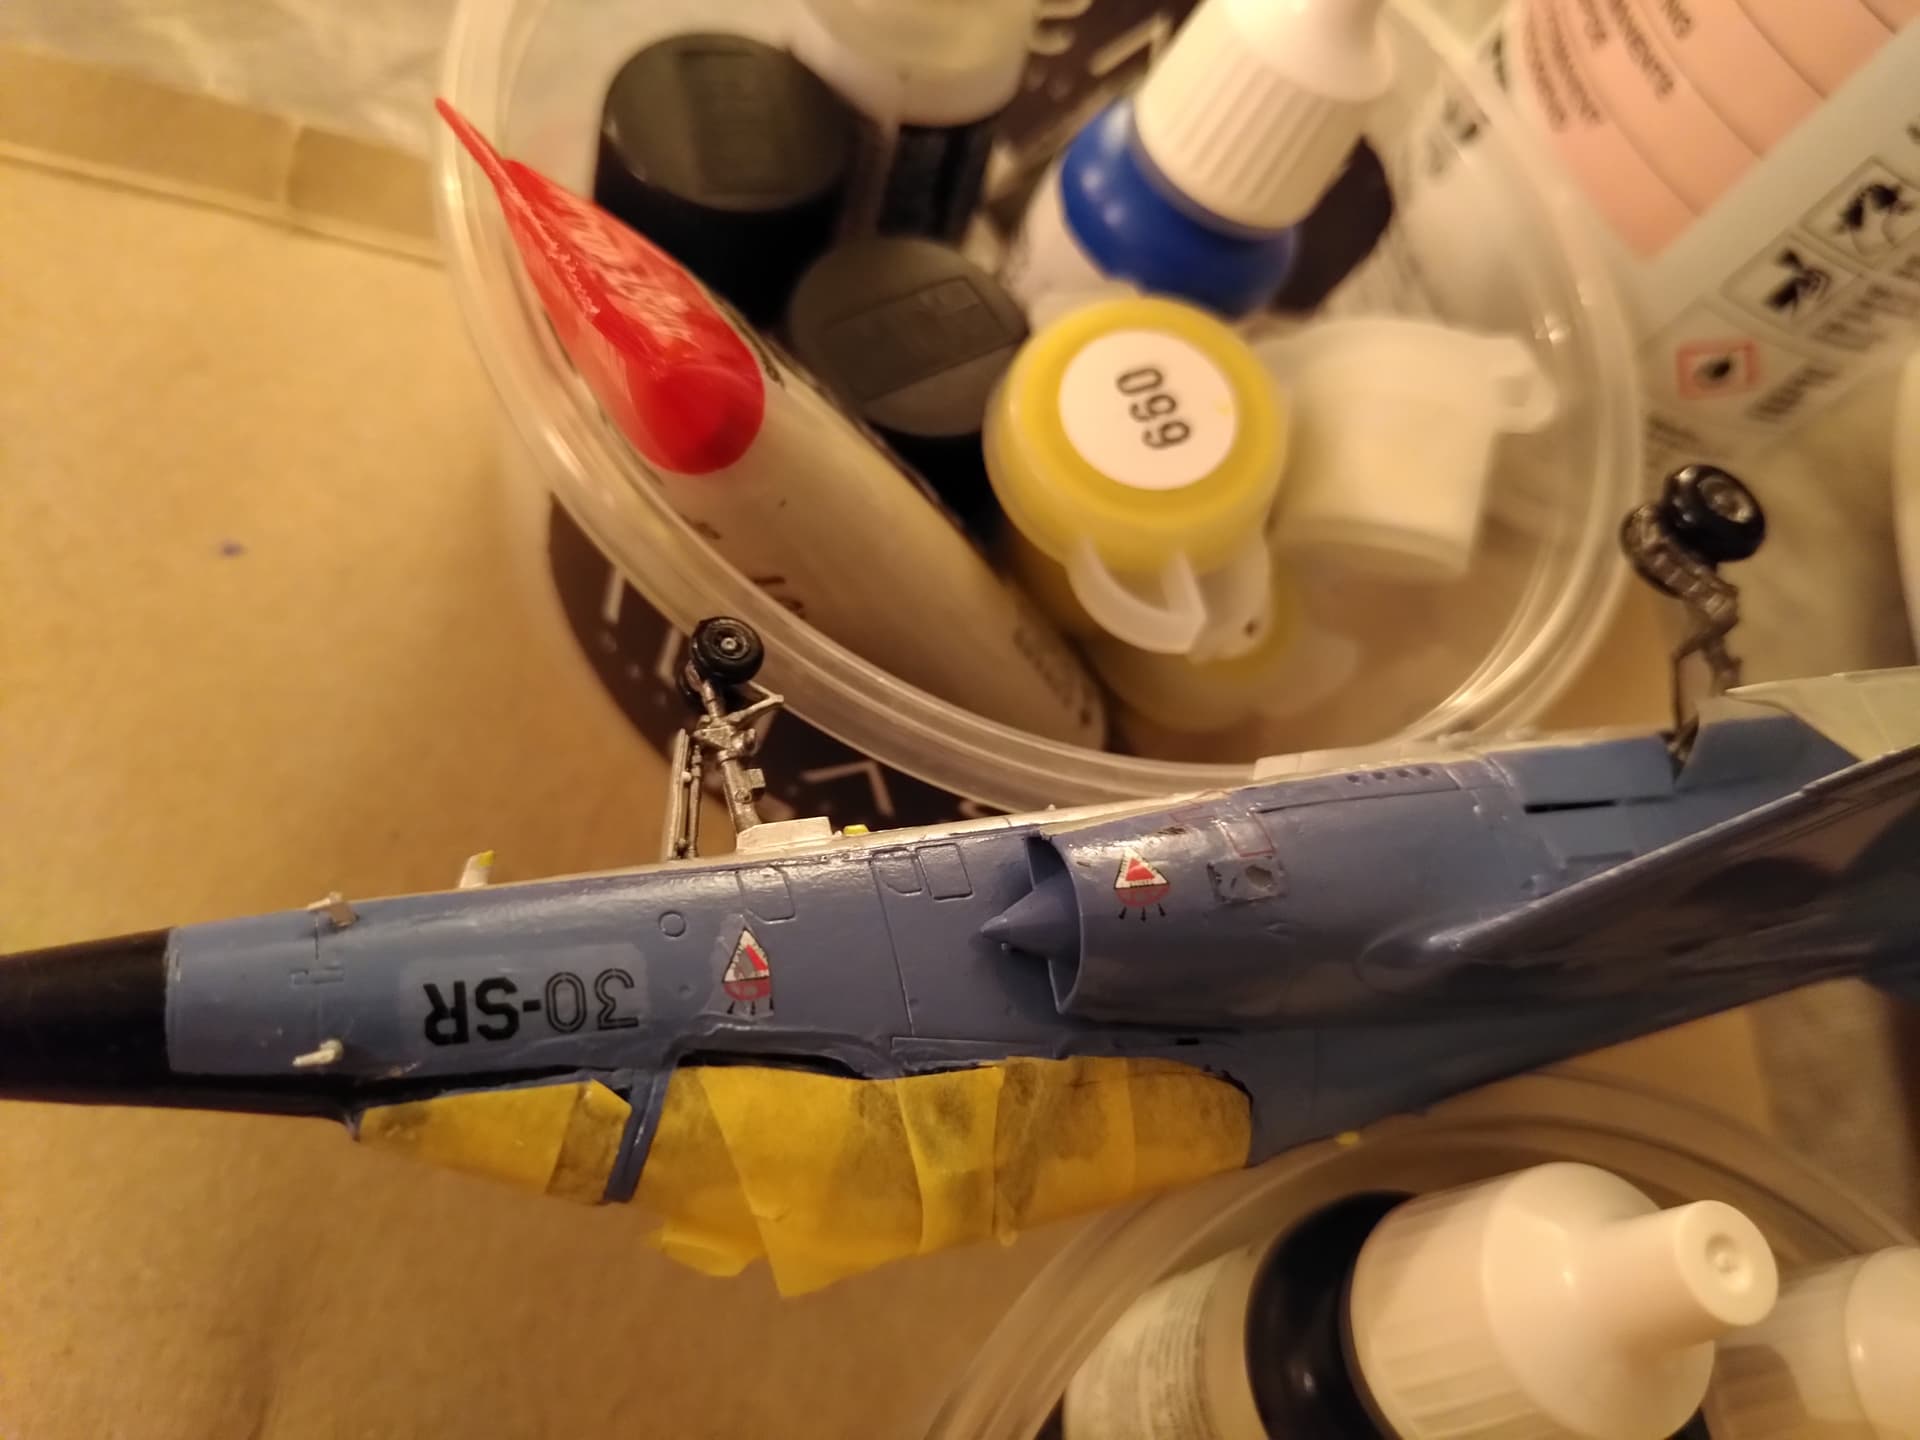
This is my setup. Phone was resting on top of the spray can cover with the flashlight on, brush used to add water to the spot to glue. Bottle cap for the water.
I only really messed up one decal. It stuck in the wrong spot and I could not get it to move by applying water. Had to scratch it off in a little ball and you can see it is damaged. I moved the model so that decal application was horizontal after that. The other decals all have silvering to some degree of course.
I hope the light decoloration is just the water, it’s onky there on the decals I applied this evening. But these are also the first decals I did on the blue part. Let’s hope the light decoloration disappears as it dries
3 Likes
Next time try to get the tip of Xacto knife under the errant decal. And yeah that varnish is ummm… a lesson for next time
1 Like
The discoloration happens to me too, but usually goes away once dried if I let the gloss coat cure long enough before adding decals. I also run some Tamiya Mark Fit over the decals to help with that silvering, but it’s only 100% effective if the gloss coat is smooth.
1 Like
And she’s finished! It looks a lot better than I had hope for at many times during the build process!
The layering is: no primer, only washed the plastic, few layers of acrylic paint with brush, high gloss varnish from a rattle can, decals, another high gloss layer, wash in some areas to accentuate panel lines and add filth, and finally sealed with a matt varnish all over.
On my next model I will use some decal solution and prime the model before painting.


I was afraid the wash would come out way overdone but it is quite good now. (Don’t mind that one “NE PAS” that is way off the flap where it should be. It was really stuck there, I should have added a drop of water before applying it.)

Quite happy with how the decals “blend in”. The high gloss layer below them really helps.
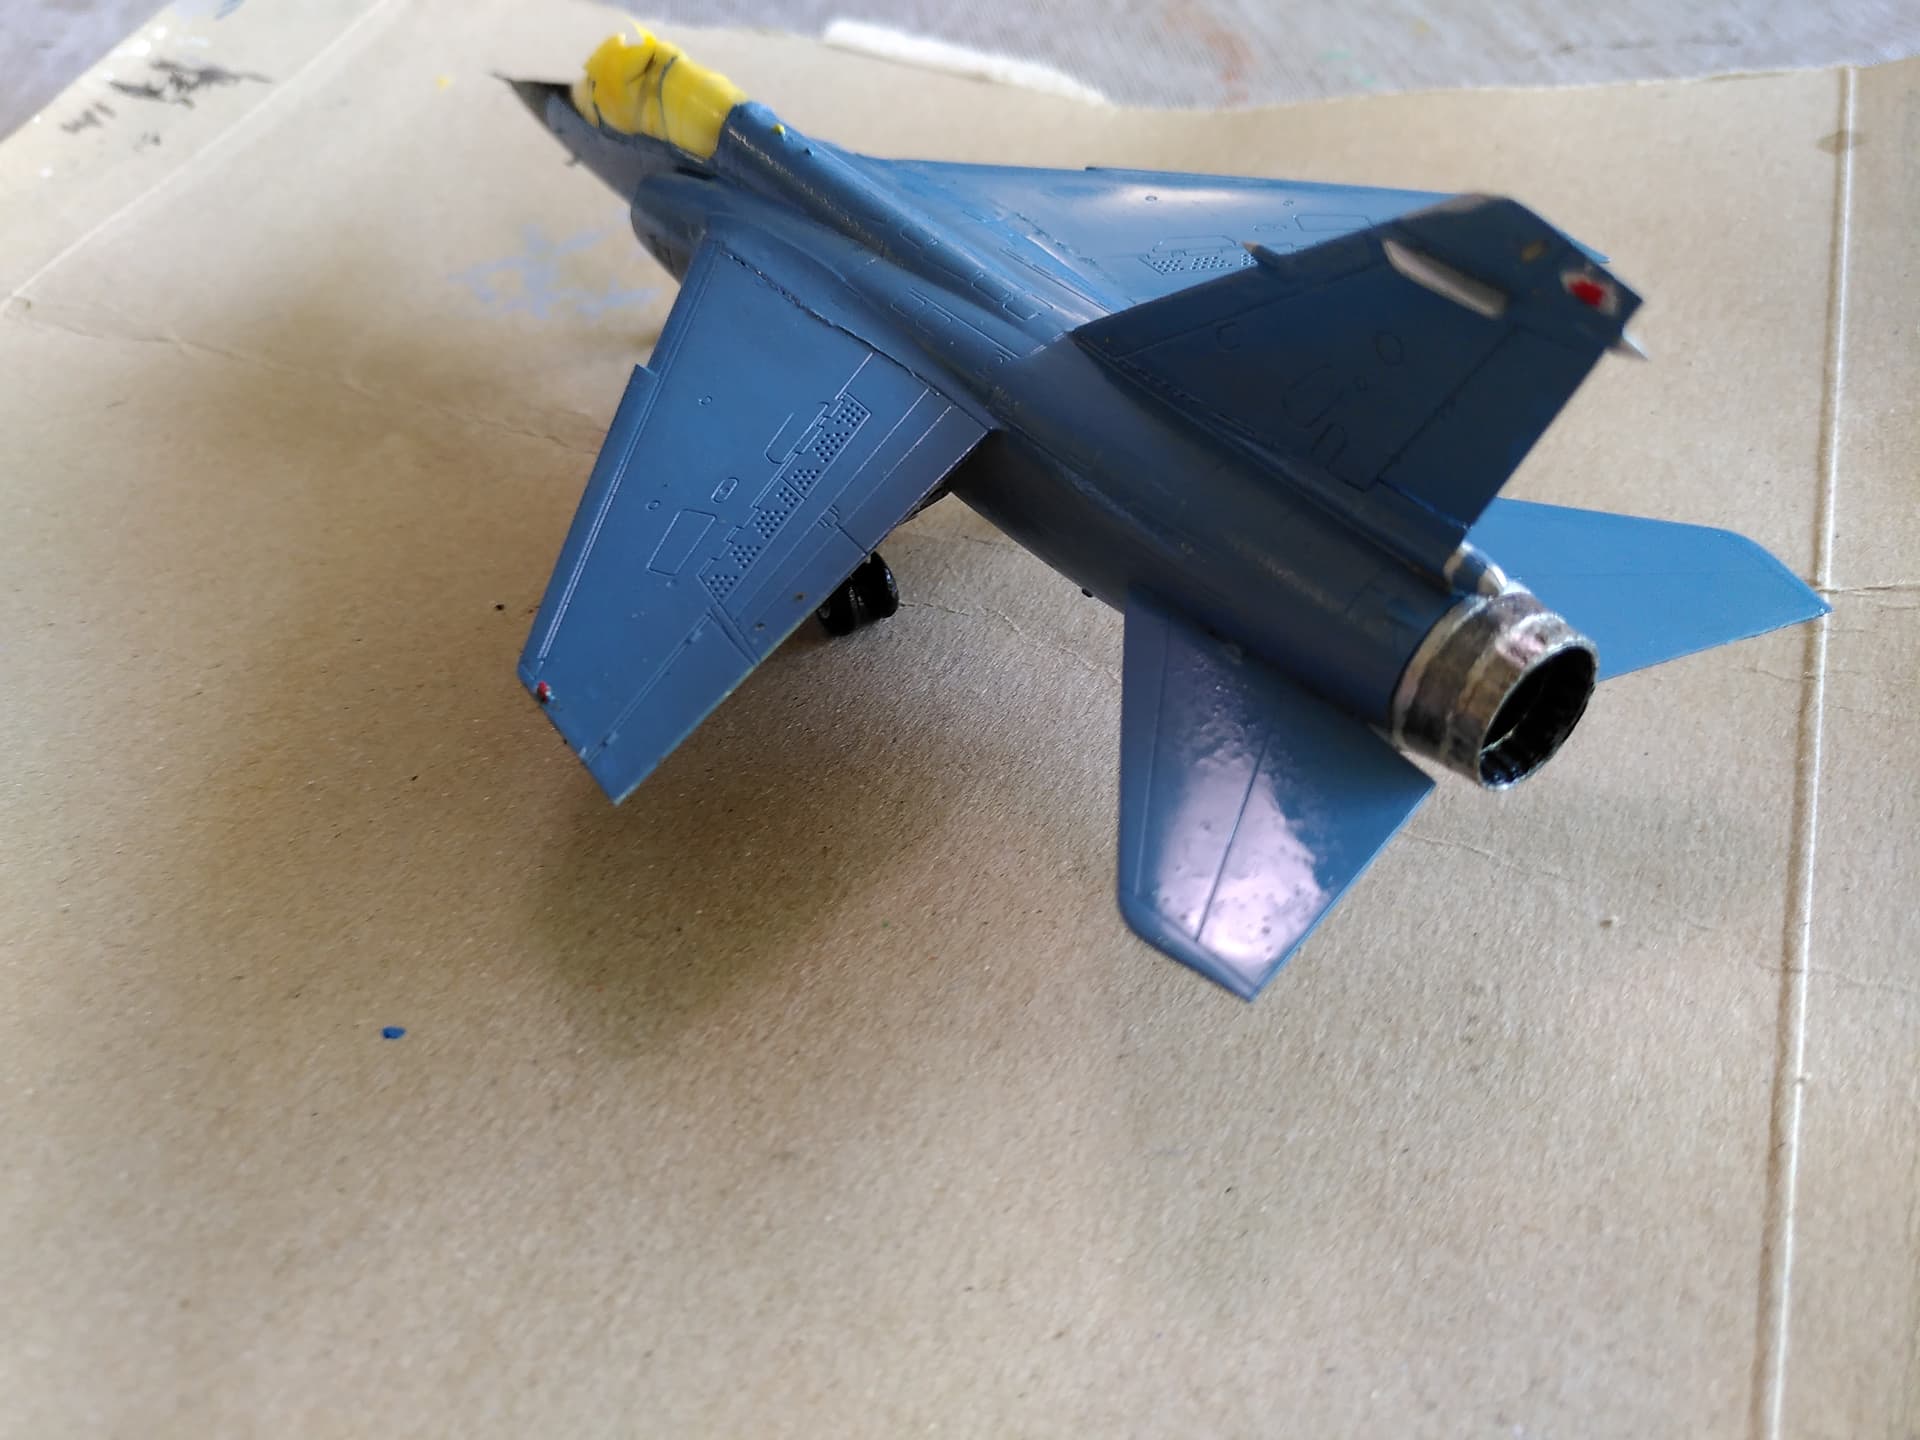
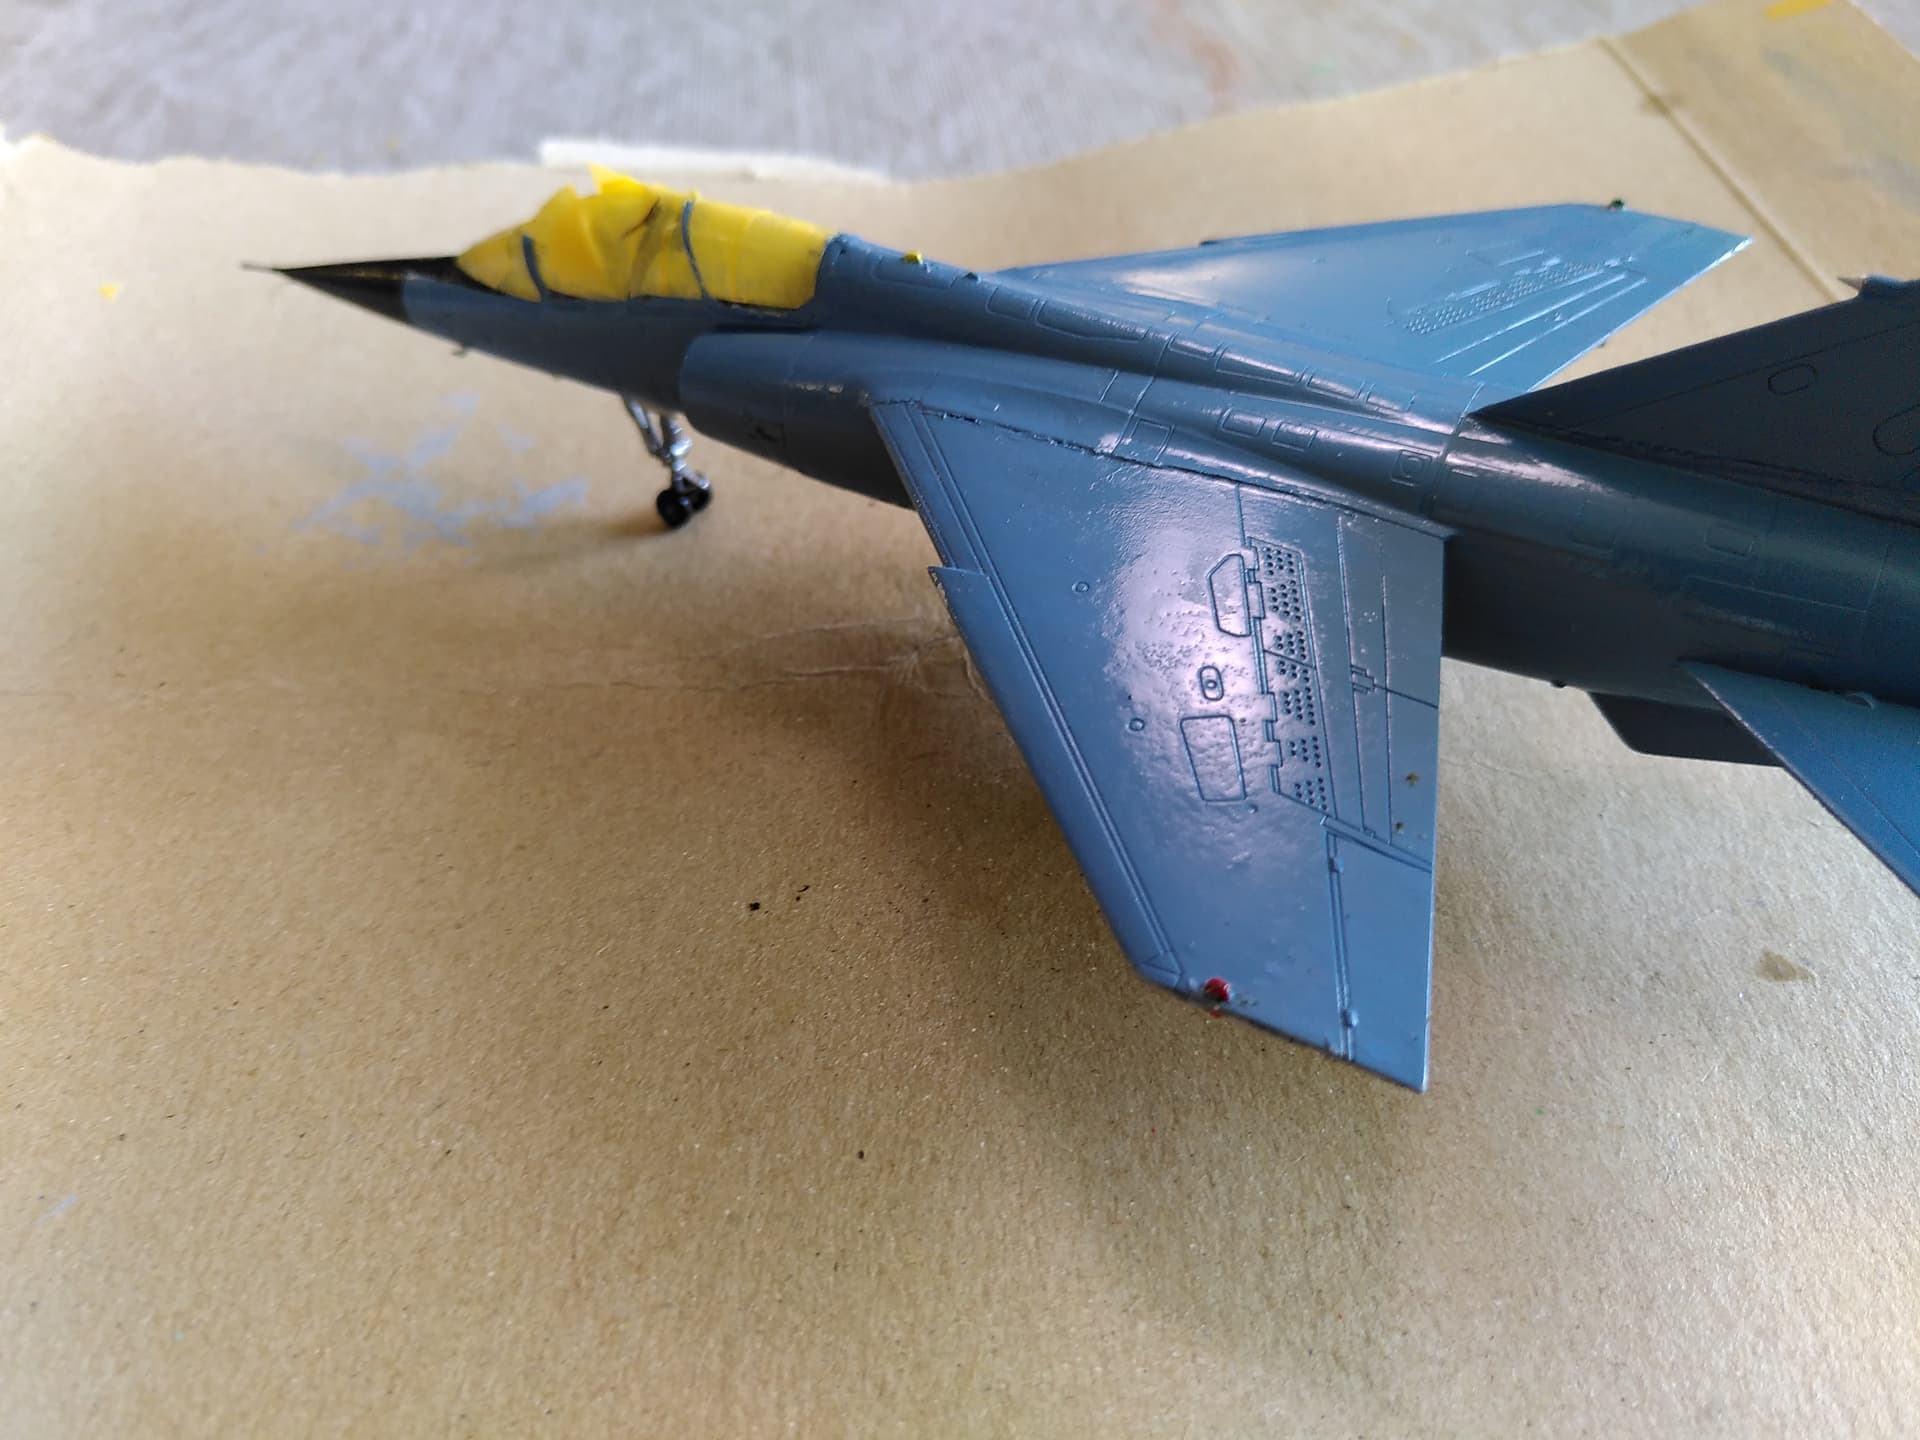
Oh and look at this WIP shot of the Super 530F missile:
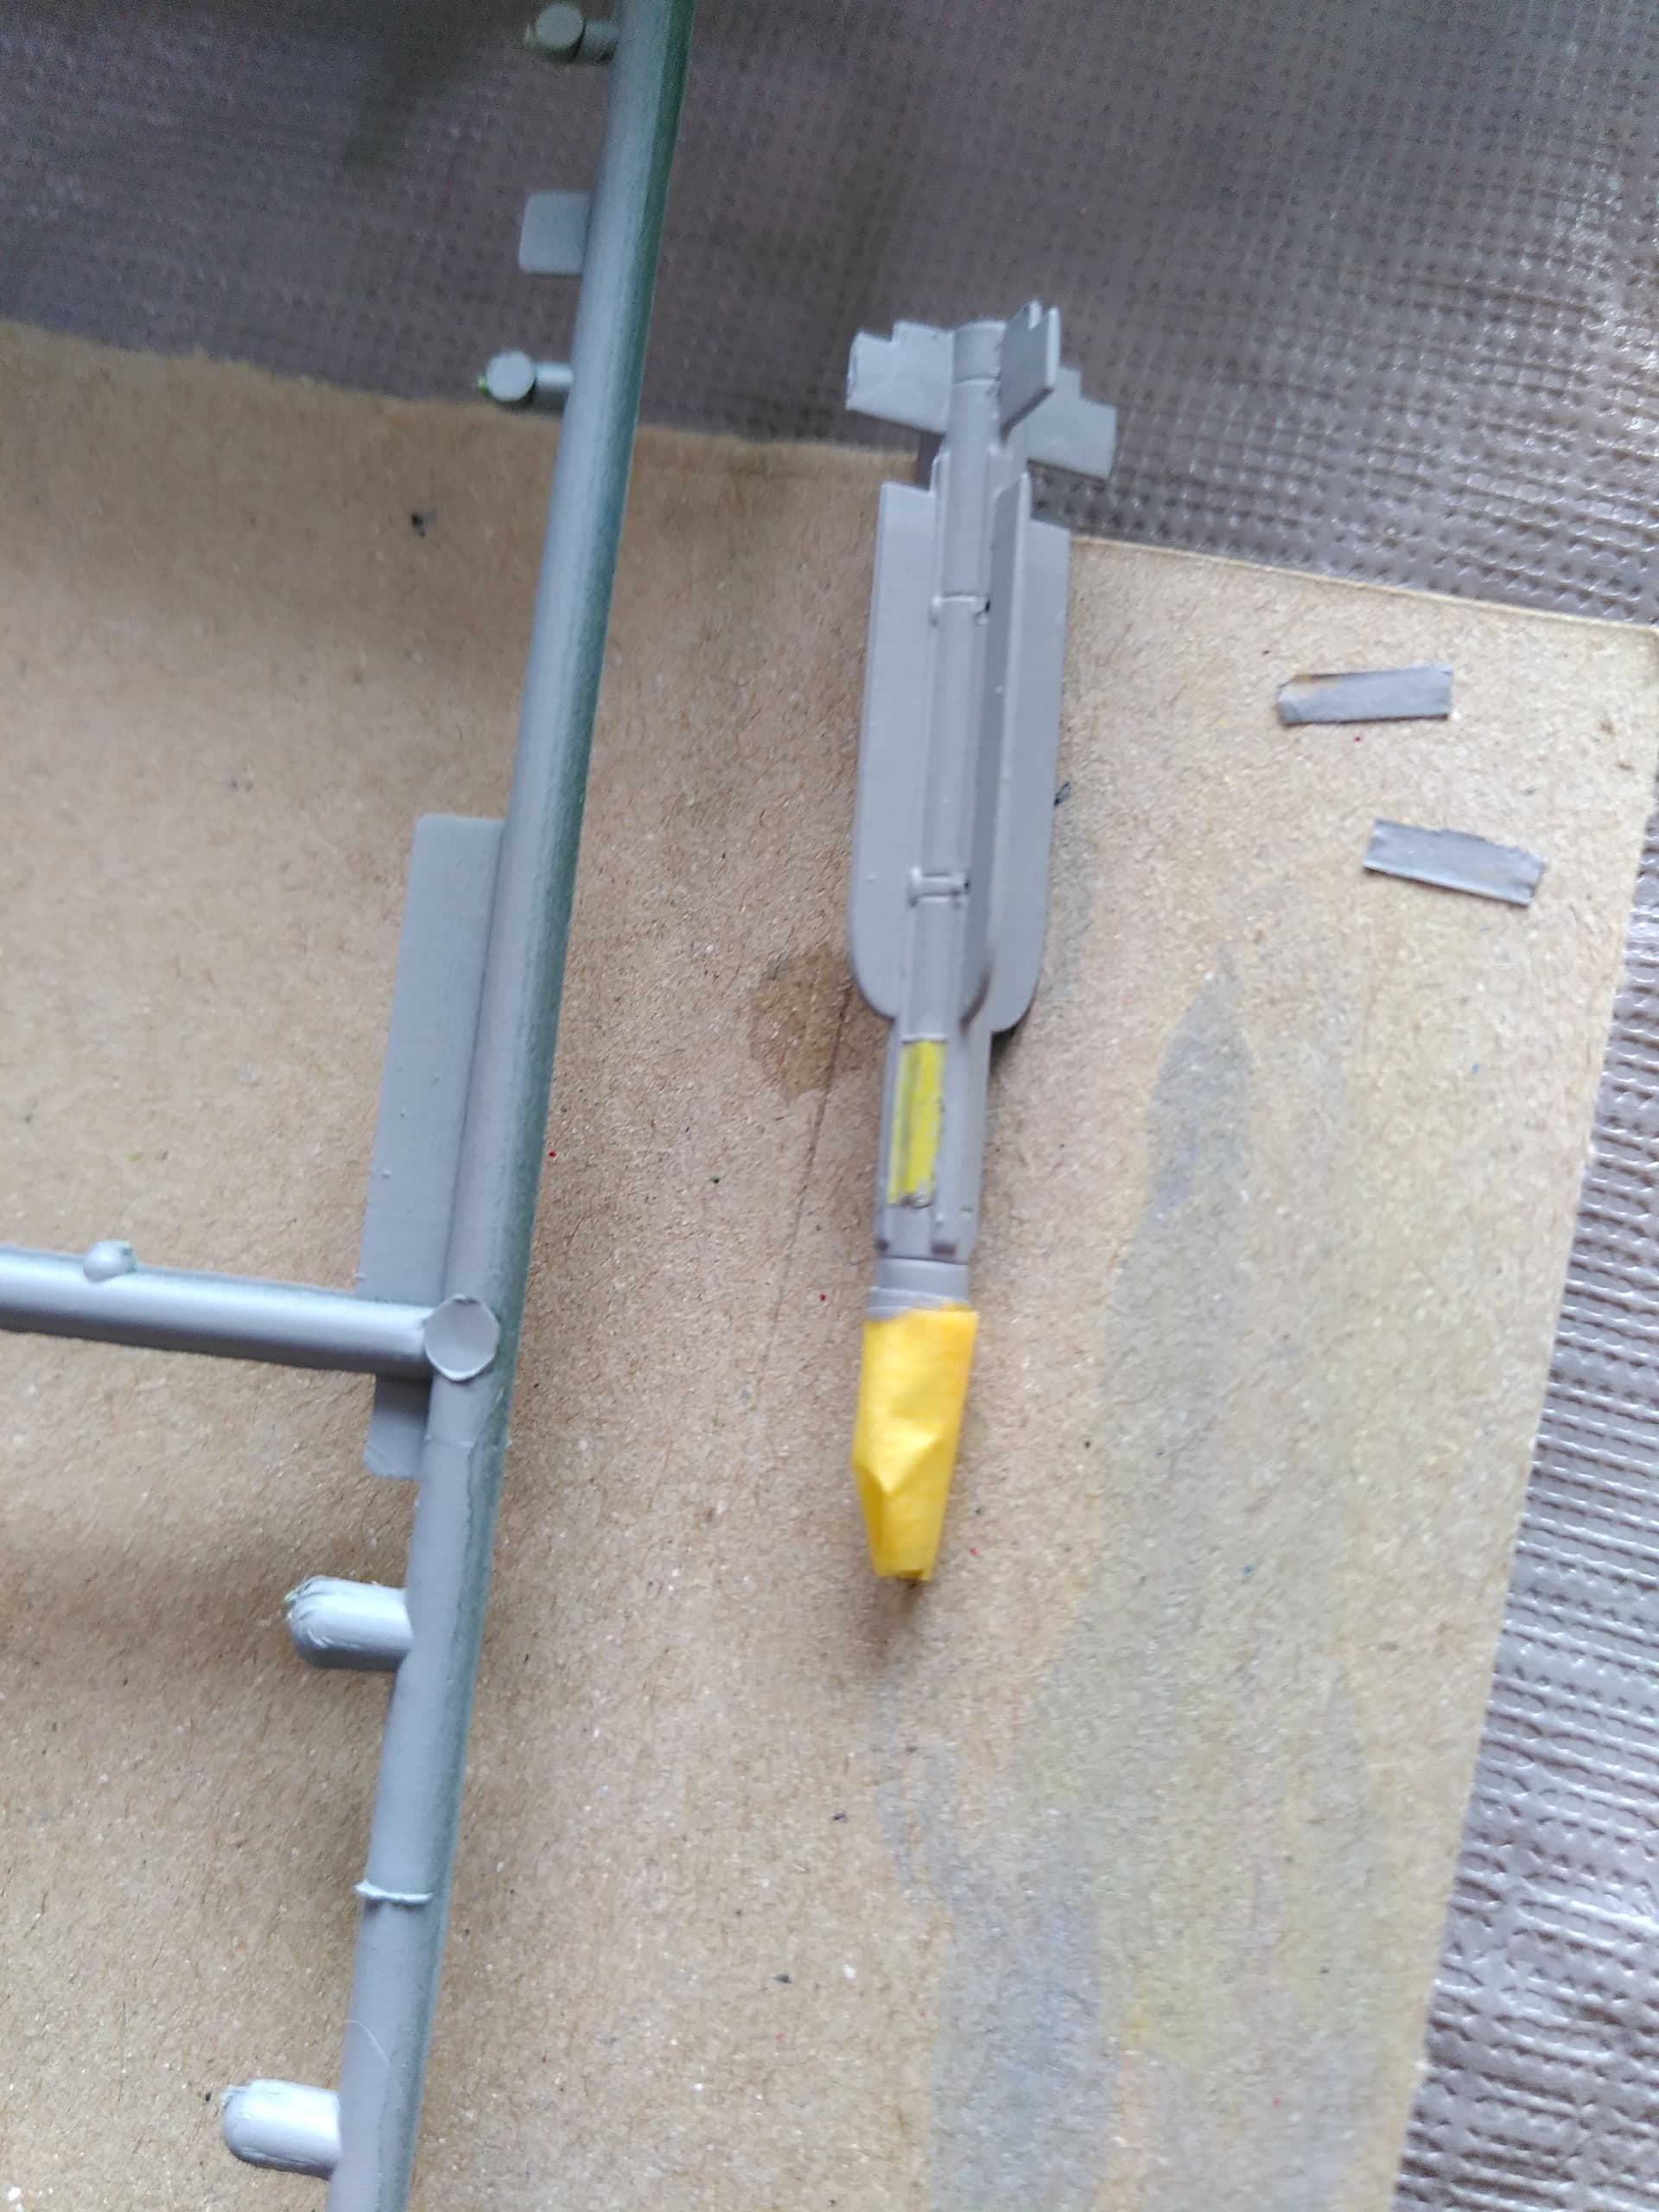
After painting the spot on the side with a few layers of alumininium, then 1 or 2 layers of yellow, I masked the area that I wanted to keep that “bronze” color, then painted the rest of the missile with a few layers of sky grey.
When I pulled off the masking tape from the side, the color that appeared from underneath looked basically the same as the tape, and the missile, after all the painting, had basically the same color as the unpainted sprue. ![]() Sometimes I wonder what I am doing…
Sometimes I wonder what I am doing…
11 Likes
Very nice!
Have you tried airbrushing?
3 Likes
No I haven’t. I know the models will look cleaner that way but it’s just not practical for me right now. I don’t have a dedicated work bench. With acrylics and brushes I can set up the living room table for model building in a minute and clean it up as fast.
4 Likes
I see that it would present a problem. Anyway, great job on brush painting that!
1 Like
good work! +1 for airbrushing, not just it looks cleaner, it just looks so much better ![]() … but you need a space for that.
… but you need a space for that.
I just ‘jettisoned’ Matra 530 missiles from my kit F1, it looks better with clean wings imo.
1 Like
Nice, which kit? We’ll have all kinds of Mirage F1 kit builds here in a few months, with Clutch’s F1CT and eventually my CR as well.
It’s good we have different tastes, makes for varied builds. I love my Mirage F1 wings laden, my CR will get chaff/flare pod, ECM pod, wing fuel tanks and either an ELINT pod or 4 SAMP bombs under the belly.
1 Like
F1C from Heller it is
2 Likes
some inspiration - brush painted kit ( I started this one few months ago … I am not very far with the build tbh ![]() )
)
Amenofys : The secret is just a flat brush, and layer after layer of very thinned paint applied very softly. And a lot of patience!
2 Likes
Wow that looks amazing! Yes I will thin my paints more and apply in smaller doses. It will take a few kits before I get to that level though!
Congratulations, that looks good! The wash and decals look really nice.
I was going to mention that some people can get really amazing results with just a brush, looks like Nevo posted a great example.
Airbrushing really is a commitment, not quite a ‘lifestyle’ but felt like it sometimes! When I was building we had pretty small place, had to set up/breakdown the modeling bench (aka kitchen table), little paint booth and compressor each time. I was really into it so I didn’t mind, but now even just thinking back on it I’m already exhausted.
2 Likes
It will be a while before I can add to the F1 pile. My Heller kit came with a deformed canopy and they wouldn’t replace it, so I ordered a resin cockpit set that comes with a new canopy. While I wait for that to arrive I need to decide between the standard gray/green scheme or a desert scheme ![]()
1 Like
I have the exact same dilemma with my CR, except the default is desert there.
I guess you’ll get to choose first and then I’ll do the other color
![]() I should do the standard temperate scheme for the sake of practice since I have a 1/32 M2000D/N lurking in my stash that will need the same coloring. The F1 would make for a good test-bed.
I should do the standard temperate scheme for the sake of practice since I have a 1/32 M2000D/N lurking in my stash that will need the same coloring. The F1 would make for a good test-bed.
1 Like
Took me a generous 2 months and many, many layers of sand color paint but the Tornado is finished!

There are many mistakes but I am very happy at how it turned out: the paint and weathering turned out much nicer than the Mirage, and especially the canopy and even the little windows in the sensor below the nose turned out pretty good.


I gave it to my dad in a “surprise”: a souped-up cardboard contraption meant to look somewhat like a Tornado. This is one of those Dutch december traditions. In the background you can see the kiteboarding kite my brother made for me.

10 Likes
Having tried to make the repairs on dad’s Phantom, I quickly realized that I was over my head, not only in modeling chops, but in manual dexterity.
But in an amazing twist of fate and a massive dose of good luck, I discovered that a friend of mine is a closet modeler. Literally. He’s quite good at it as well. I mentioned my situation, to which he said that he would take it on for a bottle of gin. Sounded more than fare.
He had the model and doner kit for a couple of months. We had a few discussions about the loadout in the meantime and the fact that with the ECM and targeting pods, that the front two stations would be lacking Sparrows.
He called me a few days ago to say that the Phantom was back in its feet and ready to RTB.
This kit was originally assembled back in the late 70s by an Army Col friend of my father’s. Like most military families do, we moved about every 2 - 3 years. Though my dad passed in 2009, mom didn’t get around discovering the Phantom until around 2015, when she handed it off to me. Over the years and moves, the Phantom had suffered a bit of damage, including crushed landing gear, missing pitot, and missing ordinance. My friend did an amazing with the repair. By today’s standards, there is no weathering to speak of, but the work is pretty amazing.
Some quick photos tonight from the reveal and the artist.


20 Likes