I rolled into yet another hobby…
It was an accident. Let me explain.
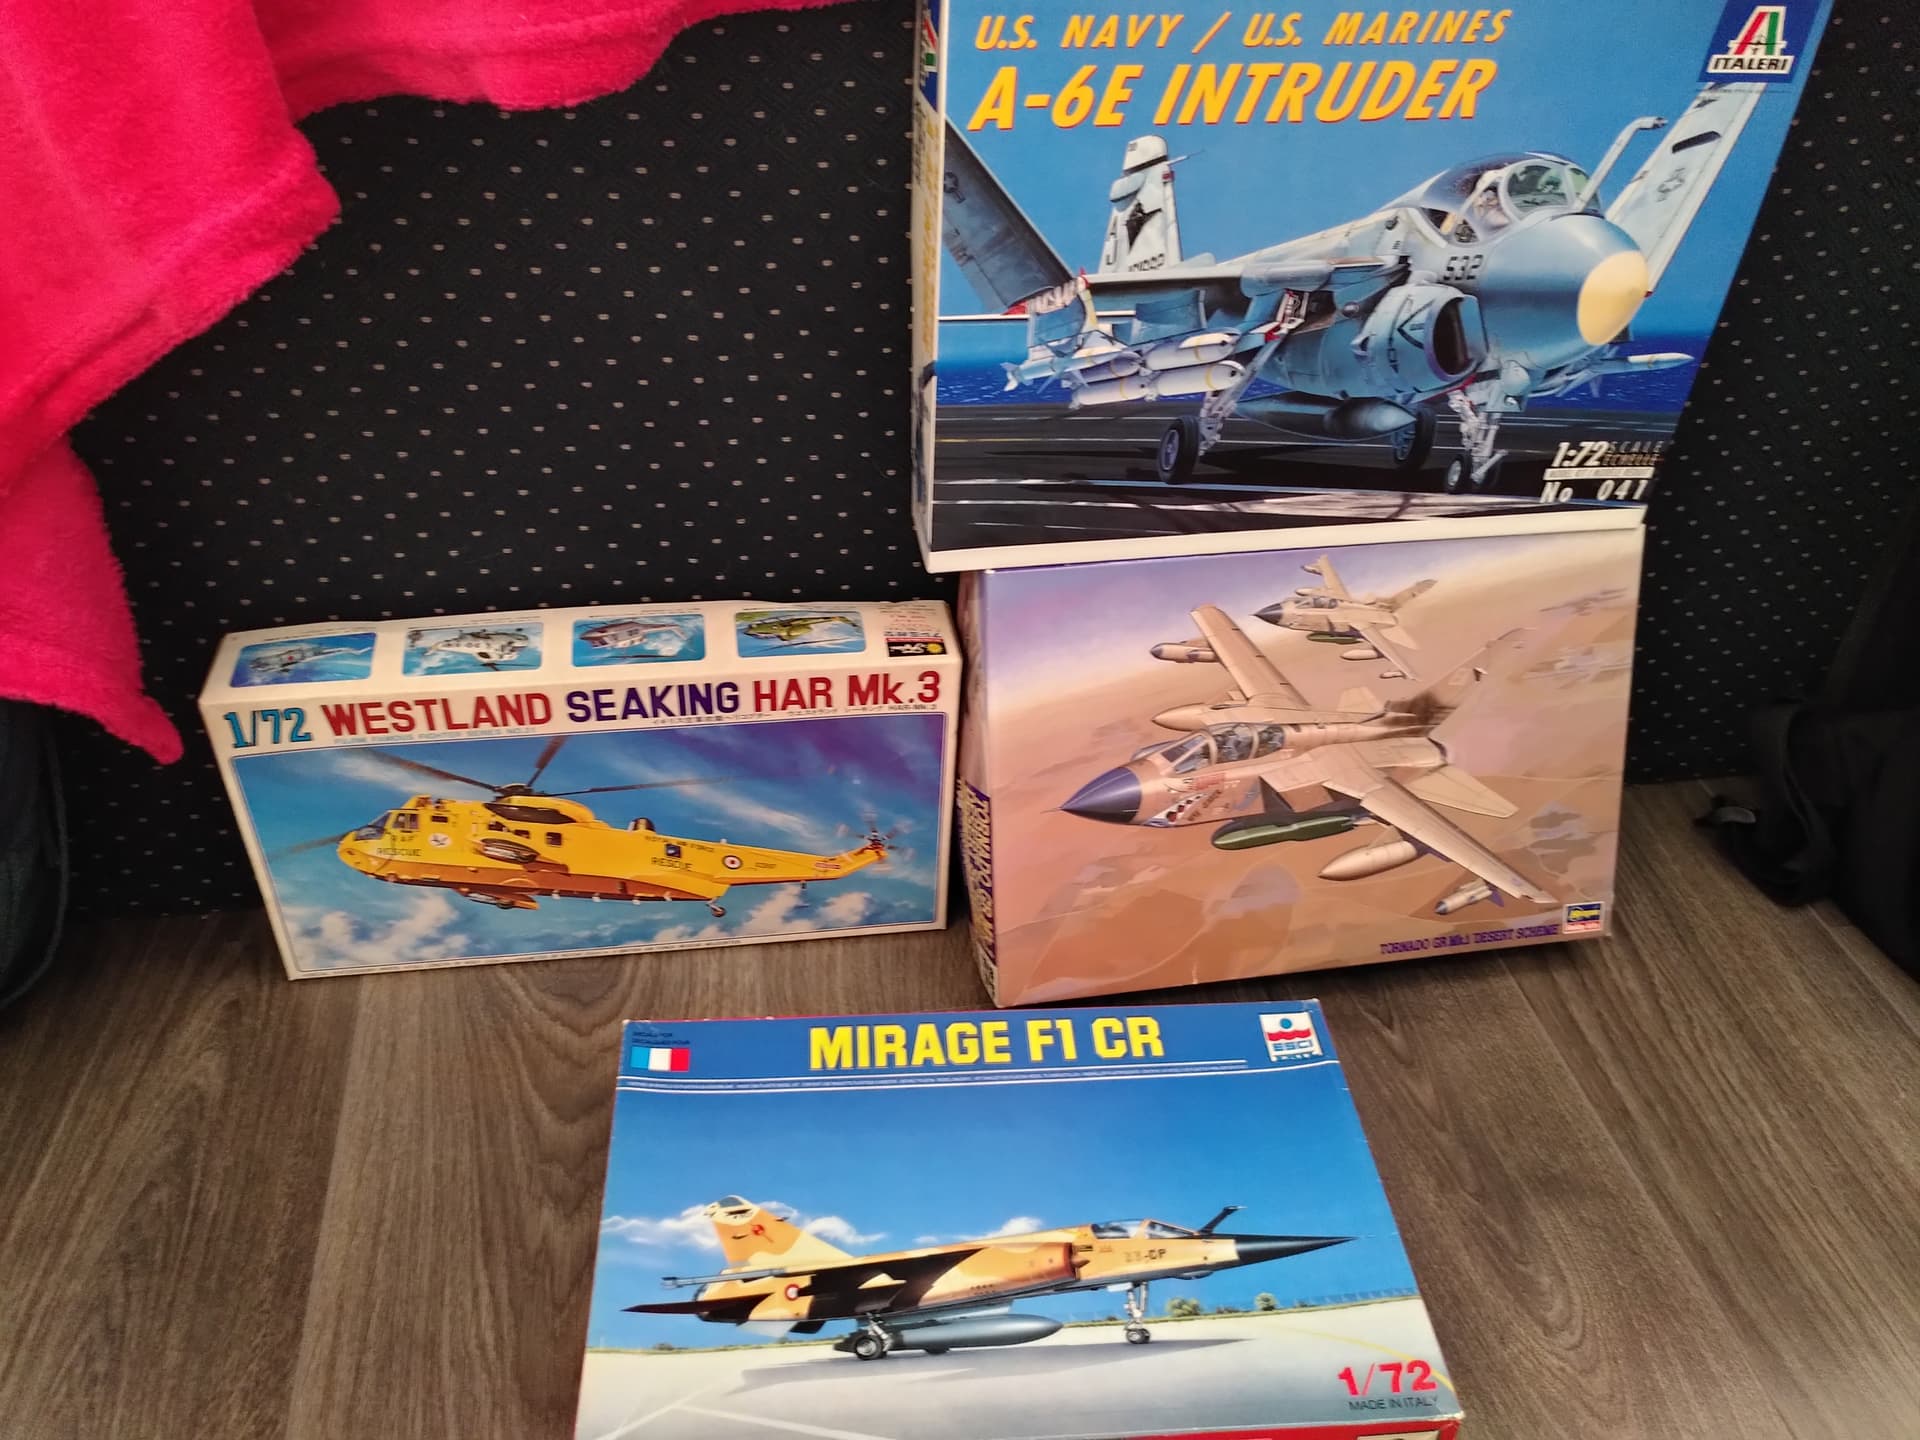
I have some metal models of French jet fighters (not all French liveries) on my desk. Various scales from 1:144 to 1:72.
When I started flying the Mirage F1, I went looking for a model but could not find anything with reasonable detail and reasonable size.
Lots of model kits though… so I figured I’d try my hand at it. My neighbour does ship and tank models so we’ve been gluing and painting together this weekend with his gear.
It’s a lot of fun! And very relaxing, unlike basically all my other hobbies which are either physically or mentally intensive.
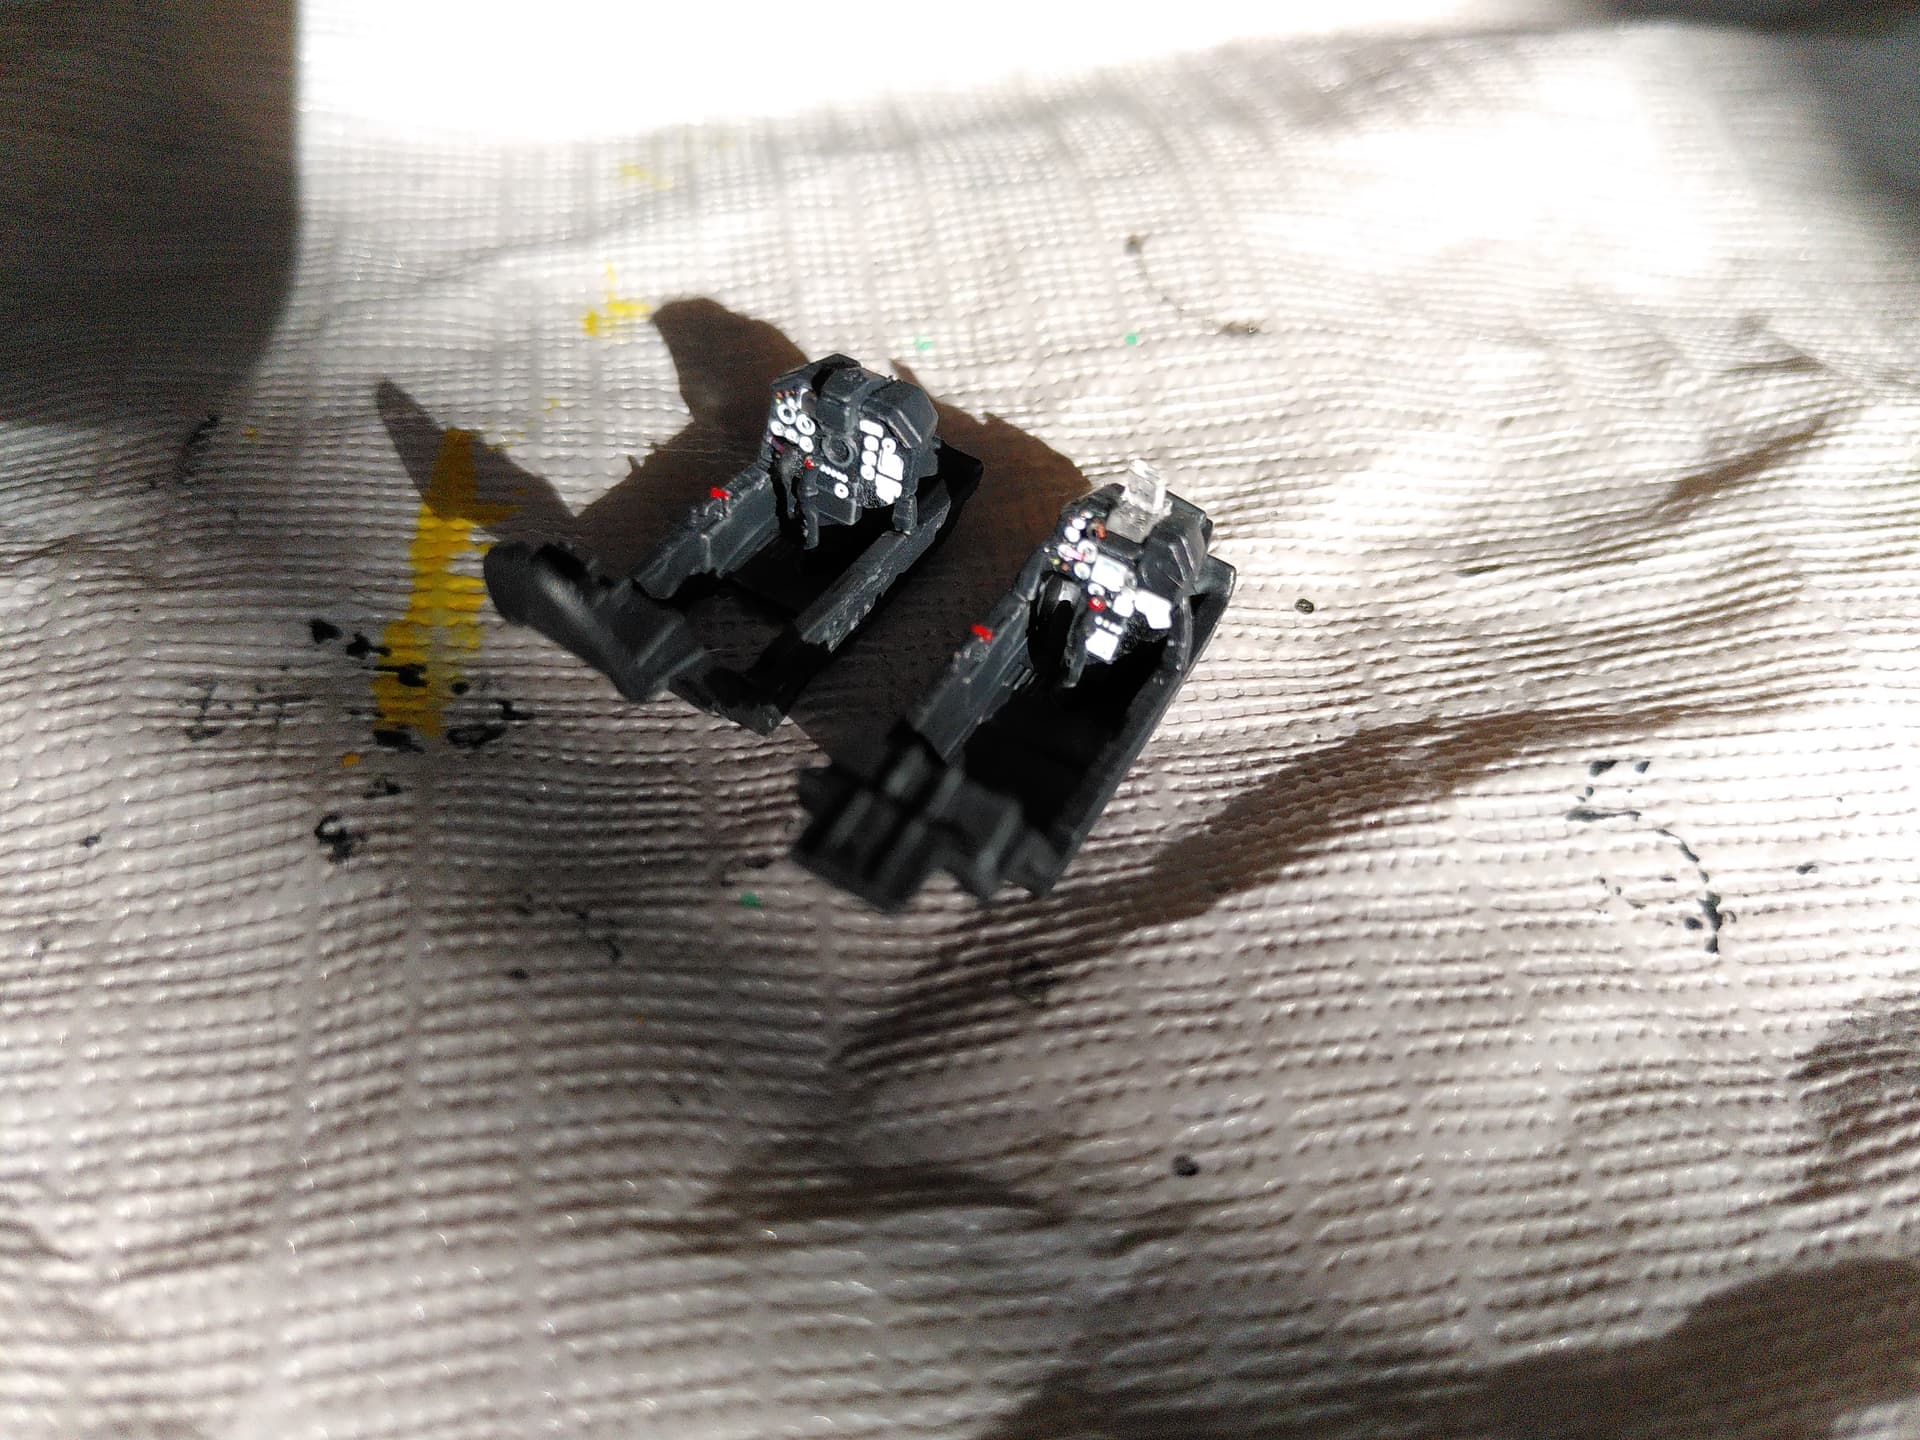
The light ring is aluminium paint, the dirty part is oily steel with a lot of wash thrown on top. Should have brushed it a bit drier but very happy about how it looks for a first time.
Lessons:
I had to shift one panel a bit to get the two halves of the fuselage to fit around the cockpit. Had not looked carefully enough at instructions.
Also had problems getting one of the intake pieces to fit tightly. I tried filing a part down but really needed a hole/slot to be deeper. Solved that by putting some glue (which is actually solvent) into it and then aggressively moving a knife around in there. It fit perfectly after that!
On Sunday I painted the seats, glued them in and fitted the canopy.
Did a rework of the exhaust because I found out the colours were incorrect. Now it’s correct but ugly.
The HUD kept falling off whenever I touched it (which was a lot), so I was glad to fit the canopy.
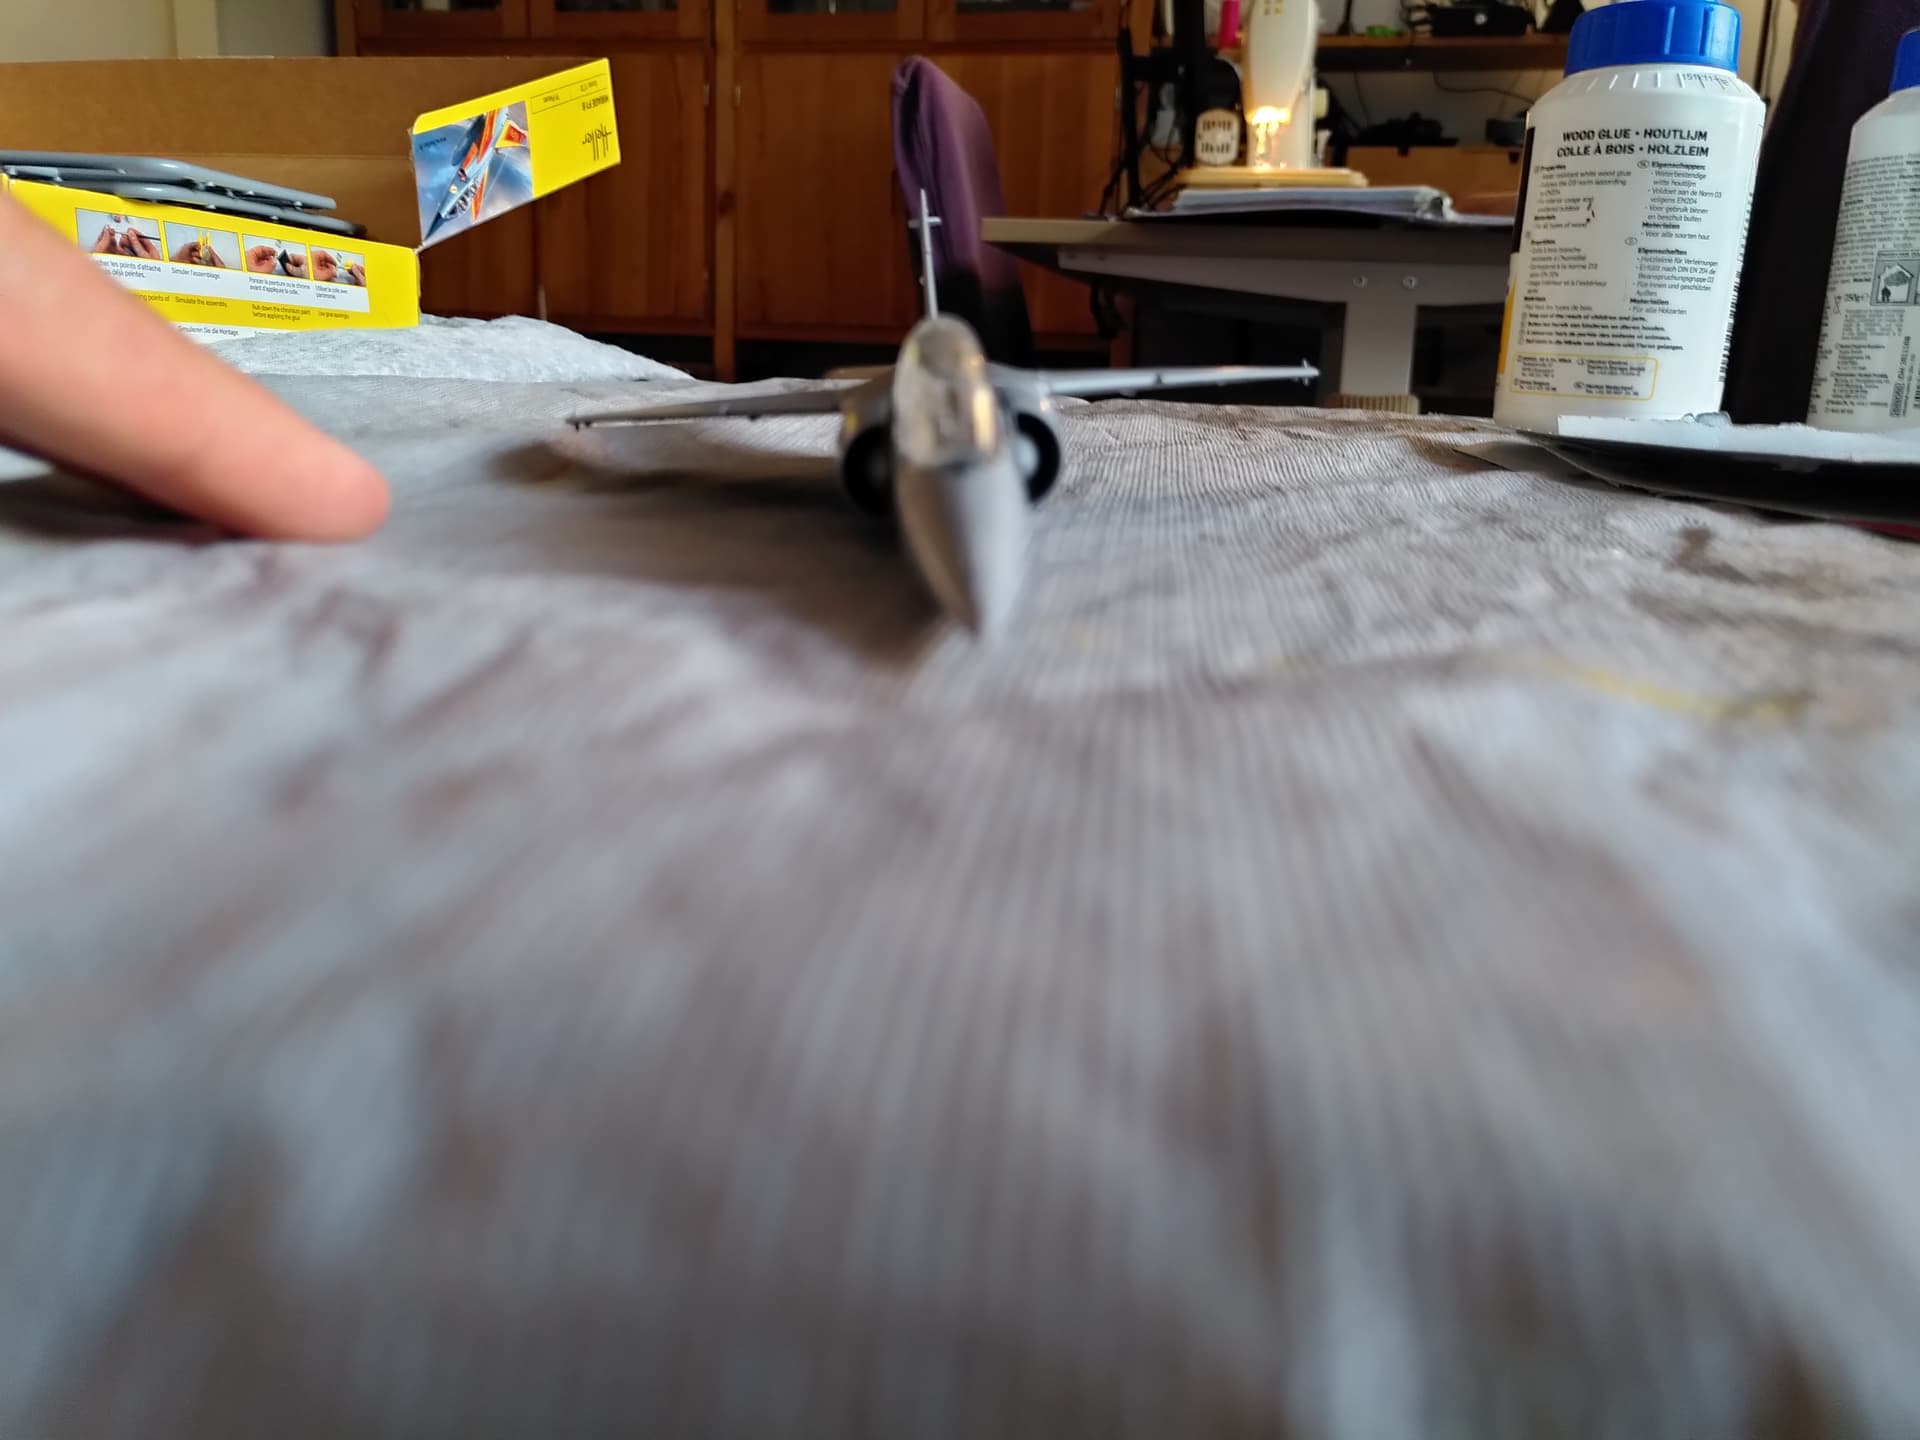
Then on day 3, I put in just over one hour (previous days were about 4-5 hours each), but it looked like so much progress: I finally attached the wings and vertical stabilizers.
Took some sanding and persuasive force during gluing, because the starboard wing wanted to point upward instead of down.
Watch out for paint thickness and amount. Feel it on a surface or piece of sprue first. Too thick, too watery or too much can really mess up a surface.
Attach fragile parts as late as possible
Wood glue should be used for clear parts such as canopies and HUDs. Watch out not to fog them with model glue.
I have had some builds that would disagree with that sentiment Overall I agree it can be a very relaxing hobby if you’re not in a rush and have no pre-conceptions.
Wood glue should be used for clear parts such as canopies and HUDs. Watch out not to fog them with model glue.
Watch crystal cement also works well. If it’s going to be for a model that is not going to be handled much, even plain Elmers white glue works wonderfully.
Today I did a lot of little paint tests on pieces of sprue to see what all my grey, metallic and blue hues look like when painted onto plastic. Aluminium is light and clean, gunmetal grey is dark and dirty, but not nice as a first layer.
I did not do any priming btw. Maybe next build will be different, but this time I just cleaned the sprues in warm water and dishwashing soap before starting the build. I read that people have good experience with that.
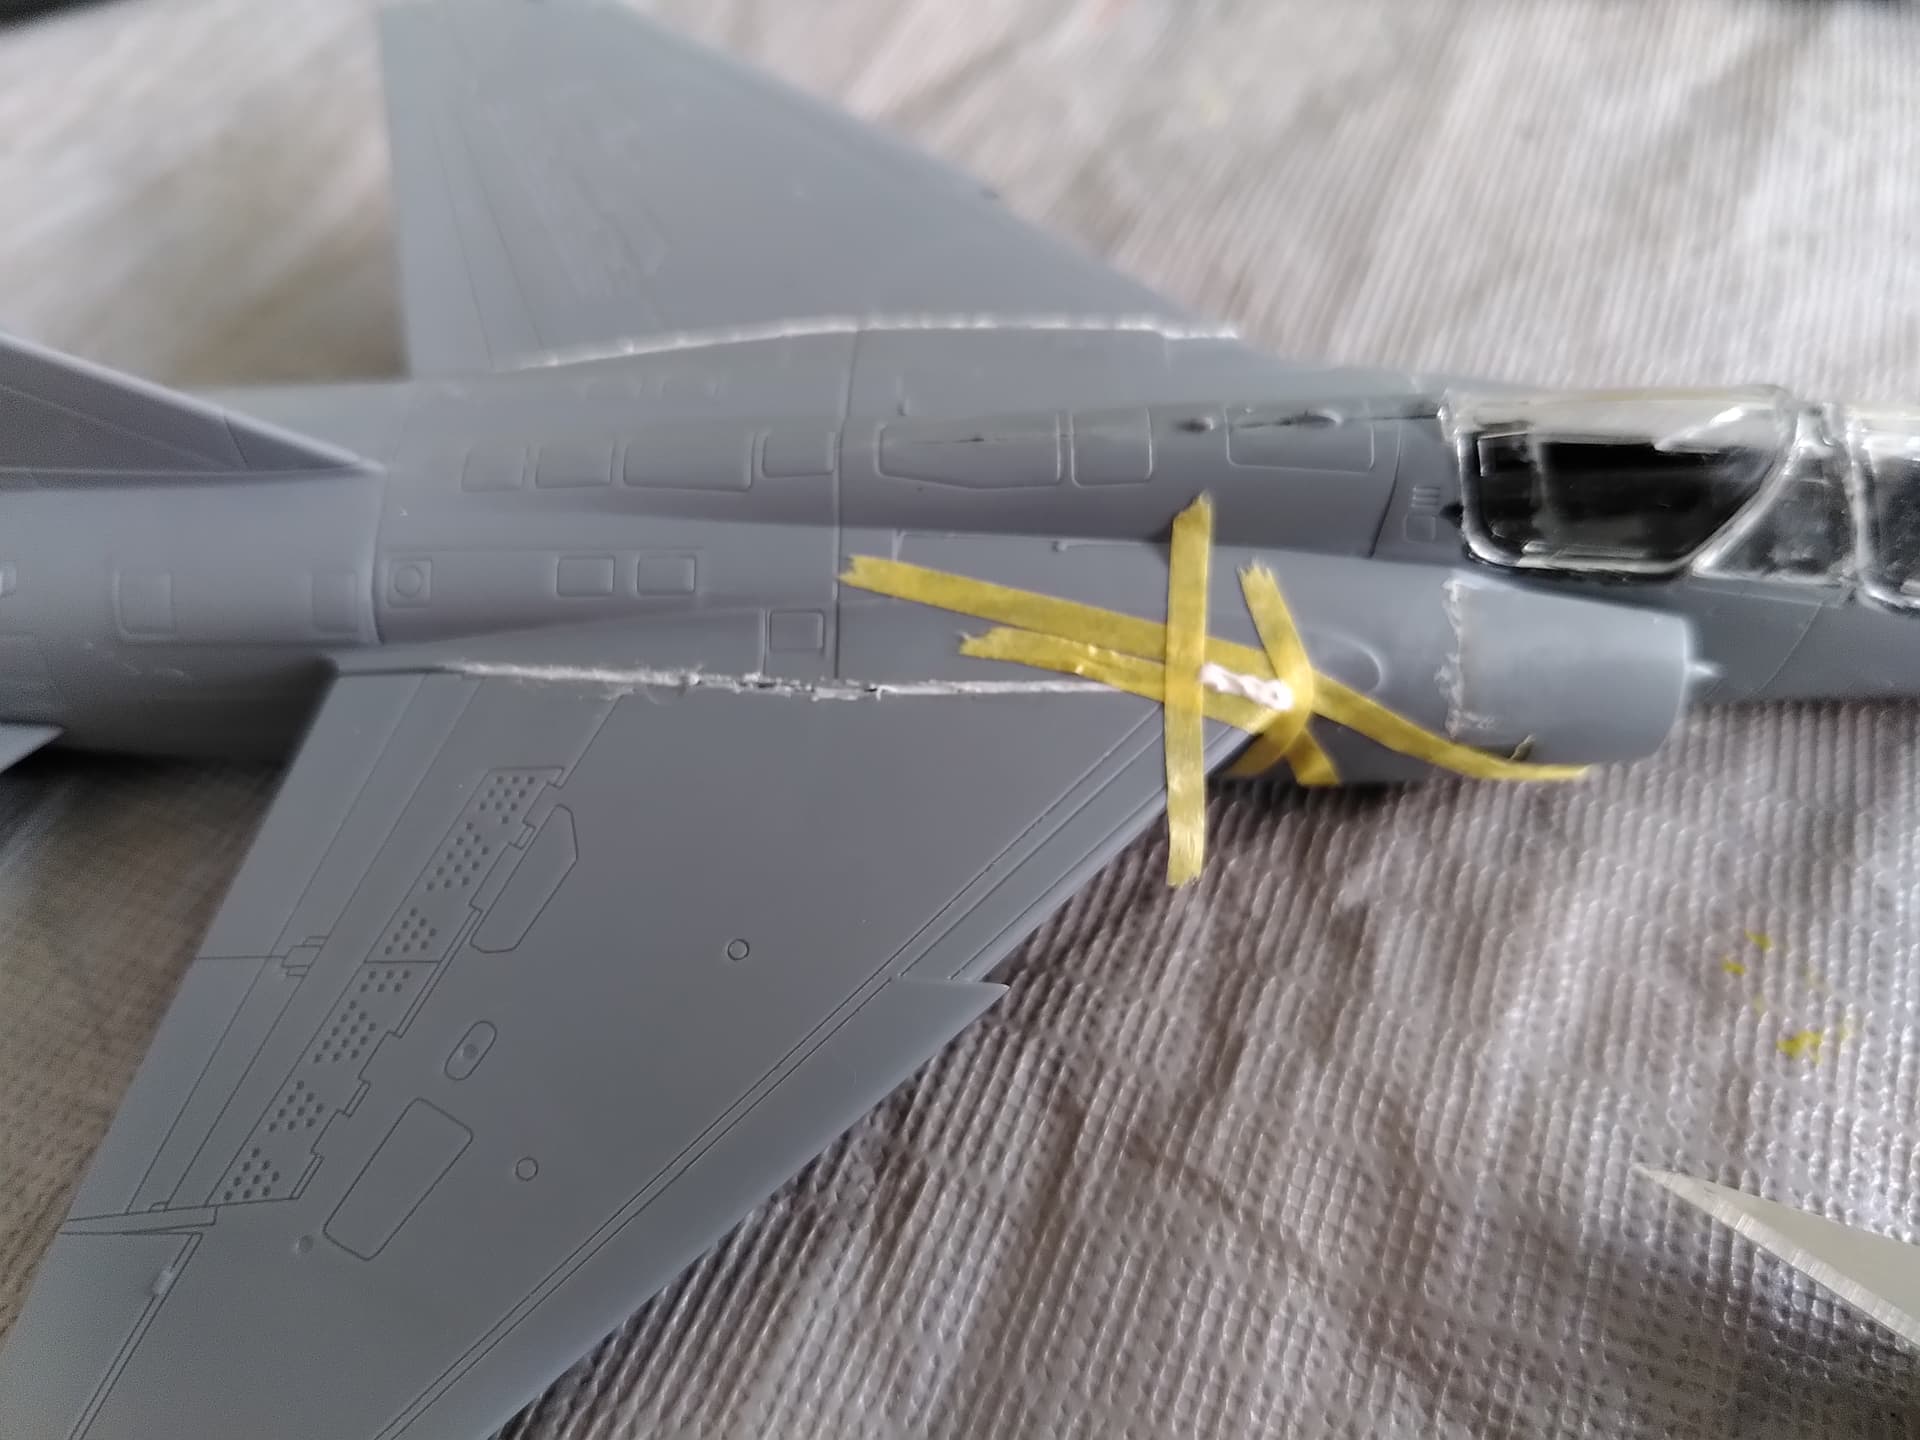
In the meantime, I filled the gaps at the top of the wing root with plastic putty, this time with masking tape. I did it sloppily for the engine intake parts earlier. Only realized halfway through that scraping should be done with the masking tape still on. It’ll be fine, happy accidents and smelly solvents is what this is.
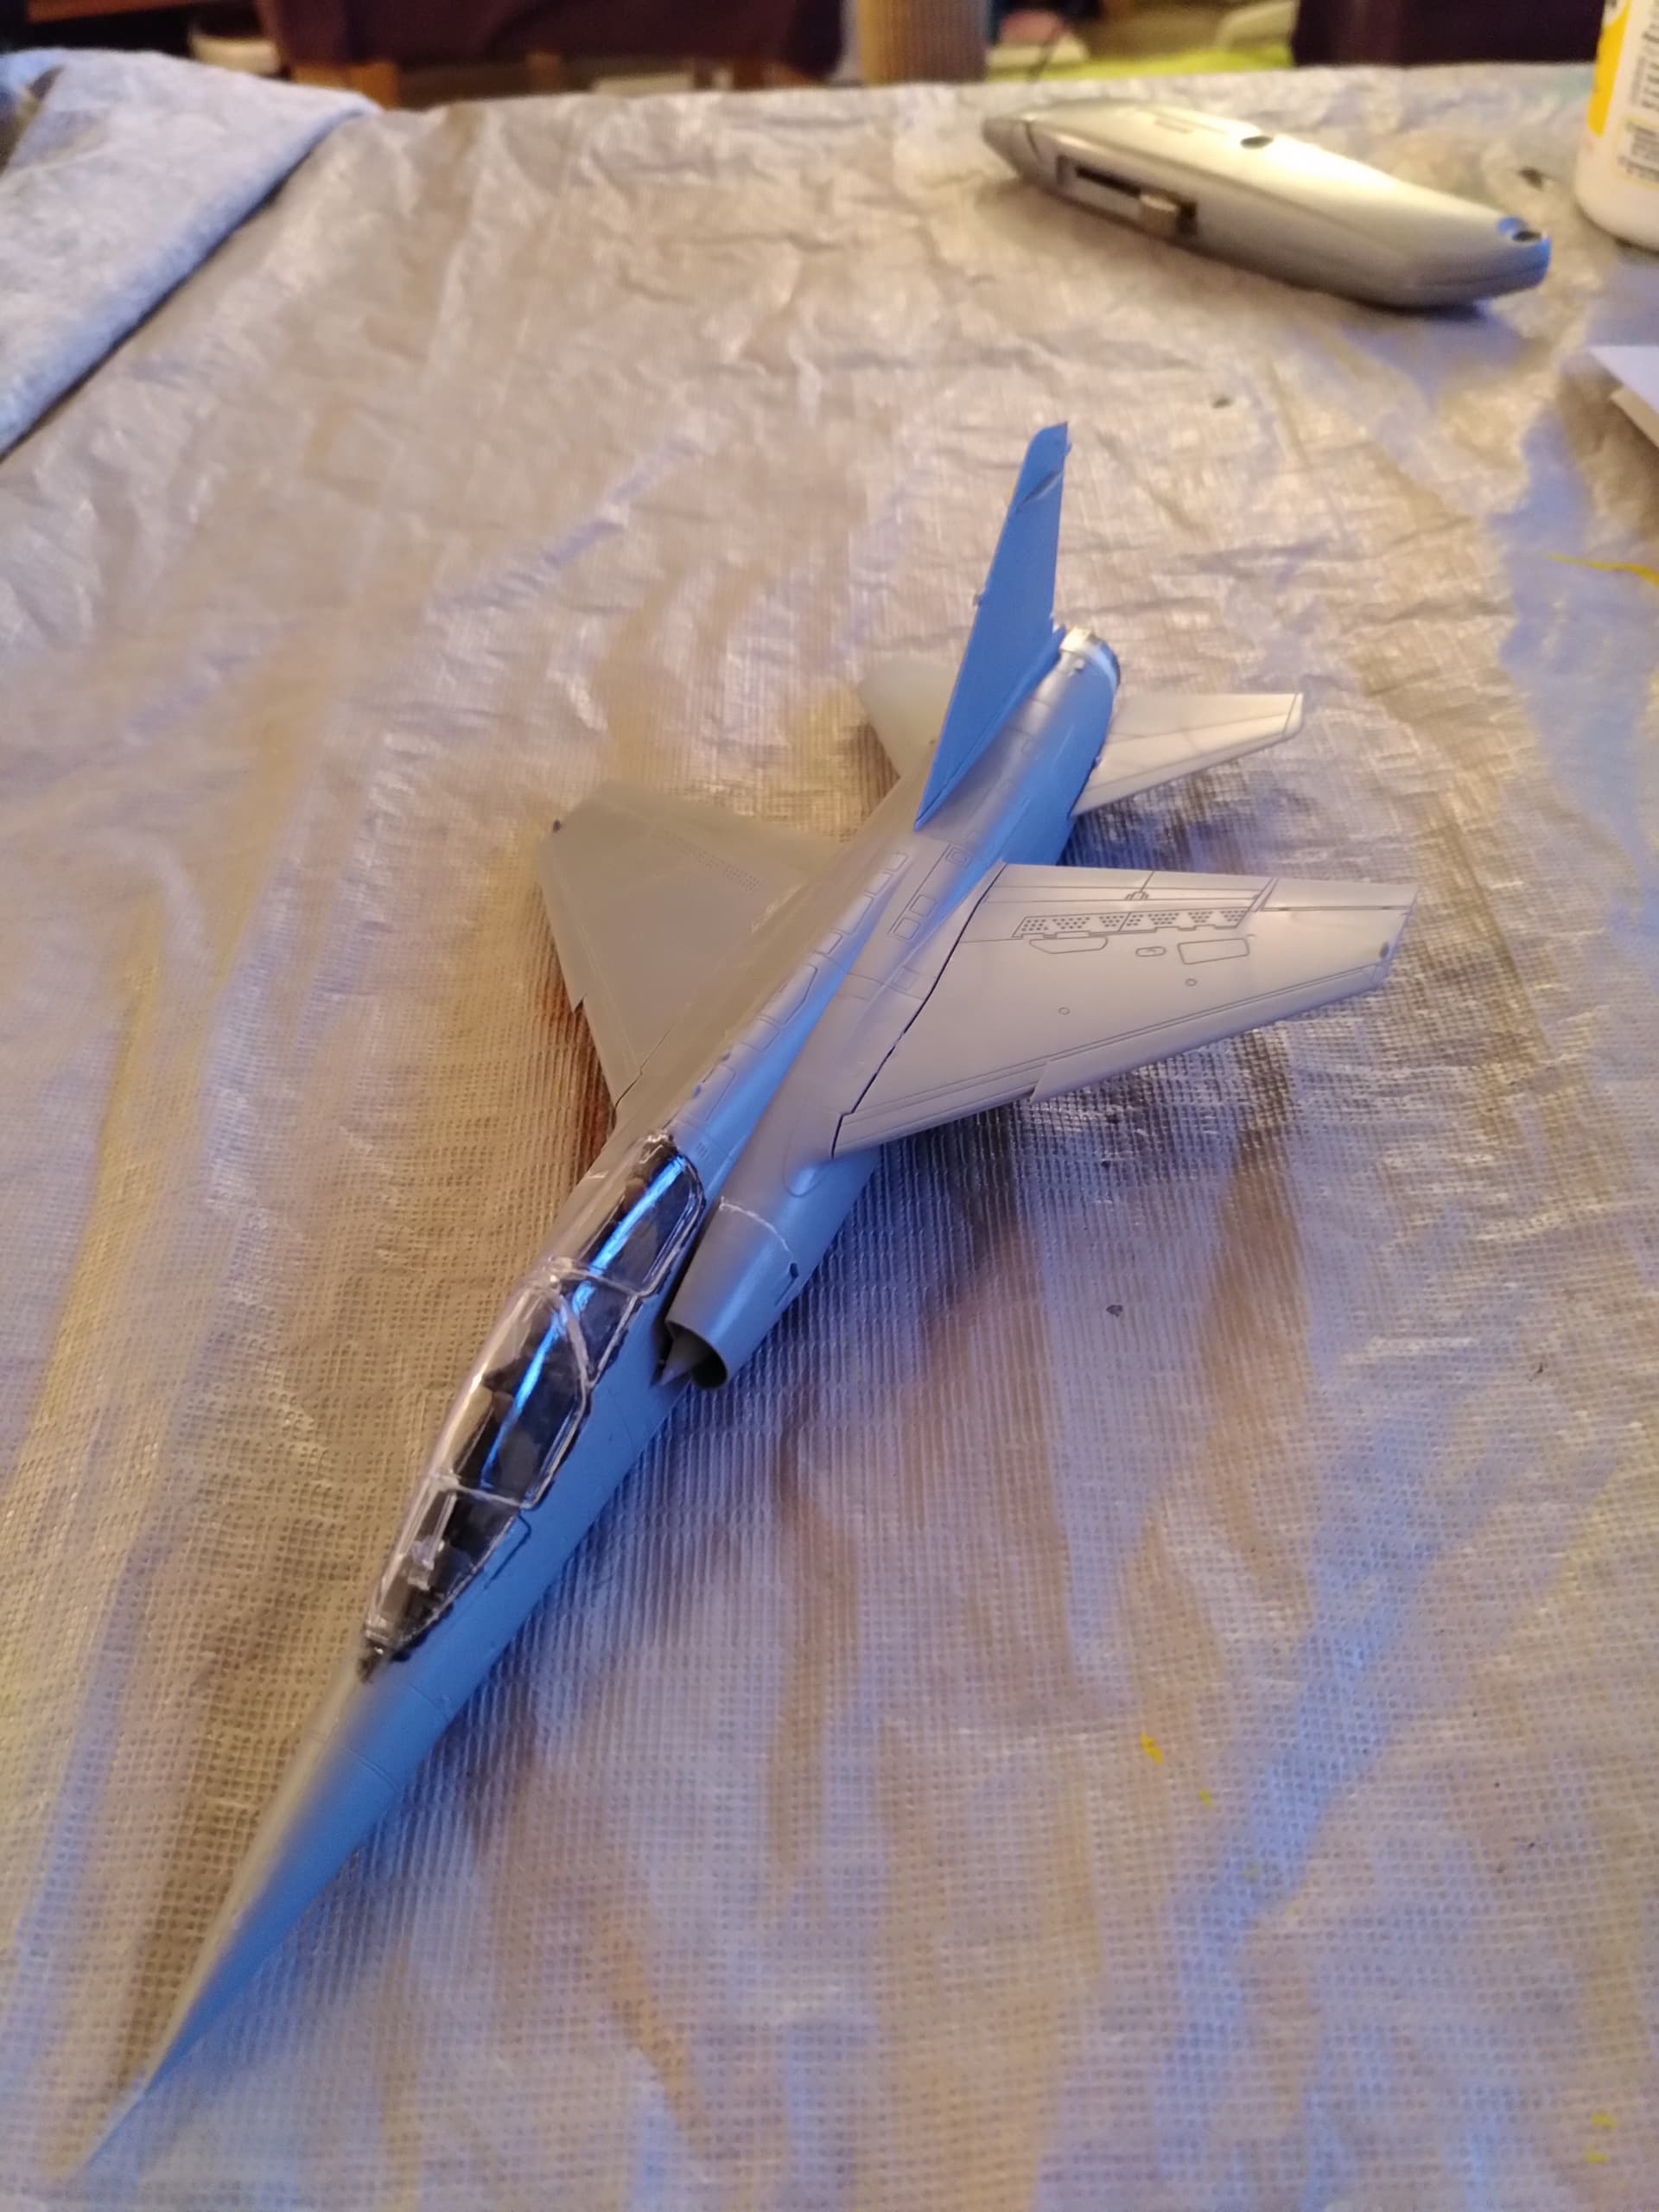
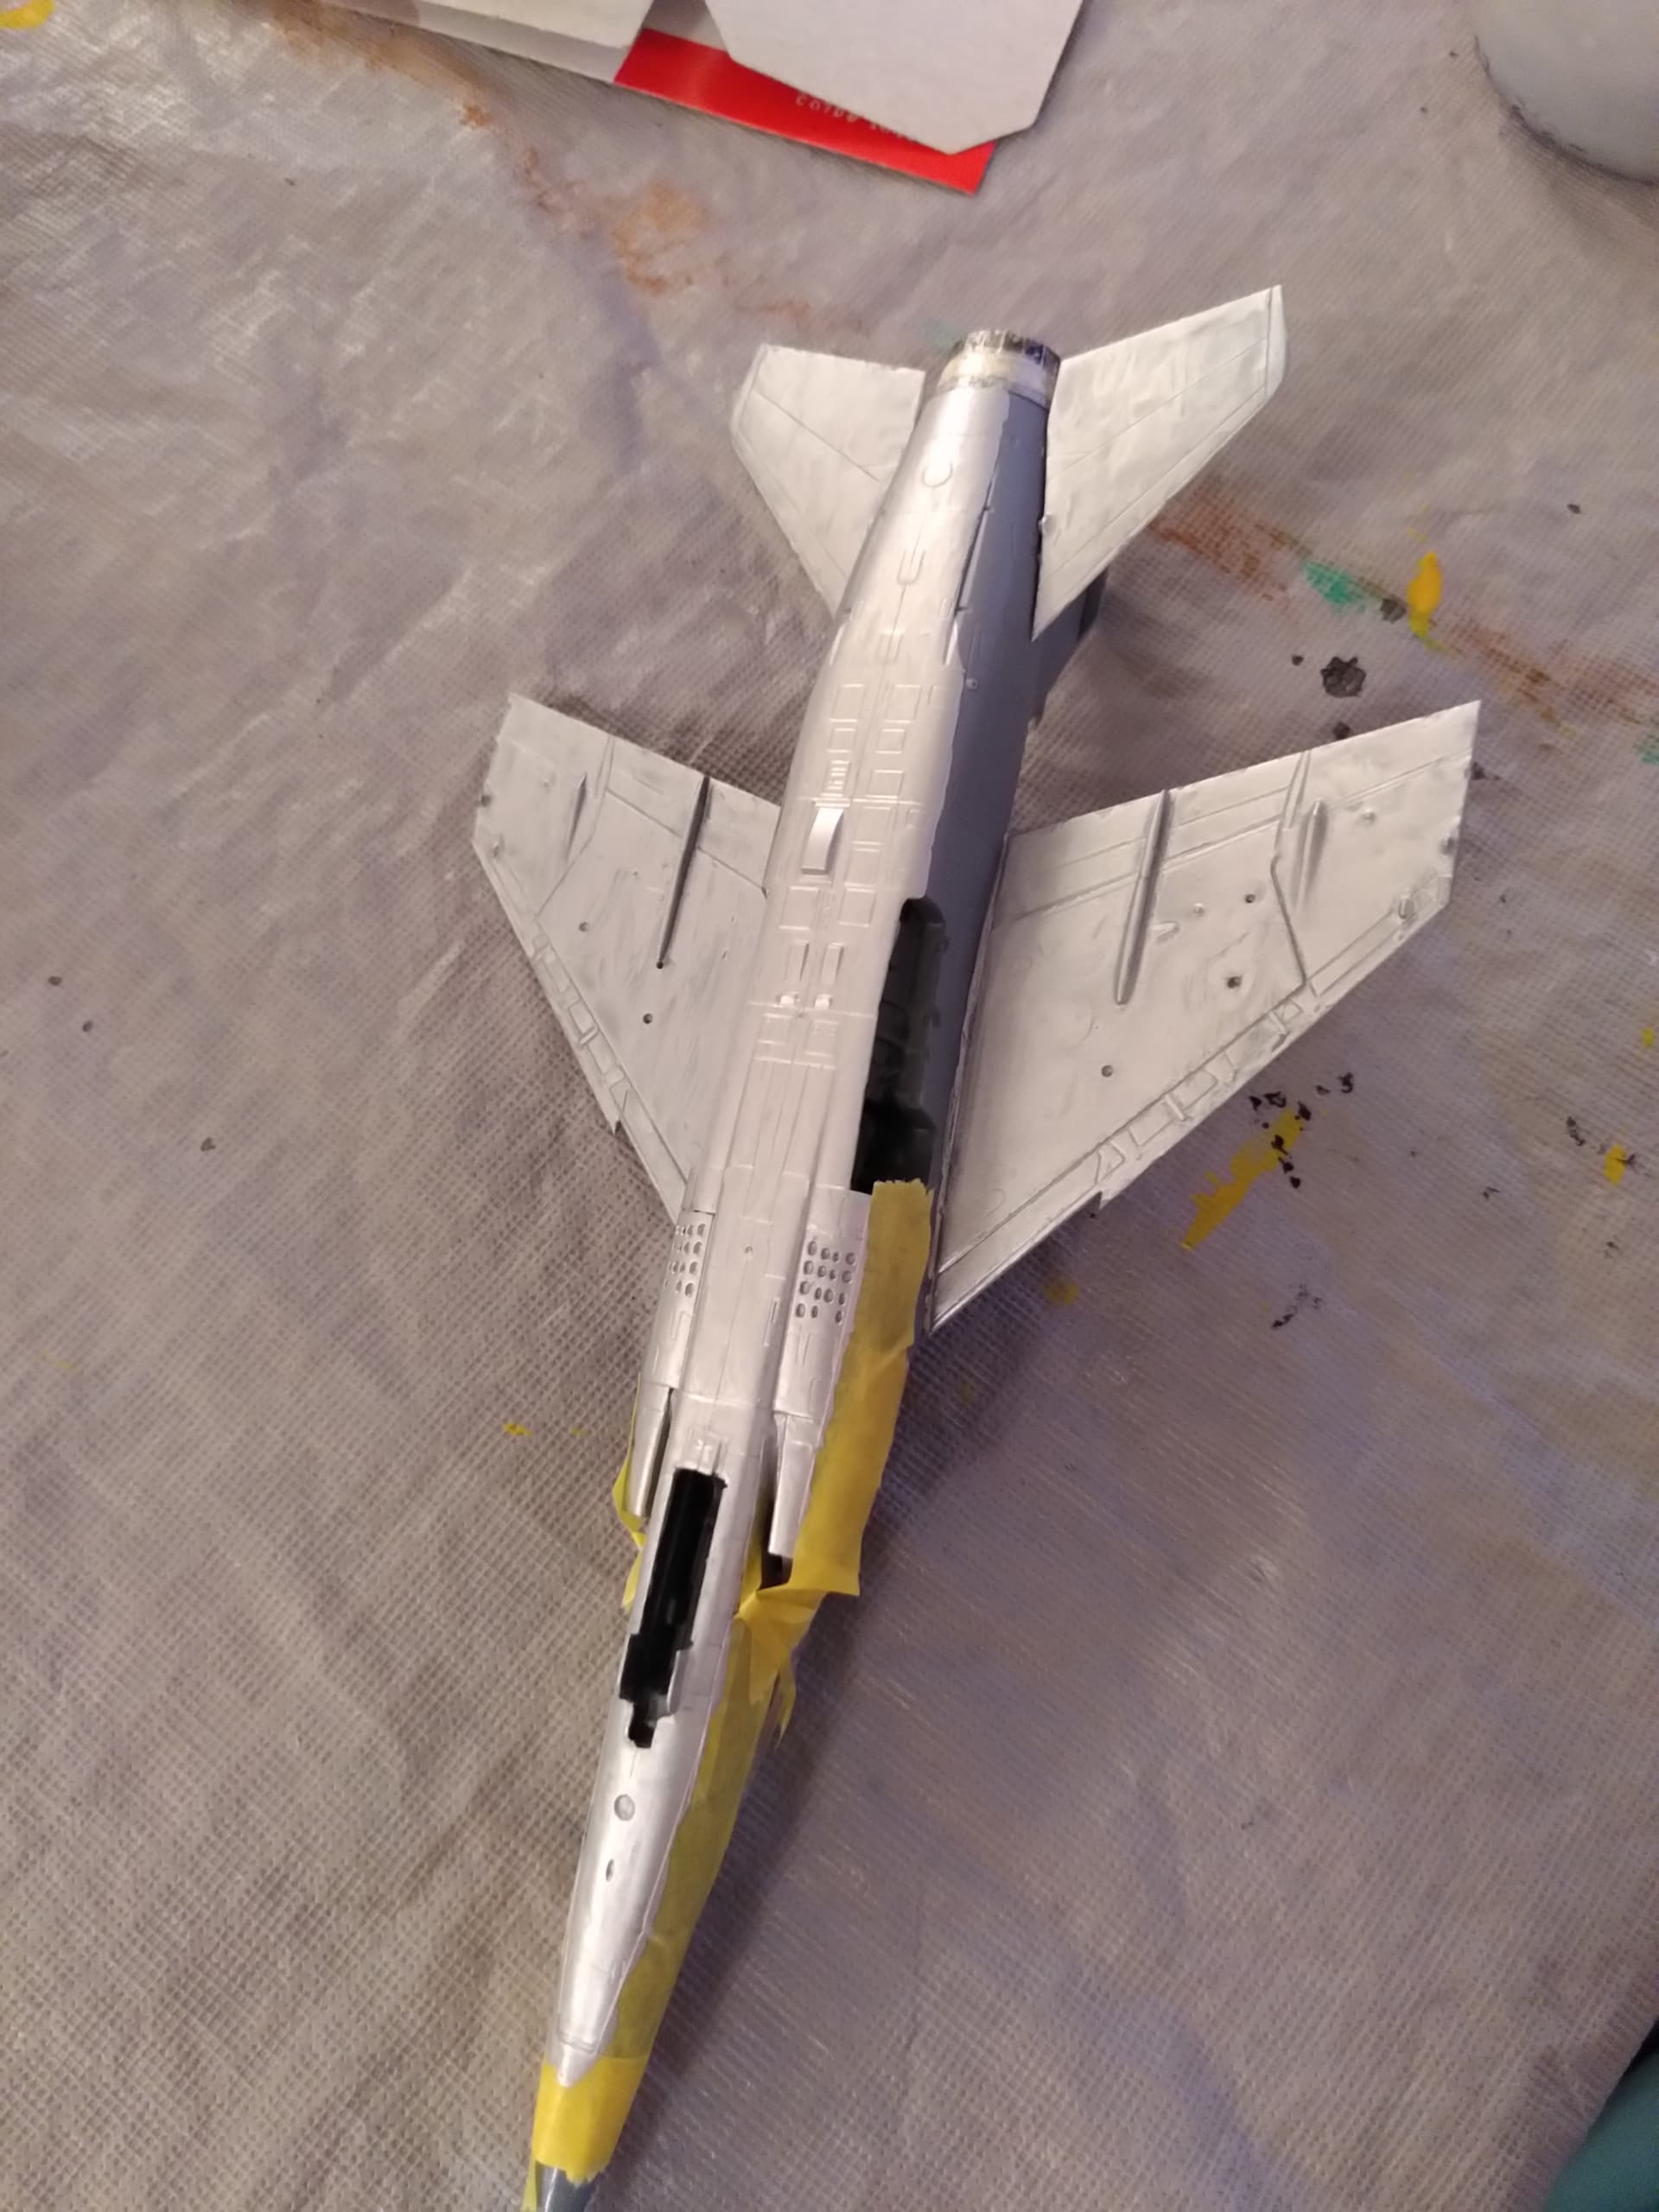
The two kits’ instructions, and people on the internet, are all split whether the Mirage F1s in French service had an aluminium (shiny) colored underside or a matt light grey one. I decided on aluminium for the bottom of this one.
Doing a little experiment to see if my hand painted lines or masked lines are cleaner.
I let 2 layers of aluminium paint dry on the fuselage before realizing I could have done the wings at the same time. Did put a single layer on the wings before calling it a day.
Thanks! If the canopy falls off, I will definitely get some of that!
I know the foggy canopies is one of the reasons my dad quit model building so I am really happy that that seems to be under control
Must have. @Clutch mentioned on Discord that he couldn’t find it either. I have a Phantom that I’m trying to rescue. But haven’t built a kit in 44 years, literally. Hands are none too steady these days Would let a pro fix it, but can’t risk losing it. So, going to take a shot at repairing it myself. Undercarriage is crunched, some weapons and the left horizontal stab are loose, and pitot tube is missing. I don’t even know what folks use for cement these days. I’m sure that it’s not Testors in a tube.
The truth is that I was vicariously enjoying the last thread, but never thought that I’d build again due to the shakes. Then my mom gave me dad’s F-4E Phantom that a friend built for him back in the late 70s.
Nah we can keep at least my posts separate. I think it makes sense to have my beginner’s journey in a separate thread from Clutch’s art works.
This is mostly about showing mistakes and learning whereas the big topic is more of a display place