Modded and DIY controllers and Simpit stuff by DanTDBV

I thought that this would be the right place, to put up stuff about my past, current and future DIY and mod Controller and Simpit projects.

My intention and hope is to inspire others to start on their own DIY journey and help as I can. Any questions are very welcome.

The most important things I have learned is:

“Save your ideas!”

It may not work for you now, but it can be the perfect solution for a future project.

Write them down, small drawings with descriptions, use a Dictaphone, whatever. Are you falling asleep and the idea pops in your head, Save it! It may be gone when you wake up.”

“Split a big complex project into smaller manageable bites”

Each successfully finished part, gives a nice feeling of accomplishment and raises the confidence, in tackling the next set of problems.

“Be prepared to make mistakes!”

It is very true that you can learn from your mistakes. You do have to try to understand what went wrong.

“Be prepared to acknowledge your limitations”

Some things can be decidedly dangerous and lethal, if you don’t understand what you work with.
Leave those alone and get help before you regret it.

It is also okay to get help for stuff that you don’t understand. Me for instance, I have a basic understanding of electronic components and what they do by themselves, but I cannot comprehend complex circuits. Be they electronic, hydraulic or pneumatic.

It is a very good idea to have done, as much of your homework, as possible before you ask.

Okay on to my first instalment.

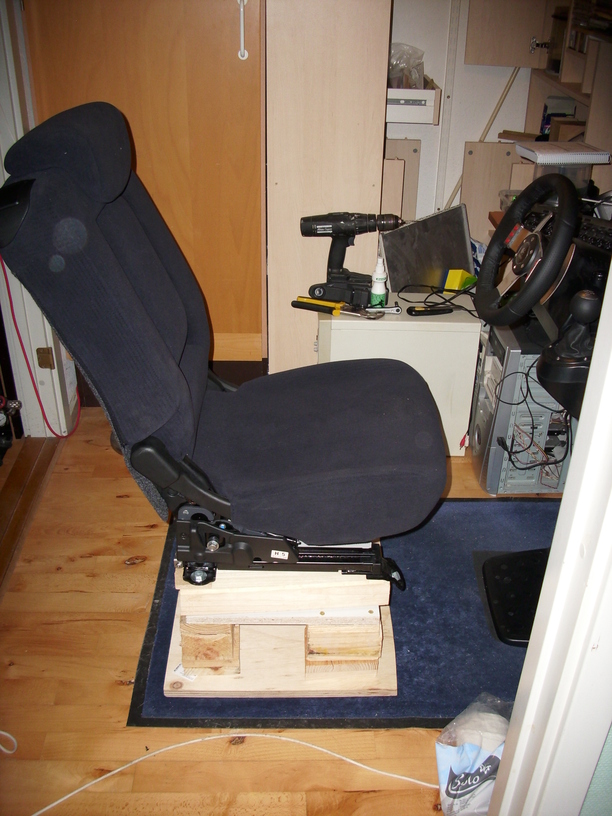
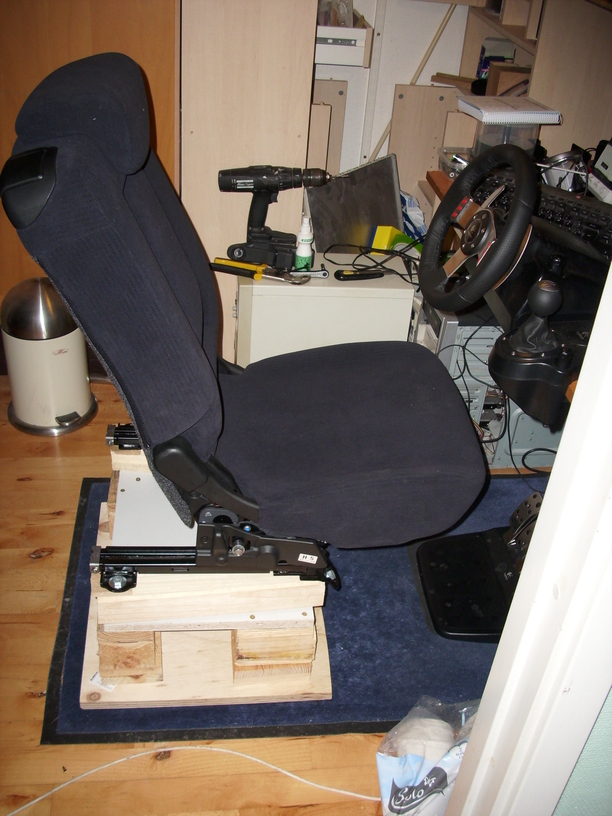
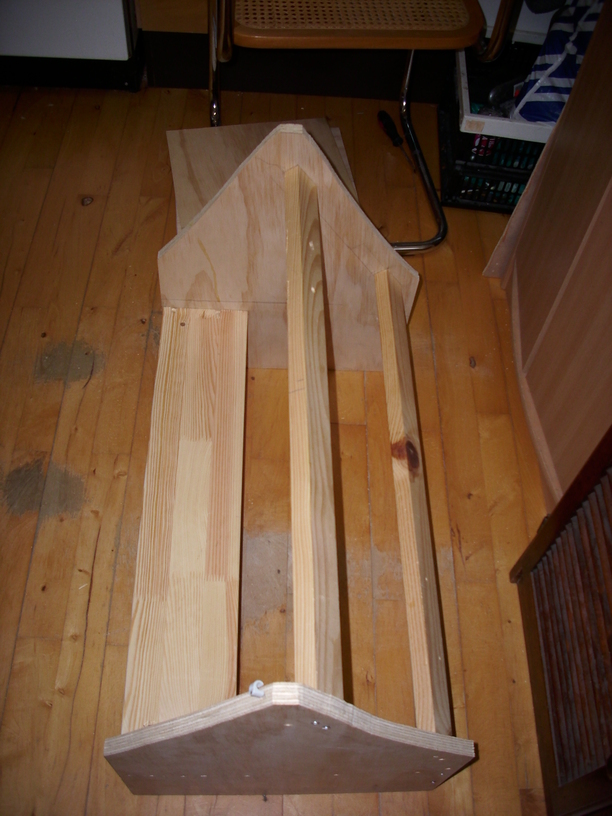
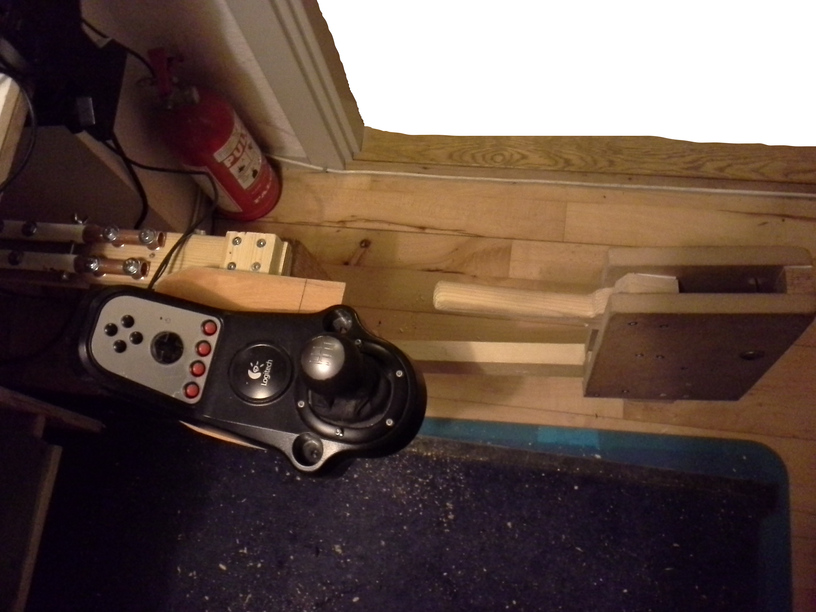
I needed to have something to put stuff on. A very early Simpit version. March 2013

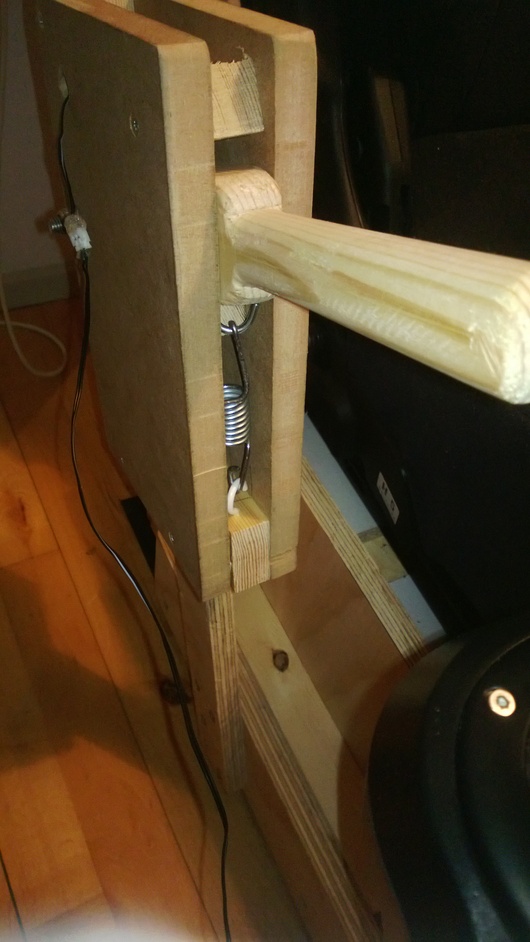
I chose a shelf rail and bracket system with different sizes of brackets with MDF plates cut into the needed sizes. I let the supplier cut up the plates, so I would get straight and square cuts.

Do Never Ever! Use MDF for anything with prolonged skin contact!
Because of the sweat, it will slowly dissolve.

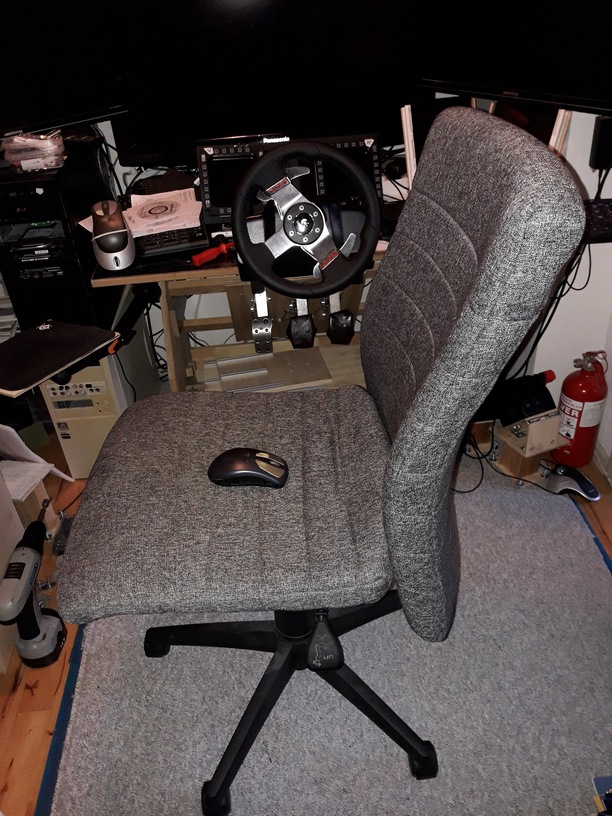
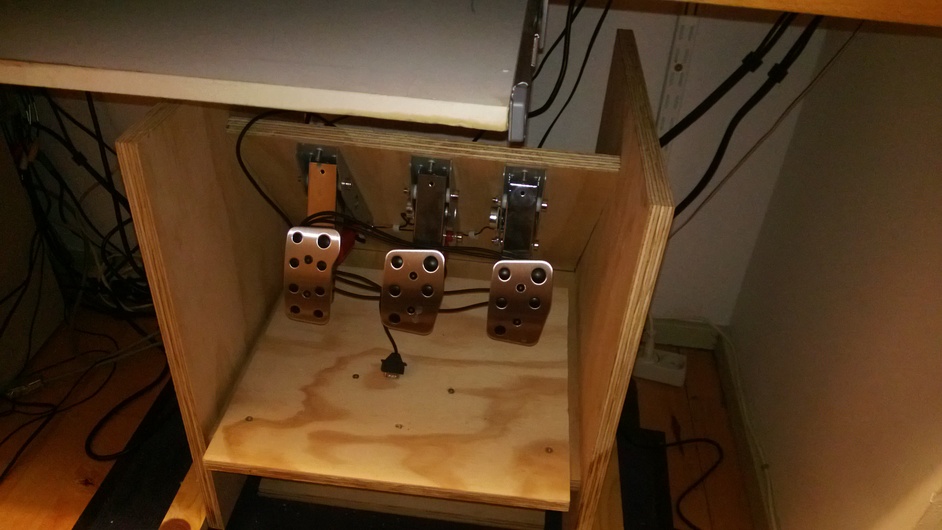
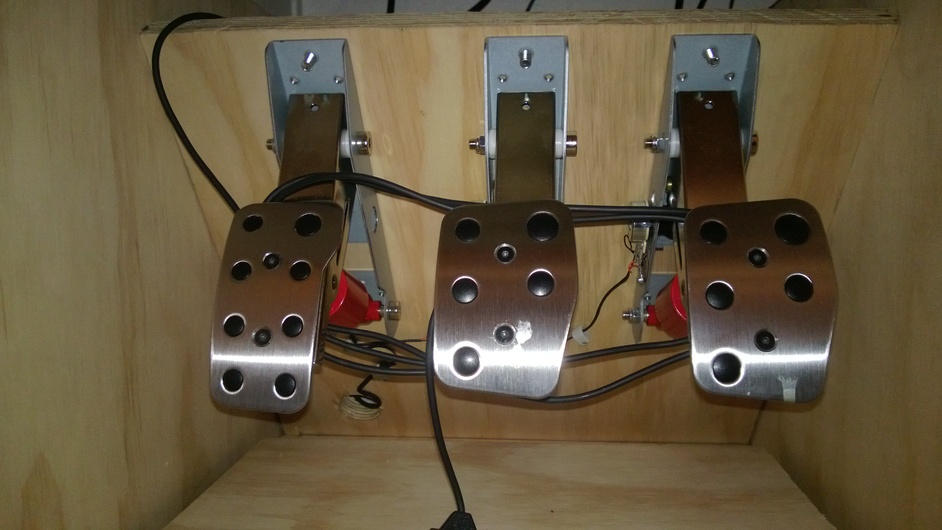
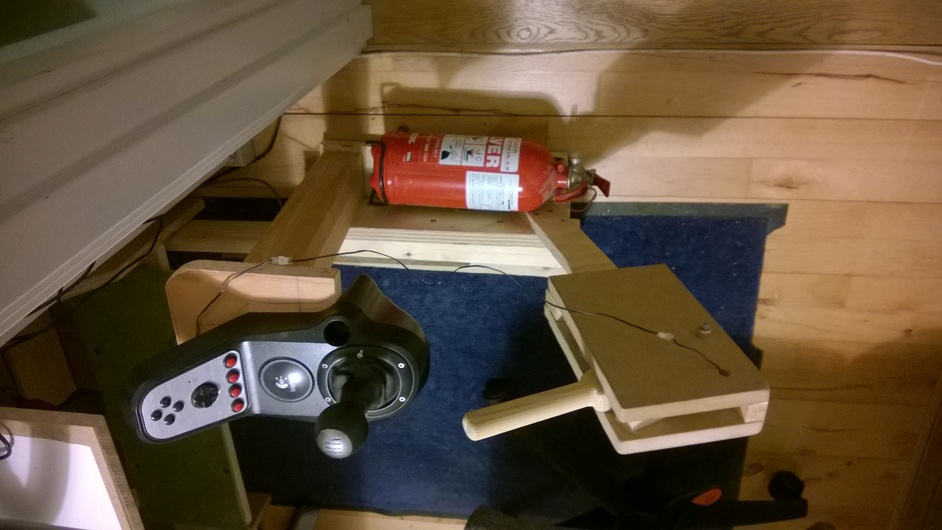
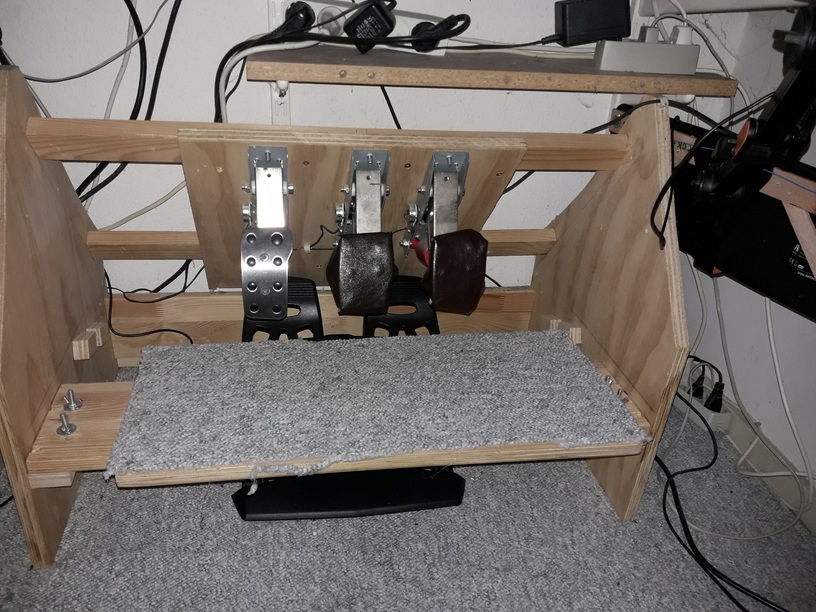
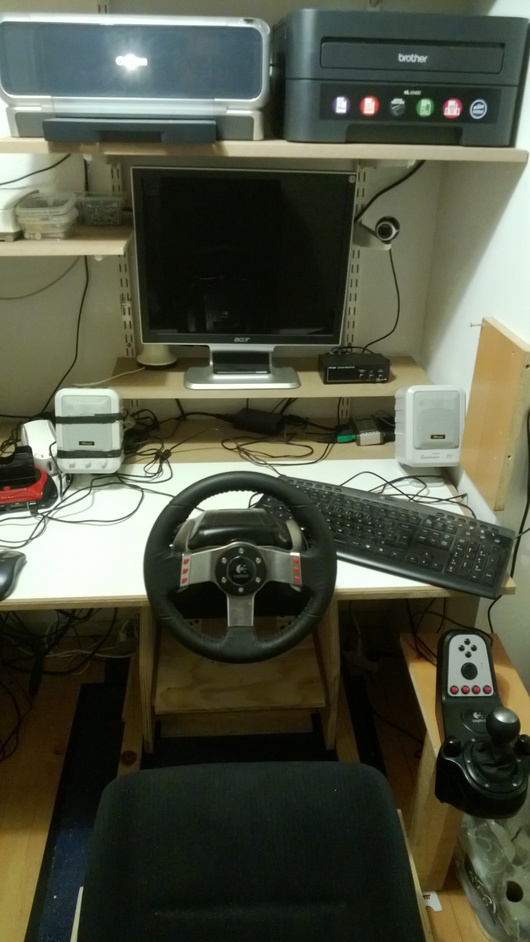
The only stuff still in use are the G27, The holder for the wheel, Brother printer, Mouse, Speakers, most of the shelves and the bookcases, that where parts of a corner desk, that I used before this.

Until next installment.

Happy Simming

5 Likes

The Bum support!

Part 1

Okay I needed somewhere to sit.

I started out with a carseat that I got free from a colleague. Boy that was heavy to carry home. Had the seat on my head with the back at my back. I caught some stares on my way home, with the public transportation that’s for sure.

Car seat 1
It could be adjusted back and forth on the build in rails. The G27 pedals was in their original format and didn’t feel that great and was always moving around. The shifter was mounted on the desk next to the wheel and was very painful to use with my short arms.

Car seat 2
I discarded the plastic thingie around the pedals and reverse mounted them, as I felt that was right for me. The inspiration video https://www.youtube.com/watch?v=ml9L7NB6jVk Changed the seat platform, so it could tilt at the rear, for a more comfy driving position. Added a platform for the shifter and a resting place for the wheel on the wall.

WIP before mounting the shifter platform.

The seat in tilted forward work position. It was held in place with a bolt on each side, showed loosely through drilled holes. When in the top position, the bolt were resting on top of the frame. The weight alone was enough to keep it in place. You can see one of the bolts here.

Car seat 3
Getting more and more annoyed, fumbling for the Handbrake button, when driving in Richard Burns Rally, I found a video on how to prepare the G27 shifter for an external button and decided to make my own handbrake. The inspiration video https://www.youtube.com/watch?v=scQ8-uSq01E
The spring used and the one I changed it to, because the first was to stiff, was from car brake repair sets. I somehow find that fitting.

The setup was good for driving, But!

The pedal frame and the braces on the floor, was always in the way, when working. It was impossible to sit comfortably. Something had to change.

That will be for the next instalment.

Happy Simming

3 Likes

As promised. The next installment.

A new chair, pedal and handbrake setup evolution.

We have now reached 2014.

My new Chair! Except for a 1 month period in 2018, I have used this chair, with modifications ever since. In that month I tried out a AKRACING astralis Gaming chair and it didn’t work out. More about that later.

I took the roof plate with the pedals from the first reversemounted pedal version and mounted this in a bigger frame. Since I am a barefoot gamer, I added fake leather to the pedals and a piece very cheapo roll mat. (Don’t ever buy this version! It would flatten by just looking at it.)

I had to recompose the shifter/handbrake stand, as it used to be a part of the chair platform. Now it was moving to much around. Okay add some weight, what to use, hmm, hmm, AHH! The fire extinguisher is handy and I keep it on the floor in my gaming area anyway.

The Handbrake.

The first spring (From a brake repair set) i used was to stiff, so I kept lifting the setup even with the extinguisher and the floor part was in the way, so in 2016 I got another spring (Also from a brake repair set.) and changed the setup once again.

The idea with the 2 white and 2 copper tubes, was that by removing the bolt and wingnut I could remove the stand when needed.

Next change as I kept on banging my shins into the footrest for the pedals. I made it so I could lift it off and stow it at an angle, at the back of the frame. You can see the stow rests here.

For a long time I wanted to do something about toebrakes for my DCS’ing and considered more modding of the G27 pedals.
In 2019 I ended up getting the TM TFRP pedals instead. When not in use they rest behind the G27 footrest, up against the frame backwall. When the footrest is not in use, it is leaning against the left side of the frame.

That’s it for this time.

More to come.

Happy Simming

6 Likes