My new 3D printer arrived with perfect timing, the morning after I returned from a week at work…
I’ve been upgrading my Creality Ender 3v2 in several steps, but I finally realised that it would never take my 3D printing where I wanted it to go, so I was considering my options when @Fridge mentioned his Bambu Labs 1XC printer. Looking at the specs and watching a few youtube reviews made me realise that this was the printer for me.
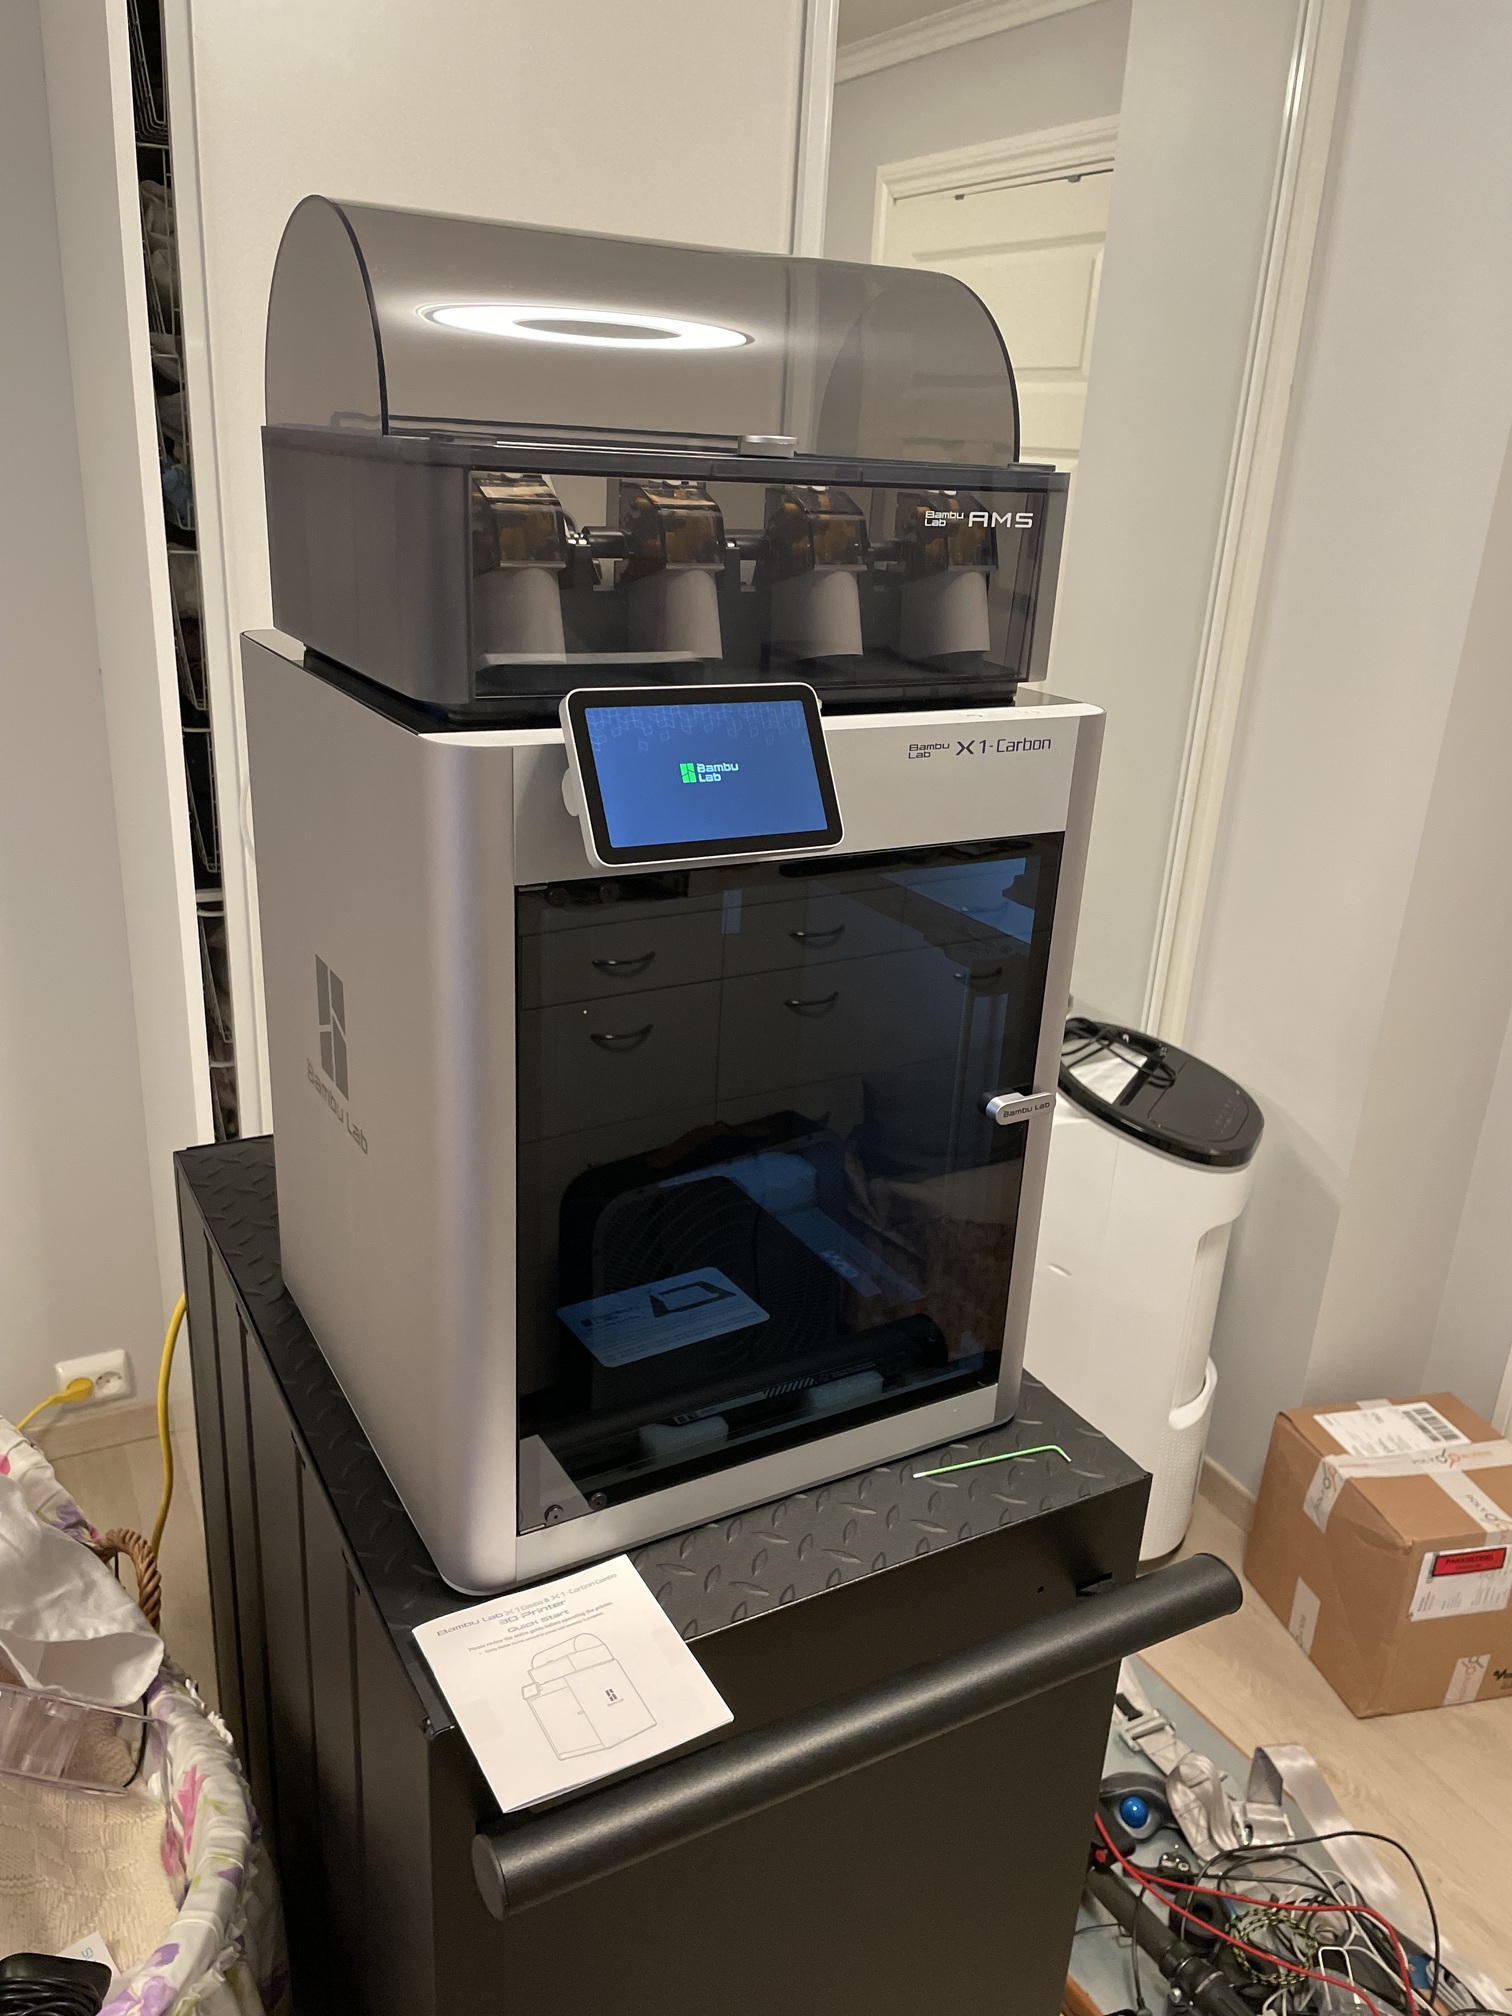
Already at the unpacking stage I felt that this is a quality printer.
Unboxing and setting up was easy.
I bought the printer and filament spool switcher combo. It can switch between four spools and thus print multi color parts.
I loaded some grey PLA filament and ran a test print of the popular Benchy ship model. It’s a pretty standard model that will show most common errors and flaws.
The printer has a built in camera that can make timelapse videos of the prints, but I forgot that I needed a SDHC card installed, so these pics are all I’ve got, taken from the printer mobile phone app.
Nice! I have been loving mine. Being able to ‘just print’ with no tinkering is pretty good. I am glad that I had my Ender 3, as it is a great printer for the price and provides a good platform to learn about 3d printing and all of the variables and challenges.
It looks a bit too stylized to have proper upright buoyancy. Probably tilt forwards if not capsize.
Generally those 3D outputs are pretty dense and heavy, too, so you’d want a larger flatter hull. Do that, however, and those things will come out watertight without a doubt.
Made the first useful part today.
A center arc section of the detents for the Virpil MT-50 throttle.
I printed one for @Relax earlier, but it was too high. Some Virpil Throttle handles sit lower, for some reason…?
Anyway, I removed 4mm from the top side and printed it in less than half the time compared to the one I printed on the Ender. Ok, it is slightly smaller, because I removed 4mm, but even so, it’s a substantial improvement. This print also required less clean up.
I have heard that the Bambulabs printers are pretty awesome, unless you have a need to mod and tinker or have a problem with everything going via a cloud service in China.
Indeed.
They are locked in.
OTOH, I had an Ender 3v2 that I modded in multiple steps. At first it was fun to see how far I could push that printer. Later it was more of a chore. A learning experience, for sure, but I do enjoy the “Press ” nature of the Bambu.
Edit, about the china cloud feature. Yeah, if I did any serious prototyping I’d keep the printer far away from my wifi!
Tried a two color print. Used the graphic I created if the Swedish Danger Ejection seat decal I made.
It’s just 0,4mm thick, printed with a 0,4mm nozzle.
I think I need to get the 0,2mm nozzle to get it to print the small text. But it was a fun test…
Do you have issues with getting large flat pieces like that to actually be flat?
I’ve seen in the past where it can decide to curve one way or another and is usually not that flexible making flat panels a challenge to create.
I printed all of these panels (pretty large flat pieces) and had no issues, they all came out great and remained that way. Of course they also haven’t been exposed to high temperatures.
I have had my share of prints lifting in one or two corners, yes. Getting the plastic to stick to the bed can be tricky. Using a PEI printing plate helped a lot.
I haven’t had any adhesion issues with my new printer, but I haven’t used it that much, yet.
I had a few little warping issues with … wait, I need to look it up … ASA Filament.
Once off the plate, over the next 30 minutes, there was slight warping of the surface that was in contact with the plate. I think that next time I use that filament, I am going to let it cool completely on the plate. If I remember correctly, these issues arise with varying levels of cooling as the print proceeds - the top being hot, the bottom warm (heated plate) and the middle being cooler than everything else. That and bed adhesion.
I was printing pieces of the Hydra AMS upgrade (which expands the capability of the BambuLabs AMS to accept other filament spools). It was recommended that th pieces be printed in something other than PLA to avoid issues with heat during ASM operation.
One could argue that it should have these on delivery, but that’s what’s so great about having a 3D printer and the community of makers…
The Bambu Lab brand of printers represent top of the line equipment, yet they are not without faults.
When disconnecting the cables for the AMS (Auto Material System, the filament changer on top of the printer) you need to unplug a latched 6-pin plug…that has the latch towards the backside of the printer case, so you need a special tool to unlatch it…
Lastly, the AMS isn’t suited for abrasive filament like carbon reinforced PLA or PETG, nor is it adviceable to use soft TPE filament, because it can get stuck in the guiding mechanism. For such material you need to use the spool holder on the back, but you then need to unplug the filament guiding tube and insert the filament manually, bypassing the AMS.
Someone found this process tedious and made a Y coupling so the tube can remain attached…
Luckily users, who got this printer before me, have already designed the tools needed for this job. All I did was download the 3D files and printed them.
The Y channel is printed at 0.08mm resolution, standing like a Y on the print bed.
The wrench was printed laying down like in the picture, at 0.12mm using different filament for the body and the text.
Too cool! That cable connector screams a disconnect between the engineers that designed the electronics and the physical package. It happens though. Nice solution!