The venerable MSI Afterburner, a long-time favorite GPU monitor app, has updated to a new beta version that includes the new Nvidia Overclock Scanner API. What this means is that there is a now a nice safe way to add an automatic GPU overclocking profile for your 10 or 20 series card (i.e. a 1070 or up to a 2080 Ti).
The benefit is (a) it’s safe, as it’s using new Nvidia’s OC API and (b) it self tests and applies the overclock as needed, changing both voltage and GPU clock speed respectively on demand.
Here’s the steps (as this is new, there’s funny some steps but overall worth it for a free OC compared to stock performance):
- Download the latest MSI Afterburner here (the link is at the bottom, called ‘Beta 10’):
-
Install both the MSI Afterburner and Riva Tuner apps.
-
Follow the steps in this video (saves me some screenshots):

For those that really dislike videos, the steps are essentially:
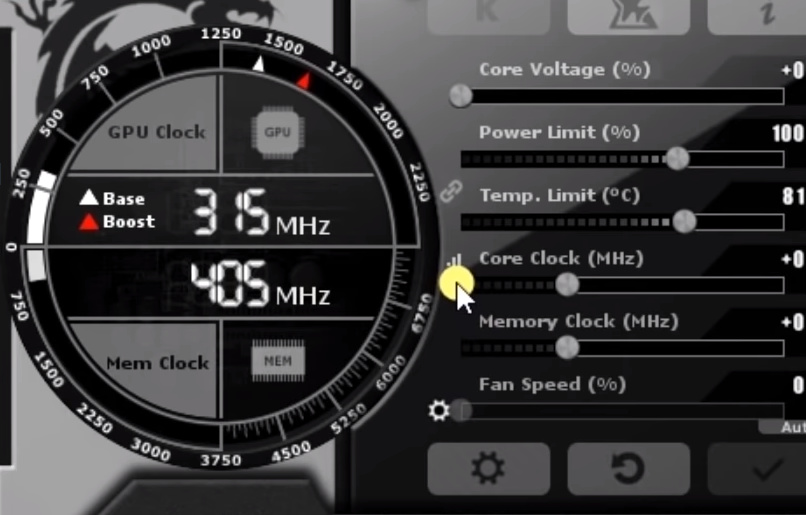
(i) Once installed, go to Settings and the ‘User Interface’ tab. Pick the ‘MSI Cyborg Afterburner skin White’
(ii) Press the wee graph icon to the left of the ‘Core Clock’ here:
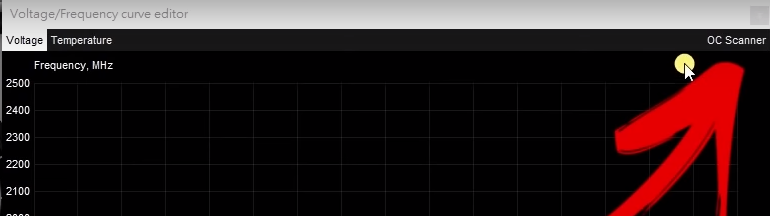
(iii) On the chart that appears press the ‘OC Scanner’ link on the top right here:
(iv) Press the ‘Test’ button on the new dialog. Wait for it to complete (about 5/10 mins).
(v) You’re now ready to benchmark your GPU to find a good OC profile using the ‘Scan’ button. This will run four tests that can take about 15 minutes to finish. It tries to find the right balance between voltage, temperature and clock speed for your specific card and system temperature/cooling profile.
That’s it. If you notice the ‘Core Clock’ now goes from 0 to ‘Curve’, indicating that it’s going to use the best settings for your card.
While it’s not as perfect as a manual overclock where you measure, repeat yourself like a hundred times, it is a nice safe way to get some more performance out of your GPU.
