Operation Scotch Lass – A3
By @BeachAV8R - June 19, 2015
Originally published at: Articles - Mudspike Forums
The AAF has managed to capture one of our UAVs – satellite recon has found it – now go retrieve it!

I’m a simple man. Due to time constraints and thousands of other reasons, I typically find myself firing up my sims and games in the wee hours of the night and I predominantly play single-player unless I happen to bug someone into joining me (knock, knock EP!). So I’m always on the lookout for content that is down my alley: straightforward missions that are just complex enough to entertain me, but not so impossible that I would give up in frustration. Every so often, while browsing the Arma 3 Steam Workshop, I come across a mission that fits the bill. In this case – Operation Scotch Lass by Nichevo seemed like something I could handle. The mission premise is pretty straightforward: the enemy has capture our UAV, my job is to go get it back.

In what has become a bit of a rarity in the Steam Workshop, this mission actually has a very good briefing, with excellent spelling, grammar, and composition. Color me impressed! The backstory is interesting and the multiple pre-mission briefing instructions are very well done. To help us on our mission, we are allowed at the outset of the mission to load up two ammo drop boxes with whatever inventory we feel will aid us in the completion of our mission. This is a really cool concept and adds a great dimension of resource planning to the mission. I had never done it before, so don’t laugh when you see me in my underwear as I learn the practice of moving equipment from the inventory into the ammo boxes. In the end, I settle for some cool assault weapons, medical kits, a sniper rifle in each box, anti-tank missiles, and a few other odds and ends.

After loading up the boxes, I outfit myself for the insertion portion of the mission with some kit that I figure will get me through. It is nice to have the option of loading scoped assault rifles, but there is a bonus accomplishment credit given for not using silenced weapons, for obvious reasons. I feel like I look pretty tacti-cool in all my gear….

The mission designer allows for a lot of flexibility on how you want to get into the area of operations. You can elect to para-drop in, insert by boat, or by vehicle. Since I’m an A3 noob, I go with the safest route and decide to ride in via ground vehicle. The two aforementioned crates will be dropped into the AO, but I have no idea where they will end up until after I commence the mission.


The ride is without mishap and soon I’m being dropped off at the northern boundary of the AO. The map gives me a good idea of the lay of the land. If you are a map lover (like I am), then A3 is a fantastic game to indulge your cartographic prowess. I like to fancy myself as being pretty smart with a map, but I’m sure any intelligent player would zero in immediately on where I would setup (oh..look..he went directly for the high ground..we should have mined that hill!). After hopping out of the vehicle I take a look south along the road and try to make some decisions. I don’t really want to walk everywhere, so I use the intel on the map to go find civilian transport off to the east while avoiding contact with what I presume are roving patrols.


I cross the road in a hurried crouch and put my rifle scope on the area to the east. I finally spot the ATV nestled up against a building and I check out the area to confirm there is no movement before moving to commandeer the vehicle for my own purposes.


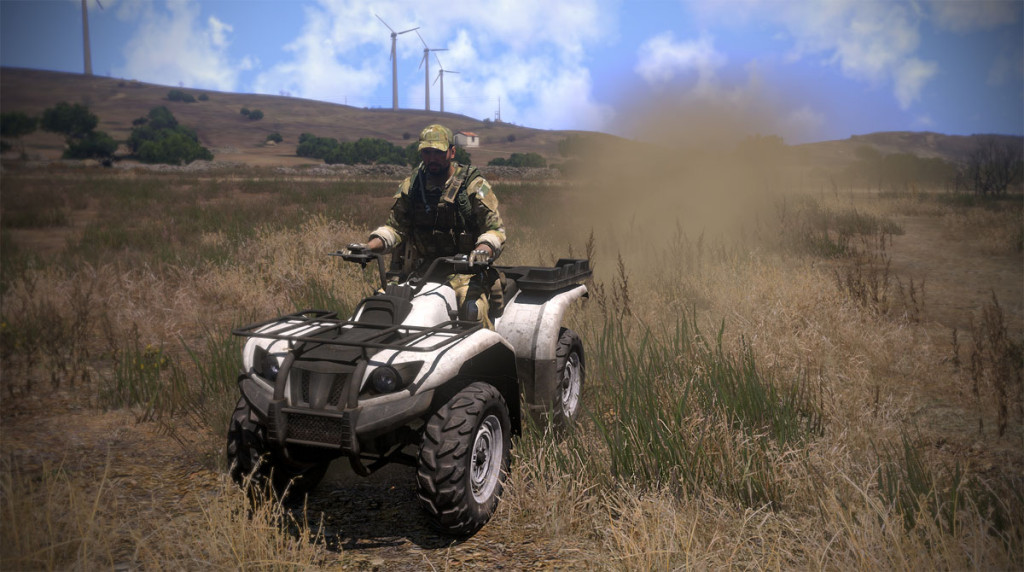
With my newly acquired wheels, I head cross-country to the west to locate the supply crate location that has been marked on my map.

I find the crate has landed in some heavy brush. I pull up to it and realize I can actually load some of the equipment from the crate onto my ATV storage…yes! I take some additional medical kits, the sniper rifle, and the anti-tank launcher and missile with me.


I head out for the high ground west of the AO so that I can put my binoculars (“glassing” in TactiCool Speak) on the area and see what I’m up against.


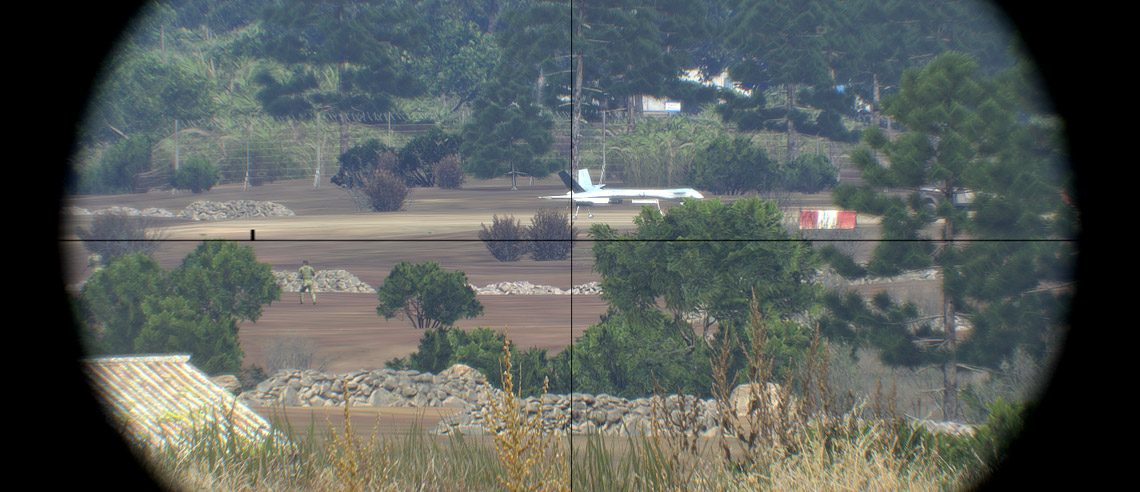
As I scan the low ground to the east (toward the airfield), I spy the telltale checkerboard airfield markings and soon see the object of my affection – the UAV! It was marked on the map anyway..but seeing it puts a face to the mission. A more experienced player could probably just saunter on down there and grab it. Me? Not so good at FPS. Instead, I make an elaborate plan! Plus, I don’t even the UAV terminal controller. I can see several enemy troops in the barrack area (red rectangle) so I decide to travel further south to even higher ground where I can get a good look at what is going on down in Selakano.

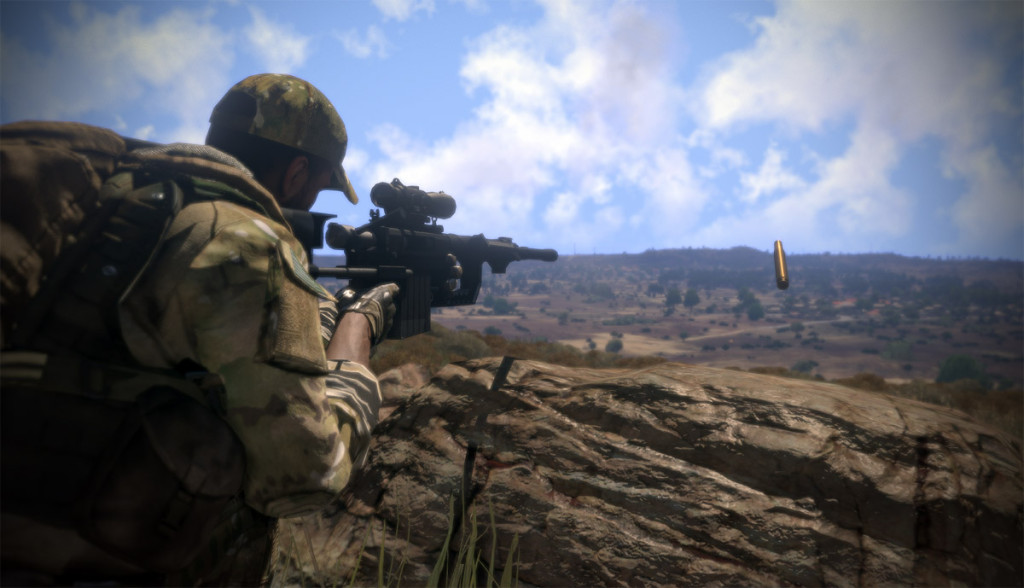
I pull into position at the top of the hill, and as I scale one of the watch towers, I hear the “plink-plink-plink” of rounds impacting the metal around me. I quickly duck down and pop-up to scan to the south. A small squad of enemy are in the bunker about 100 meters away. I duck up and down, taking shots when I can. My optics are pretty good on my scope (don’t ask me which one), which allows me to shoot fairly precisely. The new Marksman DLC added resting positions to weapons, which is fantastic!
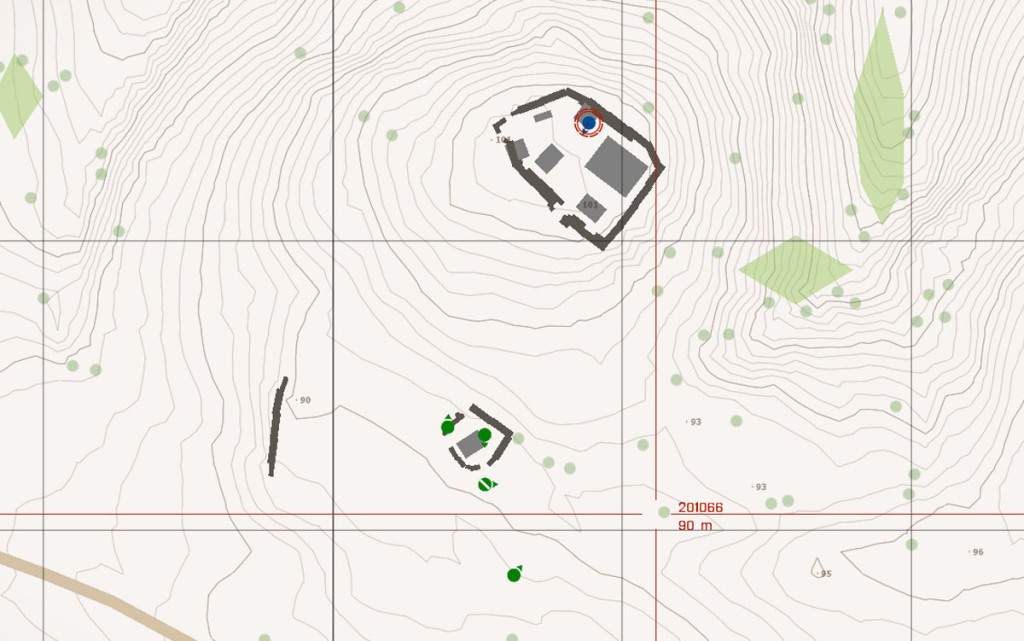


After cleaning up the squad I turn my attention back to Selakano. I can see enemy patrols walking through the streets. Without knowledge of where the UAV terminal is (it could be in any of the red shaded locations on the map) – I decide to go for what I consider the “easiest” and return to the barracks.

With a plan of action, I let my excitement get the best of me and as I zoom down the hill toward the barracks, I hit a rock and bust the front right tire of my ATV. Crap! I have to leave behind a bunch of equipment since I can’t lug it all. Stupid. Stupid. Stupid!

I hoof it the rest of the way to the compound and sneak up and through a hole in the perimeter fence. The patrol outside of the building is easy pickings, but once alerted, the troops in the barracks take up position and provide a lot of nuisance fire. Full disclosure – I’m actually picked off a few times and have to reload the mission because they have some pretty good positions. After taking out the outside patrols, I move up and enter the buildings. The room clearing is a harrowing affair. Most rooms are empty, but some hold containers with weapons. Some rooms have enemies stationed within, or outside on the catwalks.


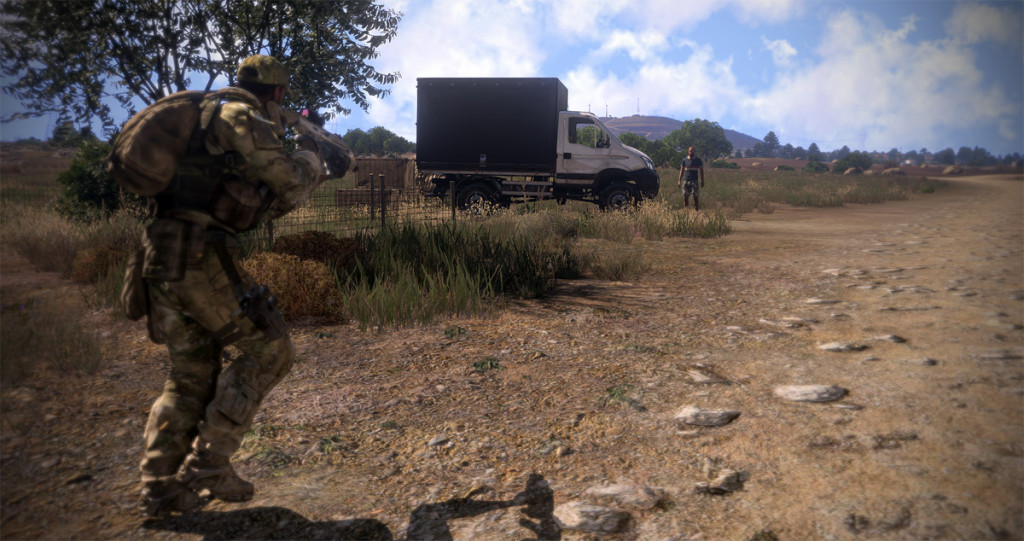
Soon I’m running low on both ammo and medkits (I’m going through them like Tic-Tacs!). The enemy fire coming through the windows as I move room to room is sporadic, but occasionally accurate. Window glass shatters every few seconds. Soon I have no choice but to retreat across the compound. I steal a truck (why oh why would I steal a moving bomb..a fuel truck..! Really?) and head for the south ammo drop point, which is still loaded with weapons.


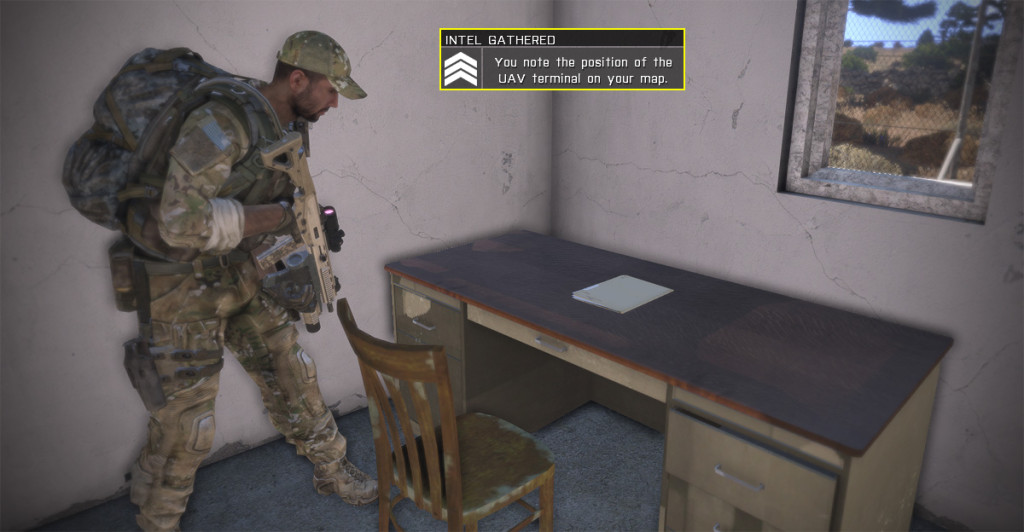
I take the truck back to the compound to finish cleaning it out. The fighting from one building to the other takes awhile since I’m not the best shot..but eventually I kill all of the resident bad guys. As I continue to search the building, I find a document on the desk that gives me some valuable intel: the location of the UAV control terminal!

From the barracks area I can see the UAV and some additional roving patrols on the north side of the compound.

The intel I’ve been given indicates that the UAV is located in the small town (Feres) east of the airfield near the church. I depart the barracks area and head cross country in another (less explosive) vehicle. I head to the high ground east of Feres and take my sniper rifle with me.


From the high ground to the west, I take advantage of my standoff range and take out a two-man patrol on the outskirts of the town. They are extremely long shots, and it takes a dozen rounds to find the range.

I watch the area careful for a bit, but can’t spot any additional patrols outside or inside the town. No doubt they heard me and are hunkered down. I descend down into the town and head for the area near the church. A couple resident soldiers try to spoil the party, but I shoot one and evade the others after I snag the UAV terminal.


With the UAV terminal in hand, I’m given access to the UAV electronics. Unfortunately, the enemy also disconnected the fuel line, so I’ll actually have to visit the UAV in person to reconnect the line to make it operational. The good news is, the sensors on the UAV function, so I’m able to sweep the camera around remotely and ascertain that the only patrol is fairly far away from the UAV.

I approach the UAV carefully, keeping a scan around the area for any surprises. (Were it me..and I knew of all this chaos going on around the airfield, I’d have a sniper assigned to watch that UAV from deep cover..but that’s just me!)

At the UAV, I move around until I find the fuel line repair option and we are in business! As I connect the line, a squad of enemy troops starts opening fire, so I grab a pickup truck and make a rapid retreat to the north.

Once I’m safely out of range of any fire from the airfield, I’m able to settle down and remotely access the UAV. As I slew the optics around, I can the patrol has taken up position around the UAV, no doubt waiting for my attack.


It’s the moment of truth. I start the UAV remotely and take control..accelerating away from the enemy patrol and lifting off. The troops, finally comprehending what is going on, open fire and the UAV takes some light damage, but makes it airborne. I steer it northward and the UAV flies off into friendly territory. Success!!


With the UAV flying off into friendly hands, I pack up and move the remaining short distance to the rendezvous point with my ground transport out of the AO. Mission accomplished!!

This was a fantastic and fun mission that allowed for plenty of “sandbox”. The mission was well constructed, entertaining, and bug free. Thanks to Nichevo for constructing such a quality mission.
Chris “BeachAV8R” Frishmuth