Putting It All Together

As I mentioned in an earlier post, I’ve decided to start a brand new PC build for three very good reasons:

  1. My son is of that age where he wants to play games on my PC by himself, so we’re running into a resource issue - there’s only one gaming PC in the house!

  2. Building a PC from scratch gets you intimately involved with the details of your PC. There’s no excuse for not knowing the real capabilities and limitations of your machine.

  3. I wanted an excuse to go for a radical upgrade beyond “just 'cuz”.

Although assembling a PC is generally very simple, there are several steps with many many different decisions to make. Like a typical engineer, I agonized for too long over many fine details and decisions before finally settling on my parts list. This step is probably the most important of the whole process, so I don’t mind the fact that I took a while to finalize these details.

I used PCPartsPicker.com as a checklist for my build and as a jumping off point for research on parts, but I didn’t stick with their highest recommendation.

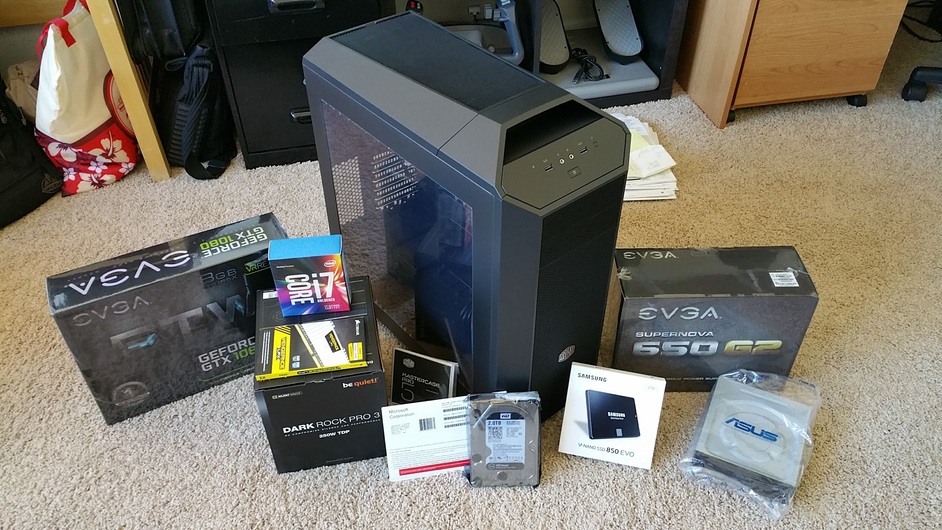
Some highlights of the build:

Pretty decent build, if I do say myself, although clearly economy was not a driving factor. I could have saved quite a bit by going to a 1070 GPU and a 500 GB SSD and a cheaper case, but I wanted something that would perform smoking hot out of the box, last me a while, and also be modular/portable for future upgrades - I don’t plan on starting a scratch PC build again for a while!

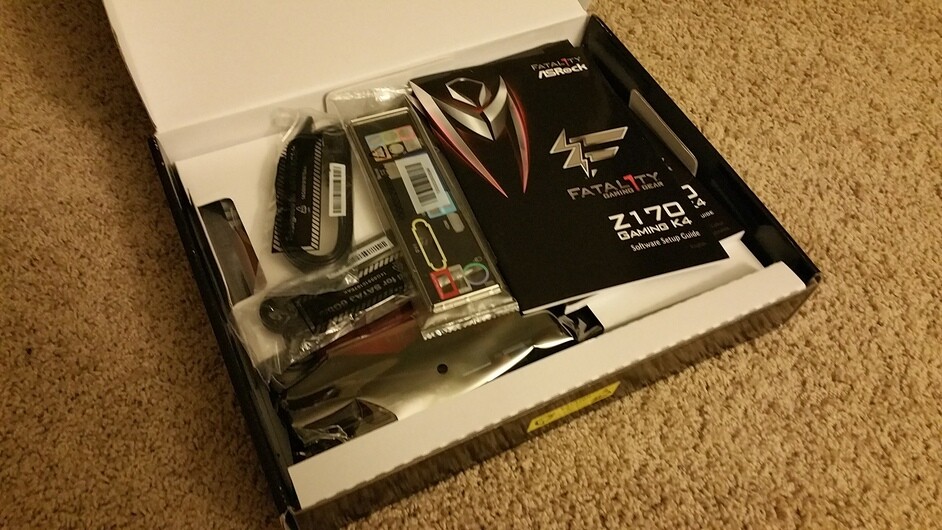
It’s always exciting to get stuff in the mail, but seeing my goods all arrive within a couple days of each other was like the best Christmas ever - except maybe the one where I got my Nintendo Entertainment System for a “late” christmas from m grandmother, months and months after all my friends had gotten theirs. It was rad!

Unfortunately there was one minor snag. The vendor selling my motherboard had run out of stock and I’m not due to get that shipment until Monday. When I scrambled to find another vendor, the price of the mobo had gone up $40 and although I wasn’t exactly frugal on this build to begin with, I couldn’t justify essentially a $40 shipping expedite for just a couple days.

Naturally, I couldn’t wait until I had ALL the parts to start unboxing, so, chores completed, I unboxed stuff today to check it out.

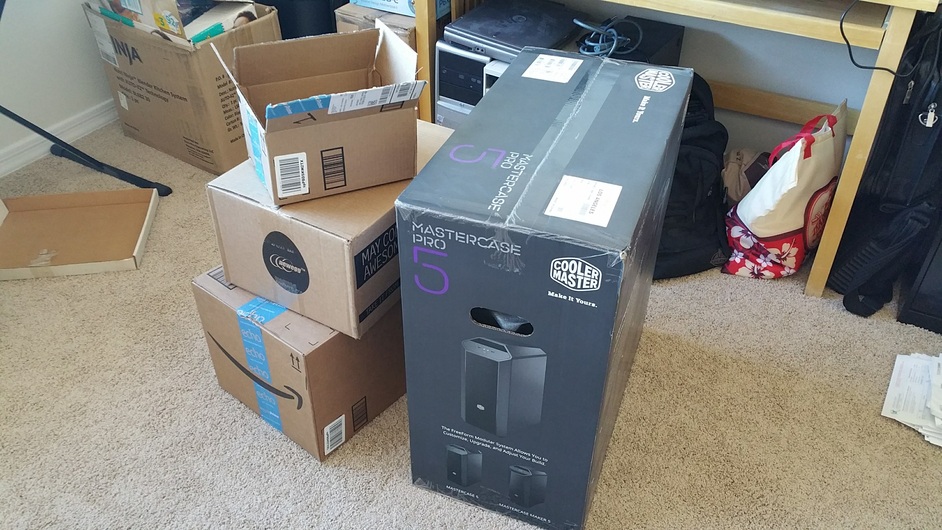
The Master Case is huge, a lot bigger than I was expecting. I had thought my current case was freakishly large, in the box, this thing is ginormous!

Although some of the height difference was due to an excellent packing job, the new case is still pretty hefty and will be a tight fit under my desk. I may need to notch out part of the back of the desk to route cables or ensure good airflow.

And here are the rest of the goods, sans the motherboard.

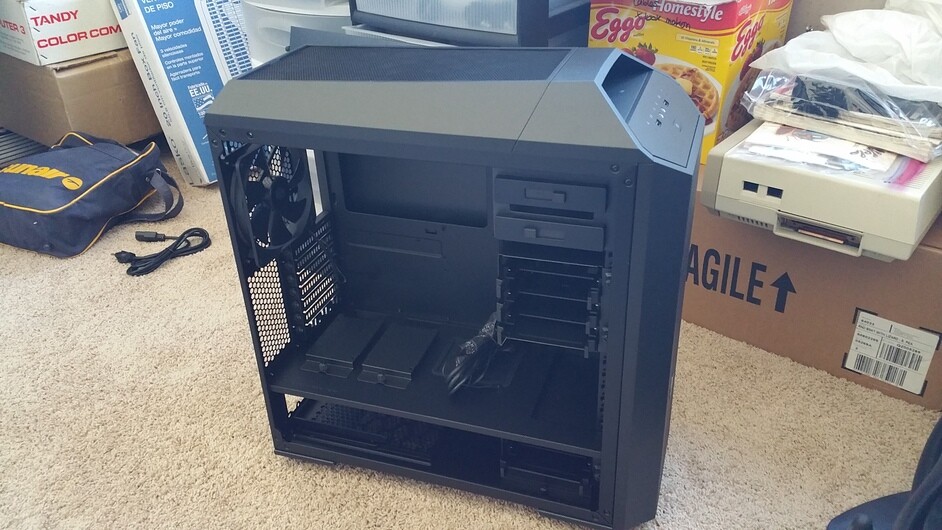
It’s not really worth it to start putting components into the case, like the power supply or optical drive, as I’ll want the extra maneuvering room when I install the motherboard, so I’m blocked until that shipment comes in.

In the meantime, I’ll just sit here and stare and drool.

8 Likes

I couldn’t wait and do nothing, so I started dinking around with the case and made some neat observations.

I don’t like the idea of a window on the side of my case. My PC will be kept under a desk on a carpet with a house full of cats. It WILL get dust and hair in it and a window is just going to show it off. Plus, having a whole side dedicated to a window means less real estate for fans. Luckily this case has ventilation galore, so I shouldn’t need the extra vent, but it was a bit annoying to not have the choice.

Such modular! I’m very impressed with the quick load trays and easy access wiring trays. Should make installation and later upgrades a snap.

One of the quick load trays had something in it, which turned out to be a very handy tray of accessories: screws, standoffs, cable adapters, even twist ties! Much wow.

7 Likes

That’s like the nzxt phantom, which is my case and I love it.

Hey, congrats on the new pc! I hope you have some ESD set up while working on a carpet

How is the clearance on the sides? The side ways drive mounts are nice, just remember from the one I had it became really hard to get the side back on once the cables were connected. L shaped connectors helped, too bad they didn’t have them for the power supply. Good luck with the build, some real nice stuff in there

Nah, I’ll just rub my hands really hard on the carpet for 20 seconds or so to get all the static out of my hands and then really quickly grab the CPU/RAM/video card. :wink:

Thanks for the heads-up, I’ll be looking for that issue.

Pretending to be Raiden ?

1 Like

I think of myself as someone a little more mediocre.

1 Like

One of the times in einstein’s life, or anyone’s for that matter, that someone was looking forward to monday so much :stuck_out_tongue:

That’s my case too! love it as well.

1 Like

Yesyesyesyesyesyesyes

2 Likes

3 Likes

Thankfully, I know someone like @fearlessfrog, otherwise, I might not have realized that my EVGA GTX 1080 FTW video card had a Samsung Note 7 tendency of catching fire.

It looks like the issue comes when running extreme loads on the card, but the root cause is deficient heatsink design on the overtaxed voltage regulator modules. A ticking timebomb that can prematurely age the card, at best.

Thankfully, EVGA has acknowledged the issue by reiterating that their products meet technical specifications, but is also modifying future 1080 cards to include a thermal pad to improve cooling of the VRMs. For those of us schmucks that already have one of these infernal cards in hand, EVGA will ship the thermal pad mod for free*, granted you register a qualified product on their site first.

On a happier note, during this process I found out EVGA was offering their Power Link product for free* to owners of registered products, so I ordered one of those as well.

[edit: That Power Link is normally $30!]

Win-win?

*This happens to be one of those rare cases where free literally means free: no taxes, no shipping and handling fees, no registration fees, no nothing. Just enter your address and go. Very comforting!

Only affected cards were the FTW line. Superclocked series are fine

The reports indicate all EVGA 1070 and 1080 cards with the ACX cooling system are affected.

Source: Nvidia GTX 1080 & 1070 EVGA Cards Reportedly Catching Fire & Dying Due To Overheating VRMs

The issue affects EVGA’s entire range of Nvidia GeForce GTX 1080 and GTX 1070 cards equipped with the ACX cooler, all of which lack direct VRM cooling. This includes GTX 1080 & 1070 ACX, SC, FTW & FTW DT models. Essentially all dual fan models except the Classified.

When I checked in on it on reddit, the EVGA rep said only the FTW line was affected. Didn’t think I need it. But ordered that thing anyway. Thanks for the heads up :slight_smile:

1 Like

I’d count that as a more reputable source than wccftech! Thanks!

But this was failure only happened with overclocked cards though. If you left the card in its default state, it should be pretty much fine.

Basicly EVGA said “This is not an issue, but if you feel it is, here is a solution”

1 Like

I think this says some good things about EVGA. They could have easily shrugged it off, said overclocking isn’t covered in their warranty, and ignored the issue. We still would have thrown money at them, taken their cards, and thrown more money at them for cooling accessories.

Instead they 1) offered a free do-it-yourself fix for folks who already have purchased the card and 2) are updating their product to support overclocking.

The last bit is just smart. I’m not sure if the folks who overclock make up a majority of the market, but they are certainly a majority of the shouting on forums. This went a long way towards appeasing them.

Personally, I’m going to put on the thermal pad, not because I think my card is going to catch fire, but because I think the reduced temps will improve the life of the card. I’d even go the water cooling route if it wasn’t another $120. Instead, I’ll probably just use a little more thermal paste.

Looks good, right?

5 Likes

Mobo (with CPU, cooler, and RAMs) is installed to the case. Next, install the PSU, all the cables, then do a smoke test.