Reflected's Speed and Angels AARs

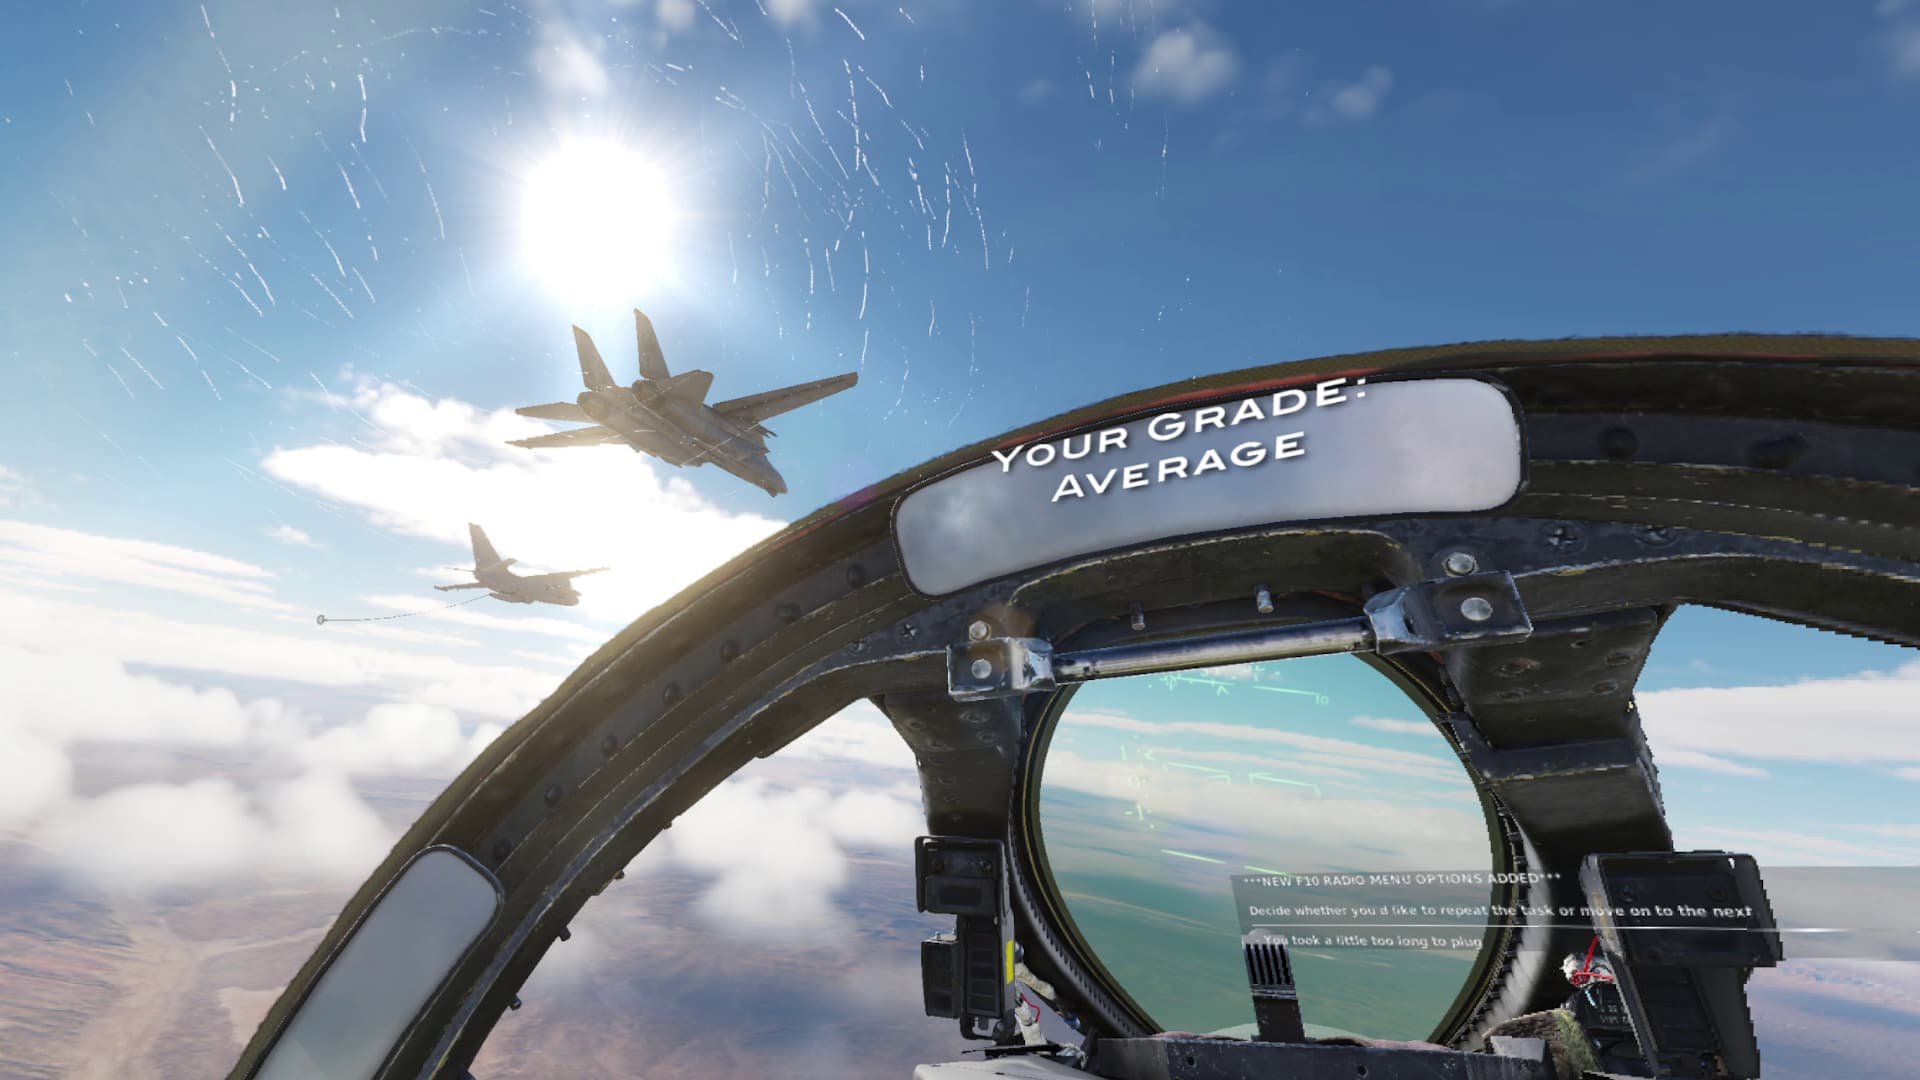
I just started Reflected’s F-14B campaign, Speed and Angels, and love the whole RAG/FRS aspect. Doing everything the Navy way isn’t easy, and probably not many people’s idea of fun, but it’s rewarding. The included gradesheet I think is the thing that keeps pushing me forward. You get one of four grades for each item: Above Average, Average, Below Average, and Unsatisfactory. The immersion is great with Paco and Meagan voicing main characters, plus random radio chatter while out at the Nellis ranges.

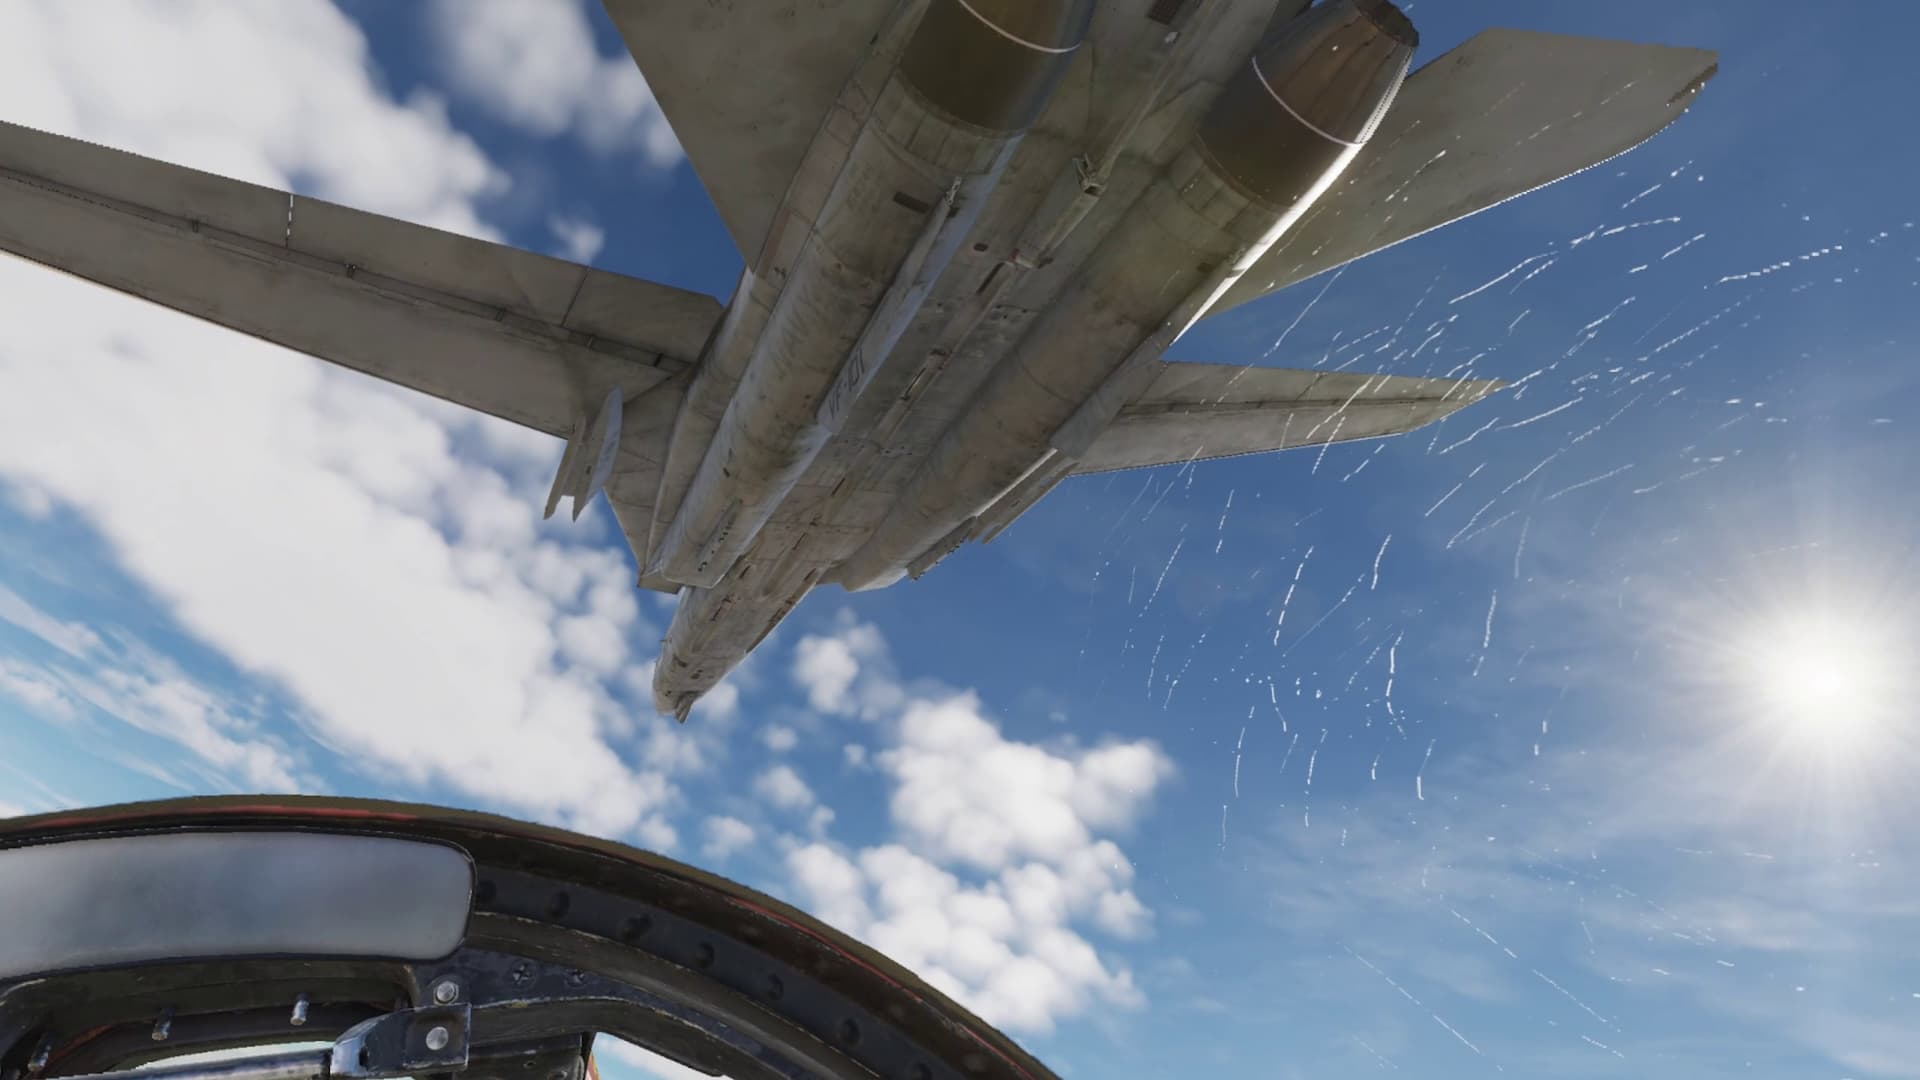
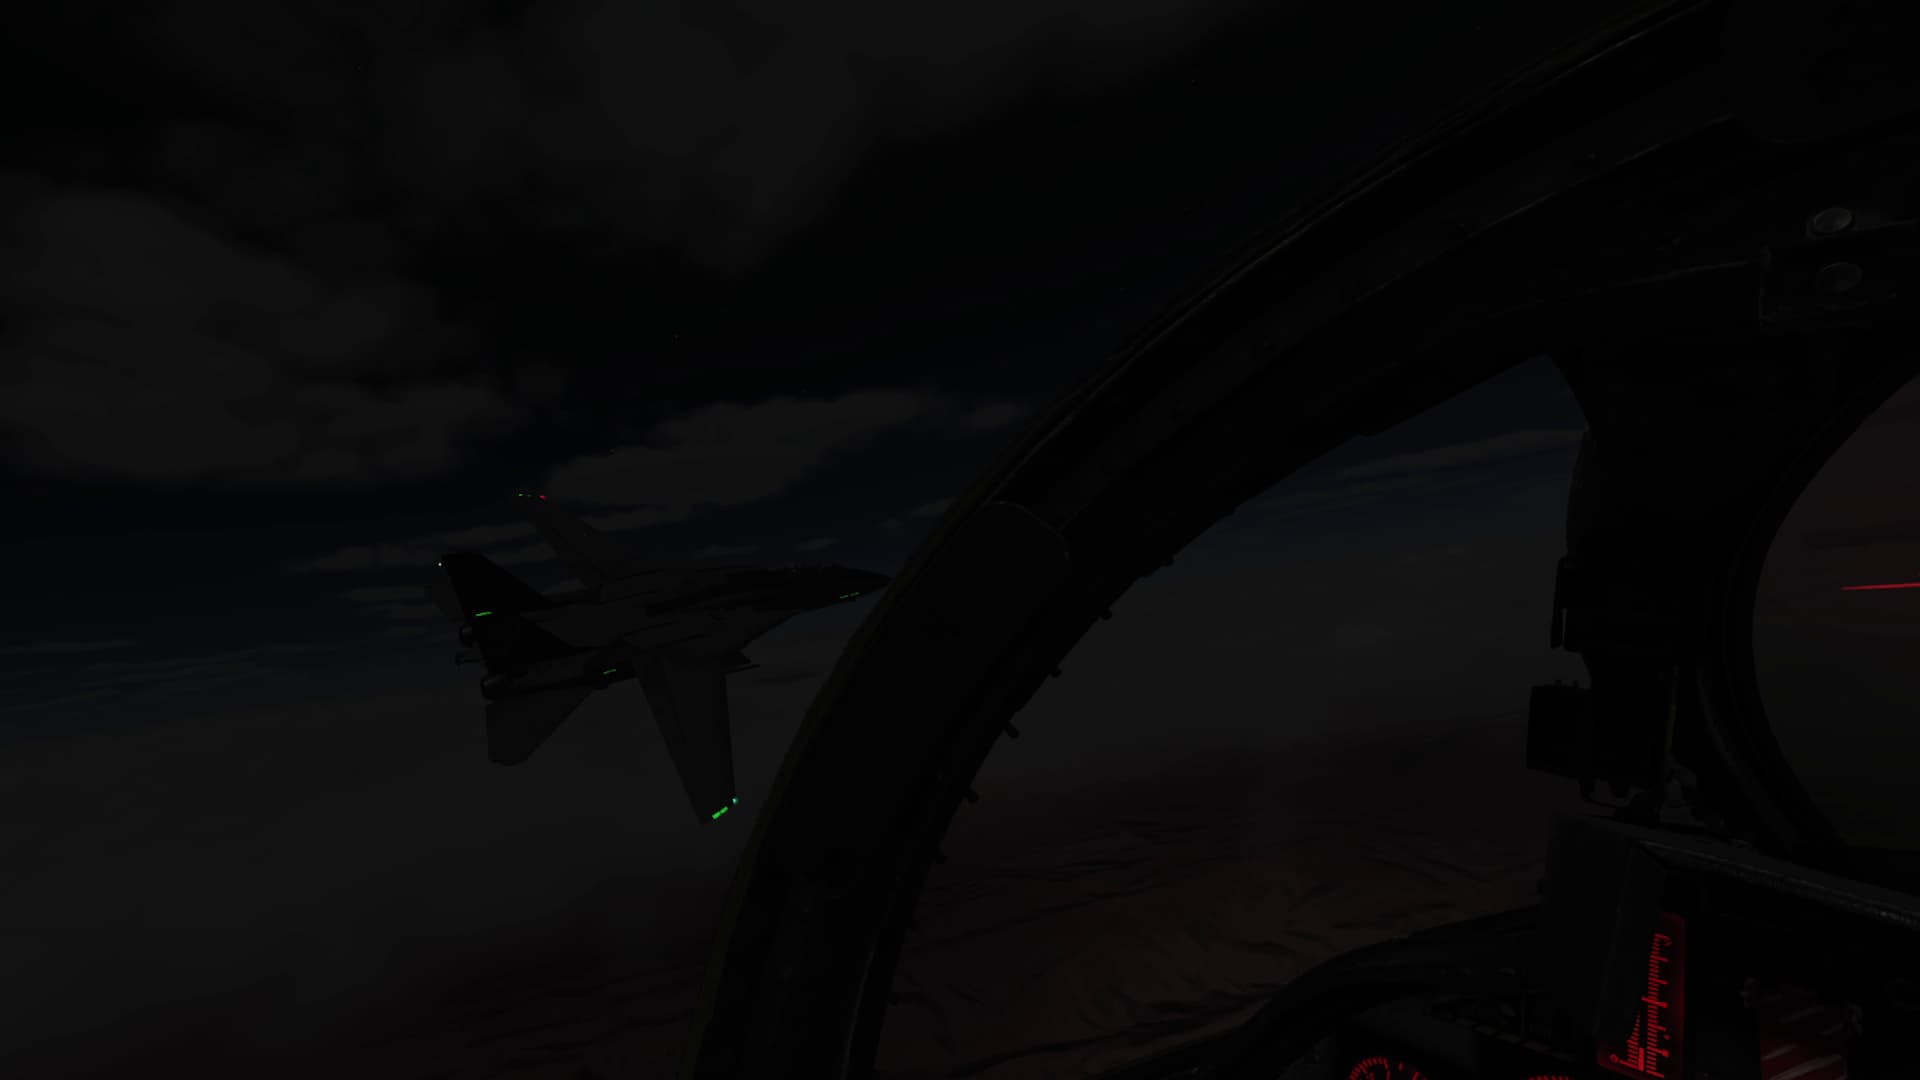
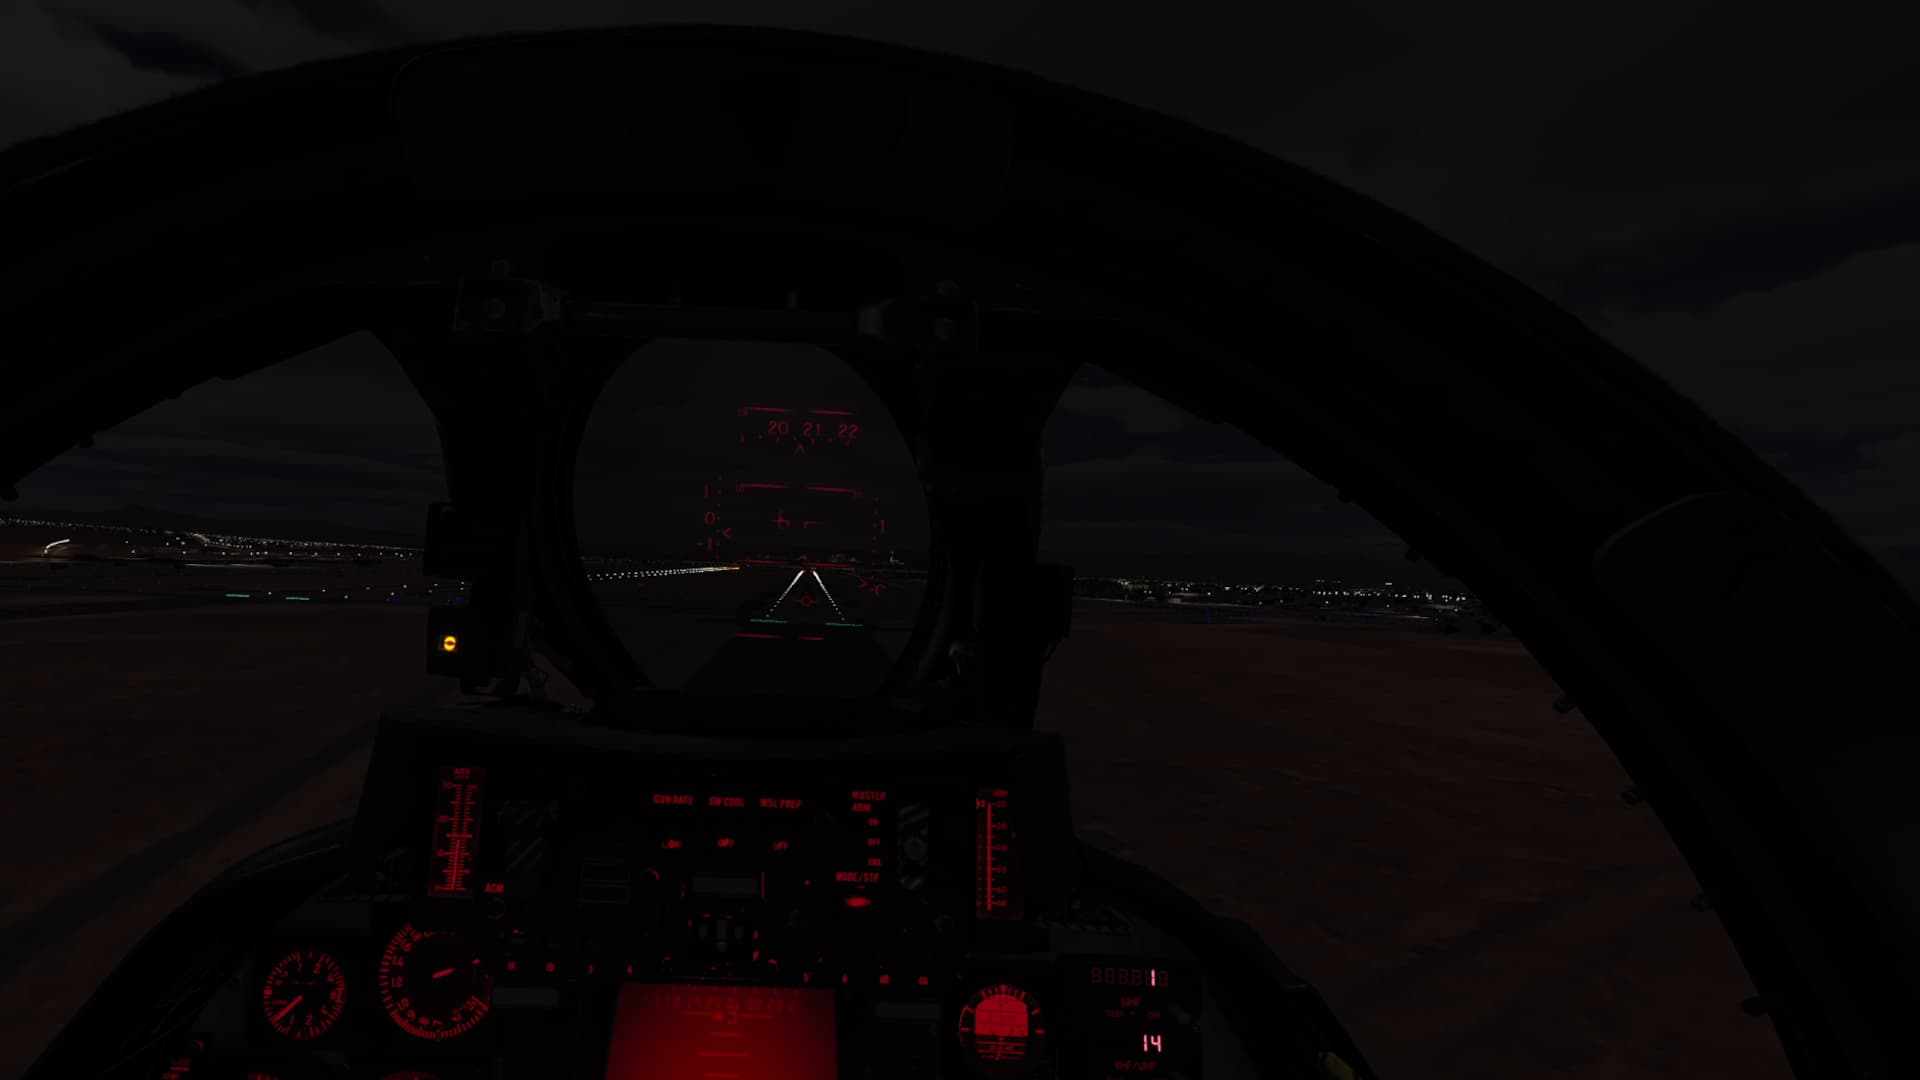
I’ve did highlight videos on YouTube but thought I’d do more exposition on the flights with some AARs here as well. Sadly since I only fly VR all I got for pictures is in-cockpit screengrabs from video footage.

DAY ONE

Fam flight with some aerobatics. Precise aerobatics. Pull this amount of G, that amount of AoA, enter at this altitude and this speed, exit at the same speed. Okay now do all four maneuvers continuously–Squirrel Cage!

My first flight I really struggled with some maneuvers and had to redo them before Paco would let me progress to the next one.

  • Level 5G turn: The VVI lags so much and I don’t have good visual/physical feedback to maintain level so I cheated by putting the HUD in TO mode to reference the HUD VVI. In my defense, the BuNo for the jet I’m in was a D in real life so I’d say it’s valid :nerd_face:
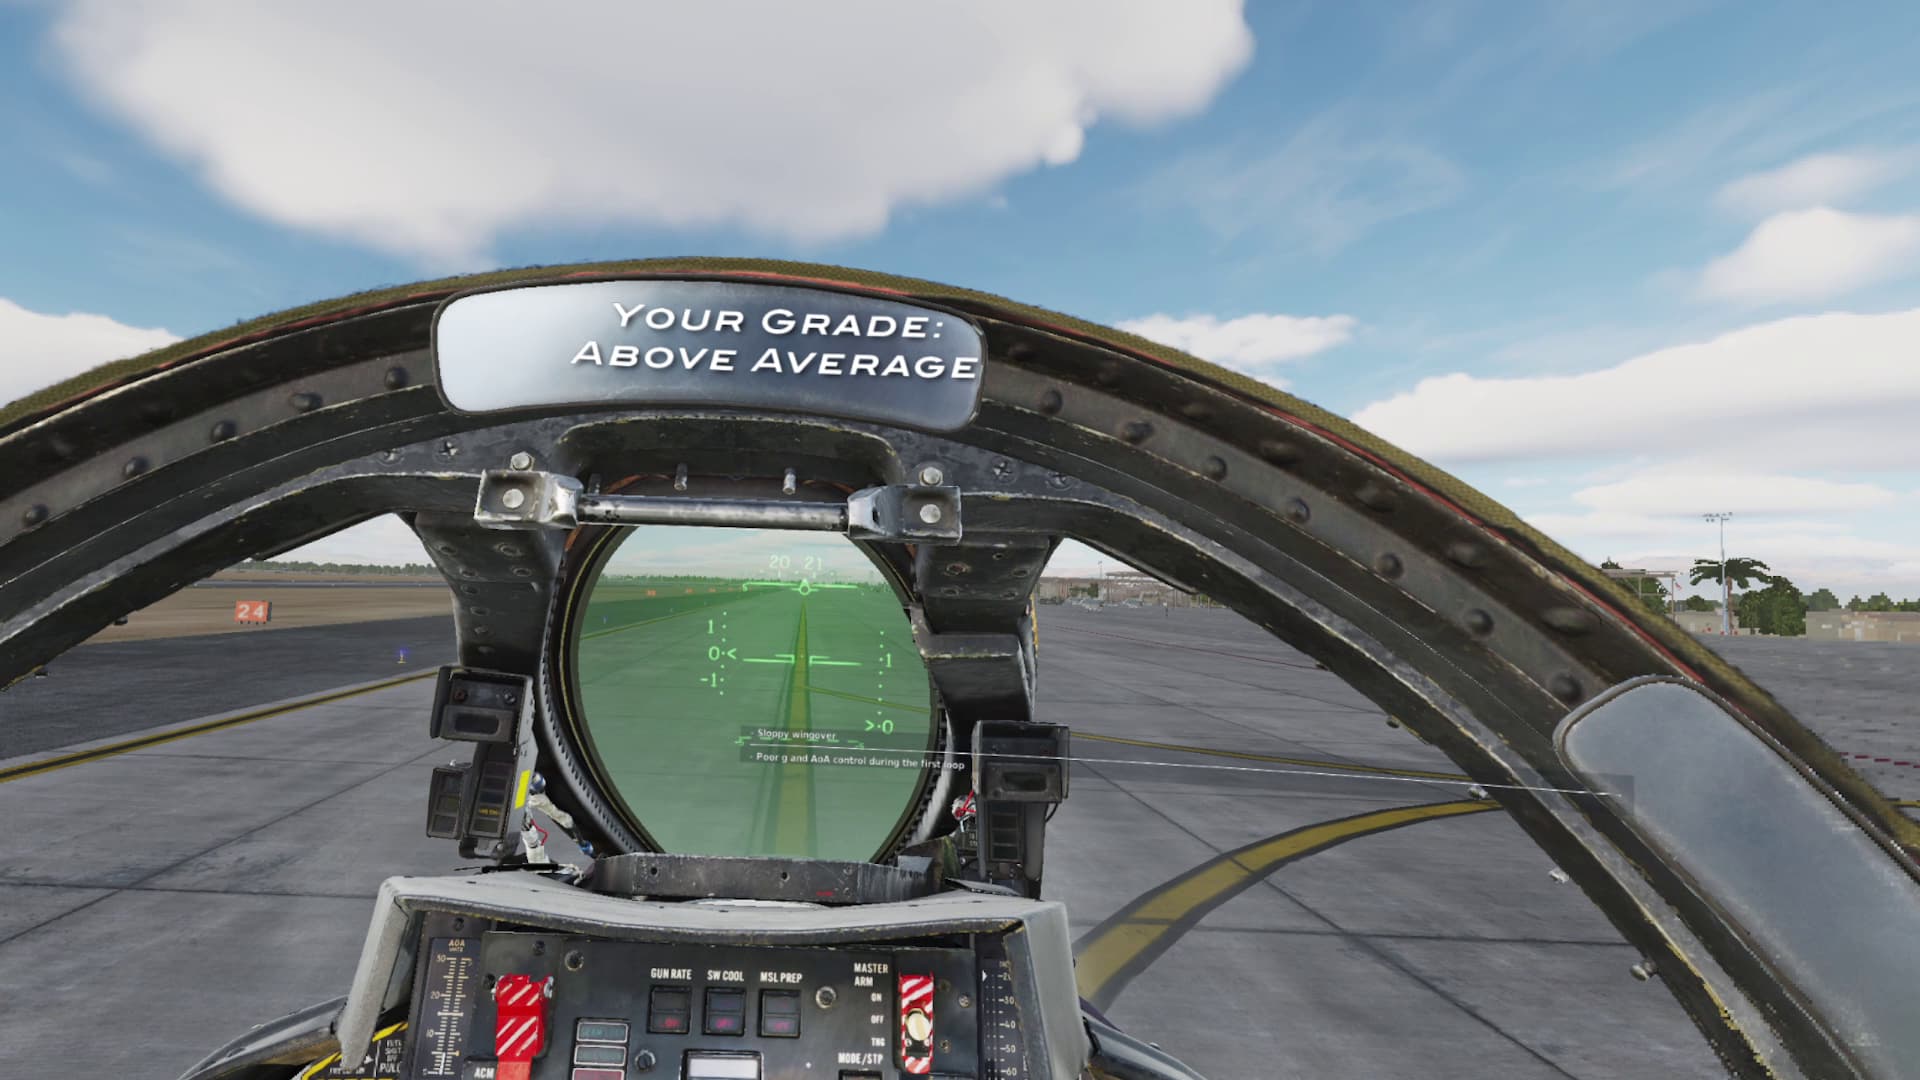
  • Wingover: It seems so simple yet isn’t. 45 nose up, gentle 180 turn, 90AoB at the 90 as the nose falls, slowly roll out opposite heading. All the stuff between the start, 90, and end was just weird for me.
  • Loop: I had trouble feeling out when to transition from G to AoA, then back from AoA to G.
  • High alpha: We get going at 100kts and dance on the rudders. Honestly for me this was a hardware issue since my Saitek Pros have no resistance and are very sensitive. If I’m 20~30 units they’re fine, but on this hop we were legit maxing out that AoA tape. It was nuts.

Then we did a zoom climb from 450kts on the deck, followed by some Mach turns. I didn’t get specific instruction on burner use once I hit the prescribed M1.3, so my silly butt left her in blower the whole time. State 1.0. Flamed out on RTB, managed to glide all the way back to WYPT1 before I had to eject on account of no altitude and unresponsive controls. So…I guess that’s an Unsat?

DAY ONE REFLY

I still struggled with the G/AoA transition on the loop and sloppy wingovers, but I made it back and got my grade.

UP NEXT

Formation, Rejoins, Tac turns, Tanking.

9 Likes

DAY TWO and Report Card Check

Starting off with Parade formation, and it didn’t go so well. DCS AI being as they are with sudden banks and lateral sliding, my first attempt was an unsat after I had to break away to avoid a near mid-air. Second attempt the AI did it’s utmost to hit me with a lateral slide after rolling level, and we actually had a mid-air. Third attempt was average.

Next, break-up and RV. Easy, but scored below average because I took my time.

Then cruise formation, another below average with the AI’s erratic turning.

G-warm, shackle, cross turns, and tac turns were all average. I love the 90 tac turns, they’re a lot of fun!

The in-place turns I didn’t fully understand. I thought we were supposed to end up still in combat spread, but we always ended up more in trail, yet I got an above average grade for it.

Finally tanking, average because I was slow again.

And here’s my grade sheet so far:

Night form is going to be…interesting. After Module 3 we get into intercepts, then surface attack and BFM stuff. I have a feeling I’m going to get hella task saturated since I only have two neurons: one working the stick and the other working the throttle.

8 Likes

Clutch, you’re going to be a Sierra Hotel fighter pilot when get through that campaign!

2 Likes

Awesome write up! This campaign is next on my list as soon as I finish up Dominant Fury in the Hornet.

2 Likes

Good stuff!

Wish every module came with a robust Fam syllabus. I think that, as sim pilots, we can all succumb to the temptation to, as an old staff colonel once said,

“Just put the spikes on the nose and bend the jets around!”

For what it’s worth:

Aerobatics often gets dismissed, even by some pilots, as nothing more than handling or comfort drills, but there’s some really good stuff buried in those old maneuvers.

The Wingover, like its sibling the Barrel Roll, is a lesson in Lift Vector placement.

Almost everyone who does their first Wingover tends to roll early. It’s almost impossible not to. But, the moment you begin to roll your lift vector from the vertical, you begin diverting the proportion of your lift dedicated to raising your nose into turning the aircraft. So, if you haven’t spent sufficient time raising the nose, you get to the point where you effectively can’t raise it any further.

Thus, a good takeaway from this is that, if you need to get your nose up, the easiest way is wings level, where your lift vector is pointing where you want to go. This is as true in preventing/minimizing a flightpath overshoot as it is in recovering from a dive.

Once your nose is at least 20, better 30, degrees up, you can start rolling. The goal is to reach your apex, 45 degrees up, at 45 degrees off entry heading. If you committed the first portion of the maneuver to pitching up, then you have most of the remaining 45 degrees of heading change to pitch only an additional 15 degrees, or so.

As you will see, once you’ve rolled to 45 degrees or more, heading change is no obstacle. But it will become impossible to hold your nose up. This is perfectly acceptable, even necessary in the Wingover, and you can modulate your roll and your pull to let the nose fall to reach the horizon 90 degrees off entry heading, at 90 degrees AOB.

You may, if you need to, use bottom rudder to yaw the nose down. It may not be good aerobatic technique, but it’s a useful BFM skill to have, say in a flat scissors to get your nose back below the horizon.

The back half of the Wingover is the opposite of the first. Your nose is falling of its own accord, so your initial concern is rating the nose around. If you roll your aircraft upright too soon here you will divert your lift vector from turning. Not only will you reduce your capacity to change heading, you will also stop your nose from falling to 45 degrees nose low. In fact, they will be coupled together against you (i.e. the more you pull to change heading, the more you “pull” your nose up instead of letting it fall).

Thus, keeping your AOB high at first, your lift vector horizontal, you maximize your turn rate, then play your roll out to reach 45 degrees nose low, back at 45 degrees AOB and 135 degrees from entry heading.

The last 45 degrees you modulate the roll to orient your lift vector as necessary to arrive 180 degrees from entry heading, wings level, and back at entry altitude. Again, there’s a tendency to, “scoop it out” too soon, so keep the lift vector where it is most needed at the moment.

Yeah, it’s a lot of detail for a simple maneuver. But, the takeaways of why the maneuver works, or doesn’t, can be applied to all sorts of dynamic maneuvering.

And, without the distractions of other aircraft or employing weapons, you can really begin to get a feel for how to get the jet to do what you want it to do.

13 Likes

Great tips! A lot of that detail was missing in the breifing PDFs and the in-game explanation. The set-up as briefied in the mission is entry at 15k 350kts, 2-3G pull to 45 nose up, feed in bank, be at 90 AoB at 90 degrees of turn, let the nose fall and roll out 15k 350kts opposite heading. No other details.

The mission will list which points you did poorly and, like you said, my first attempt was rolling too early (I think I started around 40 instead of 45). The mission triggers are very particular about rolling after establishing 45 nose up.

What I’m continually sloppy on is the bank angle throughout and the pitch on the second half. I always hit 90 AoB after only 70~80 degrees of turn, then need to coax the nose down by increasing bank after the 90, then end up having to keep a ~5 AoB to prevent rolling wings level opposite heading before getting back down to start altitude. I never hit that point where I can’t keep the nose up and it falls on its own.

2 Likes

That’s a lot better description of what we called a Lazy Eight than I ever got when I was in flight school!
:grin: :+1:

I guess all them numbers being a bit more aggressive than what we could achieve in a Cessna 172/182 is probably why it’s a wingover instead. :rofl:

3 Likes

To be completely fair, I have no idea if I could get any better score. It’s just a great exercise in playing with the notion that,

“Where the Lift Vector points, So go you.” :slightly_smiling_face:

As to your above statement, there’s nothing wrong with that. It’s natural to assume that the maneuver should be, “poetic”, for lack of a better term. But I prefer to fly it, “functionally”.

If you think about it, you pulled your nose up at 2-3Gs. But, unless you overbank, there’s only 1G pulling you back down. So you want to get rid of that wing lift opposing it.

Thus, if you rolled sharply to 90 degrees AOB after your 45 degree checkpoint and your nose hits the horizon well prior to your 90 degree checkpoint, that’s too soon. If you can’t get the nose back down in time, it’s too late.

At 90 degrees AOB, your nose should fall. True there are other various lift and thrust producing elements on your aircraft. But I’ve never seen an aircraft that failed to fall on the knife edge.

And remember you can apply some bottom rudder to help the nose back down.

Again, I don’t think I’m winning any aerobatics competitions with this technique. This is purely deconstructing the maneuver so that I can say, “Hey, I liked the way this worked” or “Yeah, I can almost visualize my lift vector thinking about it like that.” Which I’ve always felt was the real virtue of doing Aero in grey jets. :grin:

You know, I’ve never done a Lazy Eight (or Chandelle for that matter). Even in P-cola we did the same maneuvers in the T-34.

You are probably exactly right in that Lazy Eights are designed to require less rivet popping than the Wingover.

Can you do them in something like an Aerobat, I wonder? :thinking:

3 Likes

Only if it’s a rental.

5 Likes

LOL. Well, you can at least do it, once.

2 Likes

I just tried in the Hornet at 400kts. Indeed the nose does fall, but not nearly quickly enough to make the 90 off, 0 pitch checkpoint without a good bit of rudder. And I needed to hold some rudder at 90 degrees AOB if I wanted get my nose 45 degrees low.

So definitely not easy without some positive input by the pilot, and more difficult than just the, “Do this” instructions might suggest.

Out of curiosity, and to make sure I wasn’t talking out my ***, I did a little surfing and noticed that more descriptions than not of the Wingover talk about that rudder input.

I honestly don’t recall needing that much in the T-45, but it’s been quite a long time…

There aren’t a great many good videos of the maneuver, but this one seemed pretty good, if brief.

Notice how he gets his nose up a good way before rolling and how much time he spends at high AOB in the middle to let his nose fall. This shows how the Wingover is a bit “squarer” than it looks on paper, with wings level pulls on both ends, and a lot of time spent on your wing in between.

There do seem to be a few videos of GA aircraft performing these, just perhaps a bit shallower to account for them having somewhat less power.

LOL, this really turned into a rabbit hole. But I think these maneuvers really do teach some great lessons.

4 Likes

DAY THREE

Or I should say, night three. I had a game plan to deal with the AI in parade this time: when outside of the turn, slide to the inside of his turn so he will slide away from me–not into me–after rolling wings level. Worked out.

Then Rendezvous again. Strangely I did better this time than I did on the day run.

Cruise form was rough. Sudden 60AoB right into me.

Then tanking, no sweat. DCS bug, Paco get stuck flying form with the tanker and never leads me home, so I have to go back all alone. Once parked at my start position the mission complete triggers, so campaign progress is thankfully saved.

I’m tempted to fudge my form grades to Average on account of the AI being whacko.

Intercepts next…not sure I have the short-term memory for this.

3 Likes

Nice! Sounds like DCS section leads can be a might, thoughtless, at times.

3 Likes

Is the combat training during the RAG portion simulated, as Baltic Dragon has done a few times, or is it live fire?

I believe it’s live-fire, but I haven’t gotten to that point yet. I know in Zone 5 it’s live fire but, at least in the gun 1v1, it’s partially simulated in that no damage is actually done by the hits. Might be the same in Speed and Angels.

A 90° in place turn from a line abreast formation will always put you in trail formation, that’s simple geometry. Add another 90° and you’re back in line abreast. In the A-10C in low threat enviroments I use it quite often for shooter shooter attacks and tac turns for simultanous attacks with for example mavericks against SA-15s to saturate them.

I did some more practice on them with AI in my own missions and found that the 180 in-place turns only work if you know the AI’s turn parameters, but even then I have to play with speed and bank angle at various points to come out abeam. The campaign instructions made it seem like I simply need to maintain same speed, bank, G/AoA as instructed all the way through, which of course doesn’t work (particularly when AI doesn’t stick to parameters).

1 Like

AI can be weird and do some abrupt and unexpected maneuvers and yes you need to agree on the parameters, otherwise it won’t work. That’s why we write stuff like this into our SOP.
If you need a practice partner give me message on Discord or something. I’m usually free on weekend evenings CET/CEST.

2 Likes

Normally there would be standard TacForm turn parameters that you would have learned all the way back in the RAG.

Generally it would be 4G, or something reasonable, in order to maintain energy. But, that would likely be adjusted for, say, high altitude. So something like 4G or 10 units AOA, whichever comes first. (These are example numbers, each aircraft type would be different)

Of course it’s absolutely true that a good flight lead presents a standard maneuvering turn. But it is always the responsibility of the wingman to maintain/regain position. As an example, if lead cannot make a pure 90 or 180 degree turn it’s the wingman’s job to redress the section.

This can require pretty aggressive, but reasoned, maneuvering. For instance, if you are wide abeam, then a Tac Turn away from you will put you sucked(behind bearing), even with a turn identical to lead. Knowing this, you may wish to turn tighter to, “get there first” and dump the nose to get back to bearing first, then spread, then altitude in that order.

In Navair, an in place turn is always a 180 degree turn, more or less. You can indeed use a simultaneous turn to get a flight into trail, but technically that’s just a maneuvering turn, which is really just a minor point.

In another example, a section attacked from the beam will generally conduct a simultaneous engaging turn towards the attacker(s), resulting in a lead/trail formation. That’s not called any kind of turn. It’s just a tactic.

I’d be curious to see what your lead is doing here. If he’s really doing something odd, then maintaining spread can be a chore! :slightly_smiling_face:

1 Like