Silent Hunter 4: Wolves of the Pacific – Pig Boat Patrol #1
By @EinsteinEP - March 29, 2015
Originally published at: Articles - Mudspike Forums

Although my first sim crush was Microsoft’s Flight Simulator, my first true love was Silent Hunter. The hours of patrolling empty seas, many attempts and frequent failures to infiltrate heavily defended convoys were more than paid in full when those torpedos hit. The sight of a burning and listing tanker hull through your soda-straw periscope would fill your heart with joy one moment and then a single sonar ping from a vengeful enemy destroyer would instantly fill it with cold fear. Ah yes, submarine warfare is a special kind of warfare – strategy and tactics, emotion and hunches, it’s a hard habit to break once it has gained its hold. Every kill is a trophy, every depth charge a lesson. Each time you set out to sea, you never know which you are going be bringing back.
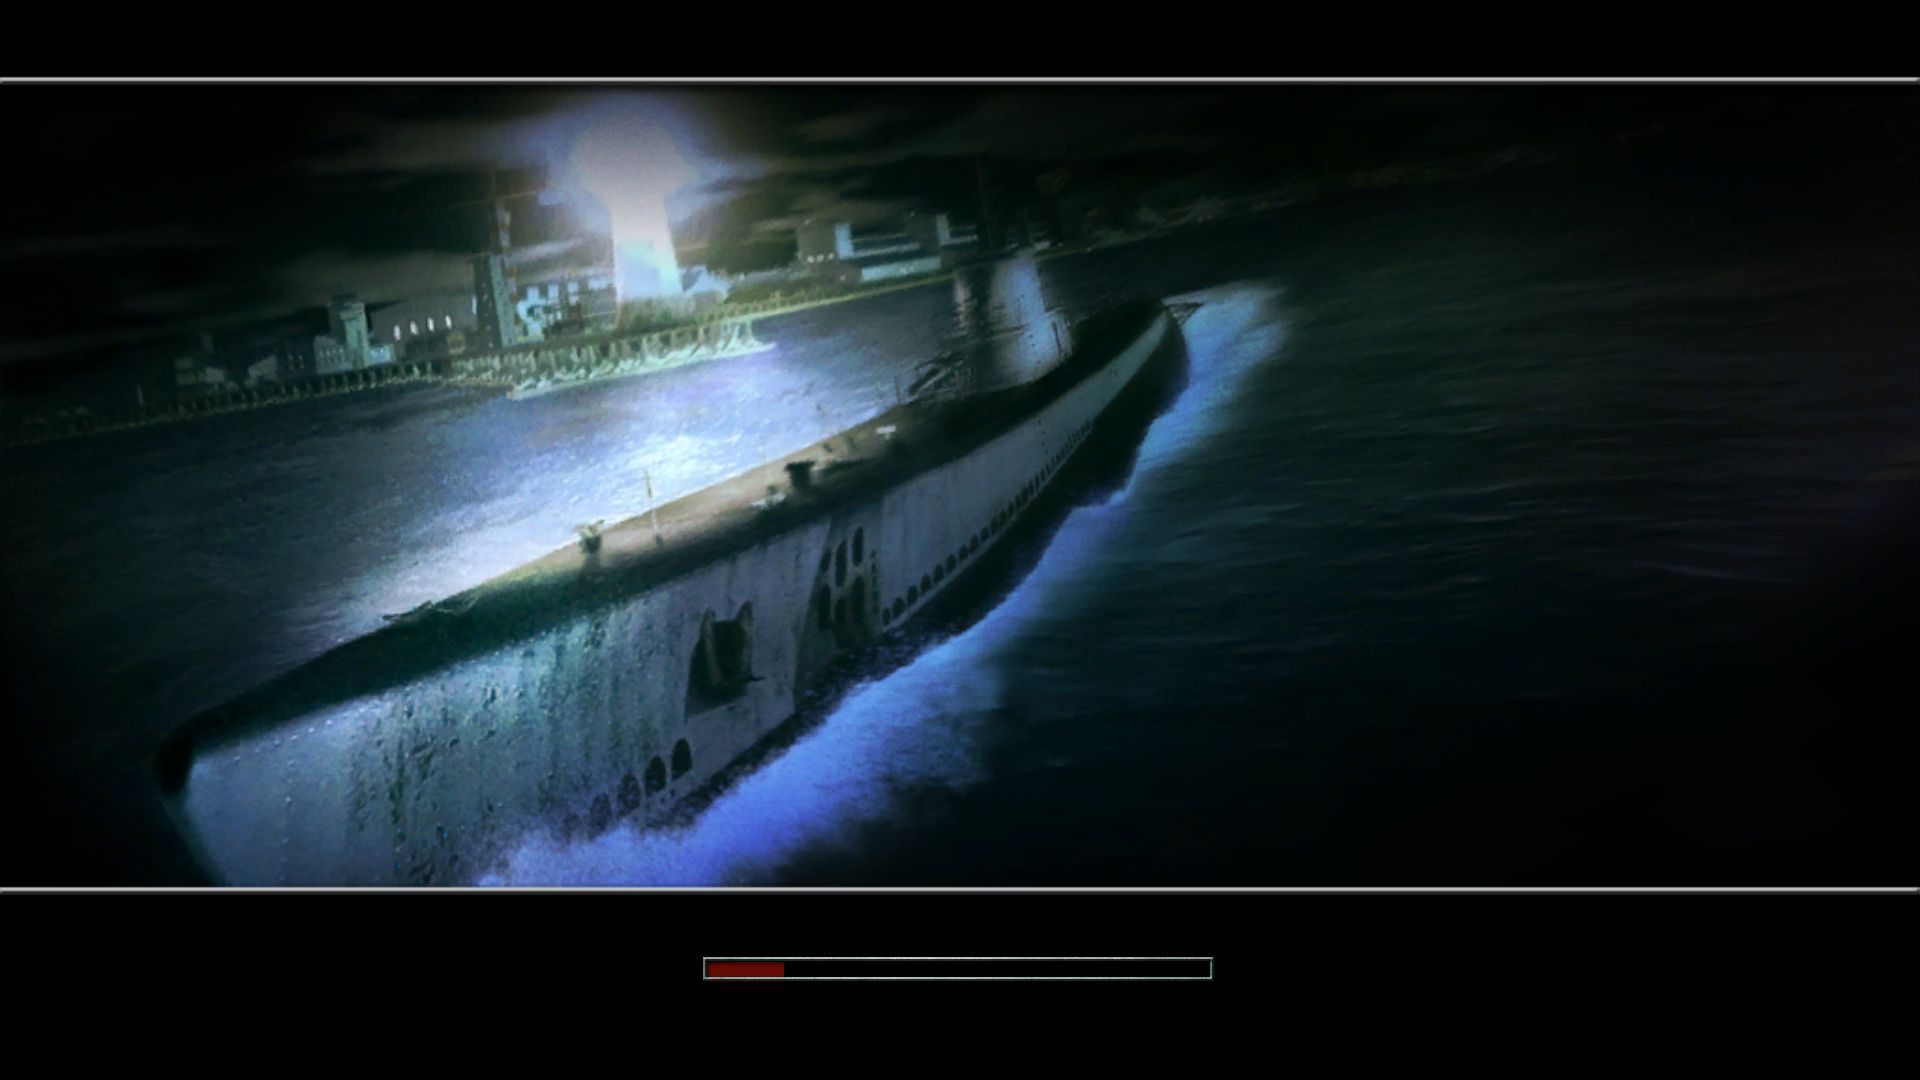
 Silent Hunter 4: Wolves of the Pacific.
The Silent Betrayal
I followed the Silent Hunter series from the first blocky and bleepy Commodore 64 version up through Silent Hunter 4, which I play in this after action report. I also played modern versions of the submarine experience – 688 Attack Sub by Electronic Arts which debuted in 1989, Janes’ 688(I) Hunter Killer which represents one of Janes’ best technical study sims of all time (ALL TIME!), and Sonalyst’s Sub Command – but, at least to this old salt, the World War II submarine experience remains the epitome of the submarine hunting experience.
Unfortunately, Silent Hunter 4 took some serious depth charging when Ubisoft released and then abandoned it with bugs that seriously impact gameplay. This crank and dump approach burned me as well as other sub simmers, and I haven’t even glanced towards Silent Hunter 5 because the memory of the pain is so strong.
Thankfully, the great community at SubSim.com did and continue to do a fantastic job of keeping a collection of patches, modifications, tutorials, and other support items to keep the submarine simulation experience accessible to anybody who can read through a forum. If you’ve ever been interested in submarine simulation, head over to their site and check them out. They continue to keep their news items freshly stocked and the forums and file download areas are chock-full of incredibly useful information and data that you just can’t find anywhere else. Without their thankless (and free!) service, the submarine simulation community would be in dire shape indeed. <tips hat to Neal Stevens et al.> Bravo Zulu, SubSim.com.
There are an immense selection of patches and modifications available for Silent Hunter 4 (very few are actually compatible with each other!), including a selection of well-designed supermods that greatly improve the submarine hunter’s experience, but, in this AAR, I’m playing a mostly vanilla Silent Hunter patched to version 1.4. The only two modifications I’ve made to the sim configuration files correct egregious errors in the mast heights in the onboard recognition manual and changes the default torpedo fire key from just Enter to control-Enter. If I had a nickel for every time I have randomly shot a torpedo out into the Pacific, I could probably buy a venti Starbucks cafe mocha. Maybe.
The Start of a Career
 The typed letter with the handwritten signature is a nice touch, but I would have been happy with just a simple text message.
December 9, 1941: I report to Manila, Philipines to accept command of my first submarine: the S-27. The S-27 is an S-class submarine. The S-boats (aka “Sugar” boats) were produced between WWI and WWII and represent the coming-of-age of the submarine as a formidable weapon of war. Of all the submarines available to US submarine commanders of Silent Hunter 4 (S-class, Porpoise, Salmon, Sargo, Tambor, Gar, Gato, and Balao), the S-class is by far the most primitive, but a fitting place to begin my submarine career.
 It’s hard to repeat FDR’s historic speech without deliberately over-emphasizing “deliberately”.
Since there’s a war going on and all, I should probably get going, but I need to set first things first. I need to ensure my ship and my crew are ready for the grand adventure I’m about to bestow on them, so, while in port, I check my ship’s configuration.
Getting Decked Out
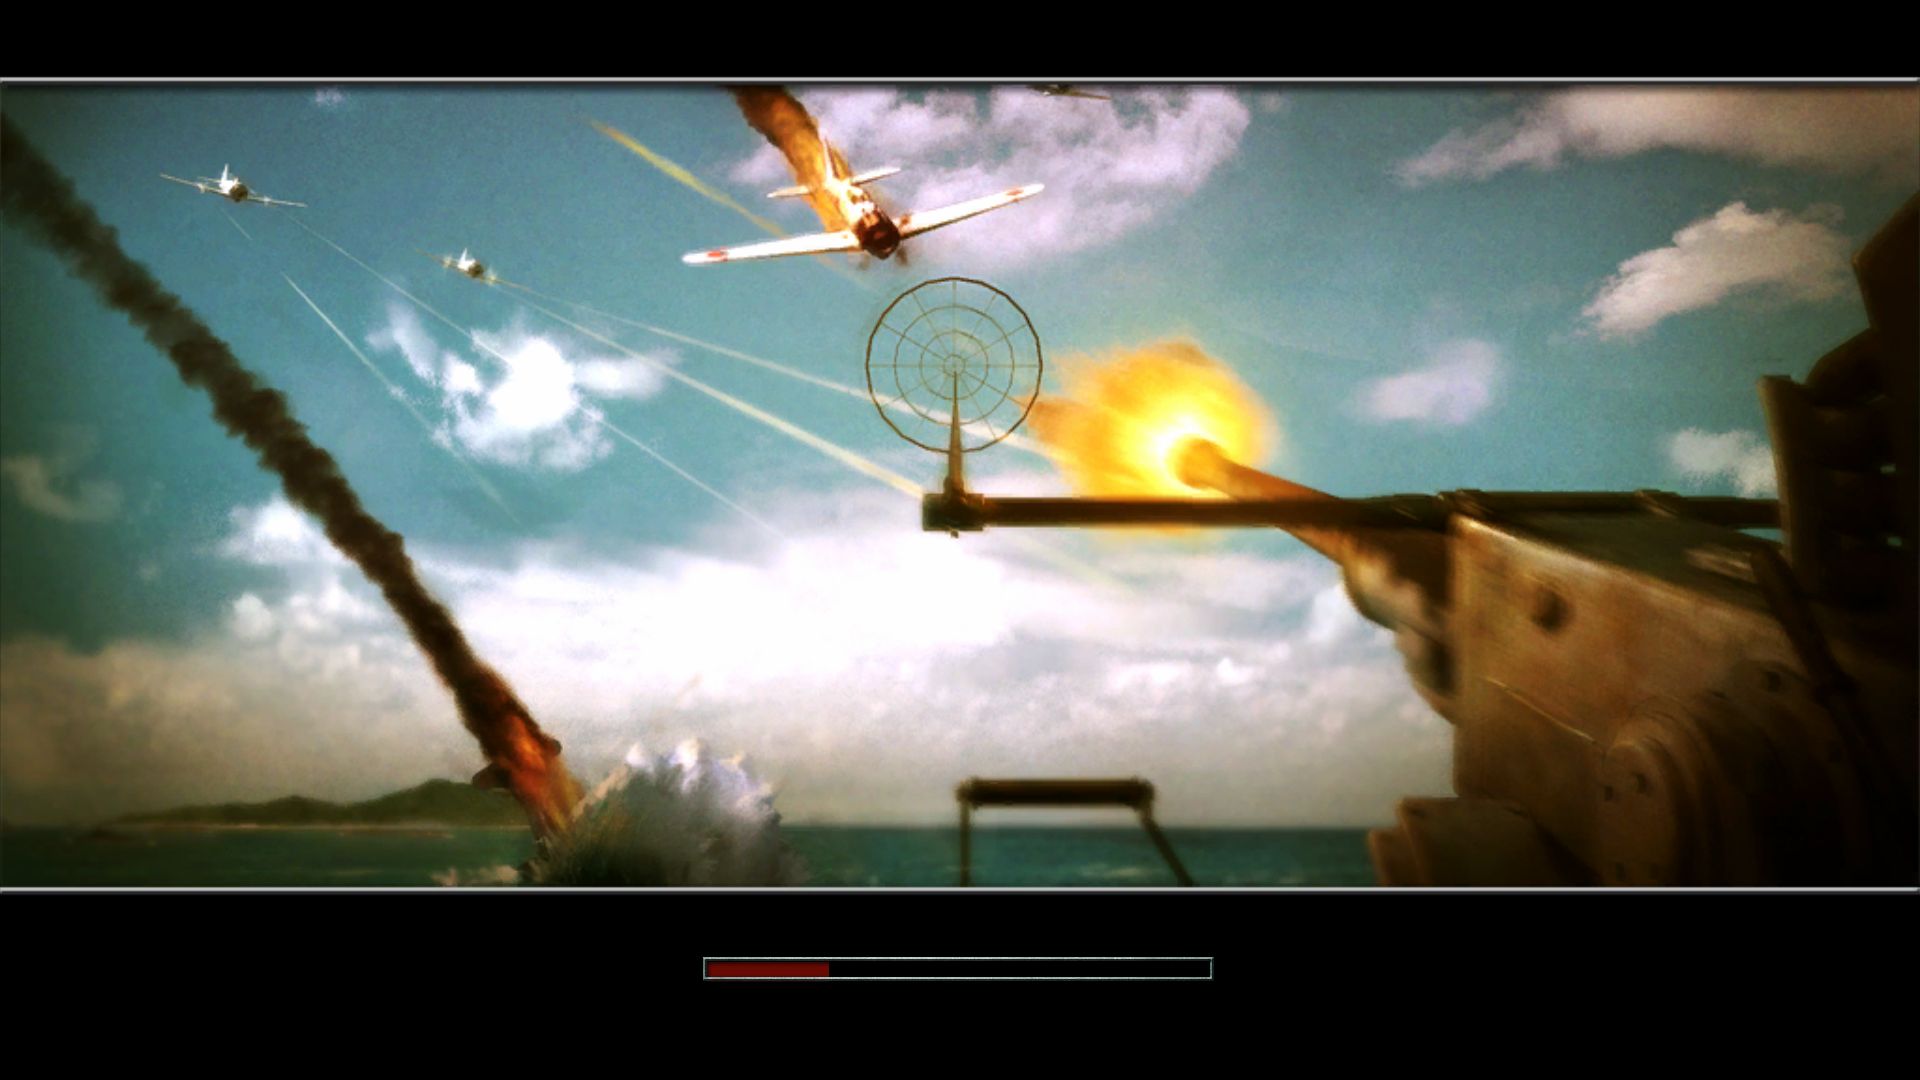
Japanese aircraft patrols were a serious threat to WWII submarines, especially in Silent Hunter 4 where the skies are practically crawling with them, so my first acquisition is an air-search radar that will help me detect the pests before they are on top of us. The radar costs me half of my renown – the currency of Silent Hunter 4 submarine commanders – but is a sound investment. The 4″/50 deck gun (4-inch projectile, 50×4″=200″ barrel length) already installed to my ship is standard issue and will be a welcome addition to our armament, especially in this phase of the war where I’ll find mostly single unarmed merchant ships as my prey. Sinking a small ship with a handful of rounds from the deck gun will save precious torpedoes for larger prey or spread shots into convoys, if I am lucky enough to stumble into one.
 “Well, I see you’ve got a full tank of gas, but you’ve got a few cartons of cigarettes, not just a half a pack – and Chicago’s a lot farther than 106 miles, mate.”
Next I check out my crew. Silent Hunter 3 introduced an advanced crew management aspect to virtual submarine warfare which requires the commander to actively manage the crews tasking and stations based on skill sets, fatigue, and health, and Silent Hunter carries forward this tradition. The more crew I have, the larger the damage control party I can muster, so I use most of my remaining renown to crew up the torpedo rooms, even adding a number of fresh still-wet-behind-the-ear seaman recruits. These junior seamen will gain experience over the course of our war patrol and will advance into their own specializations as torpedo-men, gunners, or lookouts, improving the effectiveness of my ship over the course of my career. While the crew system is automated enough that it’s not actually required to actively manage your crew to be successful, the task is akin to a managing a group in an RPG where you can gain attachment to individual crew members and proudly look over them as they ascend in rank to become chief of a station, or agonize when they are killed in combat. Personally, I enjoy the challenge and benefits.
 Crew management is a fun, but not terribly critical aspect of the Silent Hunter 4 experience.
One downside of the S-27 is that the Group I S-boats only had four forward tubes and eight reloads – a meager loadout considering the vast expanse of the Pacific I’m supposed to be patrolling. Before setting out, I ensure all available torpedo slots are each fitted with the latest torpedoes I can carry – the steam-powered 36 knot Mark 10 with a 500 lb explosive warhead. The longer, faster, and more powerful Mark 14 torpedoes were intended to be extremely effective against ship targets, but the reliability issues of these torpedoes over the war were quite serious, so I’m actually glad to be “limited” to the older weapons.
 Lots of bang here for very little buck.
Ship fitted, crew decked out, ammunition sorted, and mix-tapes recorded, I check in with Ops to get our mission. Luckily our first patrol assignment is just down the coast – a short trip from base into what should be some heavy sea lanes.
 The assigned missions are pretty typical for the era – sometimes it’s a milk runs and sometimes it’s a suicide mission. Today’s assignment looks good.
There’s no way to reject a mission, or to select another one, so I accept our orders and have my XO prepare our boat to get underway immediately.
Getting Underway

The visuals in Silent Hunter 4 are very good, especially considering the game was released in 2007. While the number of polygons on the submarines and ships is certainly at 2007-era levels, the water – a key aspect of the submarine environment – is done superbly, even by today’s standards. The wave models are quite believable and the way transparency is handled is amazing – difficult to capture in pictures and even harder to describe in words, the water is just done right. Reflections of ships, smoke, the sun and moon feel natural and ship hulls gradually disappear from view in the deeper water. Bow waves, water spray and foam, and propeller cavitation effects are blocky and primitive, but quite reasonable considering how difficult it was for any graphics engine to do particles in 2007.
 Pigboats are just as cramped topside as they are belowdecks, but at least you get the sea breeze to run through your greasy hair.
 The tail end of the S-class reminds me of Jules Verne-inspired nautical vessels.
 The water in Silent Hunter 4 is on best display when diving or submerging.
 Do you see what I see?
 In some aspects, the submarine is the true stealth weapon platform.
Our patrol to the south is mostly uneventful – a couples dives to periscope depth due to aircraft being detected by the radar – but just before we reach our patrol area, we receive the official word over the radio that the US is now also at war with Germany and Italy. World War II has started.
 The numerous radio reports can help keep the player immersed in the war around them, but they also can get tedious pretty quickly.
Silent Hunter 4 is not a revisionist game. The events of World War II play out just like they did in the real thing, and nothing your boat can do will alter those events, but the game does a good job of making you feel immersed in that war. Radio broadcasts flood your ship as events happen and, should you be in the right/wrong place and the right/wrong time, you can witness major Japanese invasions or epic fleet battles in person. There are always minor issues and serious rivet counters and history buffs can have a field day with the “realism” of Silent Hunter 4, but the overall effect is done quite well and adds to the immersion.
On station, I set the submarine on a zig-zag course across the area, hoping for a chance encounter with a merchant cruising between ports. The navigation and plotting tools are pretty limited in the stock Silent Hunter 4, but with a lot of practice, they can be put to good use.
 Luckily, the crew does a pretty good job of following a plotted course, even at time compression up to 8192x.
After a few days of uneventful patrolling, I receive new orders to go patrol the north end of Luzon island – hopefully some more fertile hunting grounds.
 Sometimes all it takes is a few status reports over the radio to satisfy a mission’s goals.
Target Spotted!
A quick click-and-drag on the navigation plot updates our course to take us back up north but, en route, our lookouts spot a potential target.
 Our first catch of the day!
At this range, identification is extremely challenging, but one of the keys to a successful torpedo attack is accurate range calculation, which requires accurate knowledge of the target’s dimensions, such as mast height. During the course of an attack I will iteratively measure and re-measure our range to target and plot this on the navigation map to deduce the target’s speed and course. I feed this information into targeting data computer (TDC) which, along with our own ship’s speed and course, calculates the torpedo gyro angles required to put a fish (or two) right into the belly of my prey. The solution is only as good as my estimates, and frequent updates ensure the solution is as good as I can make it.
We’ve actually run across two merchant ships traveling together, a lucky break for us. I use the ship’s target bearing transmitter (TBT), a set of high-powered optics fixed to the deck that can transmit bearing and range information to the TDC, to scope out our prey. At this range, it’s highly unlikely they’ll spot our much smaller boat, so I’m not too worried about stealth just yet, not even on a calm ocean at the top of a clear, bright day.
 Two little fishies, coming my way!
Neither ship seems to be heavily armed – typical for merchants this early in the war. The lead ship looks like the heavier target, so I plan for a submerged torpedo attack on her followed by a surfaced deck gun attack on the trailer. Battle plans rarely survive contact with the enemy, however, but starting with a plan is critical to being able to set up a successful approach (tip: racing directly at your target at flank speed just makes it harder to land a shot).
Once the targets are within 4 nautical miles or so (~2025 yards per nautical mile), I order the crew to dive the boat to periscope depth. Now the game is to repeatedly raise the scope, take a bearing and range, compare the new measurement to the current solution on the torpedo data computer’s position keeper, make the necessary updates to the TDC, drop the scope, wait, and repeat. It can get tedious, but the joy of a converging solution is a sweet payoff.
Although direct bearing readings come off of the TBT or periscope, an accurate estimate of the ship’s course comes from the plotting table. The process is easy to describe – fit a line to points you plot based on range and bearing measurements, but the process can actually be challenging. There are many different approaches that can be used to successfully plot a target’s course, the trick is to find one that works for your style. Plots like the one below also help with making accurate estimates of the target’s angle on the bow, a critical input to the ship’s TDC.
 Course plotting is half art, half science, 0.707+0.707i math, and 2π geometry. (Screenshot from a different engagement)
Range estimates are made by using the stadimeter feature of either the TBT or periscope. This tool that enables the commander to make an angular measurement of a reference object on the ship, such as a funnel or mast, from the waterline. Using the actual height of this reference object, this angular measurement can then be transformed via the magic of geometry to distance (soh-cah-toa anyone?), which is then plotted or fed into the TDC as part of your target solution. One of the major issues with the default install of Silent Hunter 4 is that the mast heights in the recognition book are often incorrect, sometimes by a great deal. Beyond frustrating, this makes manual targeting impossible for some of the ships on the seas. One of the two mods I’ve made to my install corrects this issue. An alternative is to have a externally available list of ship mast heights, but I like the convenience of the in-game reference.
 The stadimeter is easy to use and generally gives decent results – IF you give it the correct mast height to start with. (Screenshot from a different engagement)
Torpedoes Away!
Unfortunately, in my zeal to make the kill, I make a significant speed/distance calculation error and have driven my submarine too close to the targets’ path. If I continue my forward rate, I’ll come within a hundred yards of the target at optimum firing angle (0 degree torpedo gyro) – way too close for a safe shot, but it’s also too late to save it by going to emergency reverse. Instead, I decide to take a somewhat risky high-gyro-angle shot on the first target and hope for the best.
In real life, torpedoes had some interesting failure mechanisms. In one of them, the gyro-based steering mechanism that pointed the torpedo along it’s desired course could fail, resulting in the weapon making a nice neat circle that would sometimes intersect with the launching platform, i.e., you. This is why you’ll often hear the report “torpedo running straight and normal!” in World War II sub movies. The sonar operator would be the first to be able to detect a circular run and alert the captain to make any evasive maneuvers. In all my torpedo shots in all my Silent Hunter attacks, I’ve never encountered a circular run, even with full realism, but I have had my fair share of duds and premature explosions. I watch the ship on the periscope closely with one eye on the chronometer, counting down the seconds to predicted impact.
 Double whammy!
Both torpedoes hit the target and detonate, surely crippling it but not breaking its back for an insta-kill like I had hoped. Satisfied that it won’t be able to run away from me, however, I now turn my attention to the second ship.
 Comin’ for YOU next, sucka.
Spooked by the explosion, the target begins weaving maneuvers that are intended to defeat a torpedo attack. At this close range, however, large lumbering merchant ships just don’t have the maneuverability to out turn even a Mark 10 torpedo. He’s defeated, he just doesn’t know it yet.
 The external camera counts against your realism score, reducing the renown you gain for each mission, but the game is just too pretty to play with it disabled.
The first target has mostly stopped and is burning. In real life, I’d wait it out, hoping for a massive explosion or the unstoppable flooding to eventually drop it beneath the waves, but vanilla Silent Hunter 4 doesn’t model this sort of advanced details. I’ll need to come back and pull its plug later.
 Don’t mind that little stick thing over there, that’s just a south Pacific glass-eye rigid-back steel snake, that’s all.
I had originally planned on surfacing after sinking the first target and taking out the second with the deck gun, but have reconsidered – the course to my new patrol grounds brings us right by Manila, so I’ll be able to refit with new torpedoes, anyways, and a submerged torpedo attack is always safer than any surface attack. I press onto the second target underwater, updating my TDC solution as the range closes.
I continually monitor my first victim as well, to make sure she doesn’t make a suddenly speedy recovery and try to motor away.
 The ship’s not going down, but it’s not going anywhere else, either.
The second target’s zig zags and short range make for very difficult plotting, but at this range and target speed, an accurate solution isn’t as critical.
 It’s coming right for us!
I underestimate the amount of weave the frightened skipper will use and we end up putting our two ships on a collision course with each other. Although submarines have pretty strong hulls compared to their surface-dwelling cousins so I’m not concerned about getting sunk by the impact, a ramming is not a very fitting end to my first attack of the war. Determined to avoid the paperwork associated with extensive hull-repairs, I spread two fish into the water instead of the one I had originally planned, which turns out to be a good call – the first torpedo misses while the second hits the target dead-center with a satisfying ker-sploosh. As with the first target, the torpedo stops the target in its tracks, but doesn’t send it to the bottom.
 THAT’S going to leave a mark.
With two targets crippled, it’s now time to deliver the coup de grâce. In stock Silent Hunter 4, ships have hit points instead of an advanced flooding/damage model, so if the target doesn’t go down soon after a shot hits it, it won’t go down until a few more have landed. Instead of spending even more torpedoes on this mess, I finally decide to surface and engage with the deck gun.
 Flame effects by Michael Bay.
Engaging targets with the deck gun is a fun experience. Typically, I’ll start with the range from my TDC solution for my first shot, and then narrow the bracket based on where the shell lands. With such a close range to this target, I land my first shot and it’s then simply a matter of getting the shells to land where I want them – on the waterline to increase flooding (I know I just said Silent Hunter 4 doesn’t model damage like this, but I still like to pretend).
It only takes a handful of shots to set off a thundering explosion – Silent Hunter 4’s way of saying “enough, enough, it’s dead.” The ship sinks so quickly I don’t get a chance to grab any screenshots of it going down and turn my attention back to the first ship, which is still trying to limp away.
Although this target is a bit further out, 1700 yards is still an easy shot, especially for a near-stationary target on calm seas, so it goes down after a half-dozen or so high-explosive rounds impact it. Although deck gun kills are nowhere near as satisfying as single-shot torpedo kills, the tonnage racks up on the ship’s log just the same.
 There’s one shipment of post-it notes and paperclips that isn’t going to the enemy’s war effort!
 The sinking of ships in Silent Hunter 4 is tragically beautiful – it’s a shame it happens so quickly and can be difficult to observe while avoiding escorts or lining up your next shot.
 Like a vampire, I’ve converted this ship to a submarine with my bite, but this convert will be making just the one dive.
 Although the damage physics model is pretty light, gaping holes mark torpedo or deck gun hits with satisfying detail.
 The forces of buoyancy finally lose their battle with the sea depths and the ship slides towards her final resting place, bow first, flag at full mast.
 The visual effects of water depth are pretty realistic as well – you can just make out the ghost of this ship as she sinks into the abyss.
Pleased with the start of our tour, we steam back to Manila to get refitted before we head on to our station off the north end of Luzon.
 Returning to port can be a rare occurrence, but I’m thankful to be able to replenish my supplies before returning to our mission.
After refueling and rearming, I’ll take the boat back up the western coast of the Philippines towards our objective, but that’ll be for another AAR.