Hello there fellow Spikers- ehr… Mudders… Or was it Mudspikers?
@staff we really have to come up with an official label here- but I digress…
I wanted to take a moment of lull in work related matter to show something…
That is the thought process I go through when I created the much appreciated artworks that I do.
1) It all starts with a request- or an offer. The client and I closely look at the product and try to find a design that both fills a specific need (advertisement, decoration, a rework of something already existing).
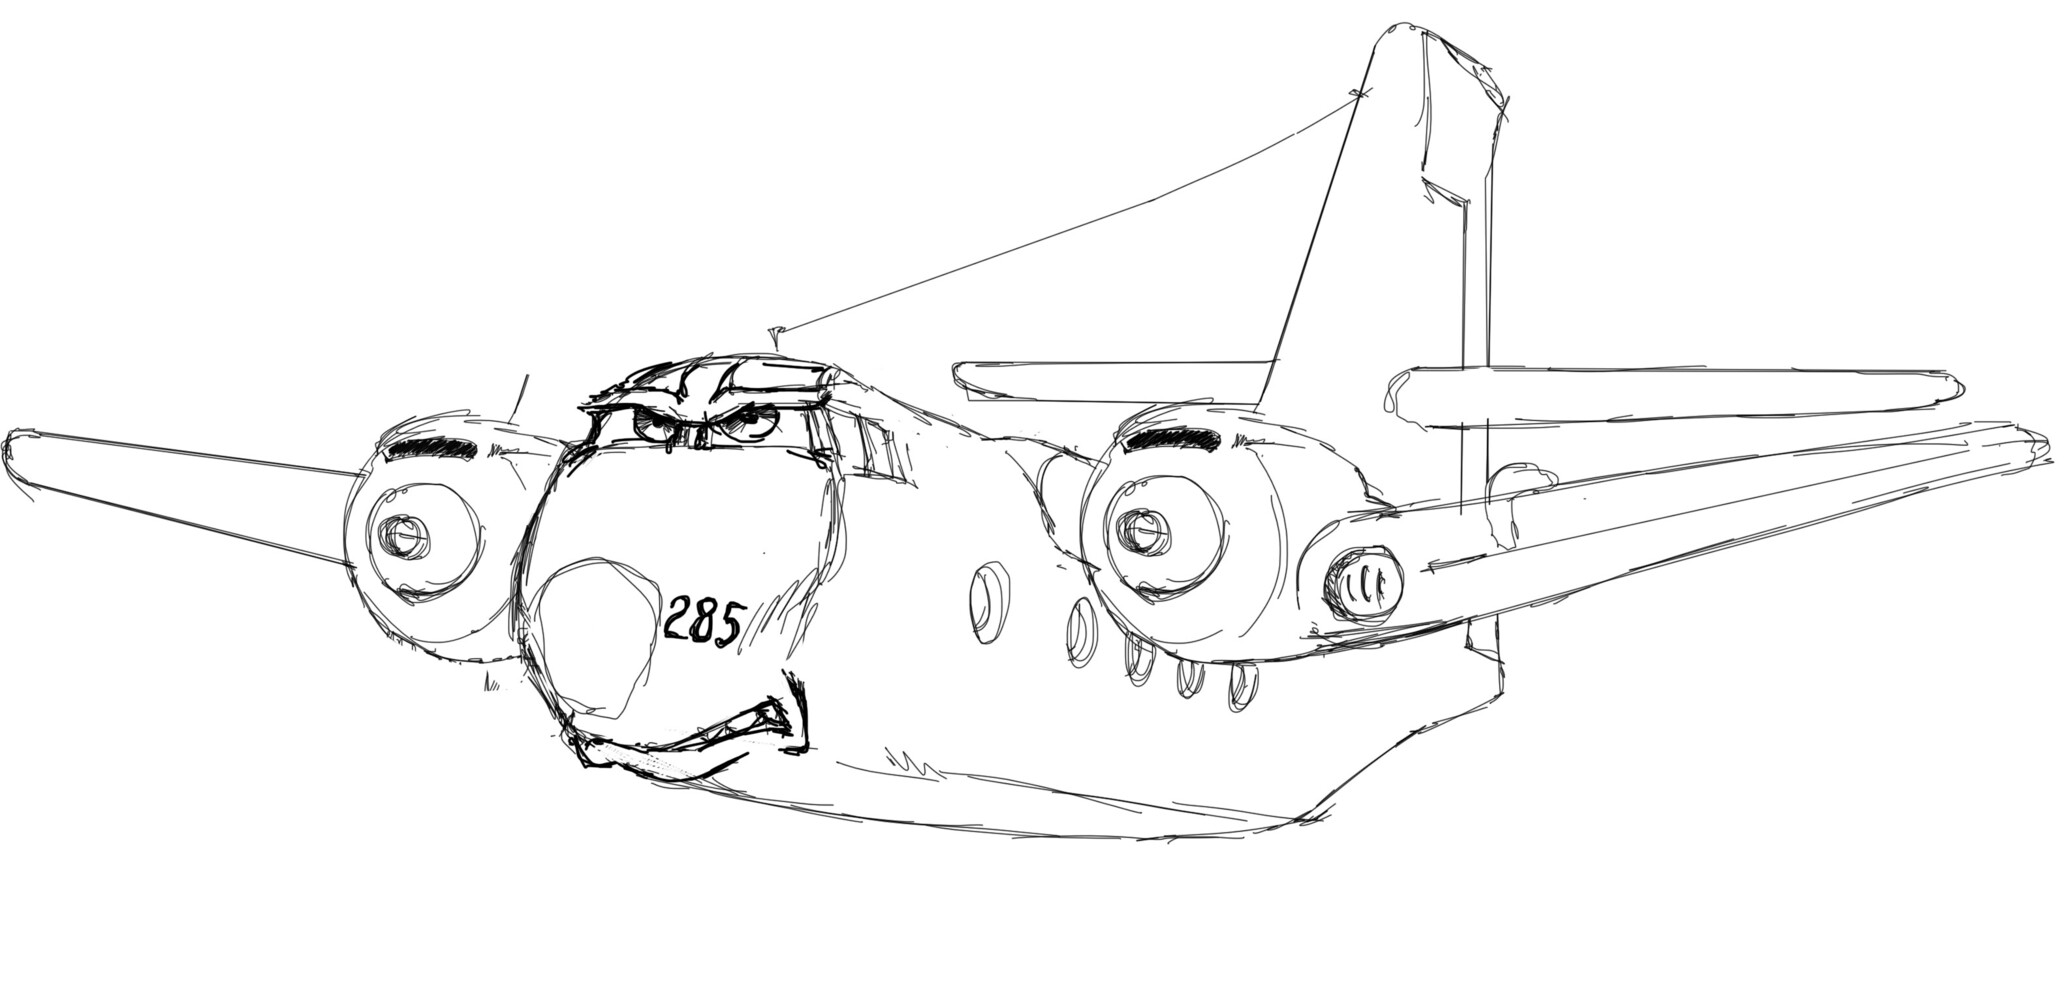
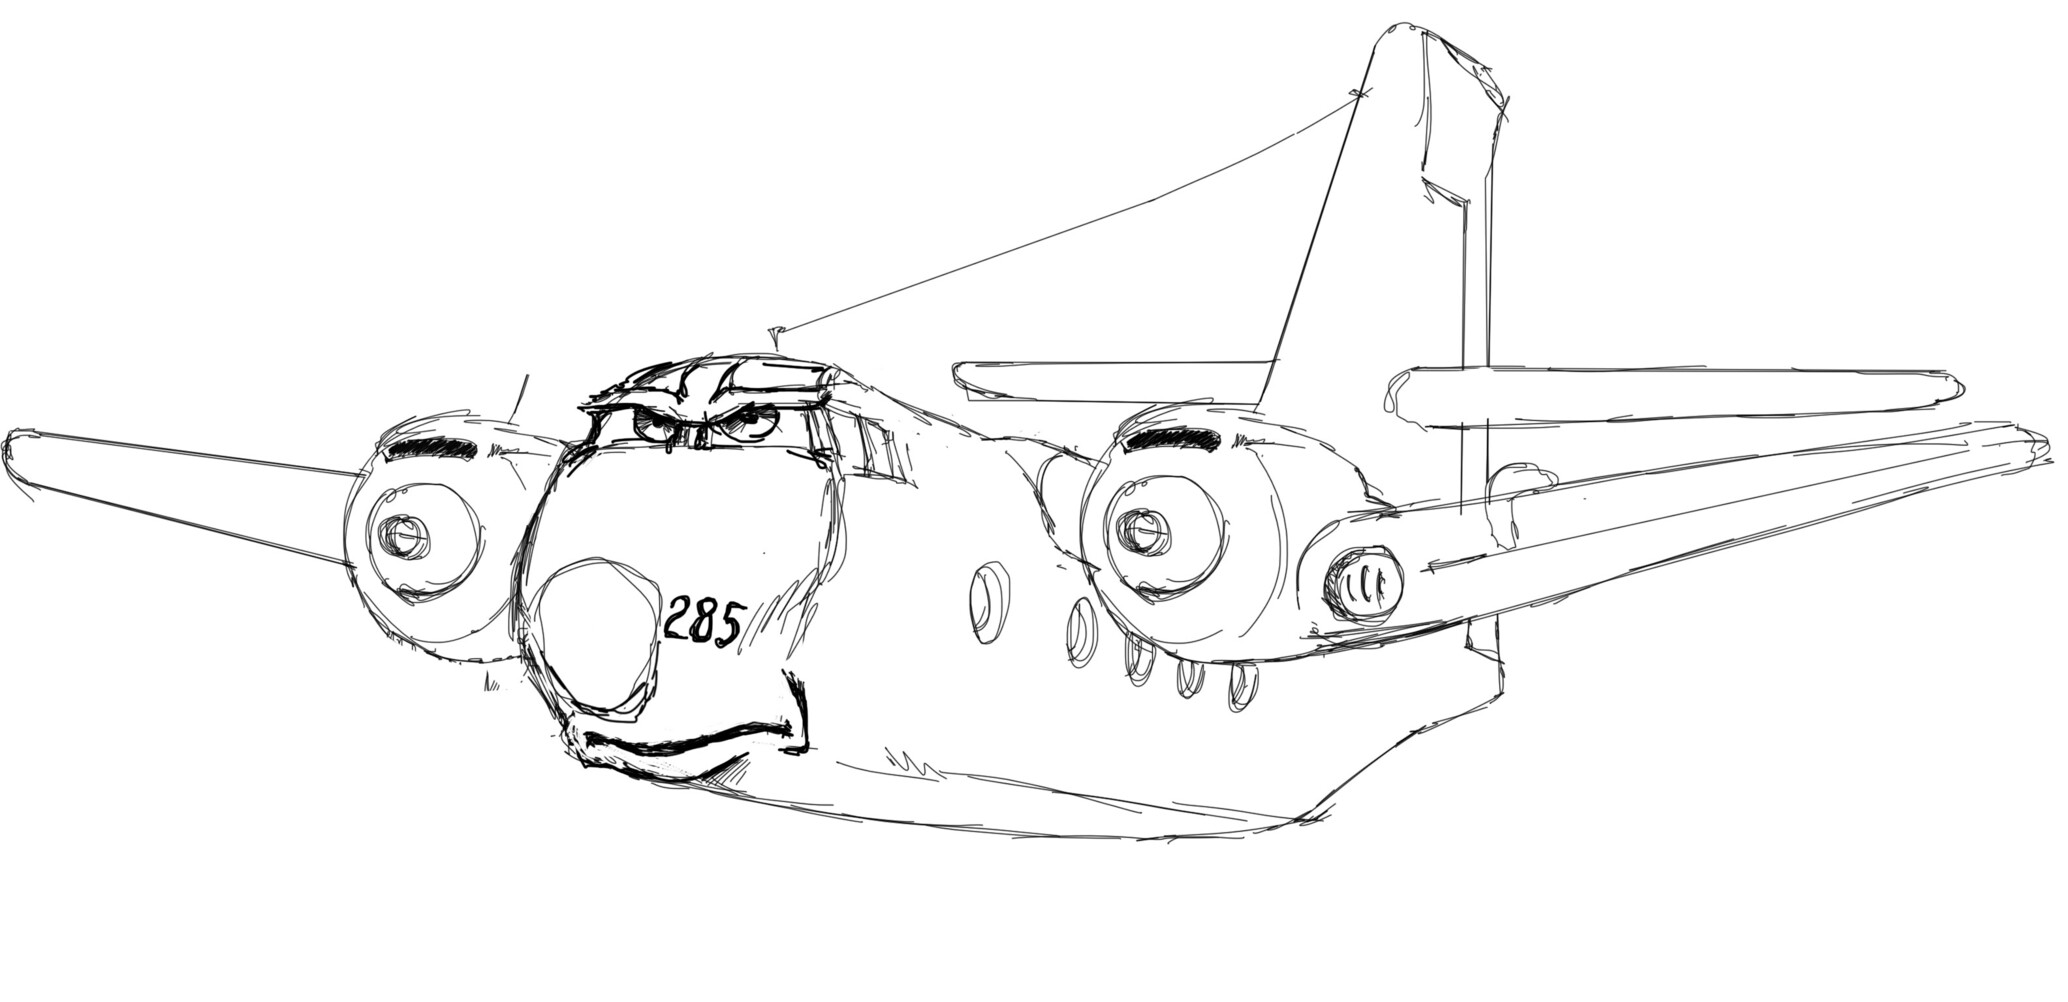
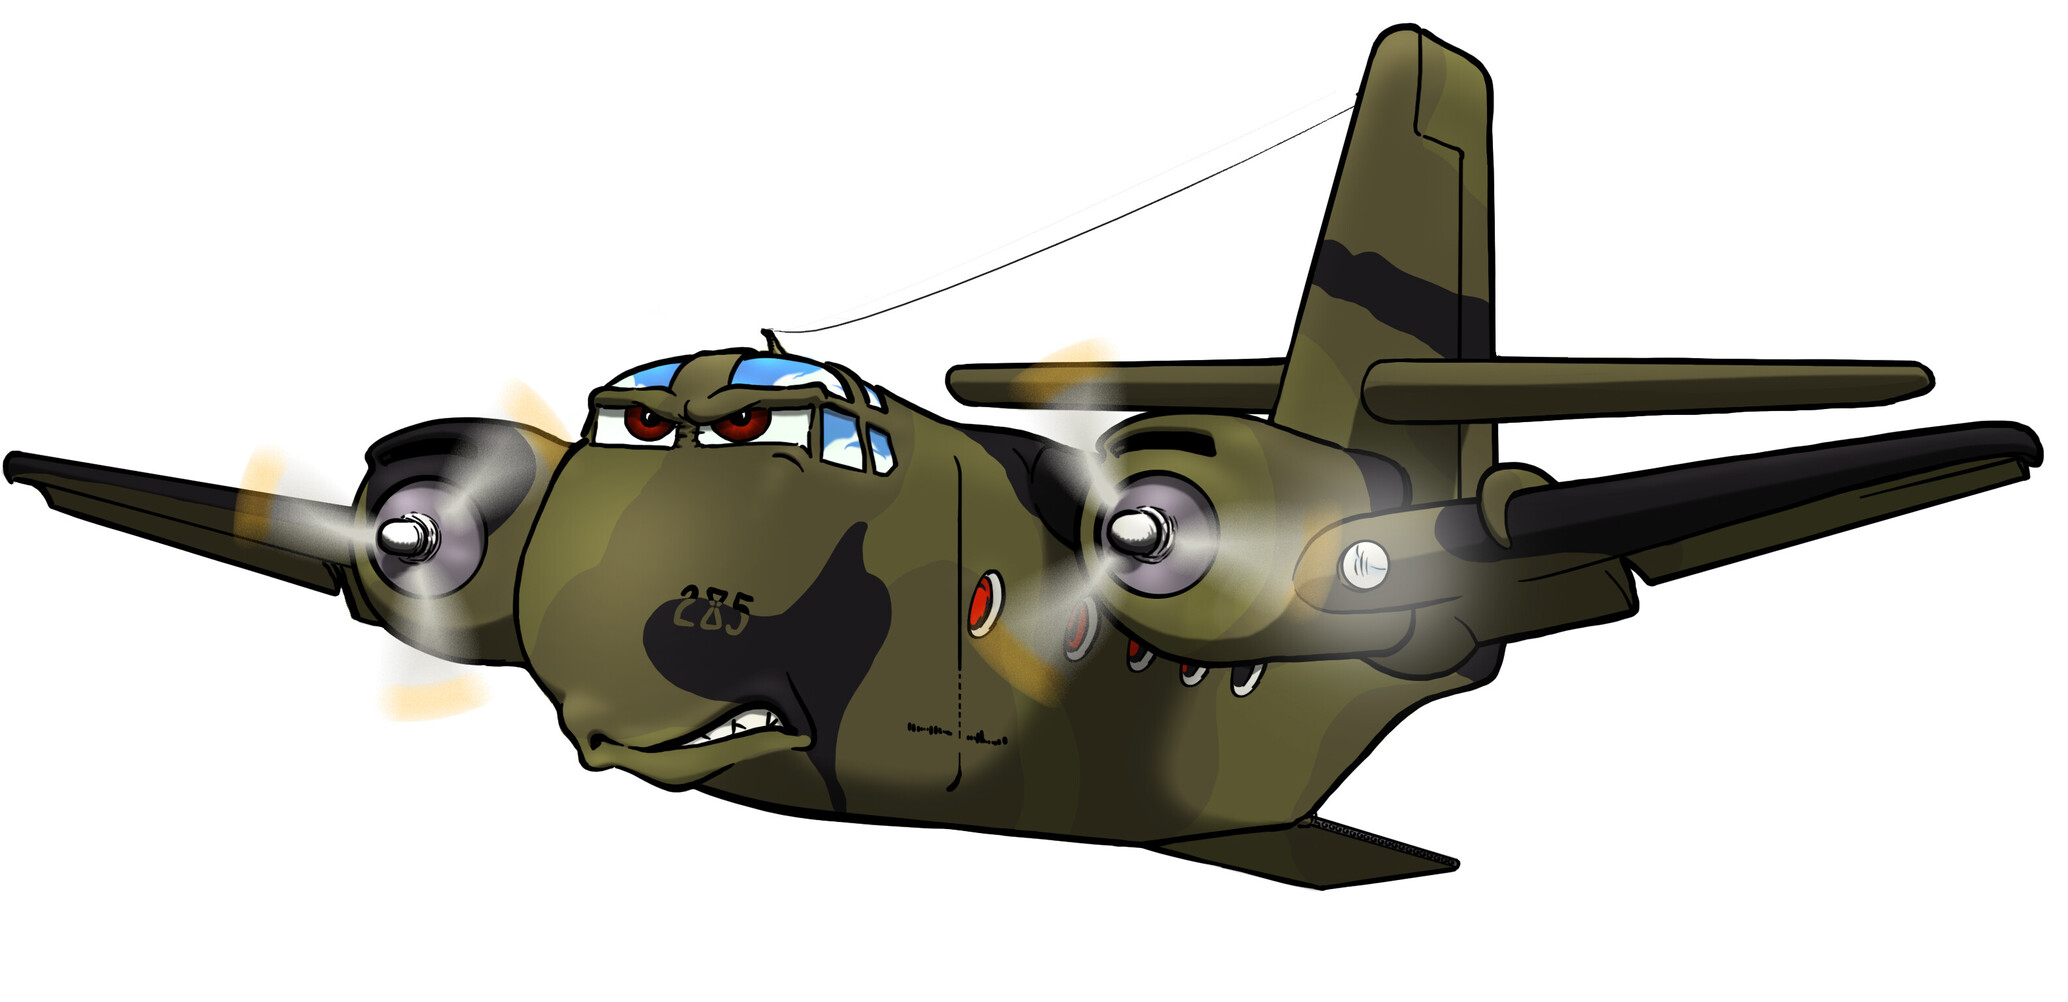
In this specific case it was chosen a Caricature of the subject…
![]()
![]()
… to better advertise/spike the public interest and to establish a brand.
Cool, the shape of this beast is VERY interesting and it’s going to prove fun to work on! ![]()
Since I was literally given white paper (Ho ho ho, an intended pun!) I elect to pick a specific pose that would highlight the function/scope of this majestic plane.
2) Not shown here, is the true beginning; I always sketch nearly a metric ton of thumbnails of the plane and its orthogonal views. It really helps to get a grasp of its basic shapes and defining traits.
Somewhat boring and repetitive but it pays dividend later on.
Also quite time consuming.
But it helps.
But Boring.
Helps.
Bore.
etc.
etc.
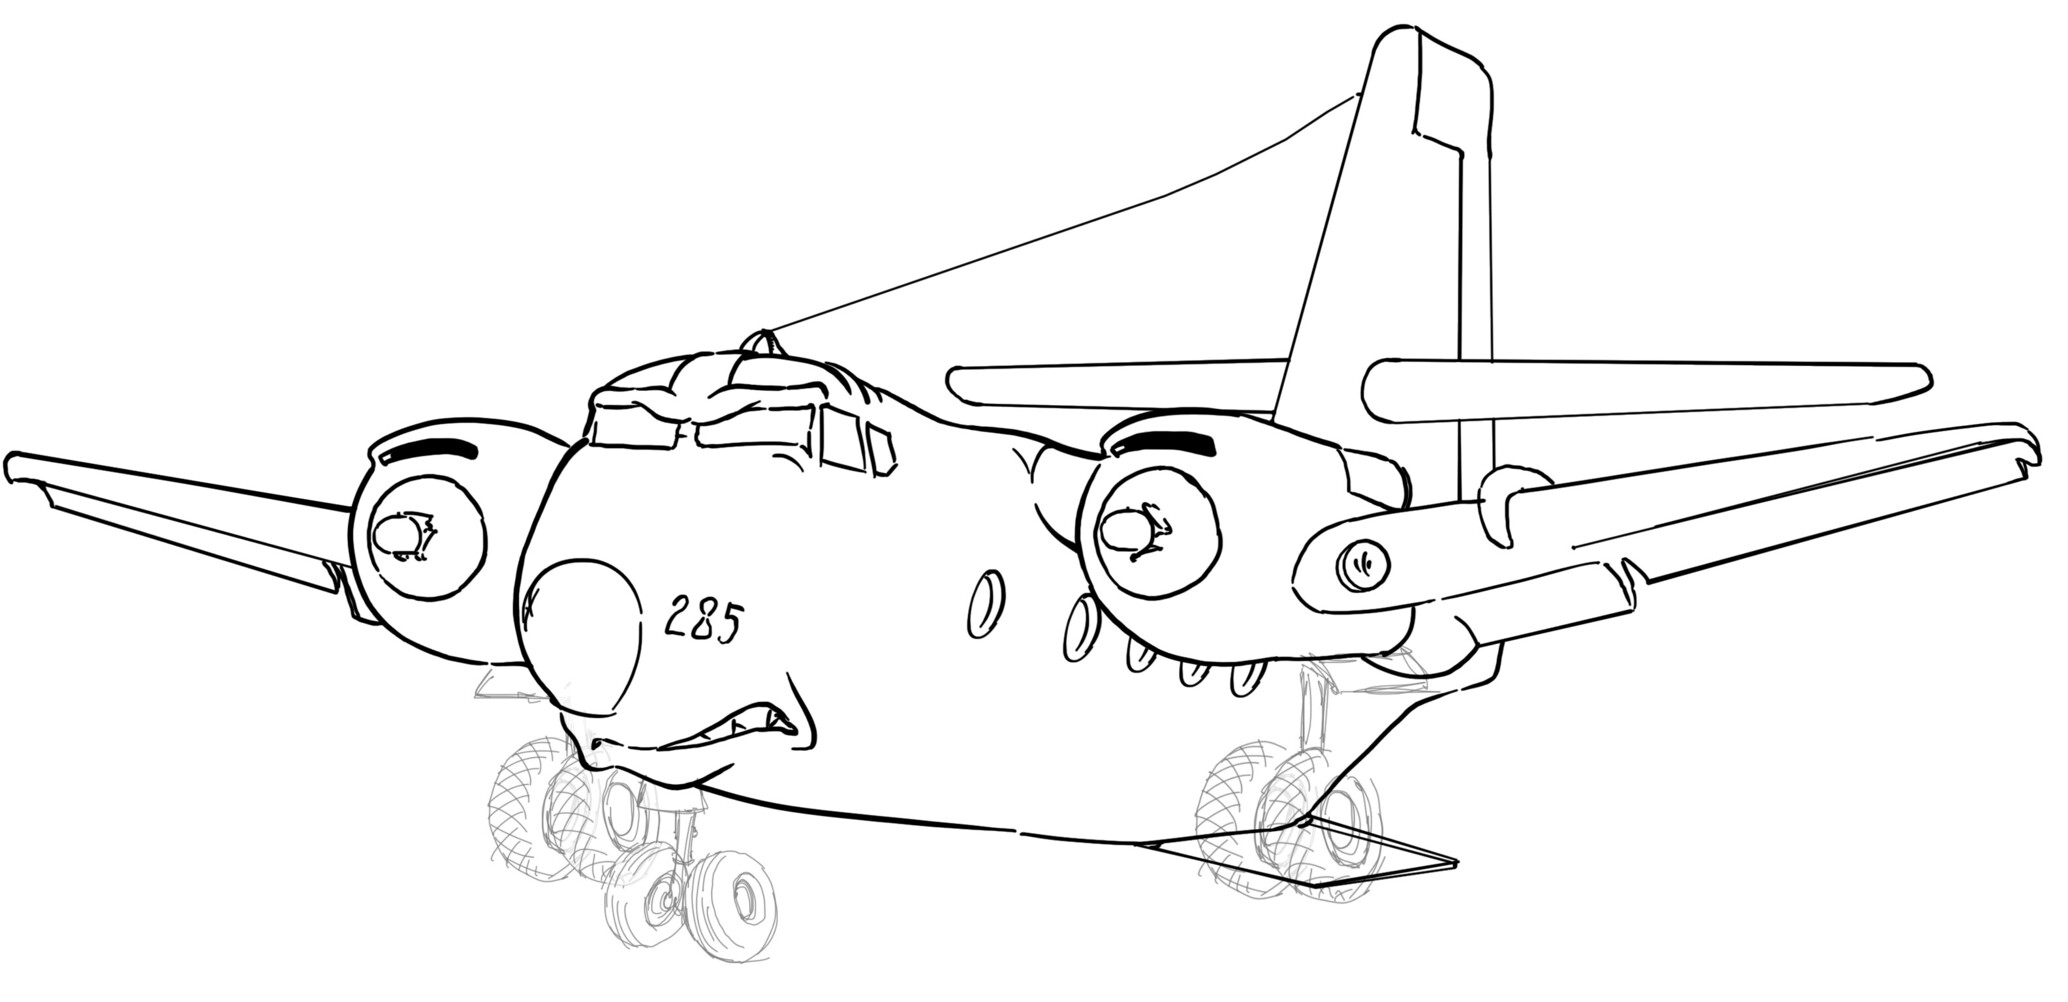
3) Usually after a day or two of it I feel ready to sketch the final idea.
I came up with something like this:
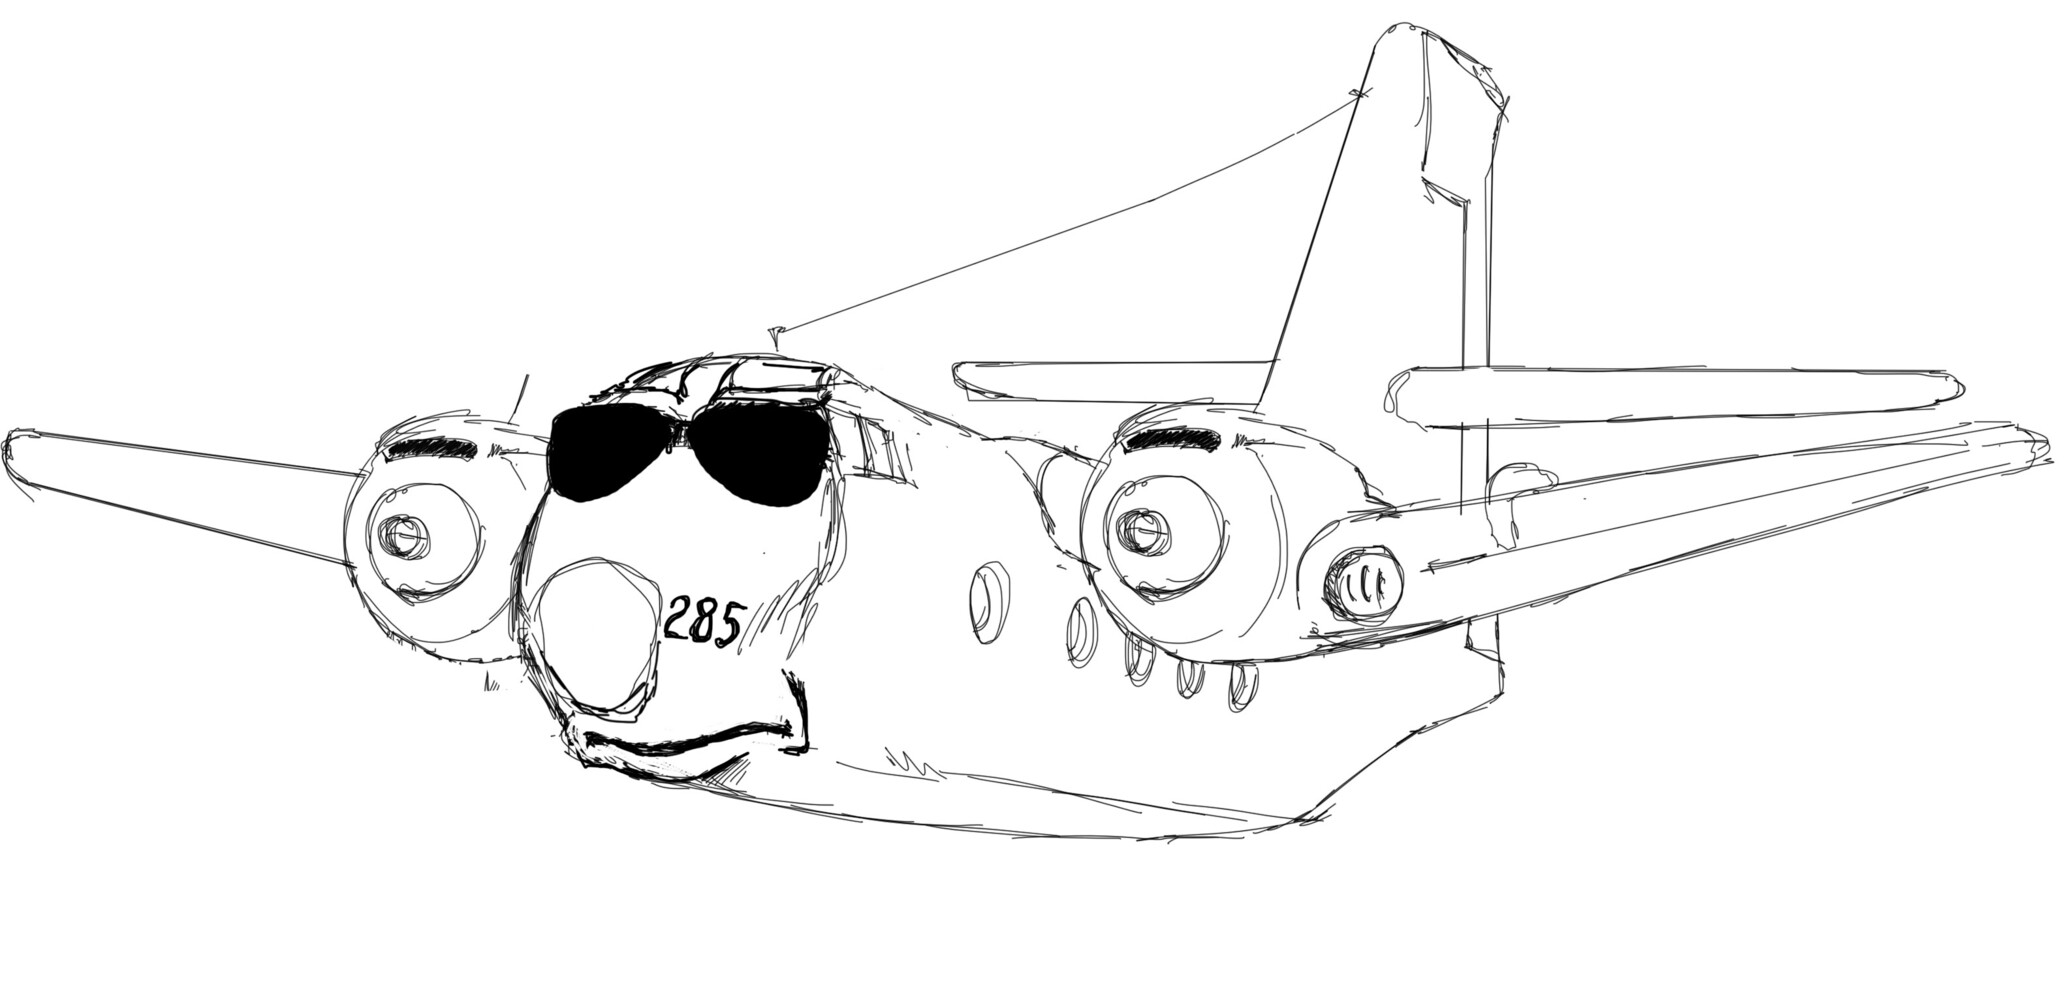
What happens next it’s a cool thing that most artist in “creation mode” experience.
No matter how happy your are with something you make, you feel the need to add variations to explore different possibilities.
I selected these among all to add a “flavor” to the basic picture.
Here and now is where all the thumbnailing gives me rest- I don’t have to worry about how surfaces intersect/interact with each other, angles, corners and whatnot. I drew it so many times from so many angles I can jsut work on the Stylisation of it. Wheeew. Thank you past-me for doing it! Appreciated! ![]()
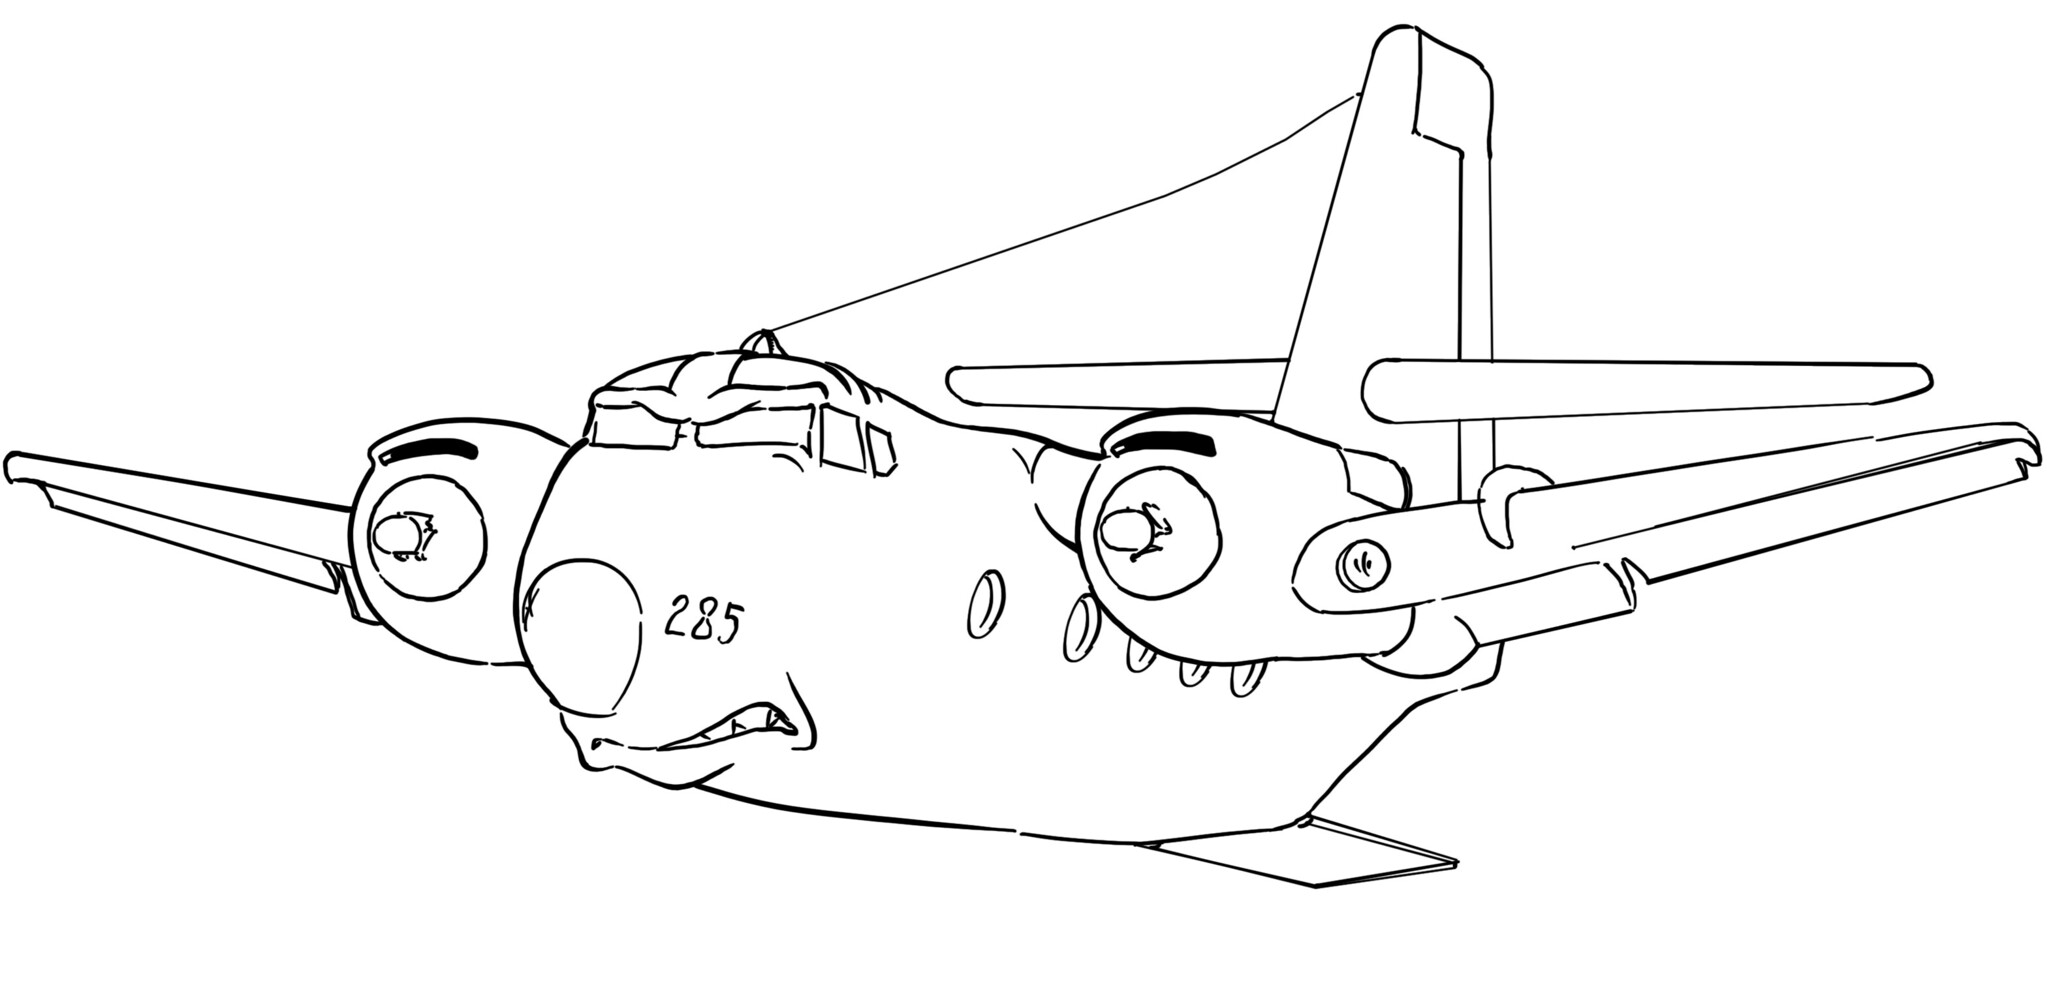
What I needed to pay attention to and try to convey to anyone who’s going to look at it, was the very specific shape of the nose, the angle the wings are at, the HUGE vertical slab on the tail, that greenhouse/cockpit in the front…
Chances are that those who are going to be really interested in this already know the bird well- I don’t want to let them down.
Sadly I had to give up some of the huge sizes to accomodate the drawing for “normal” use- Websites, patches, you name it. If I kept some more “realistic” proportions it would have figuratively flew out of the page… ![]()

Anyway, it may not look like much, but these are just some of them.
And somehow the ones I knew were good.
**4)**With these next steps, usually, my client has the most decisional power.
It’s nearly always the “go-no go” ridgeline for the rest of the process. What works? What doesn’t? Is the style ok?
If all is good I progress to the next “sort-of-boring-ish” step, the main lines tracing!
I still like to give some flexibility so I still keep two branches up for work.
If someone is smart enough, this process is quite painless in Photoshop.
It took me a bit to learn this “smartness”. ![]()
Some of the lines, usually the smaller details, are still rough around the edges- that’s normal.
In fact, this process teaches me what I don’t know about the plane.
It’s easy to graphically assume how some parts are or how they occupy their space- but only once you try to nail it down on paper you realize there’s “holes” in your knowledge.
Engines cowling, hinges, control surfaces, engine details… it all need some research and study.
This part is actually quite fun. My client for this job was one of those that was really helpful and provided all I needed.
Good people still exist! ![]()
5) Choices are made and the One is picked.

This step I LOVE! Temporary lines are cleaned, main lines are better outlined and thickness used to convey depth.
In this step I also make sure that the lines I used to help myself with volumes and details I want to render with color rather than black lines are removed and replaced.
6) A paint-scheme gets elected, colours are handpicked, and the flat is done.
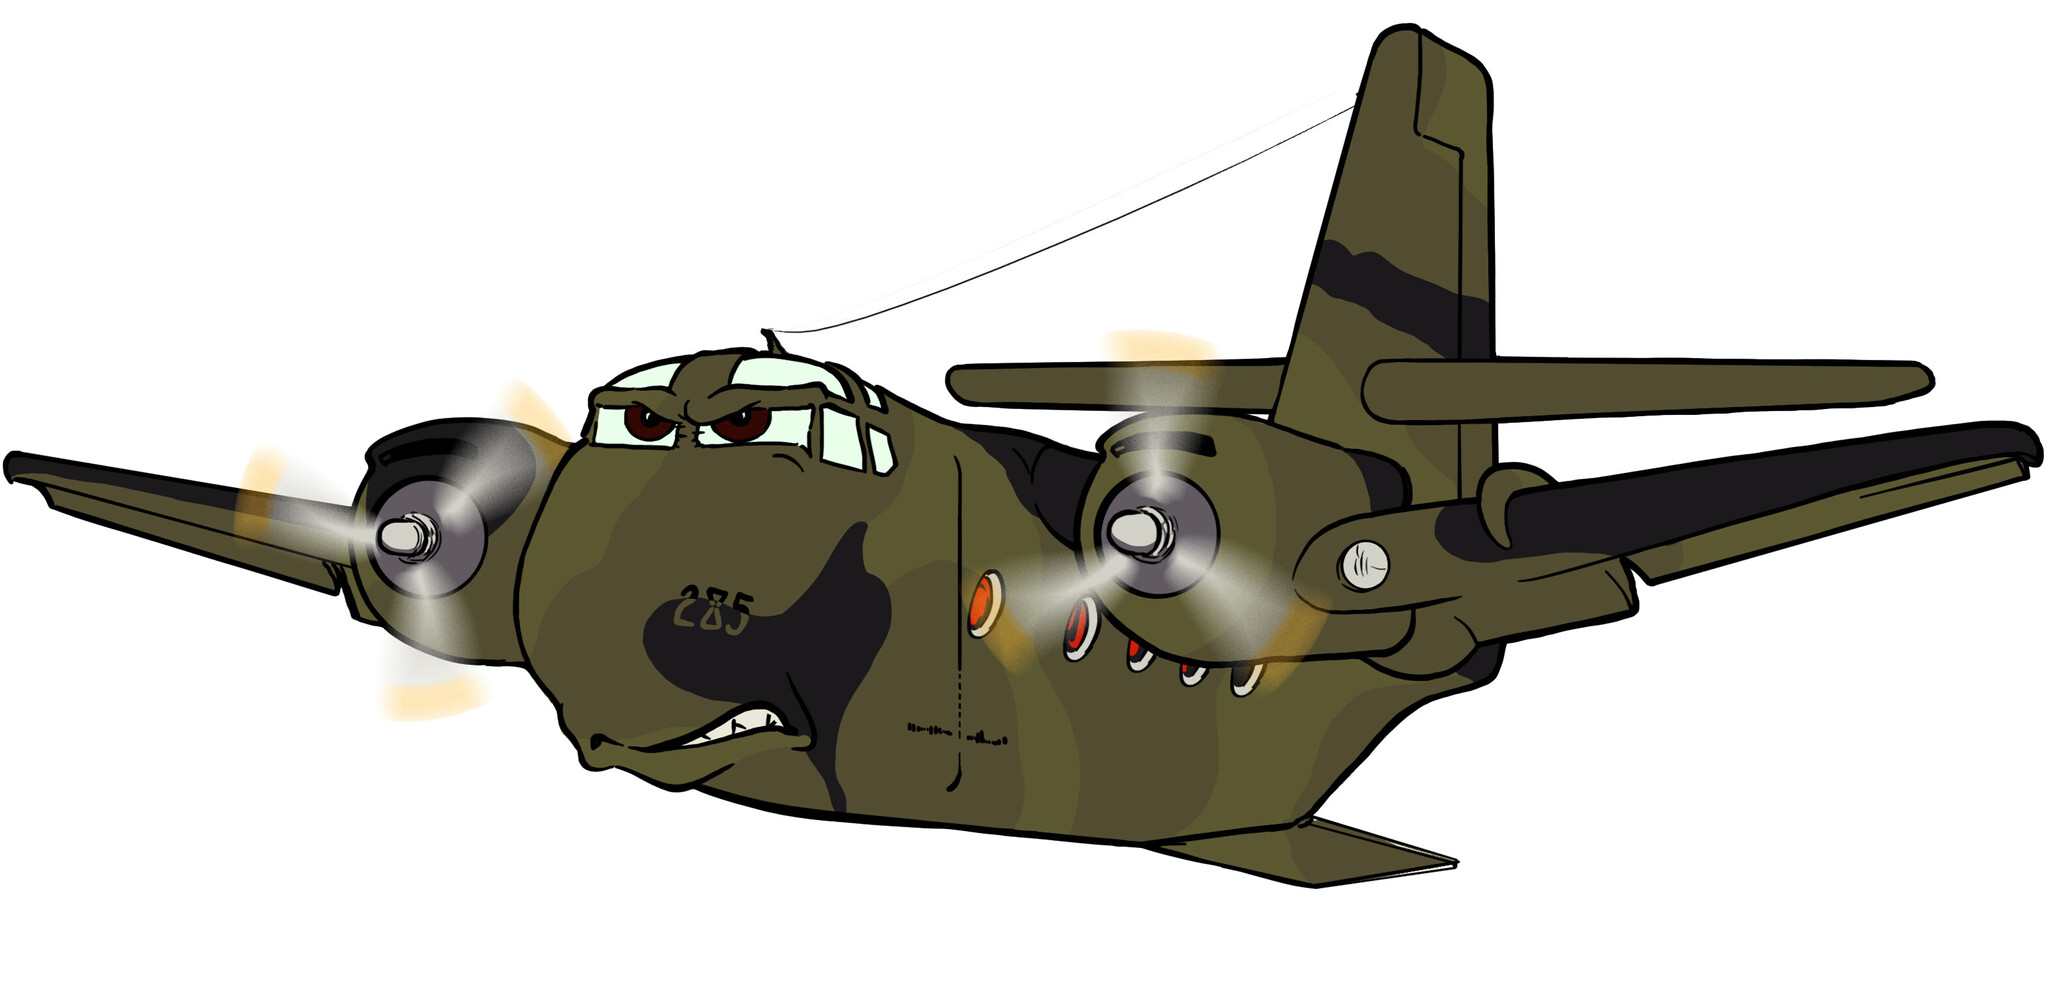
7) Another important step is shadows and highlights.
A couple of tests are necessary…
8)
and final work is finalised…
TA-Daaah
What next?
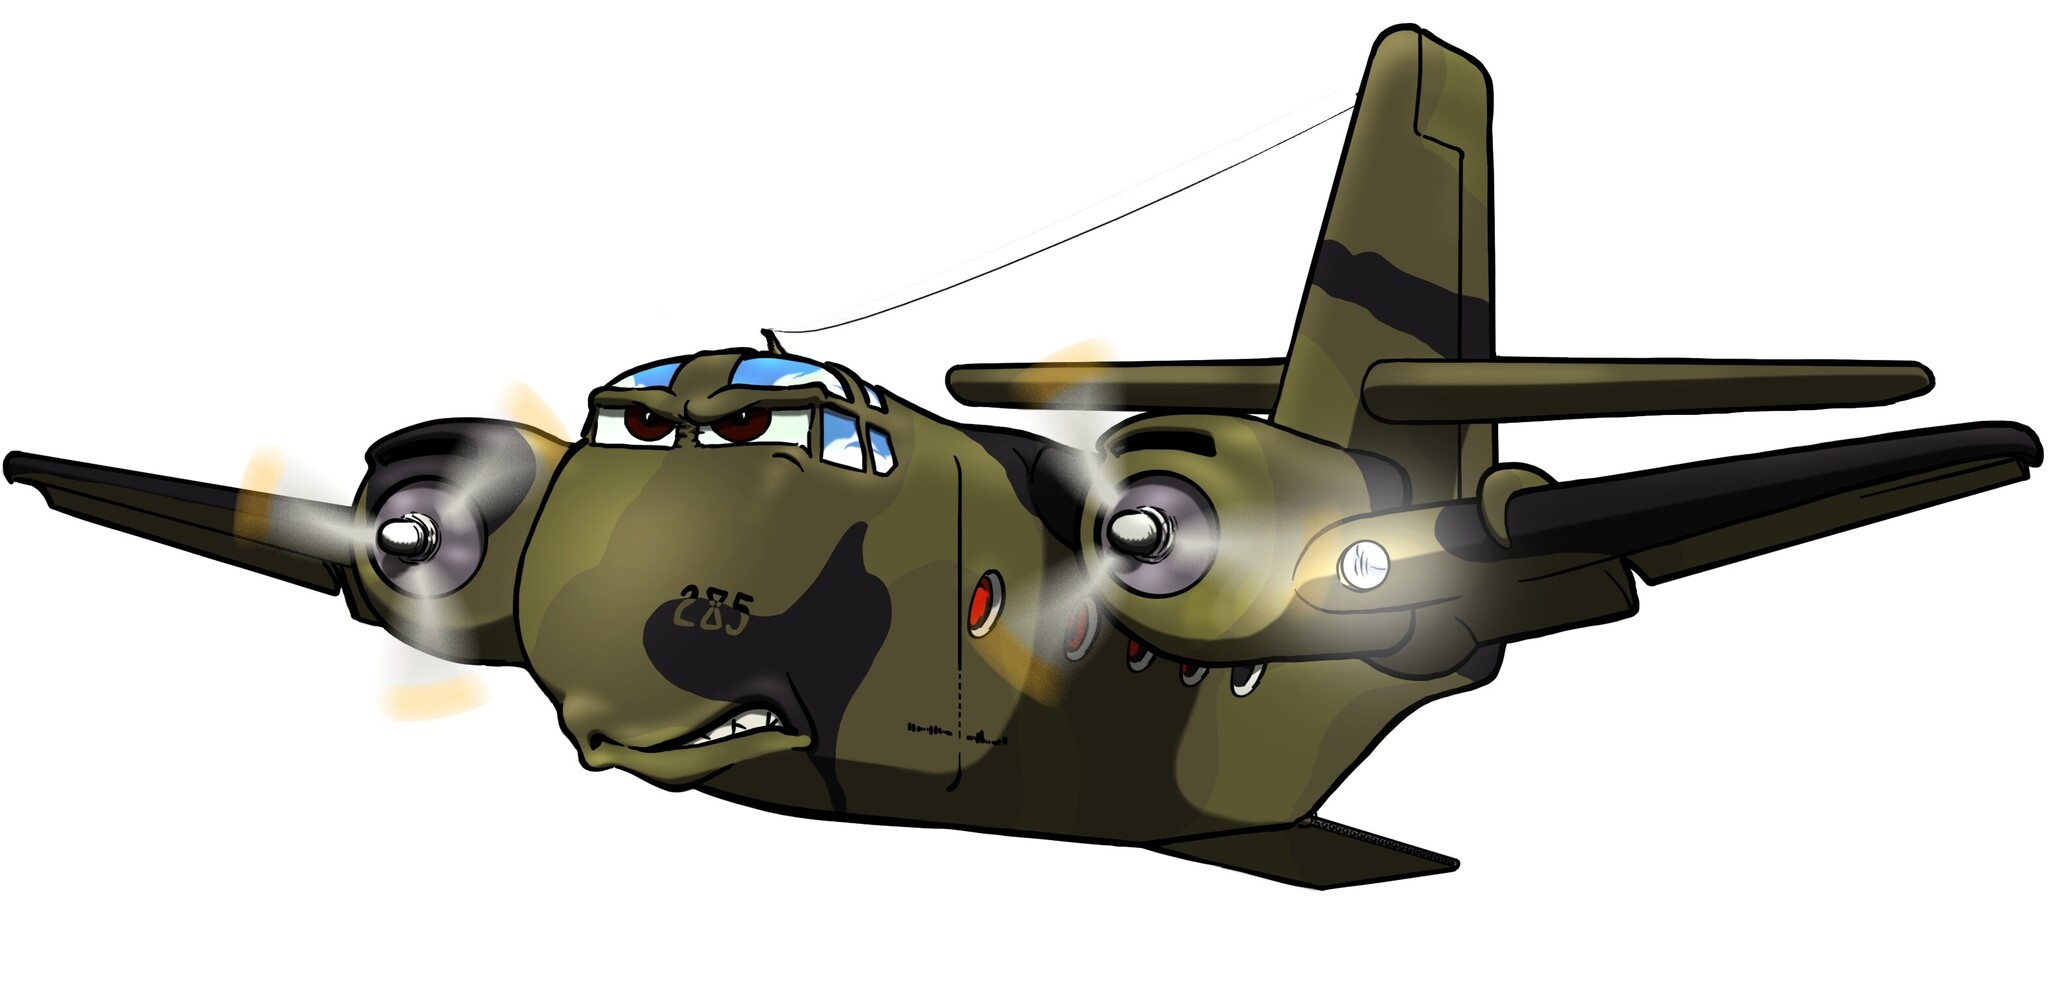
Here is when things gets more relaxed… Things are reviewed a bit more closely and a small amount of details fixed for good.
I always keep several .PSD of the various steps in case I missed something… and there’s somehow always something that I miss.
Luckily by learnign to work smart (boy it DID take some HUGE mistakes!) I can recover nearly everything in a really short time.
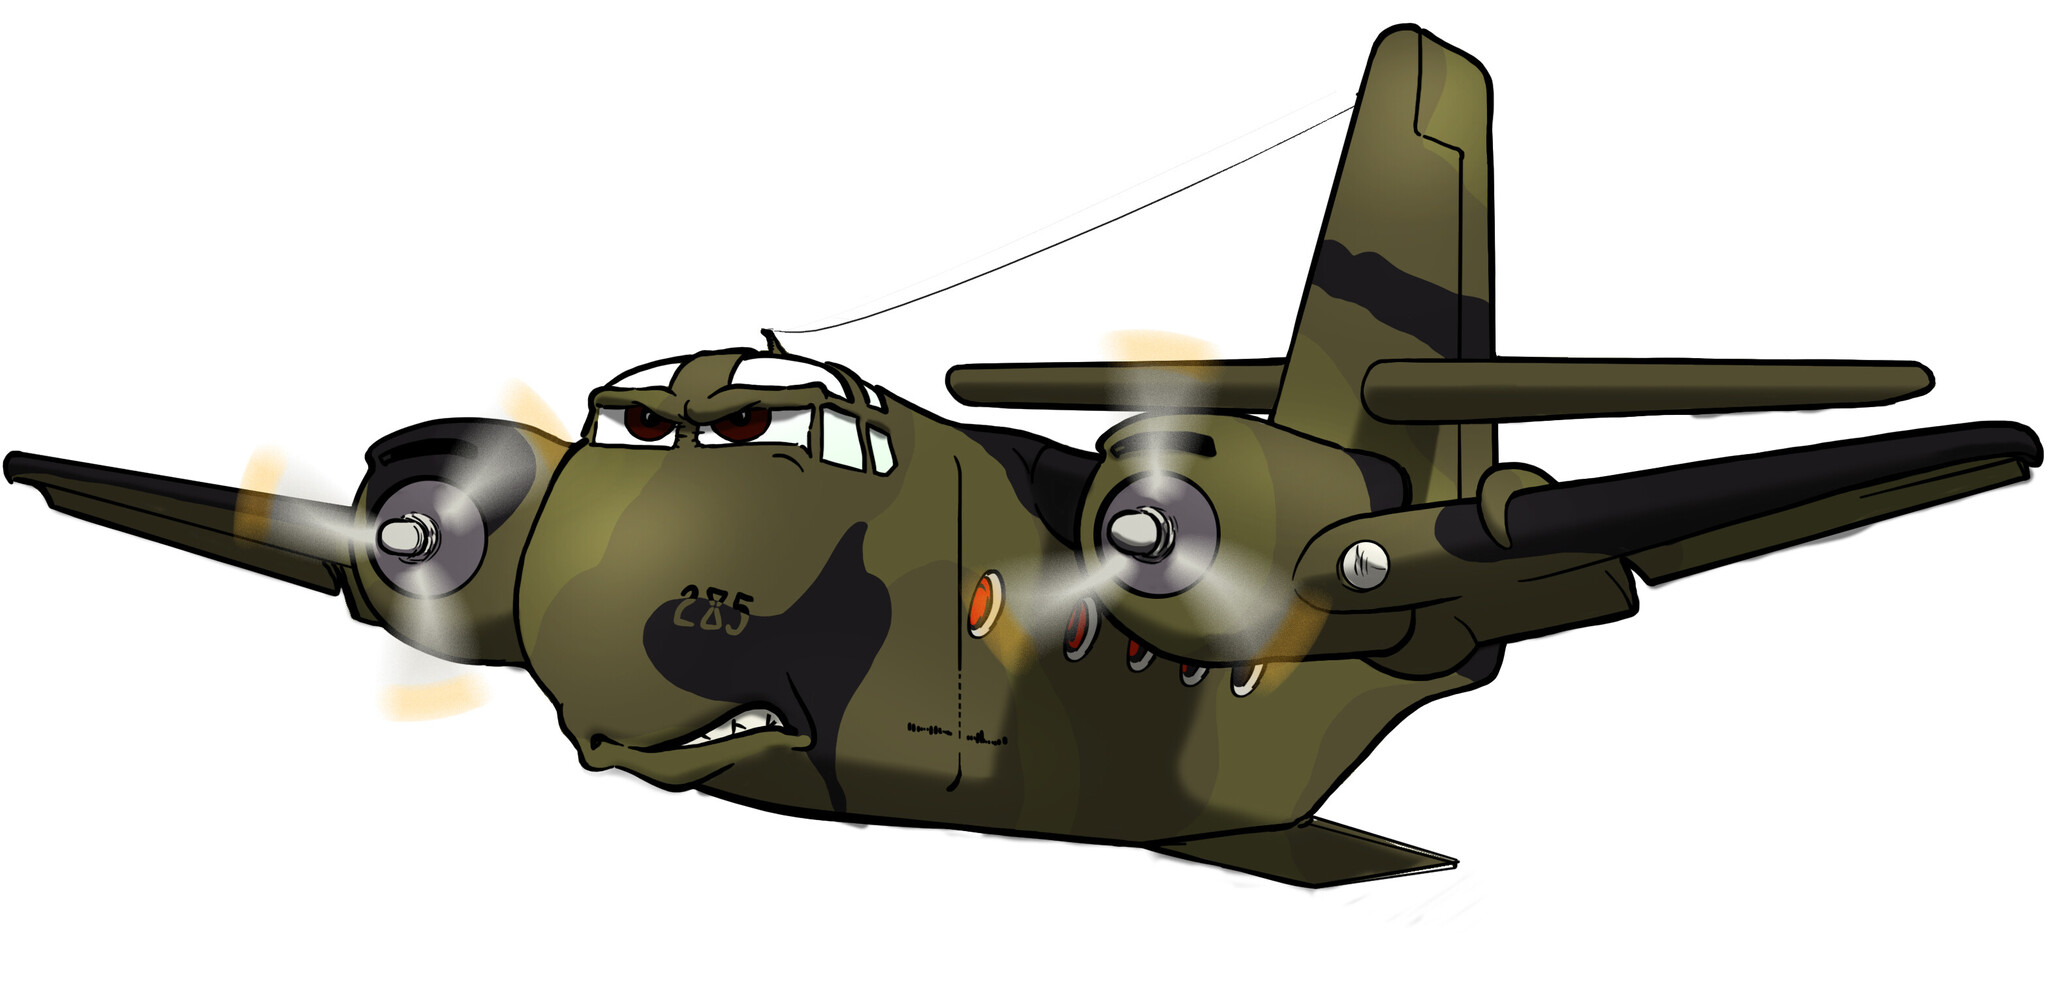
What I promise to anyone who works with me is that I will always be ready to help out for free and fix, change, smooth out, adjust whatever could have been missed during this whole process.
Even years after the design was completed and paid off.
For a small extra fee I also can provide the original .PSD along with the plead not to use them to earn money on top of my work.
Well, that’s it.
Hope nobody got too bored…
Class is dismissed.
Ciao!