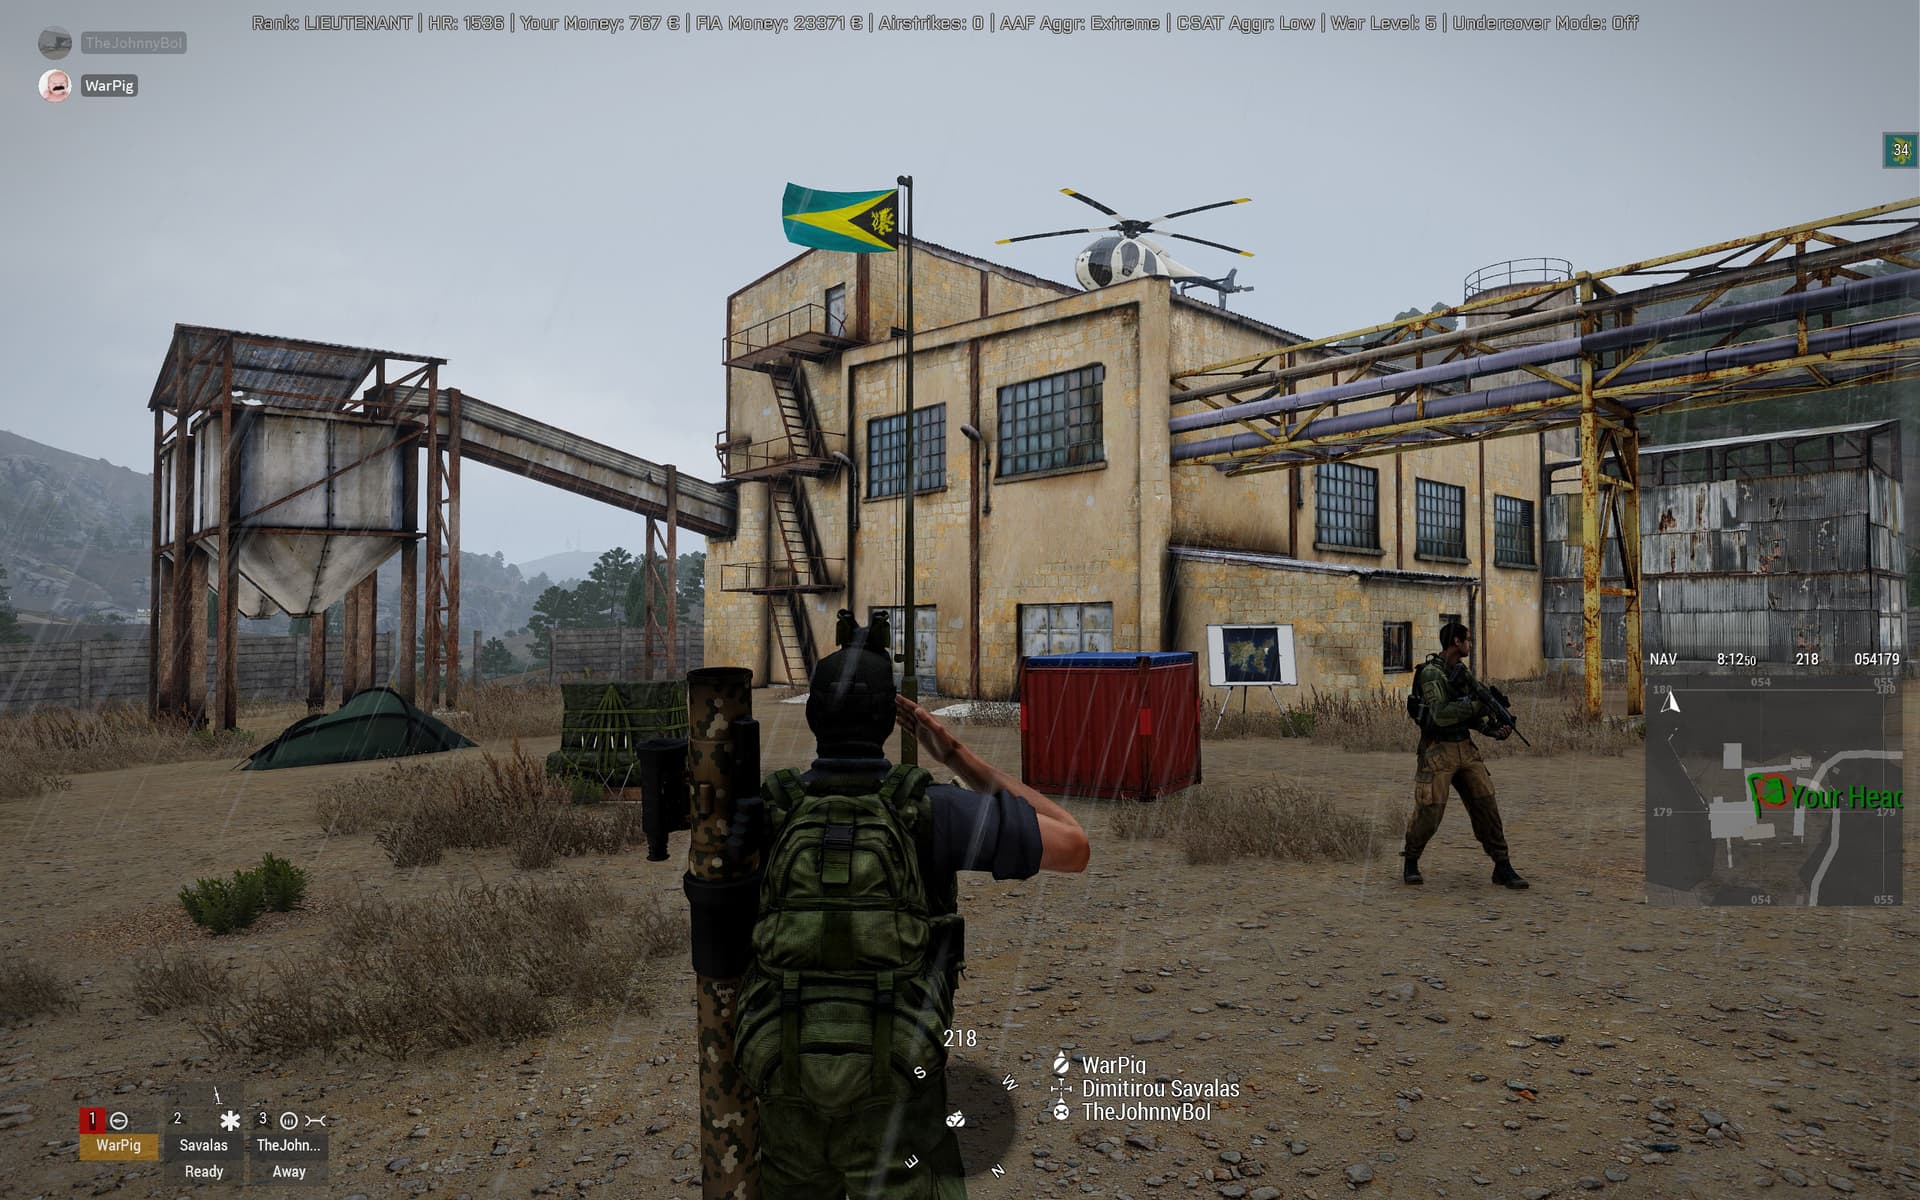
The Professionals - Professional planning in Progress

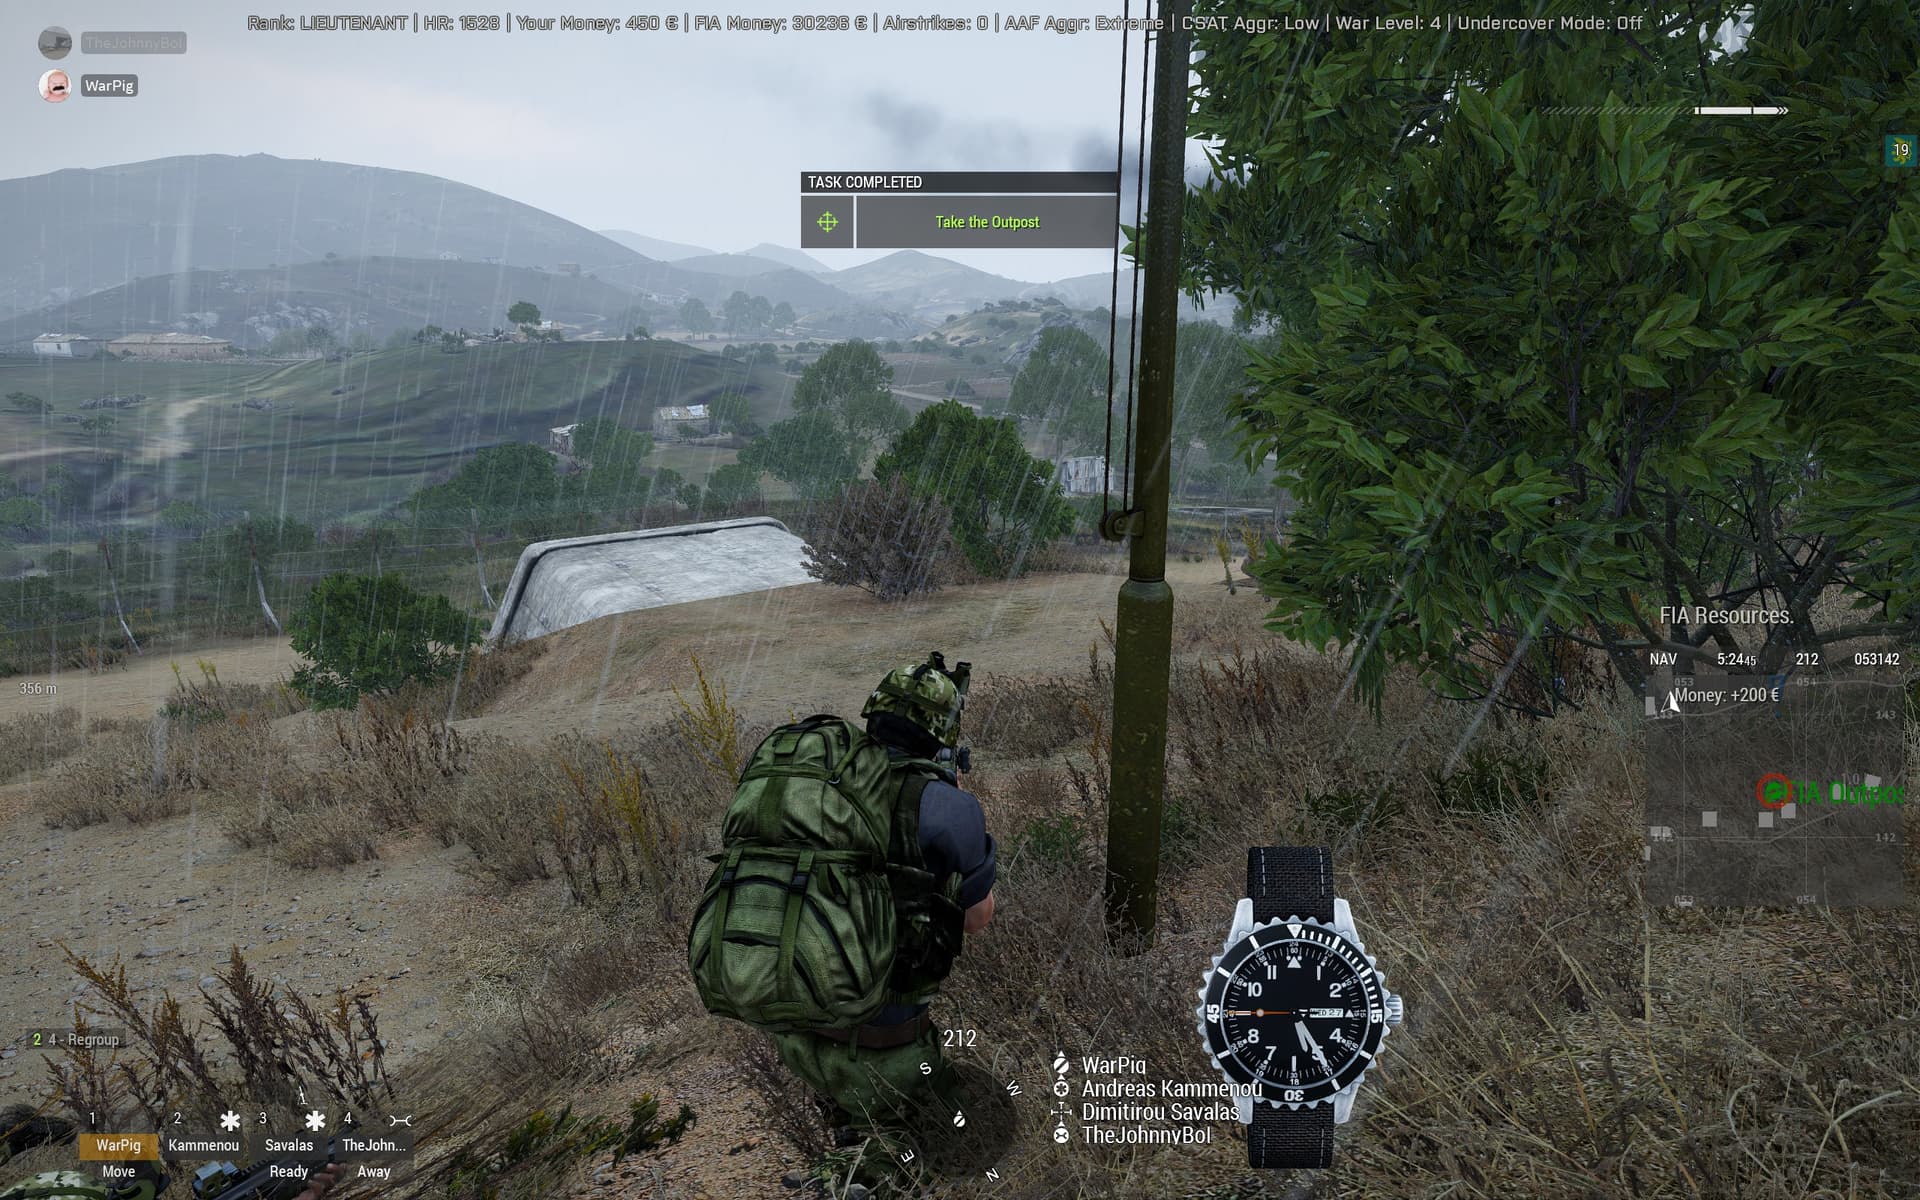
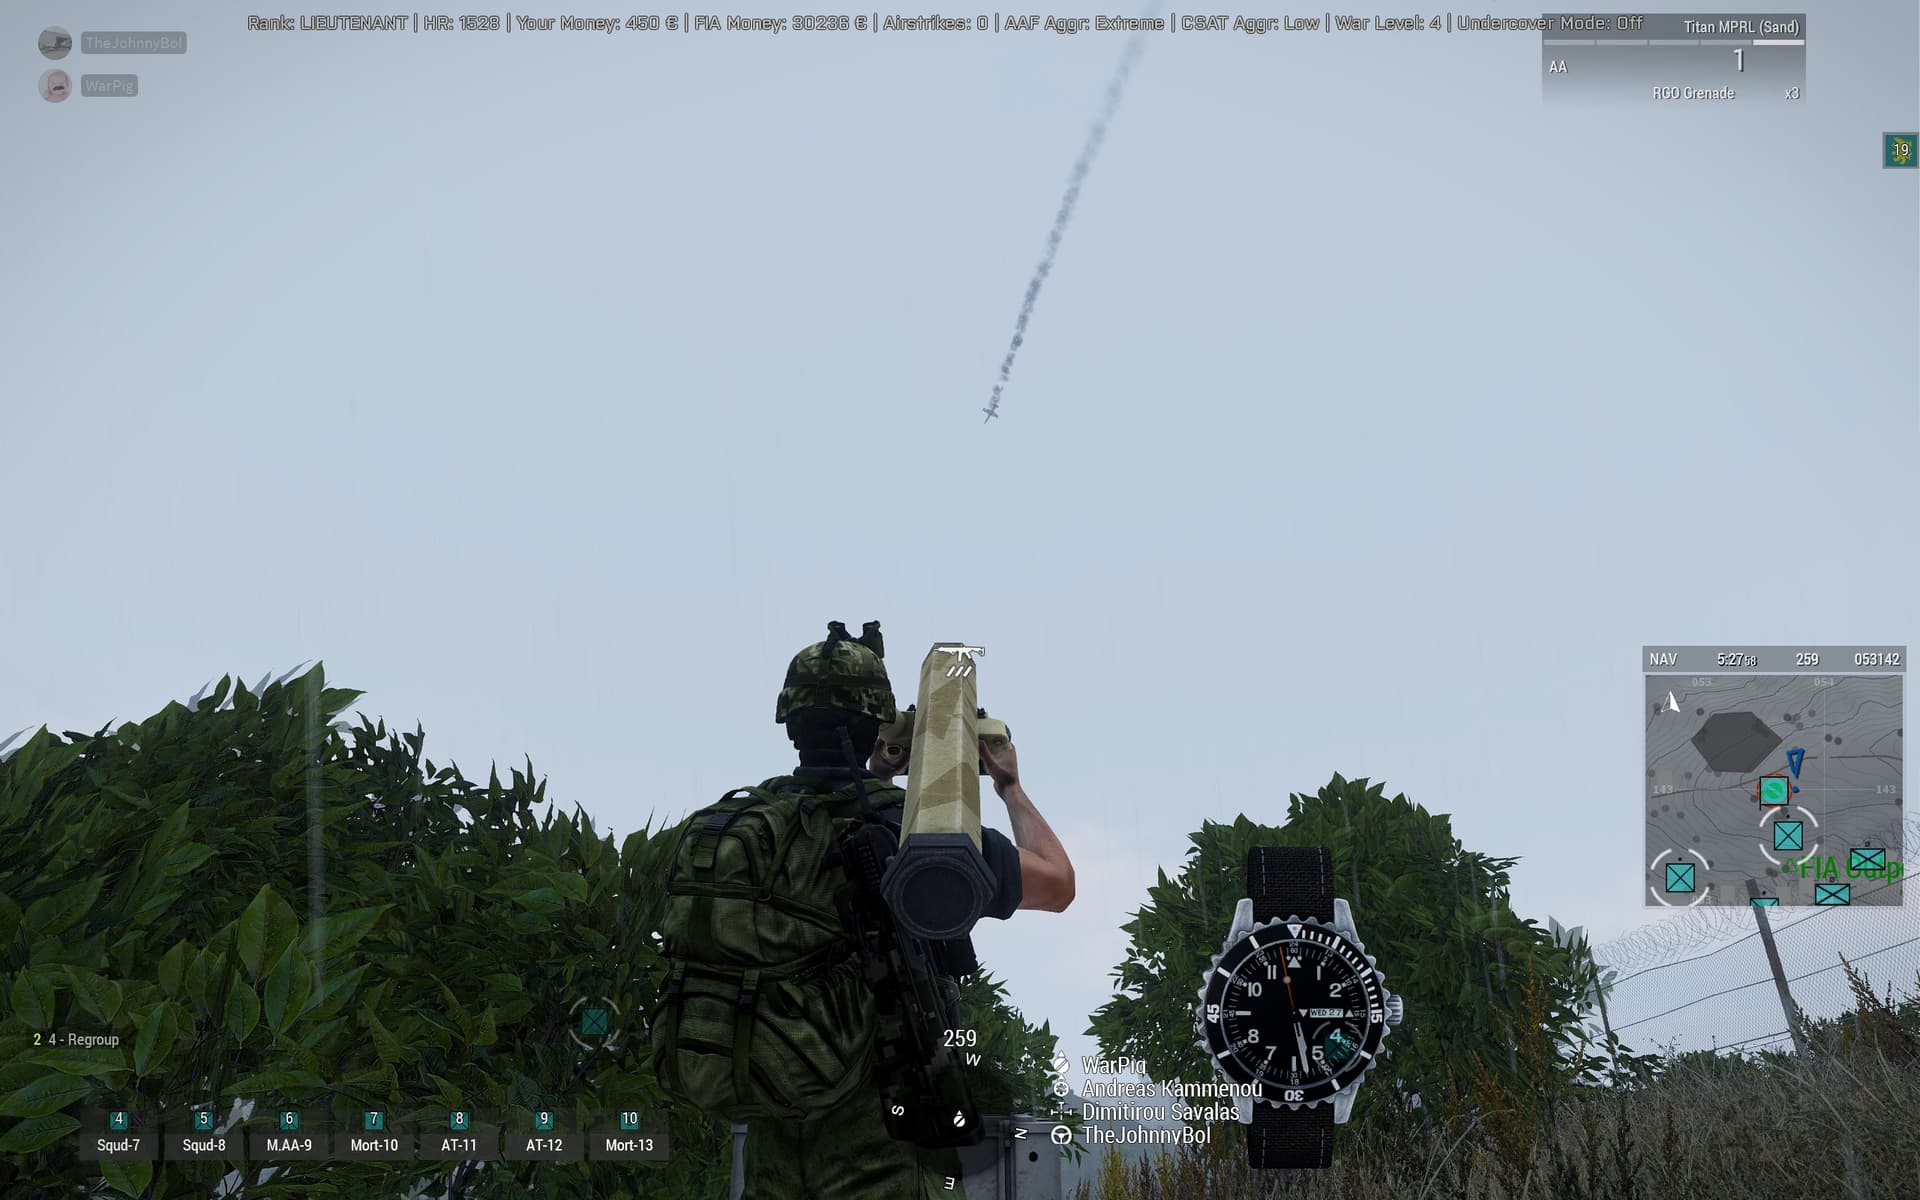
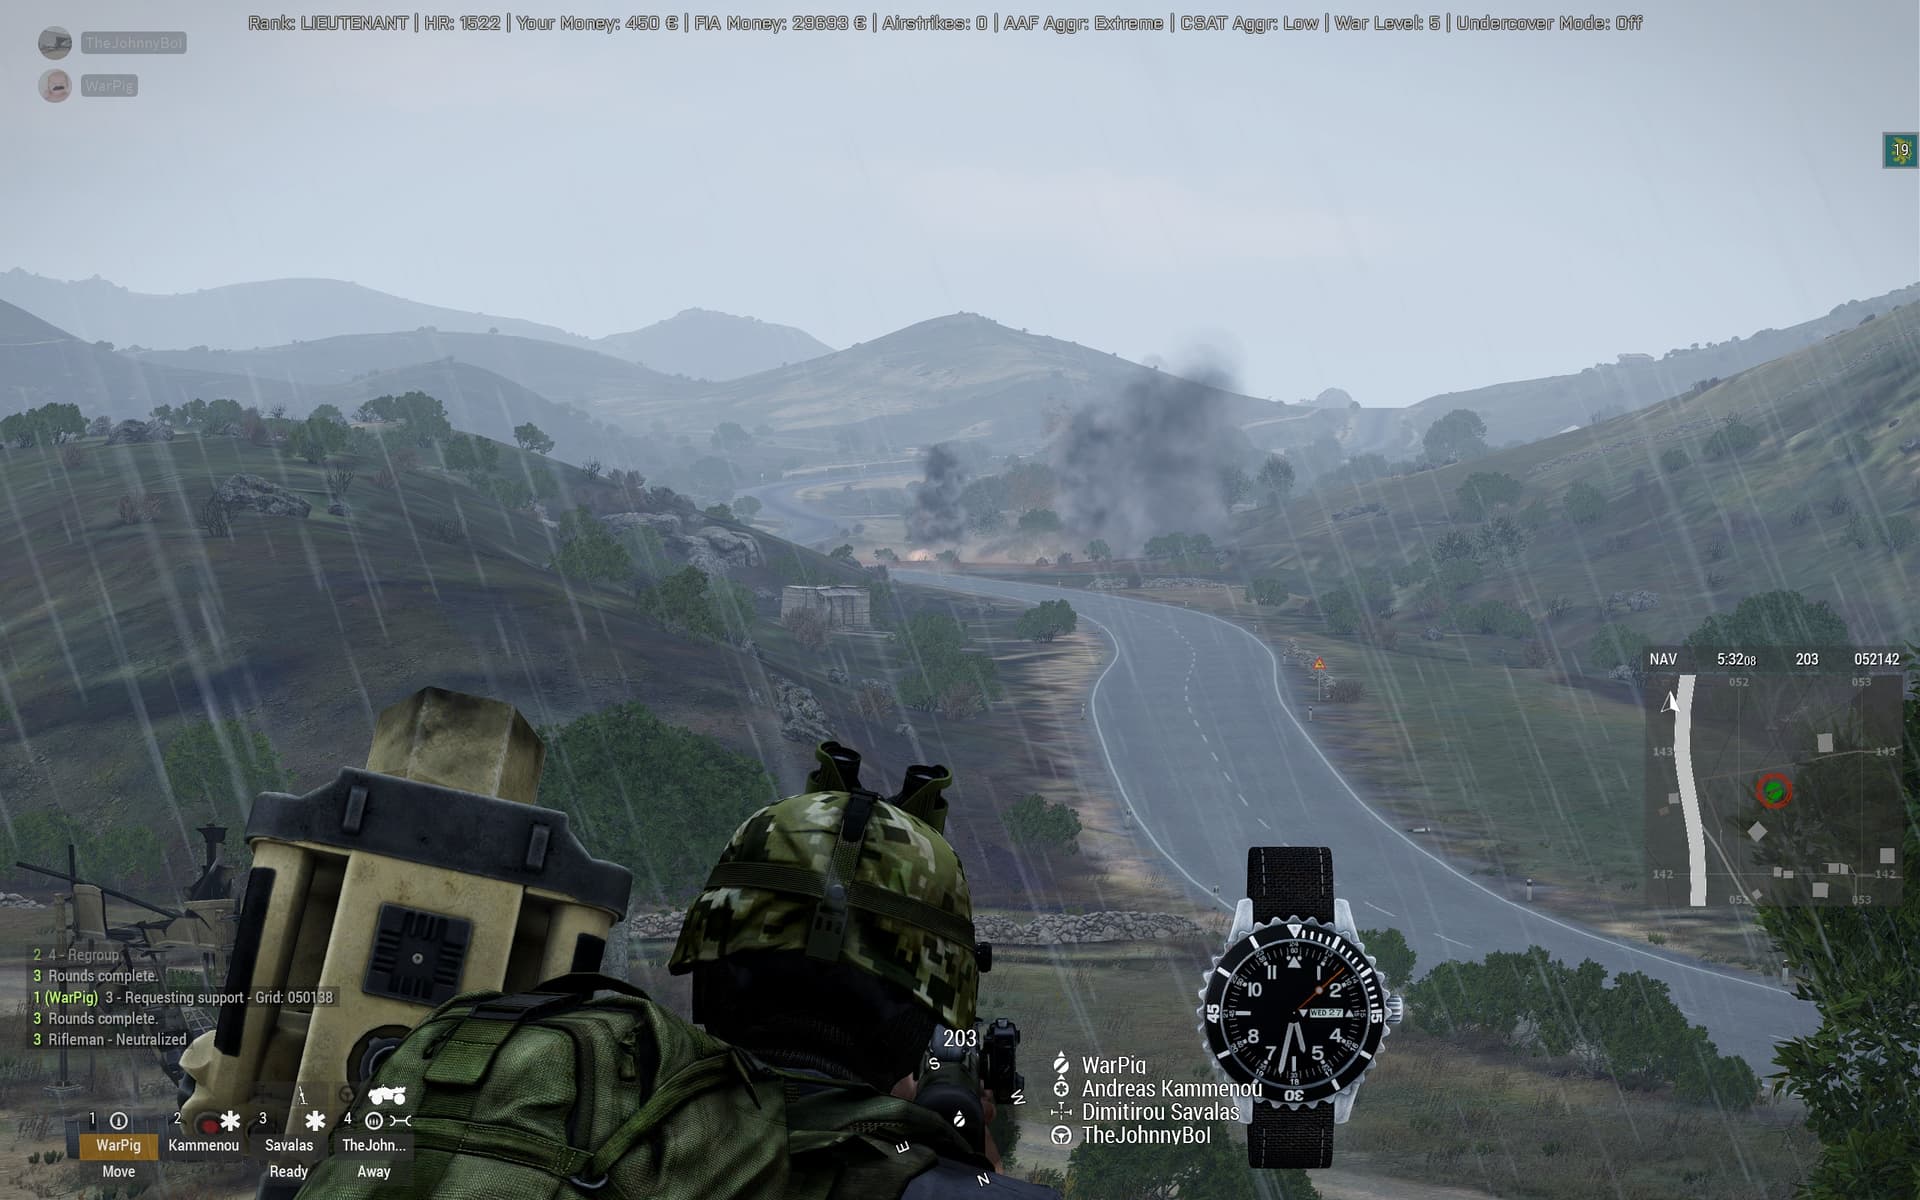
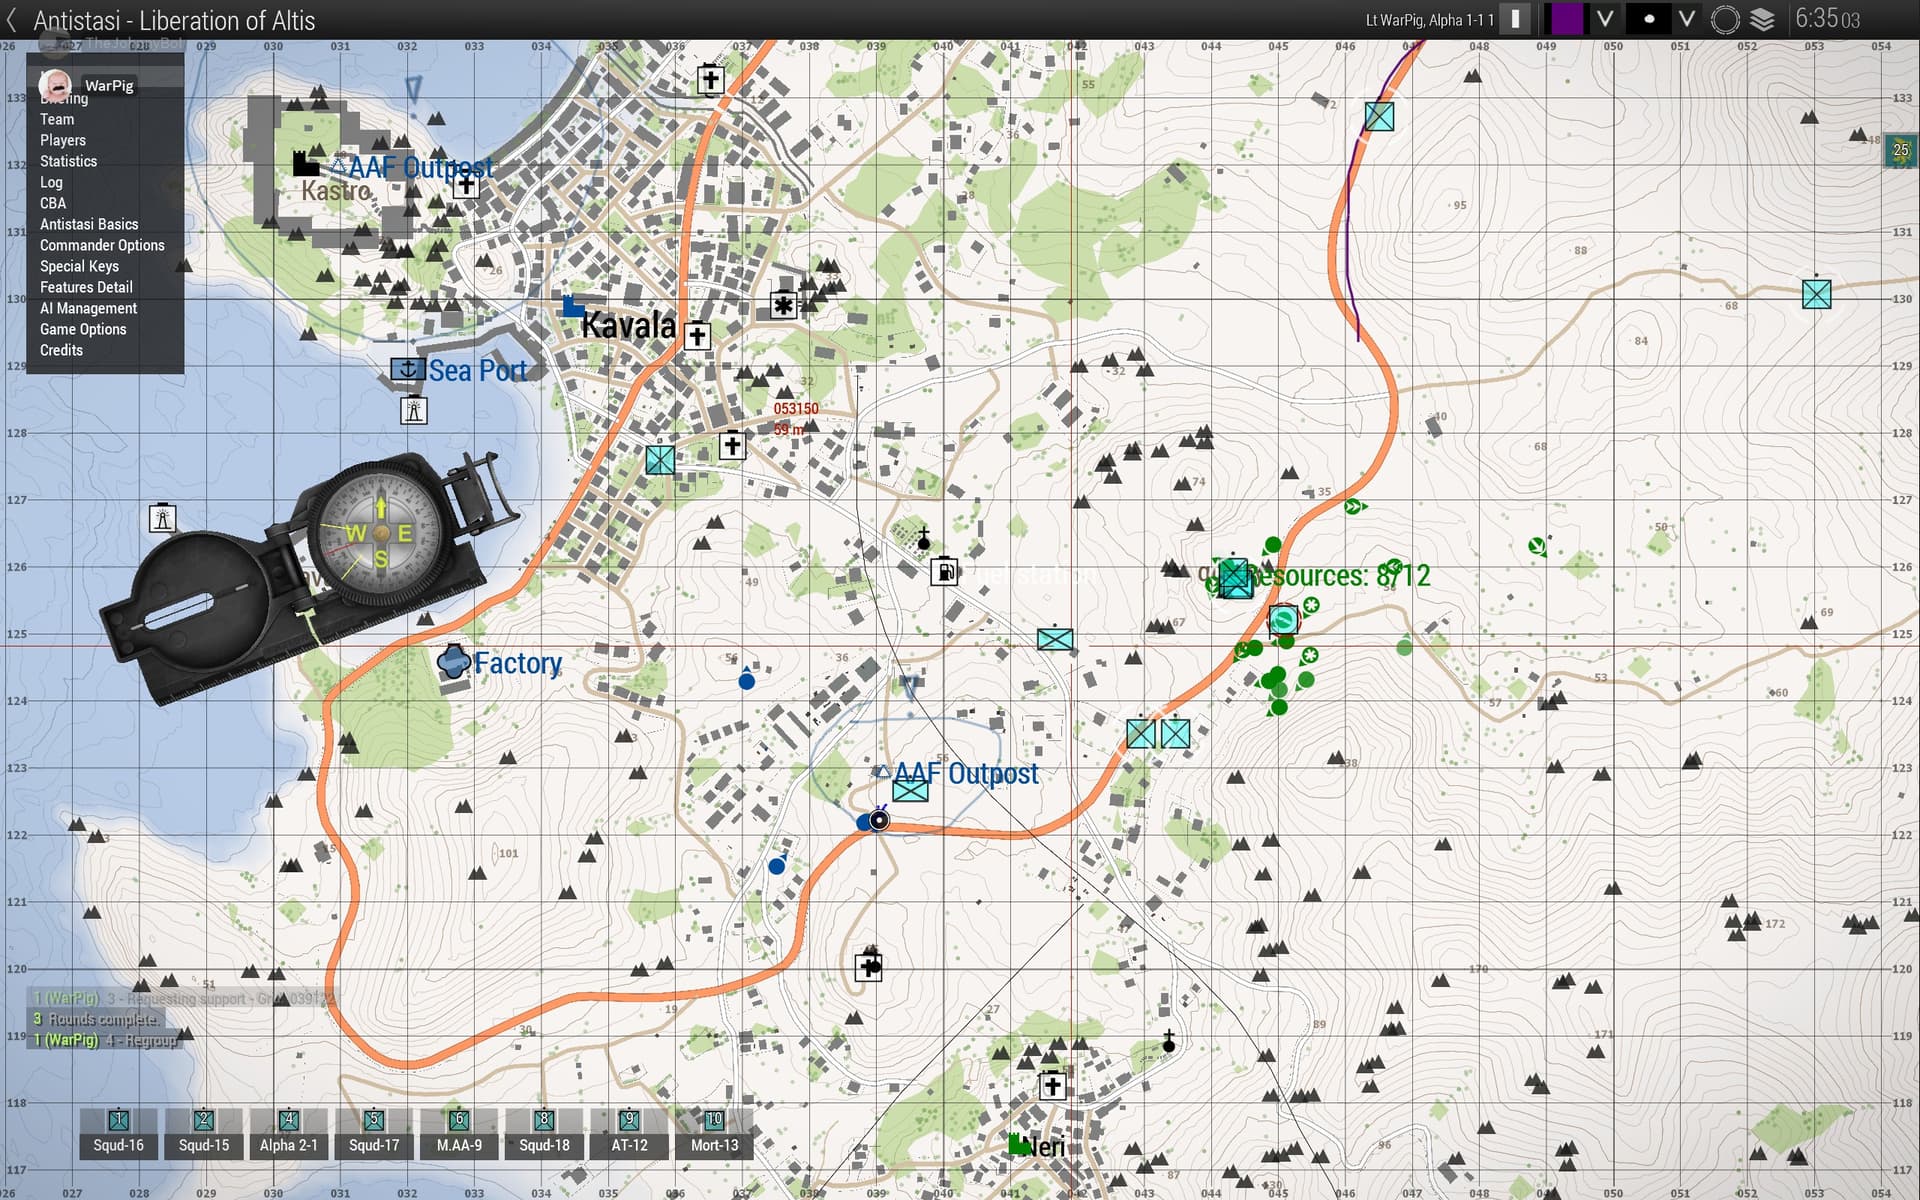
My day ended up being substantially longer than expected, and by the time I got to my hotel I was exhausted and went straight to bed. I finally popped onto the server today after breakfast, here’s some detailed photo reconnaissance.

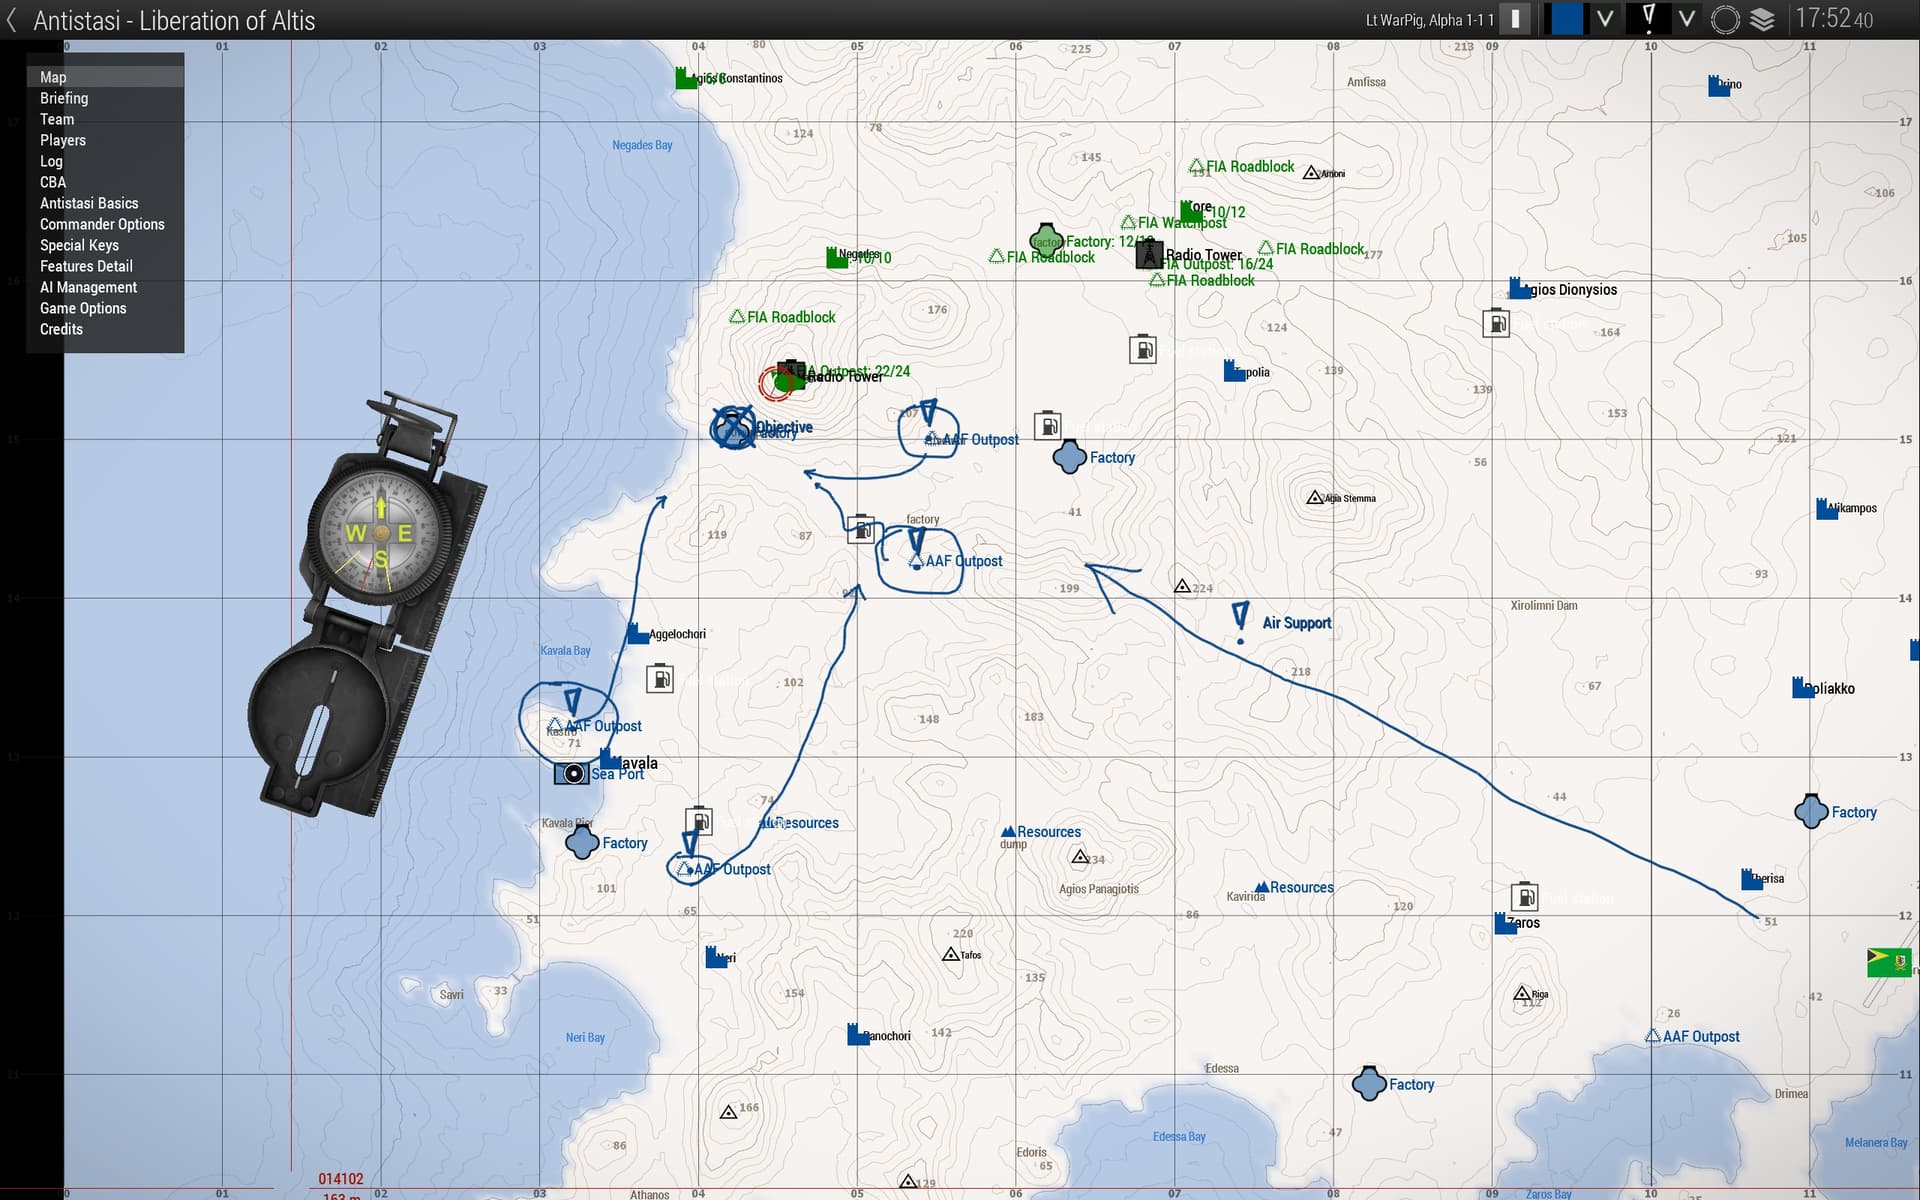
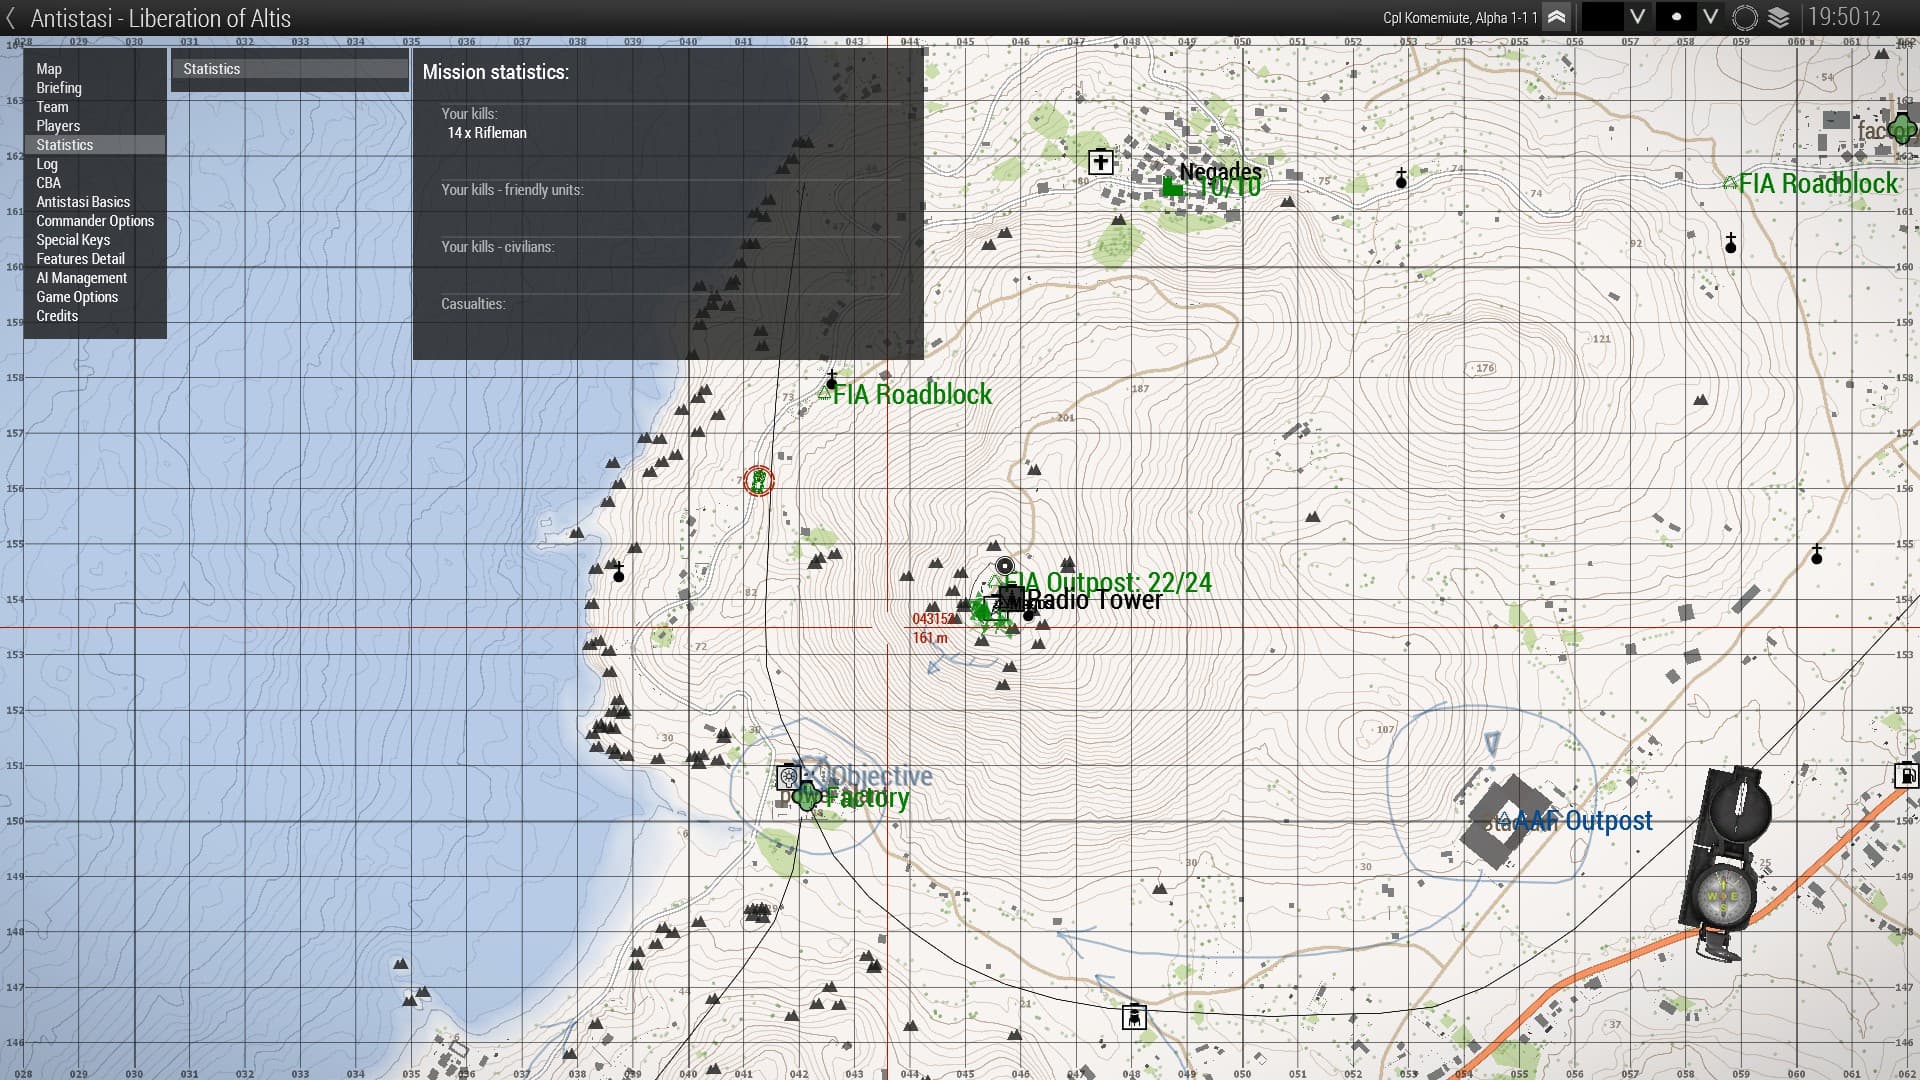
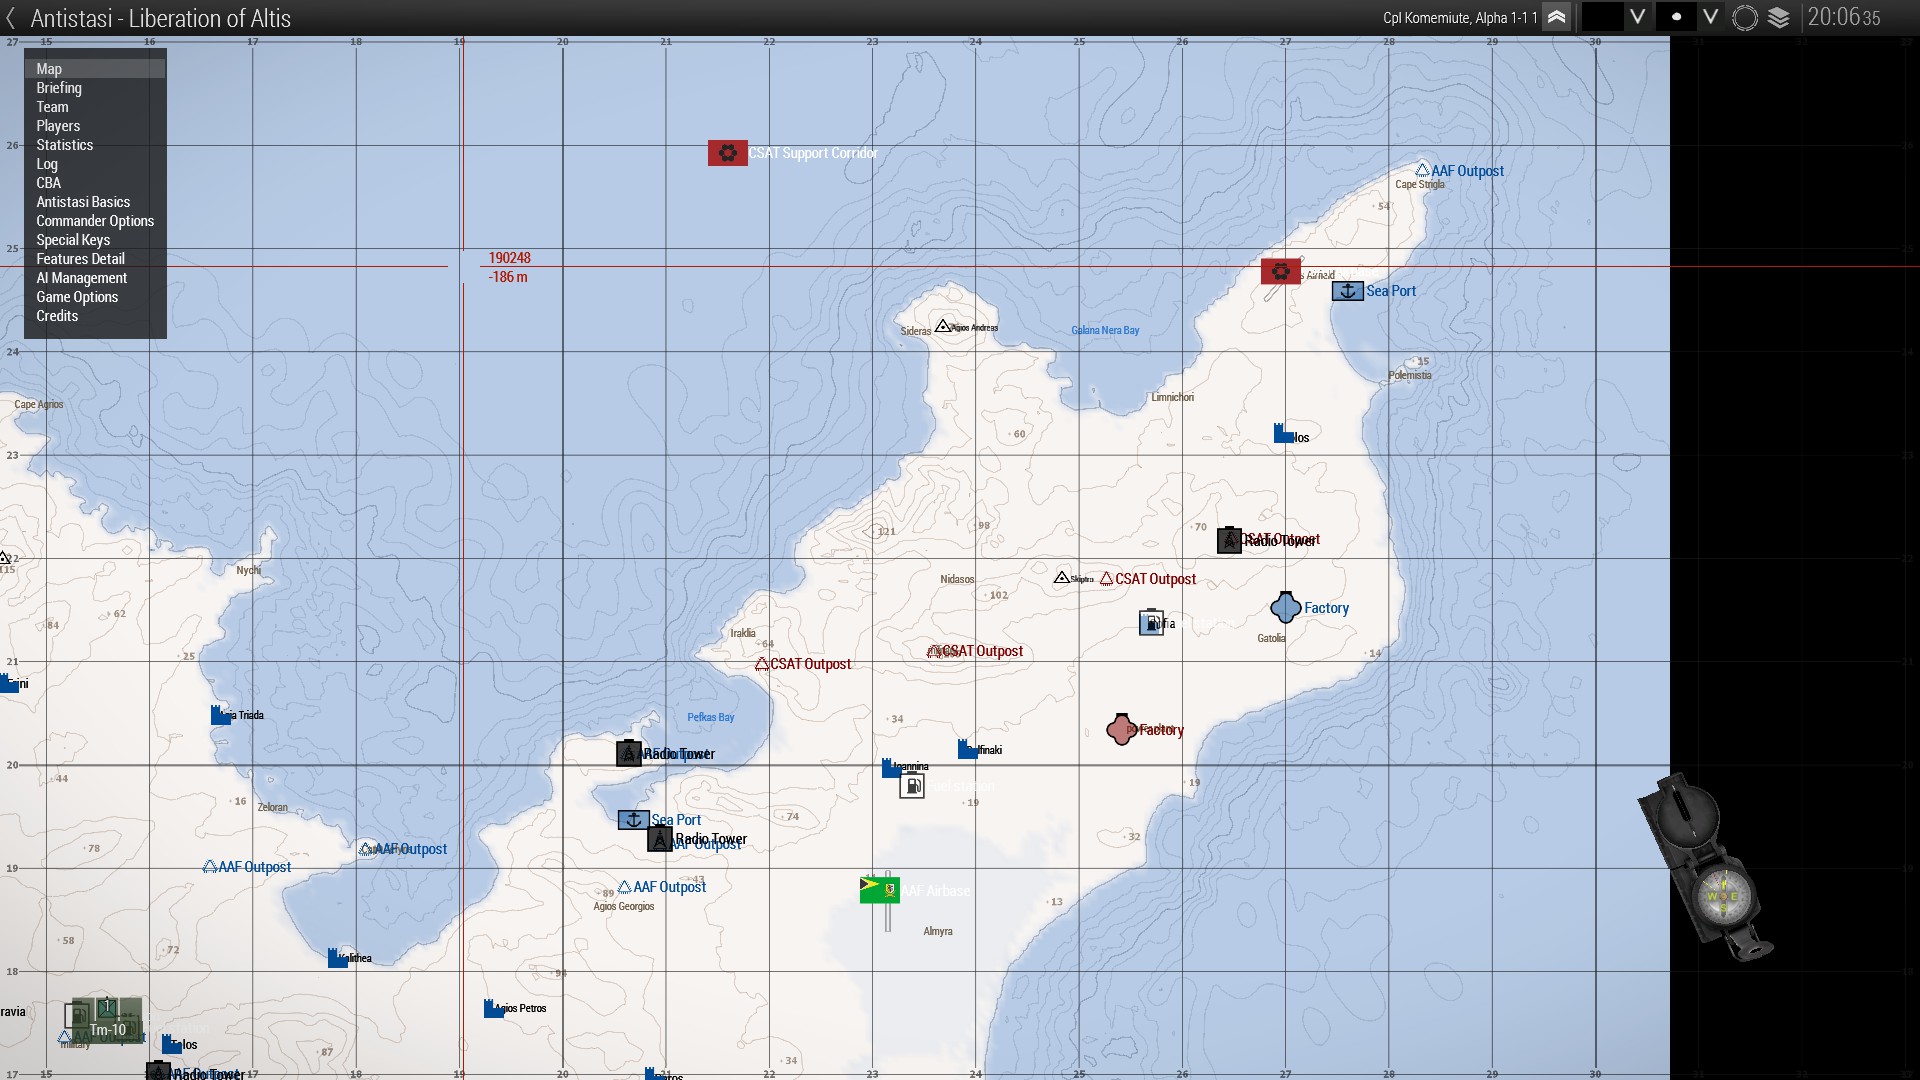
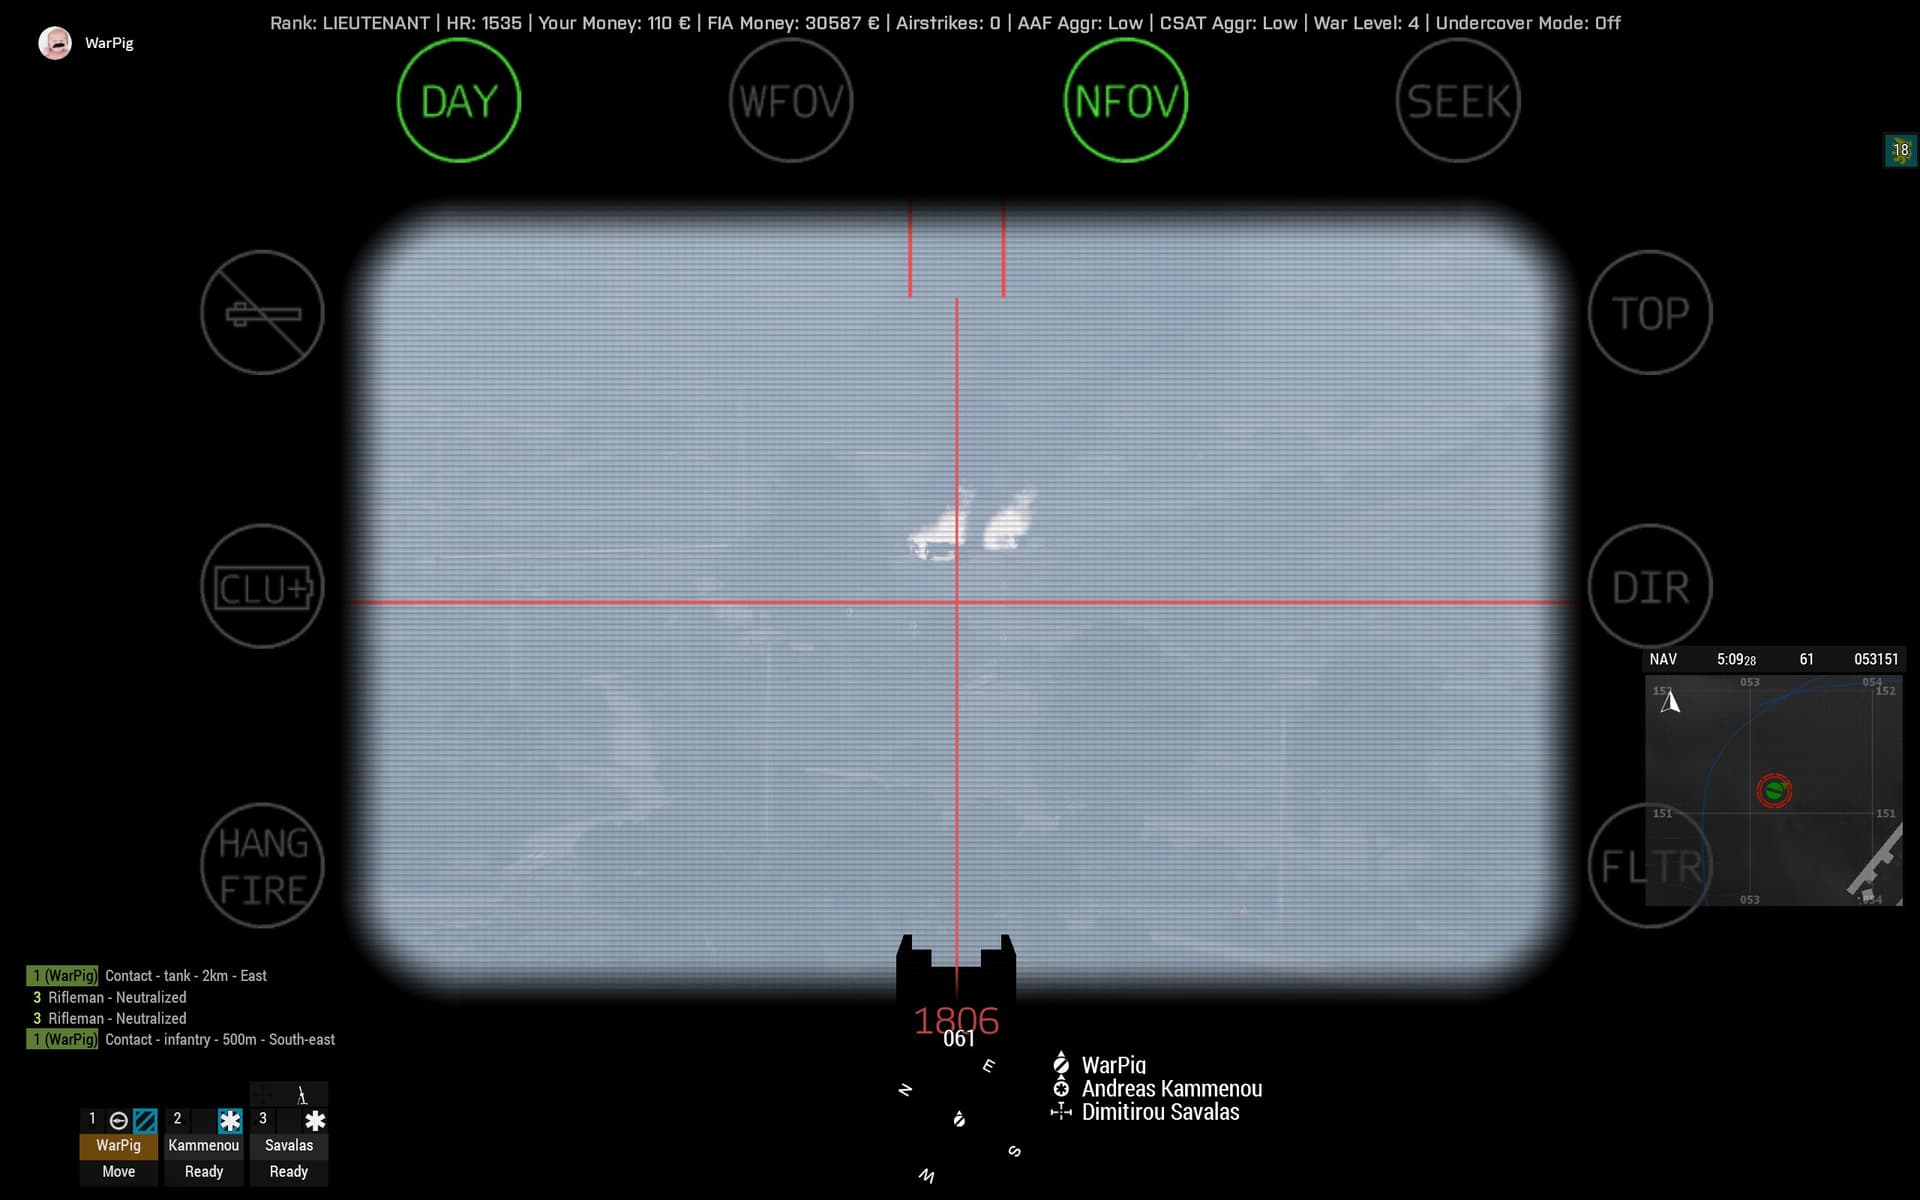
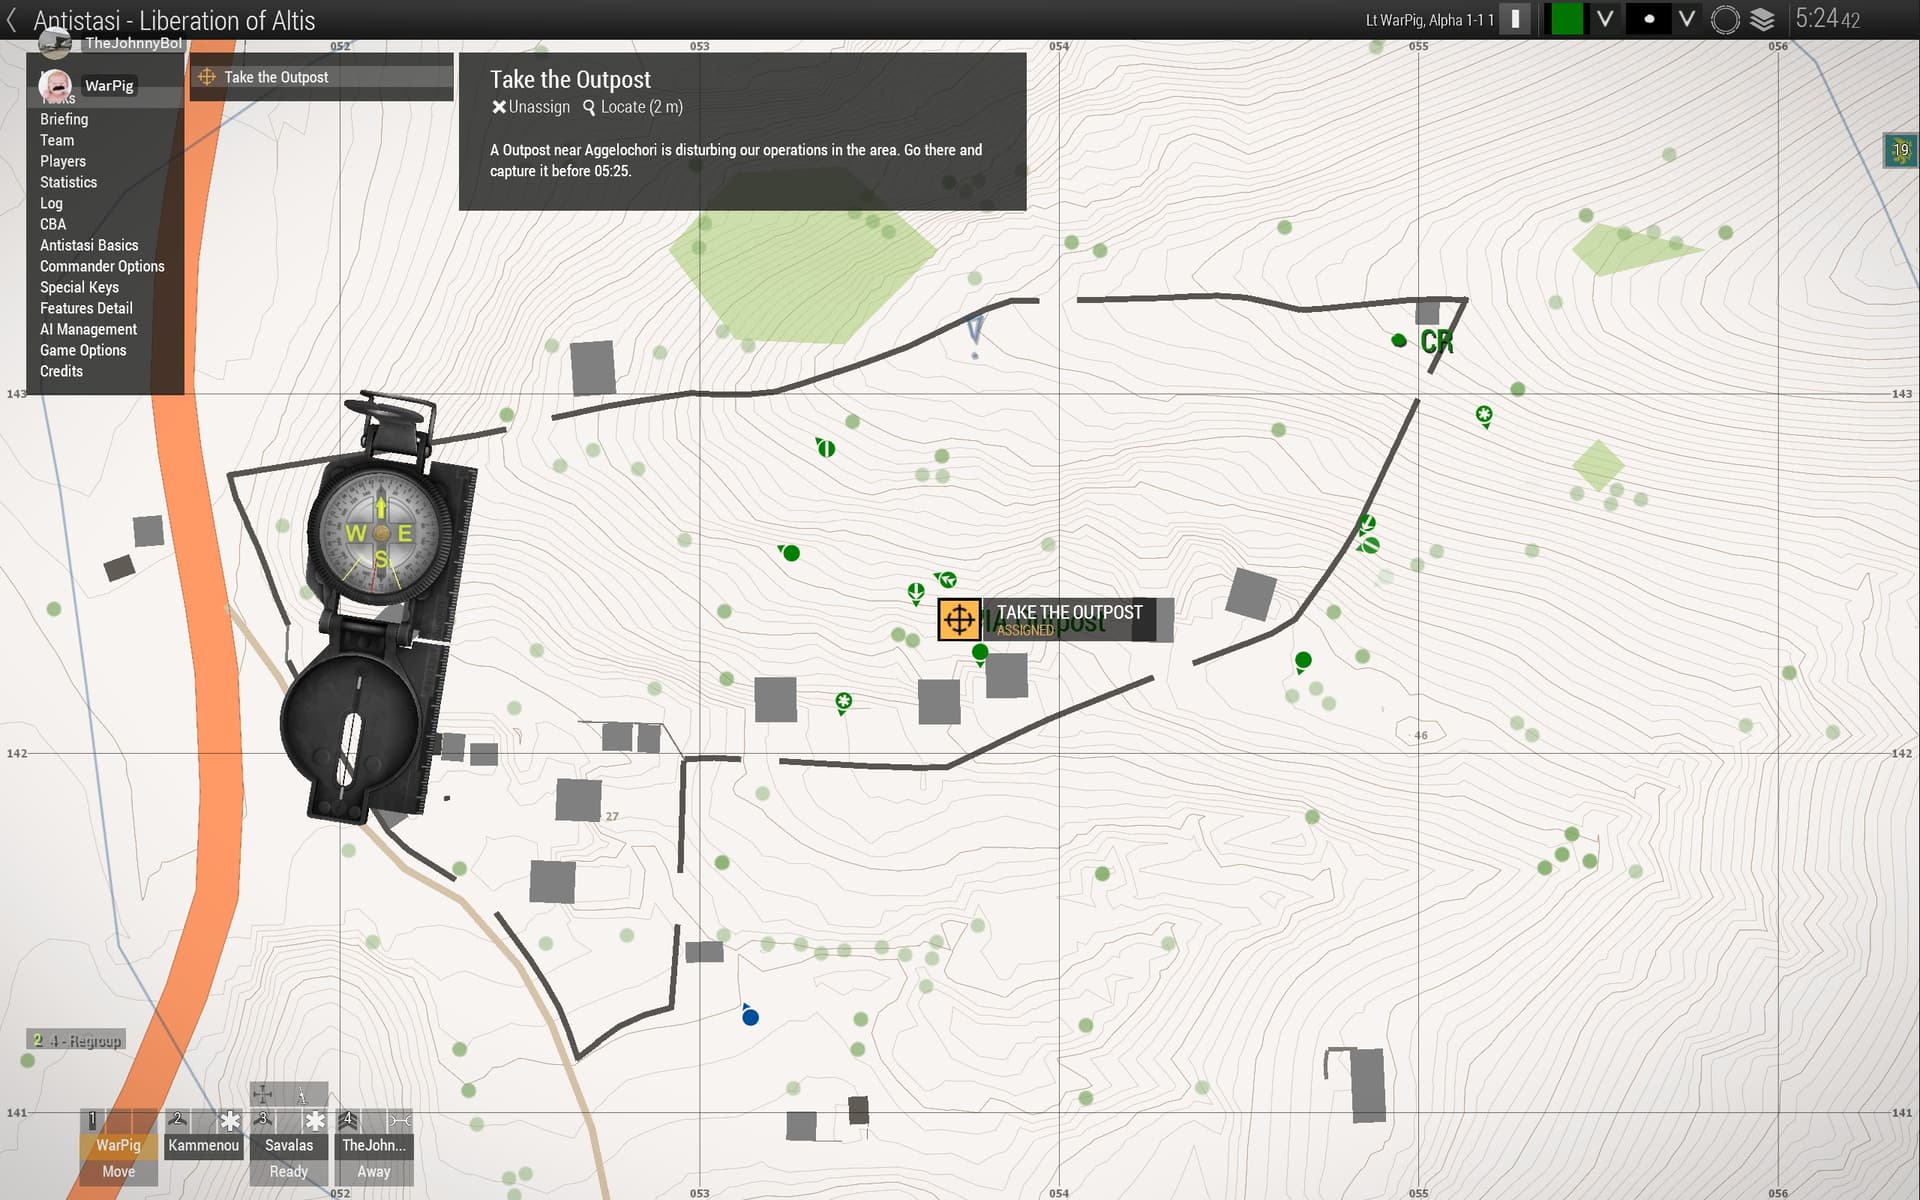
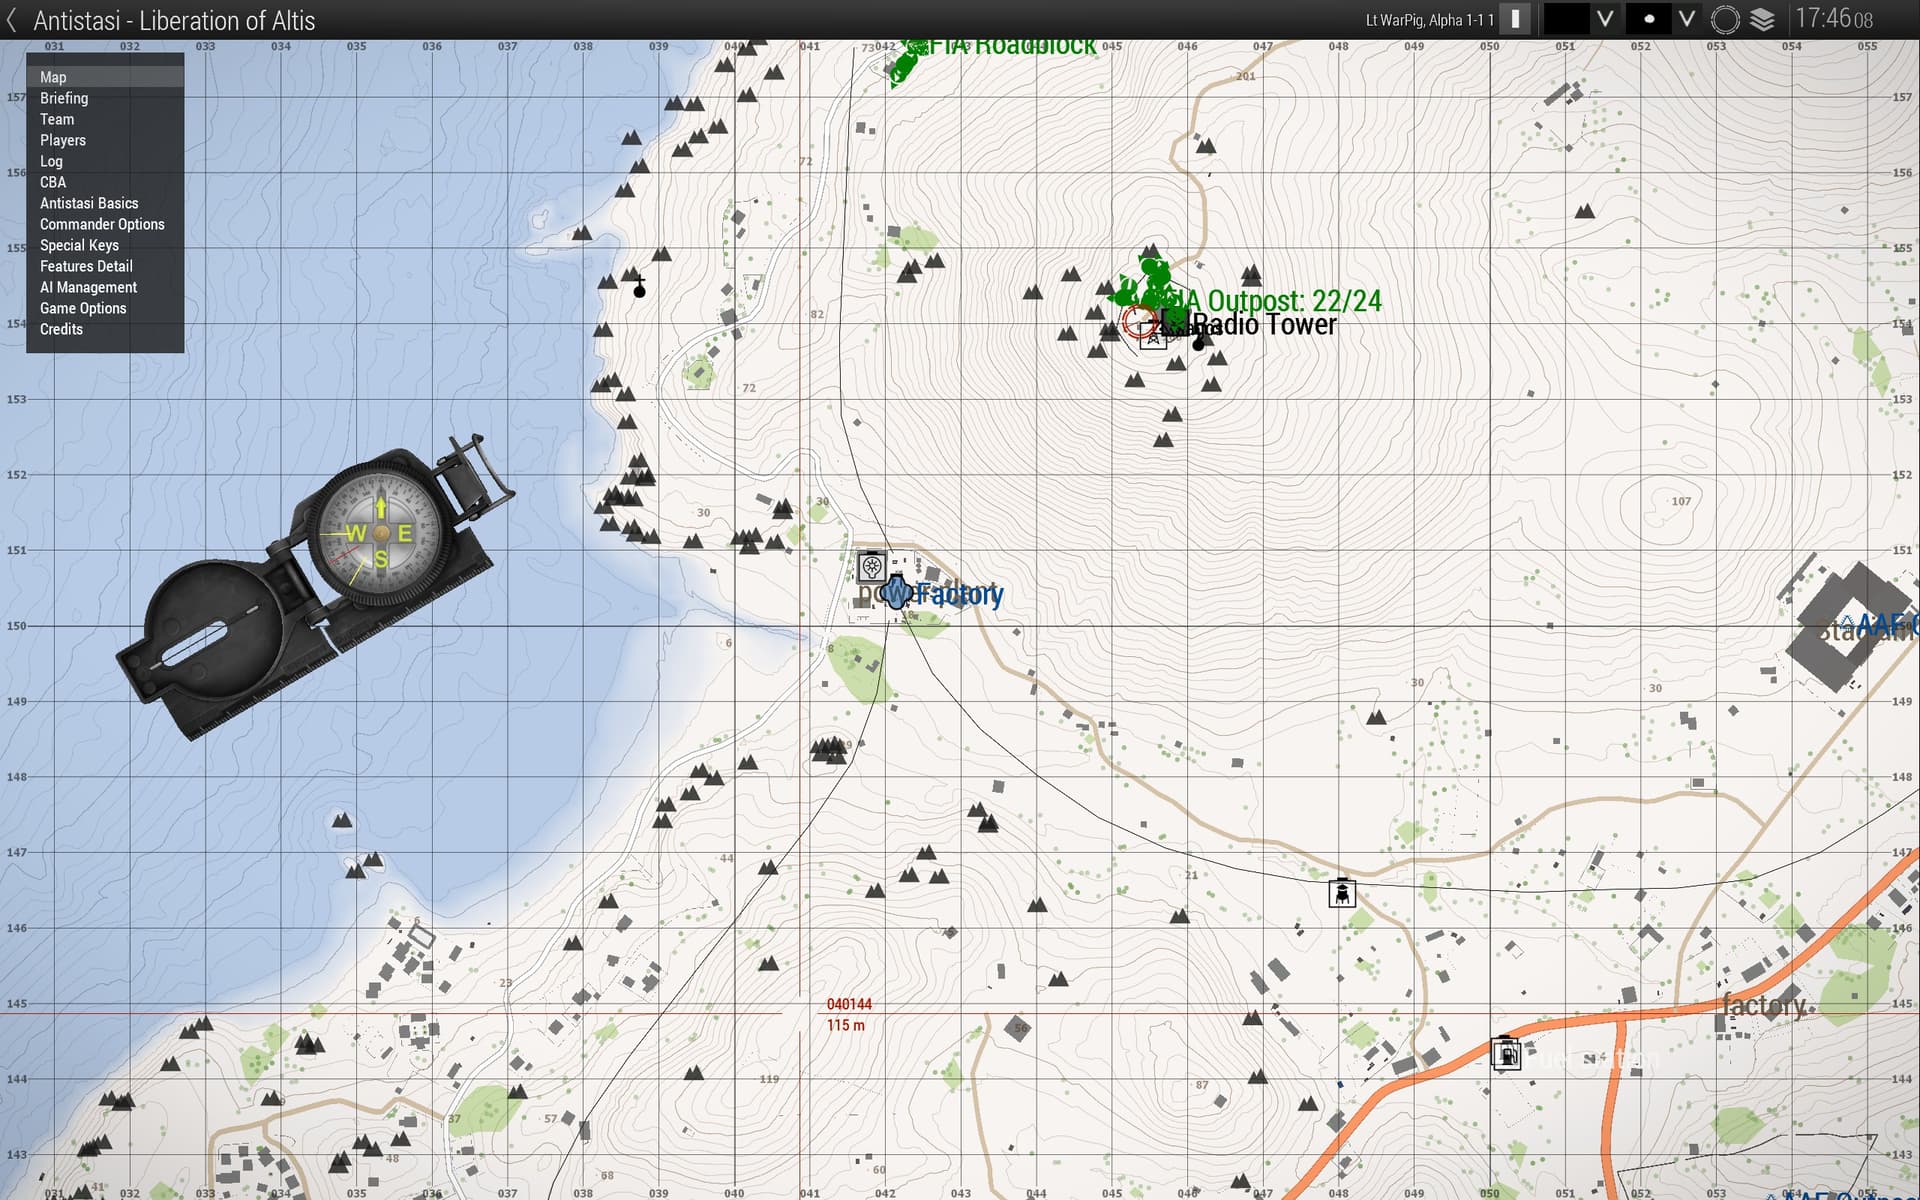
Detail map of the objective showing proximity to our hilltop outpost:

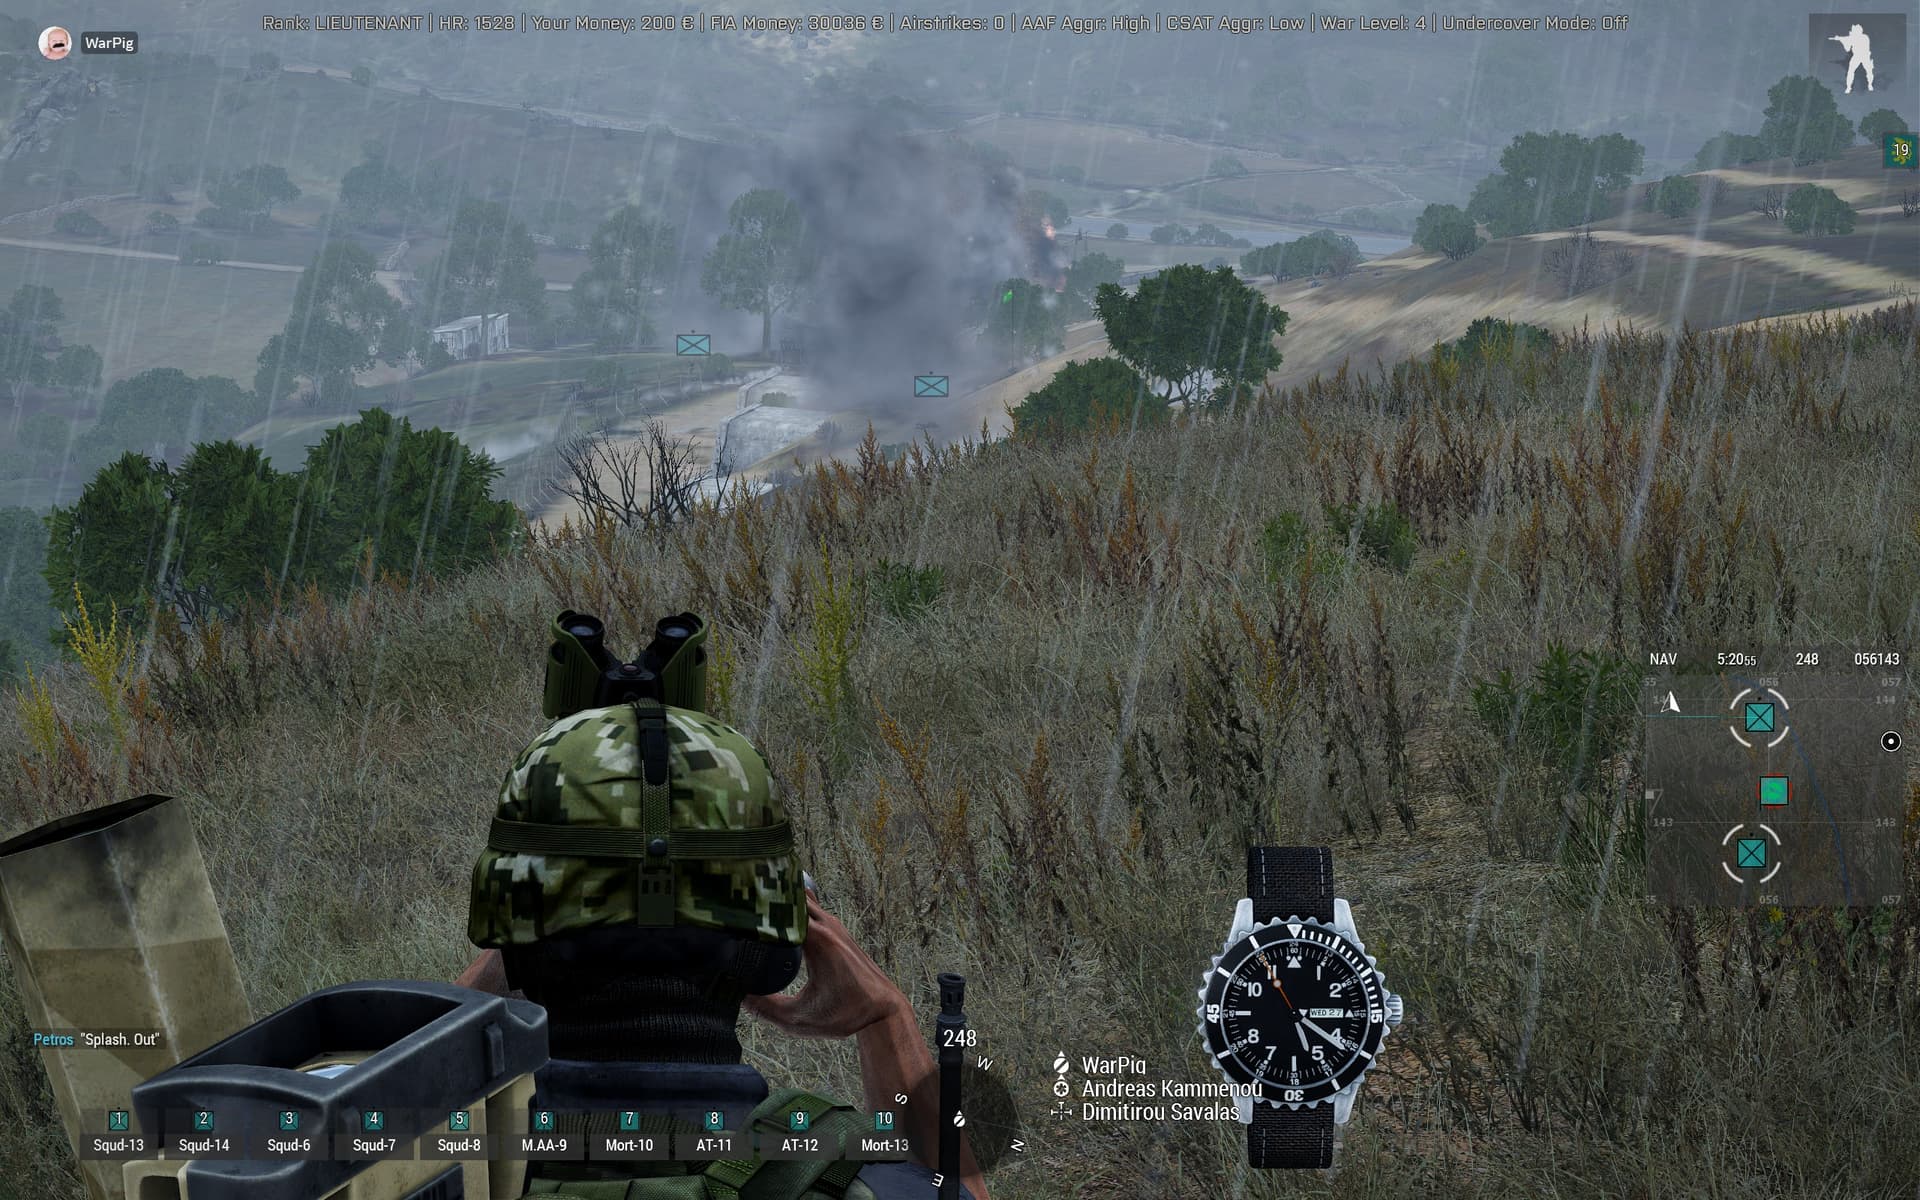
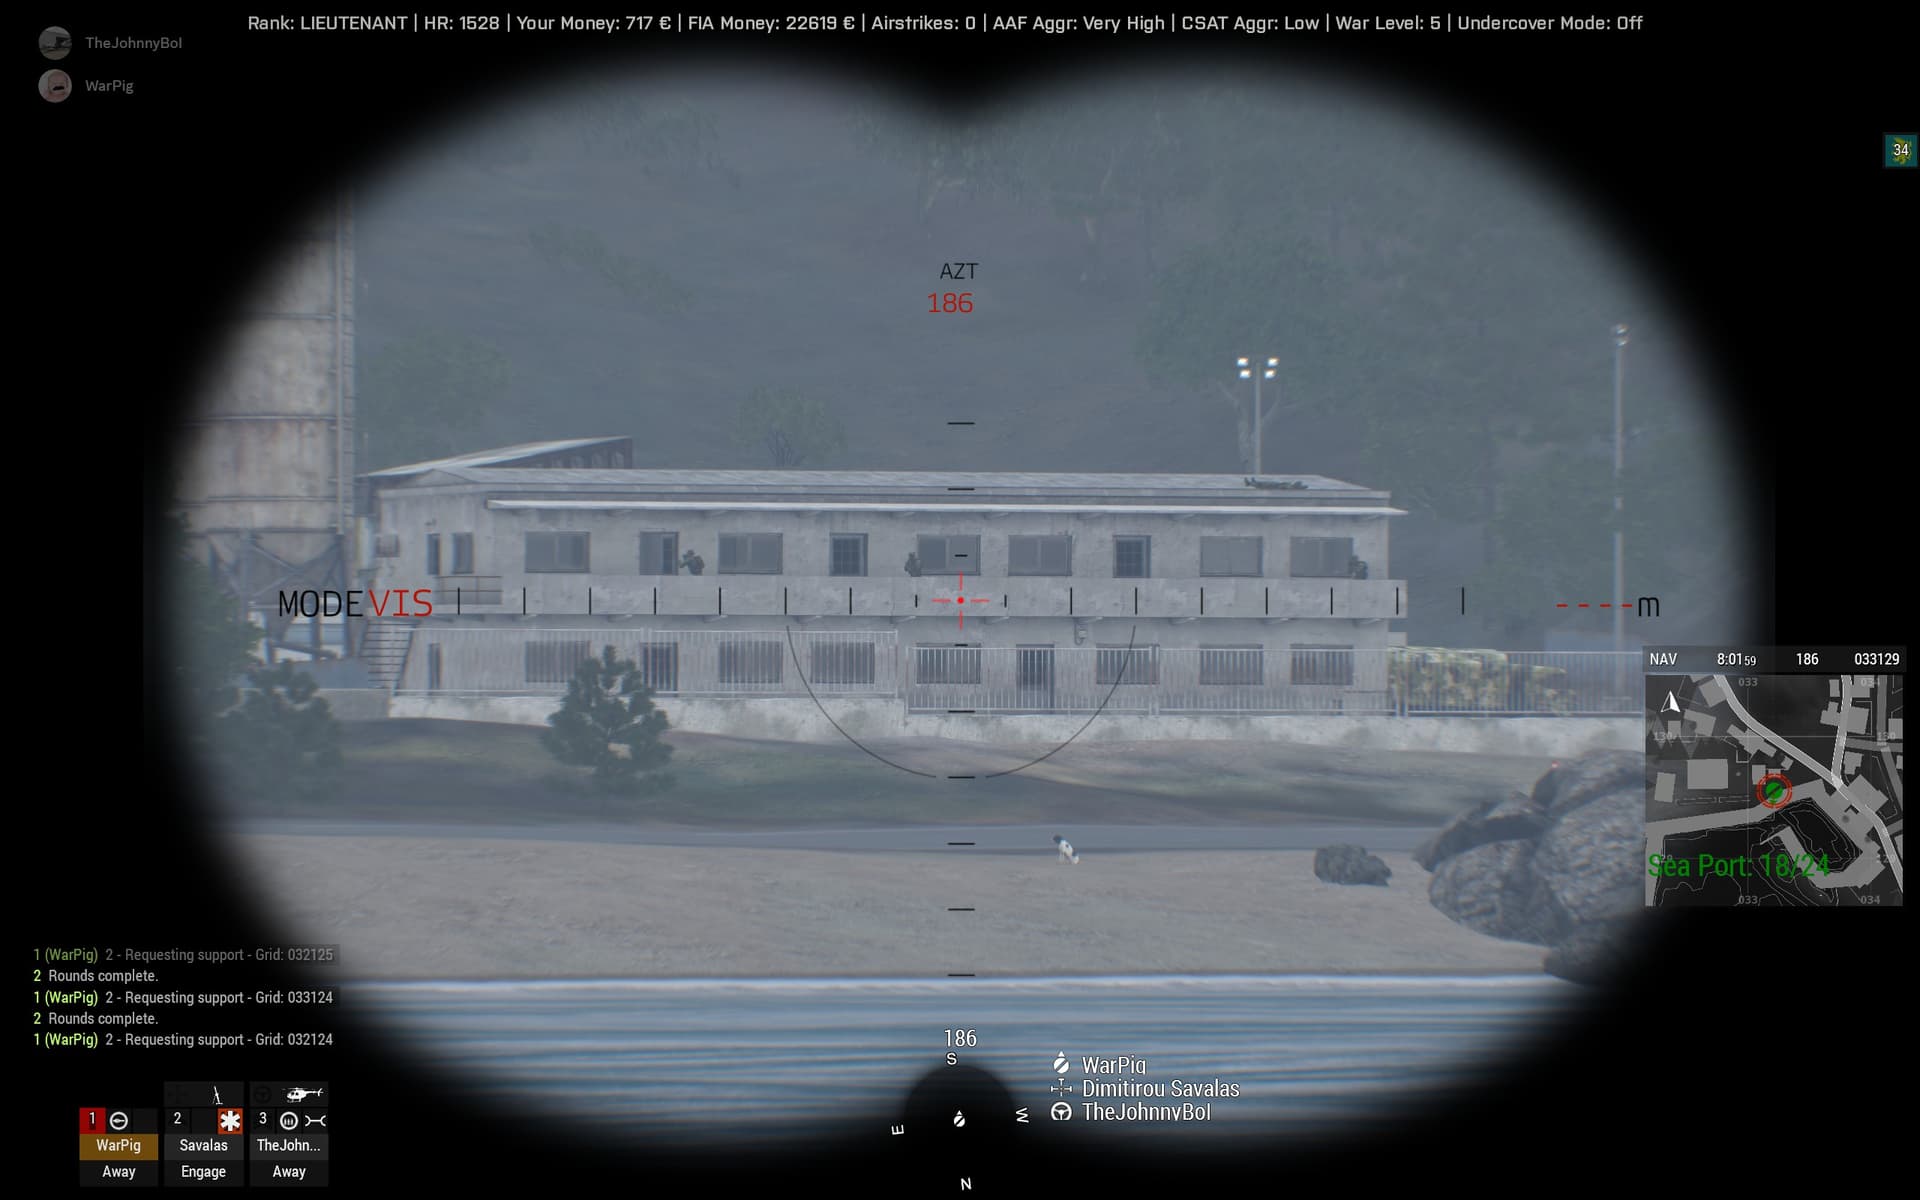
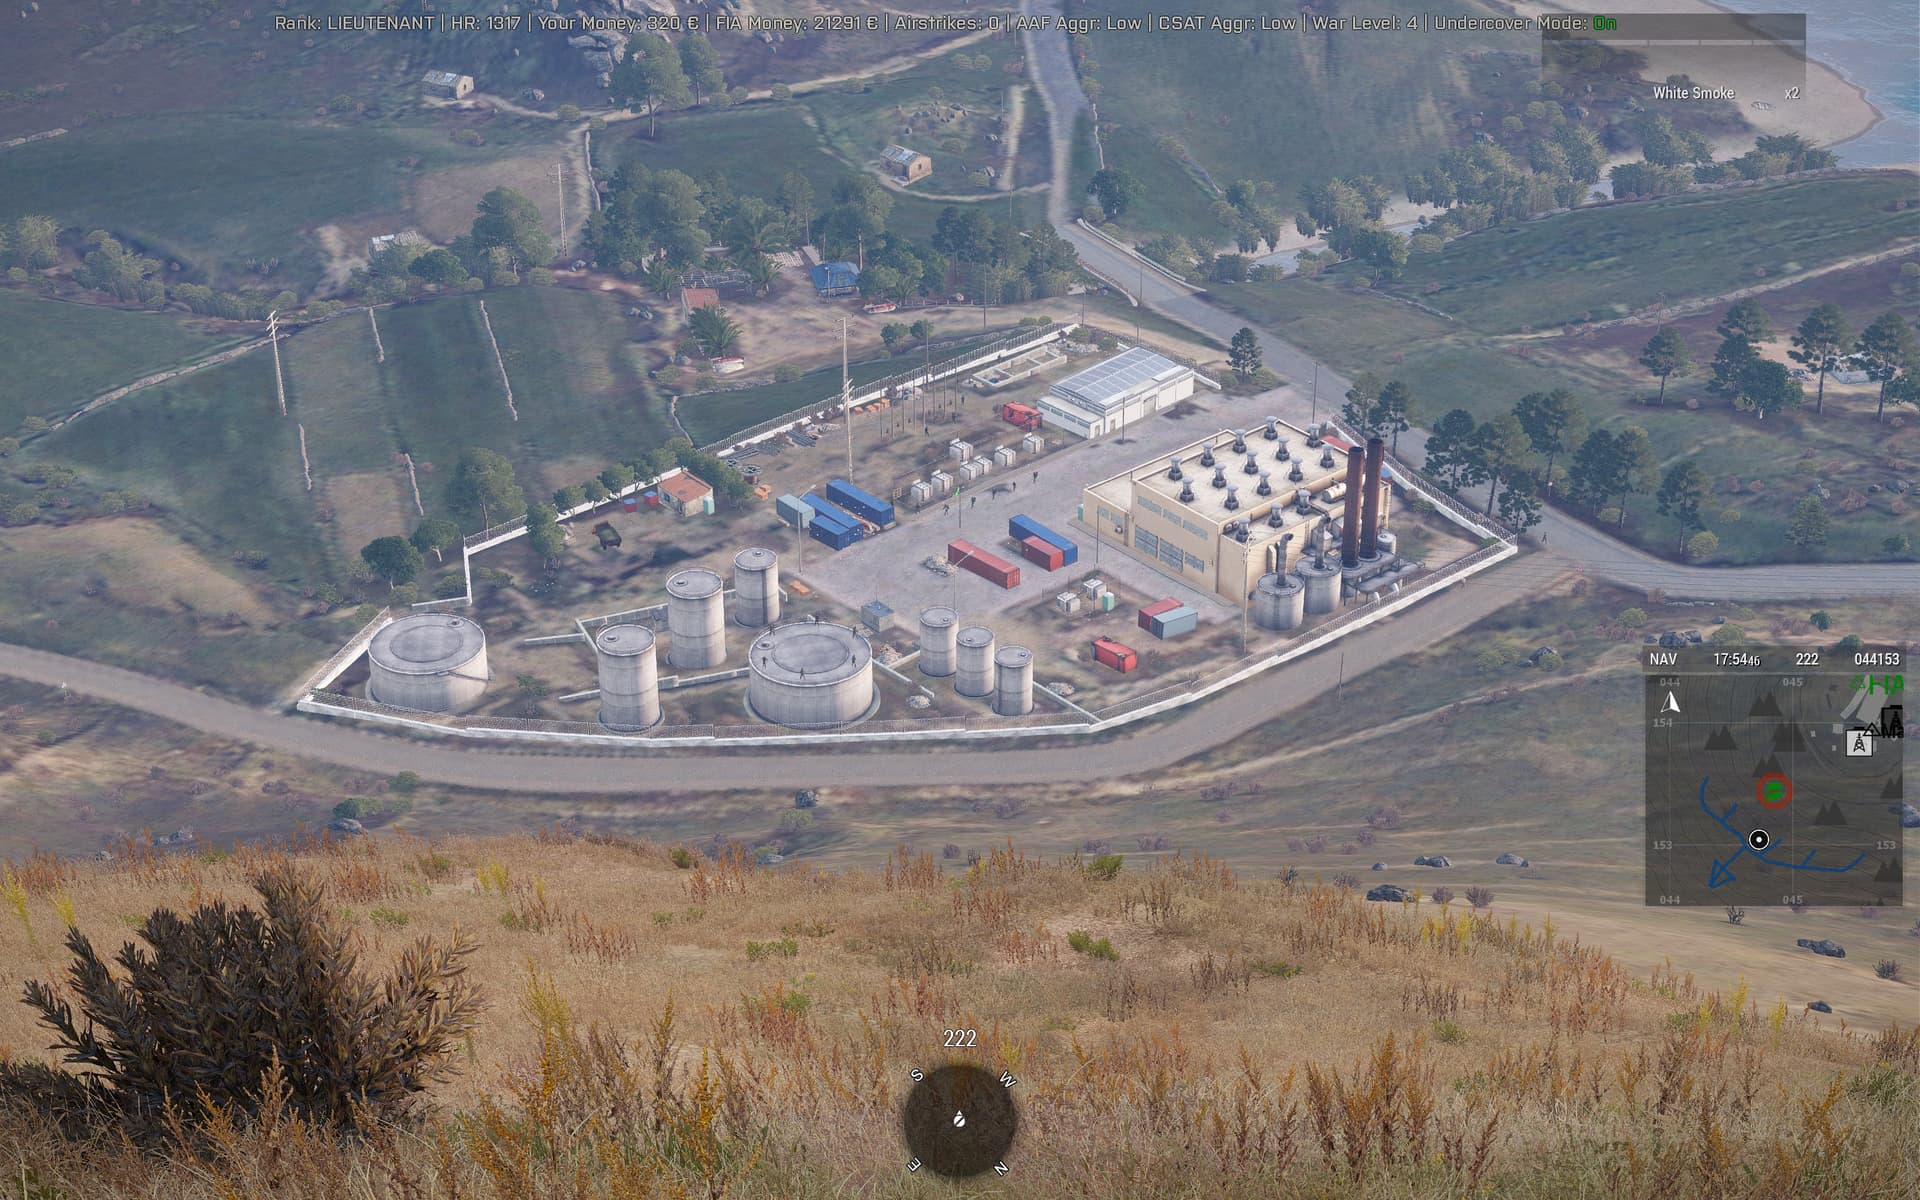
Overview of the site itself, showing entry gate, walls/fencing, and 2x squads of garrison.

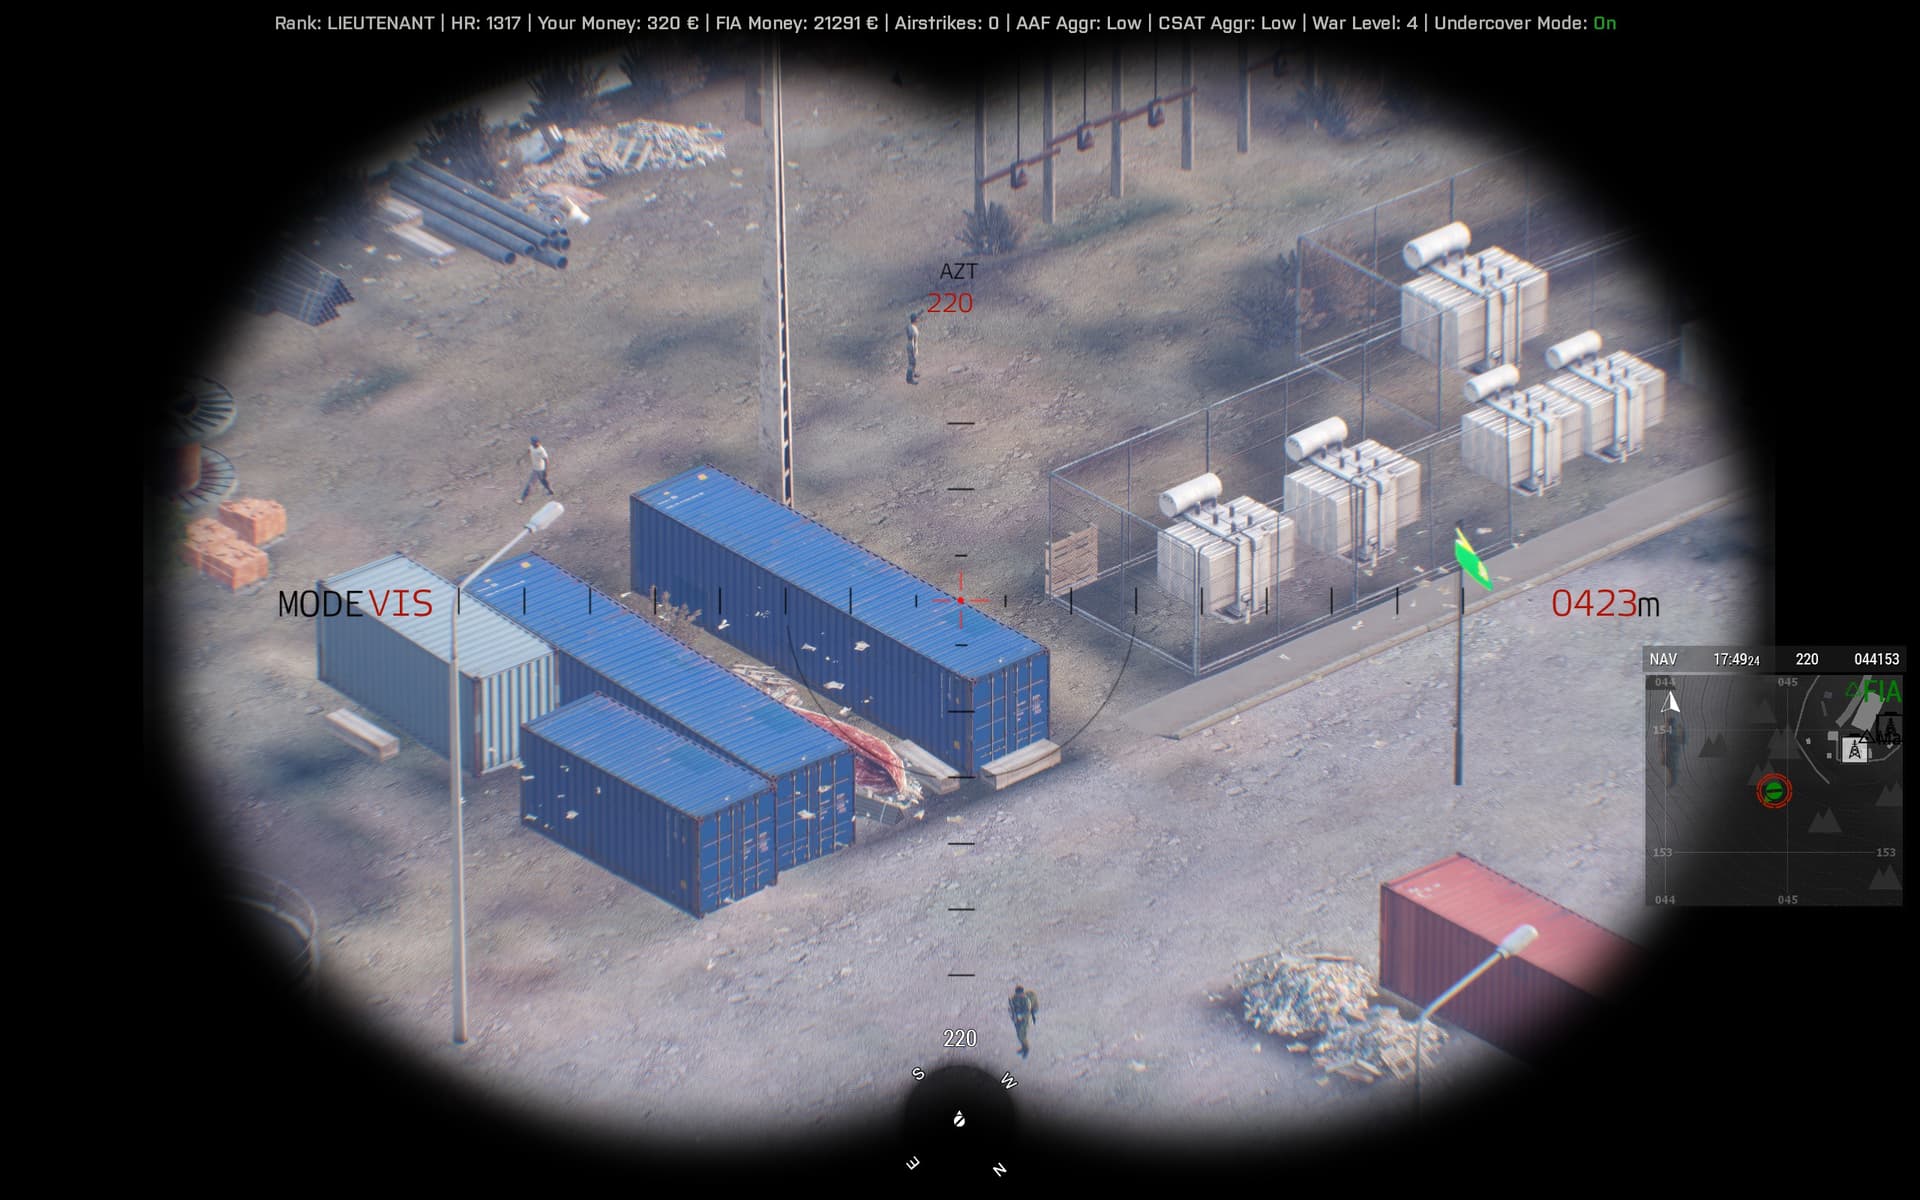
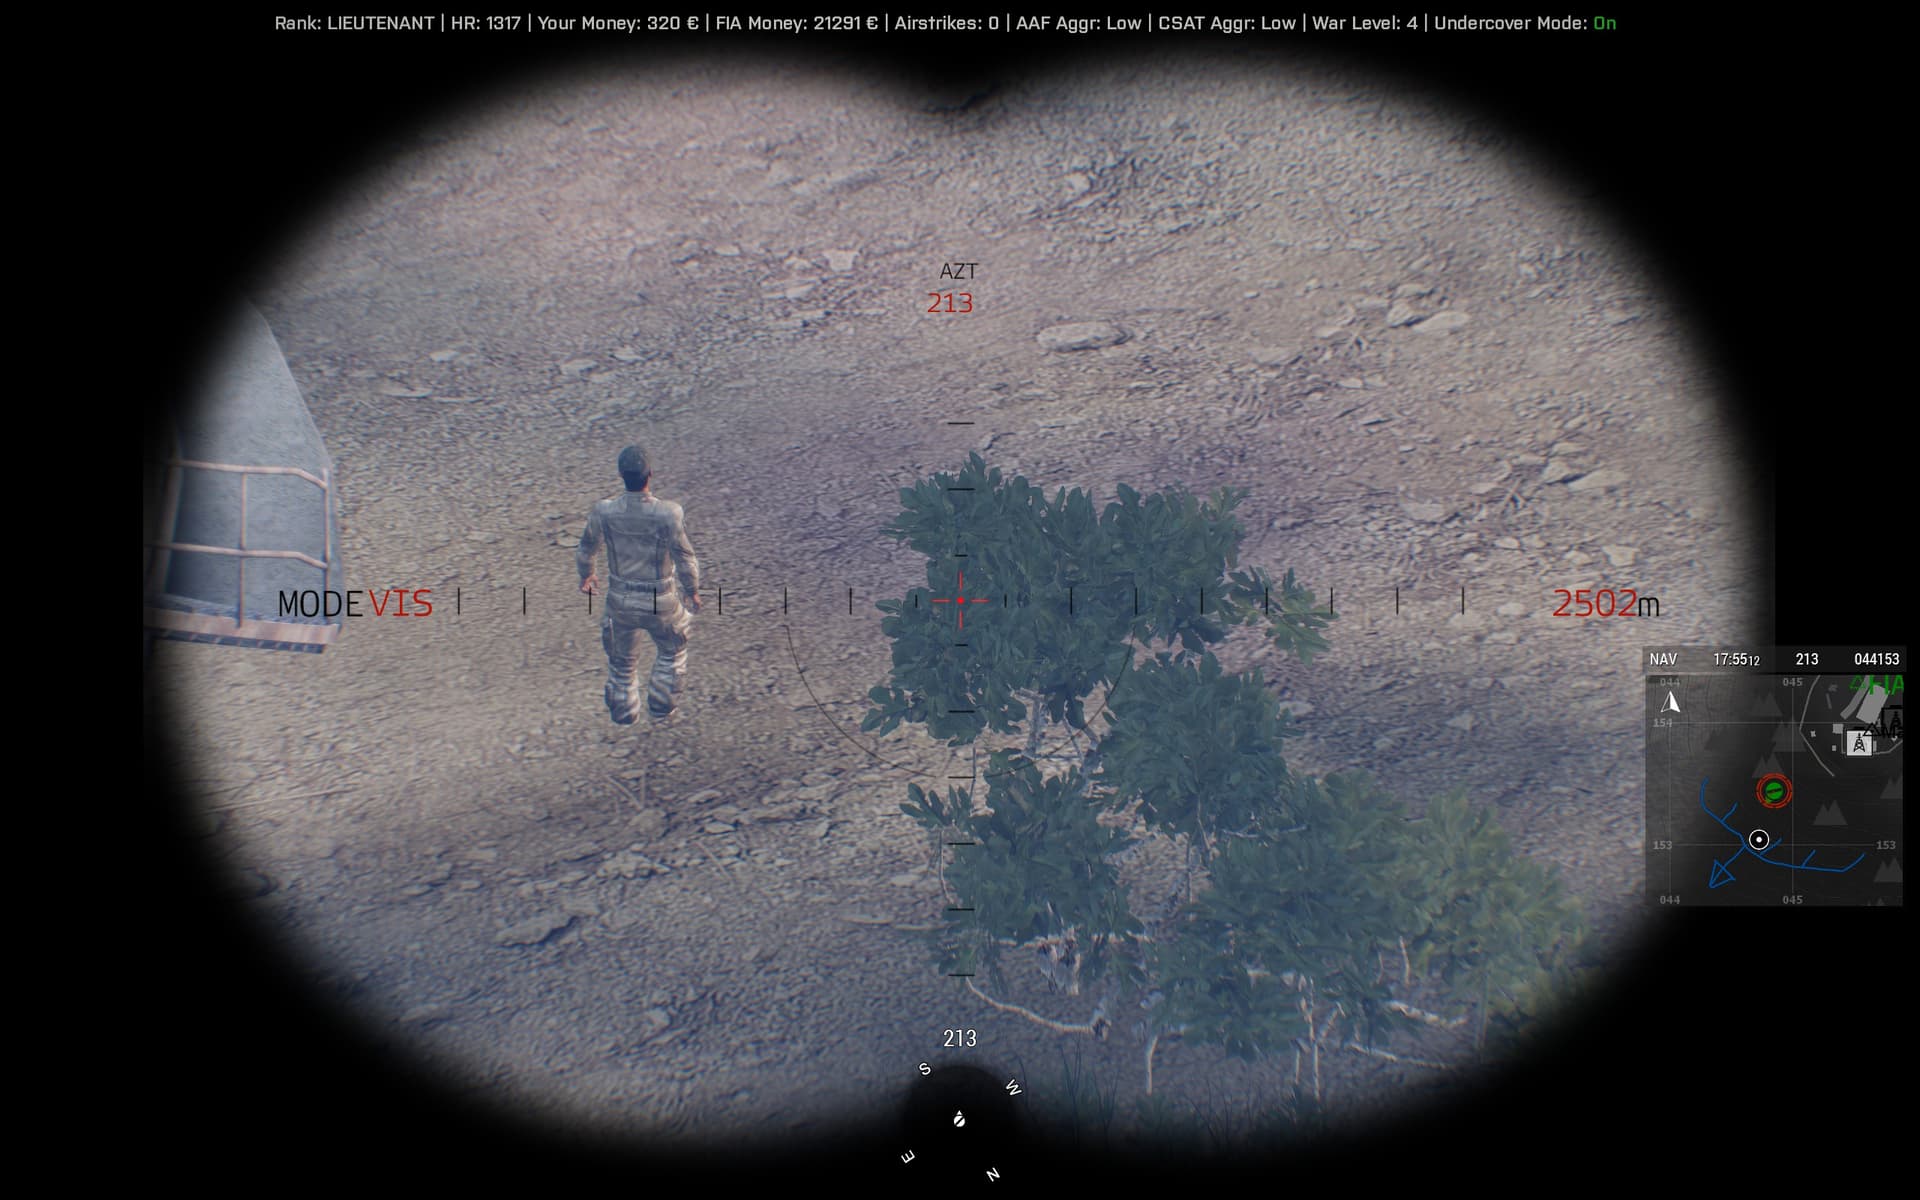
Multiple civilian utility workers present on-site during daytime working hours:

Can we confirm that, like the resource site, these workers will not be present during night time?

I cannot remember for sure, but I seem to recall the previous factory still had workers present 24/7, which presents a major risk of collateral damage that could effect the economic output of this municipal utility.
I guess we need to observe this plant at night and verify for sure.

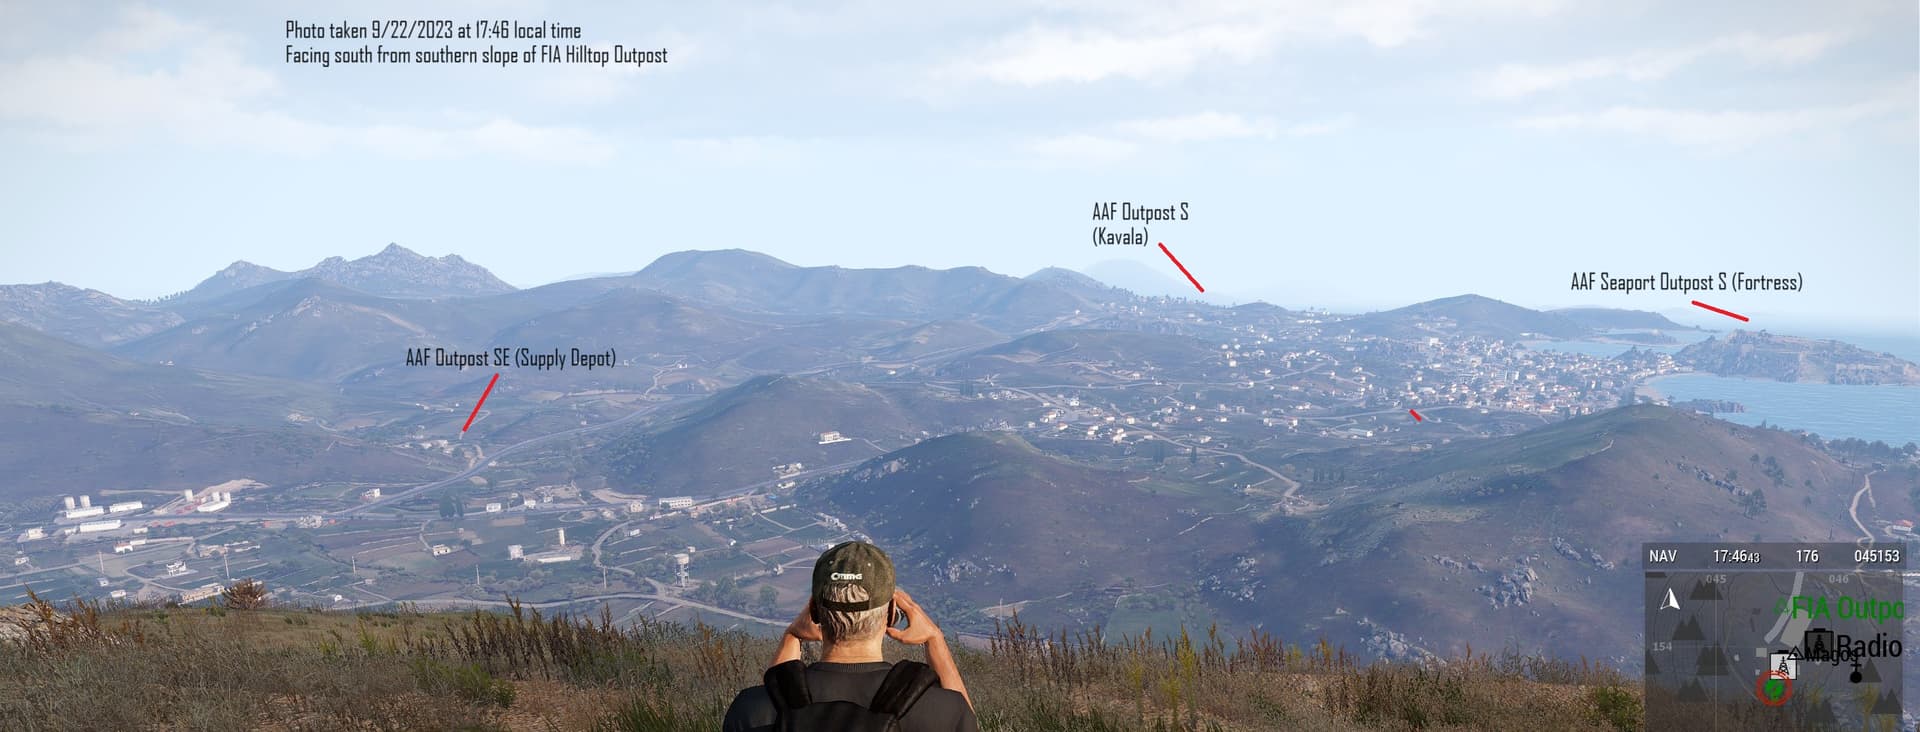
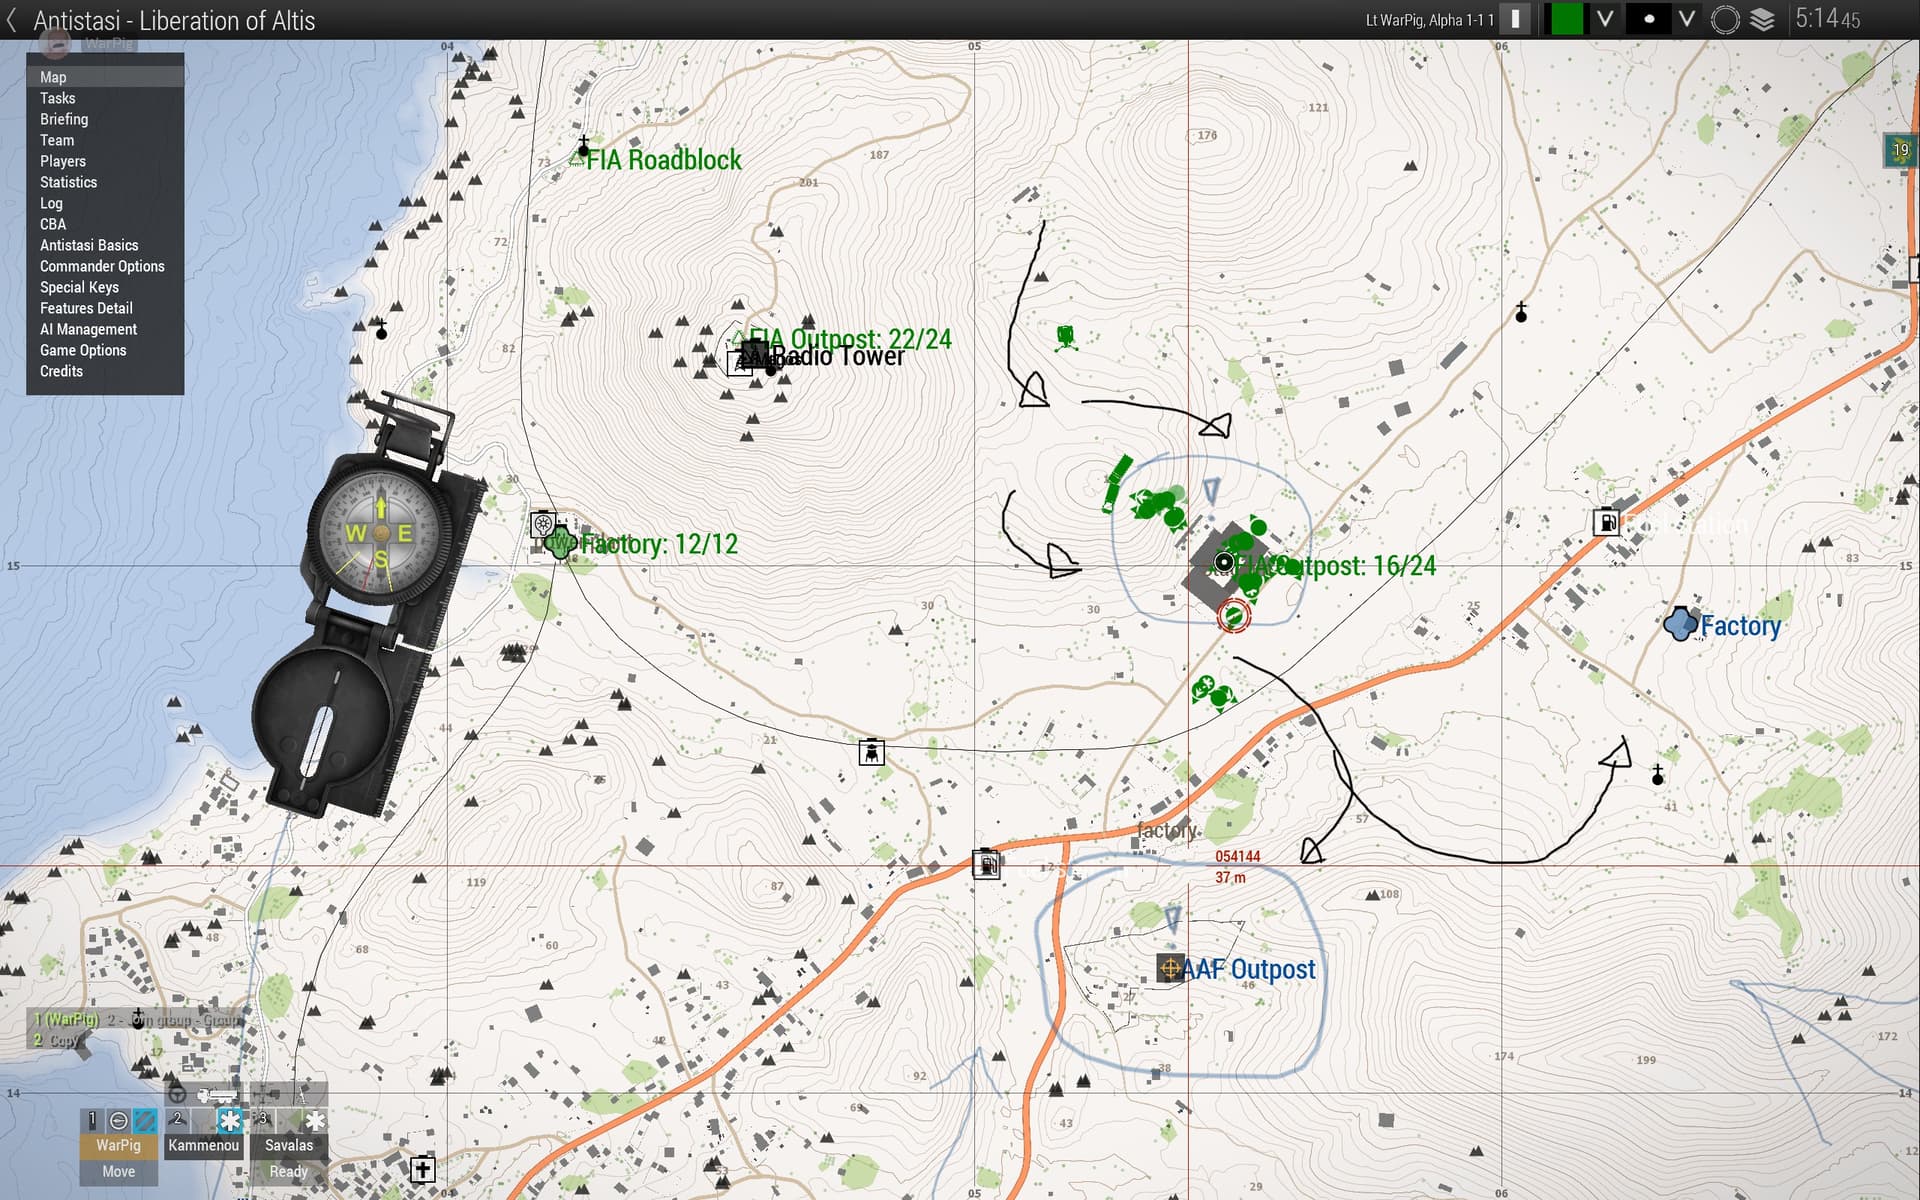
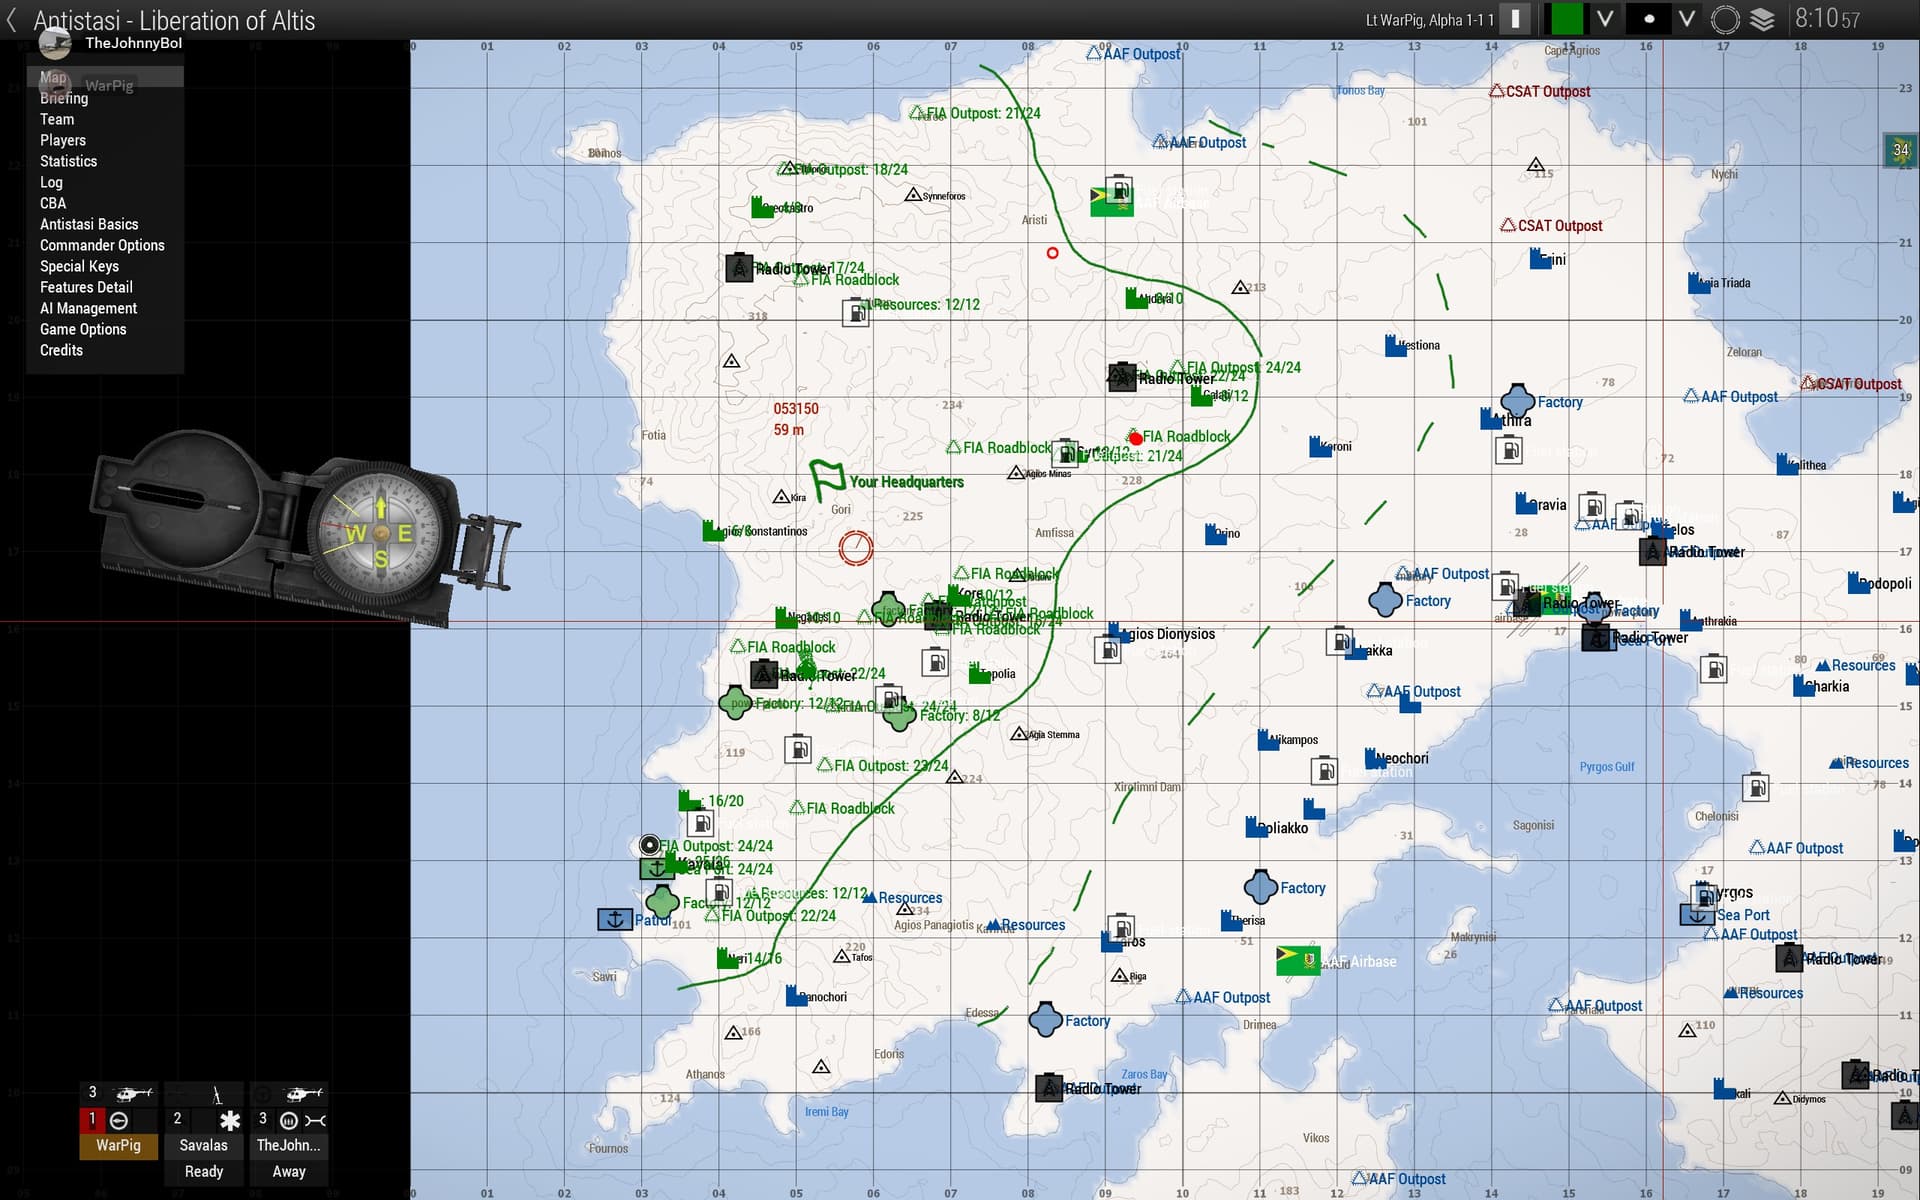
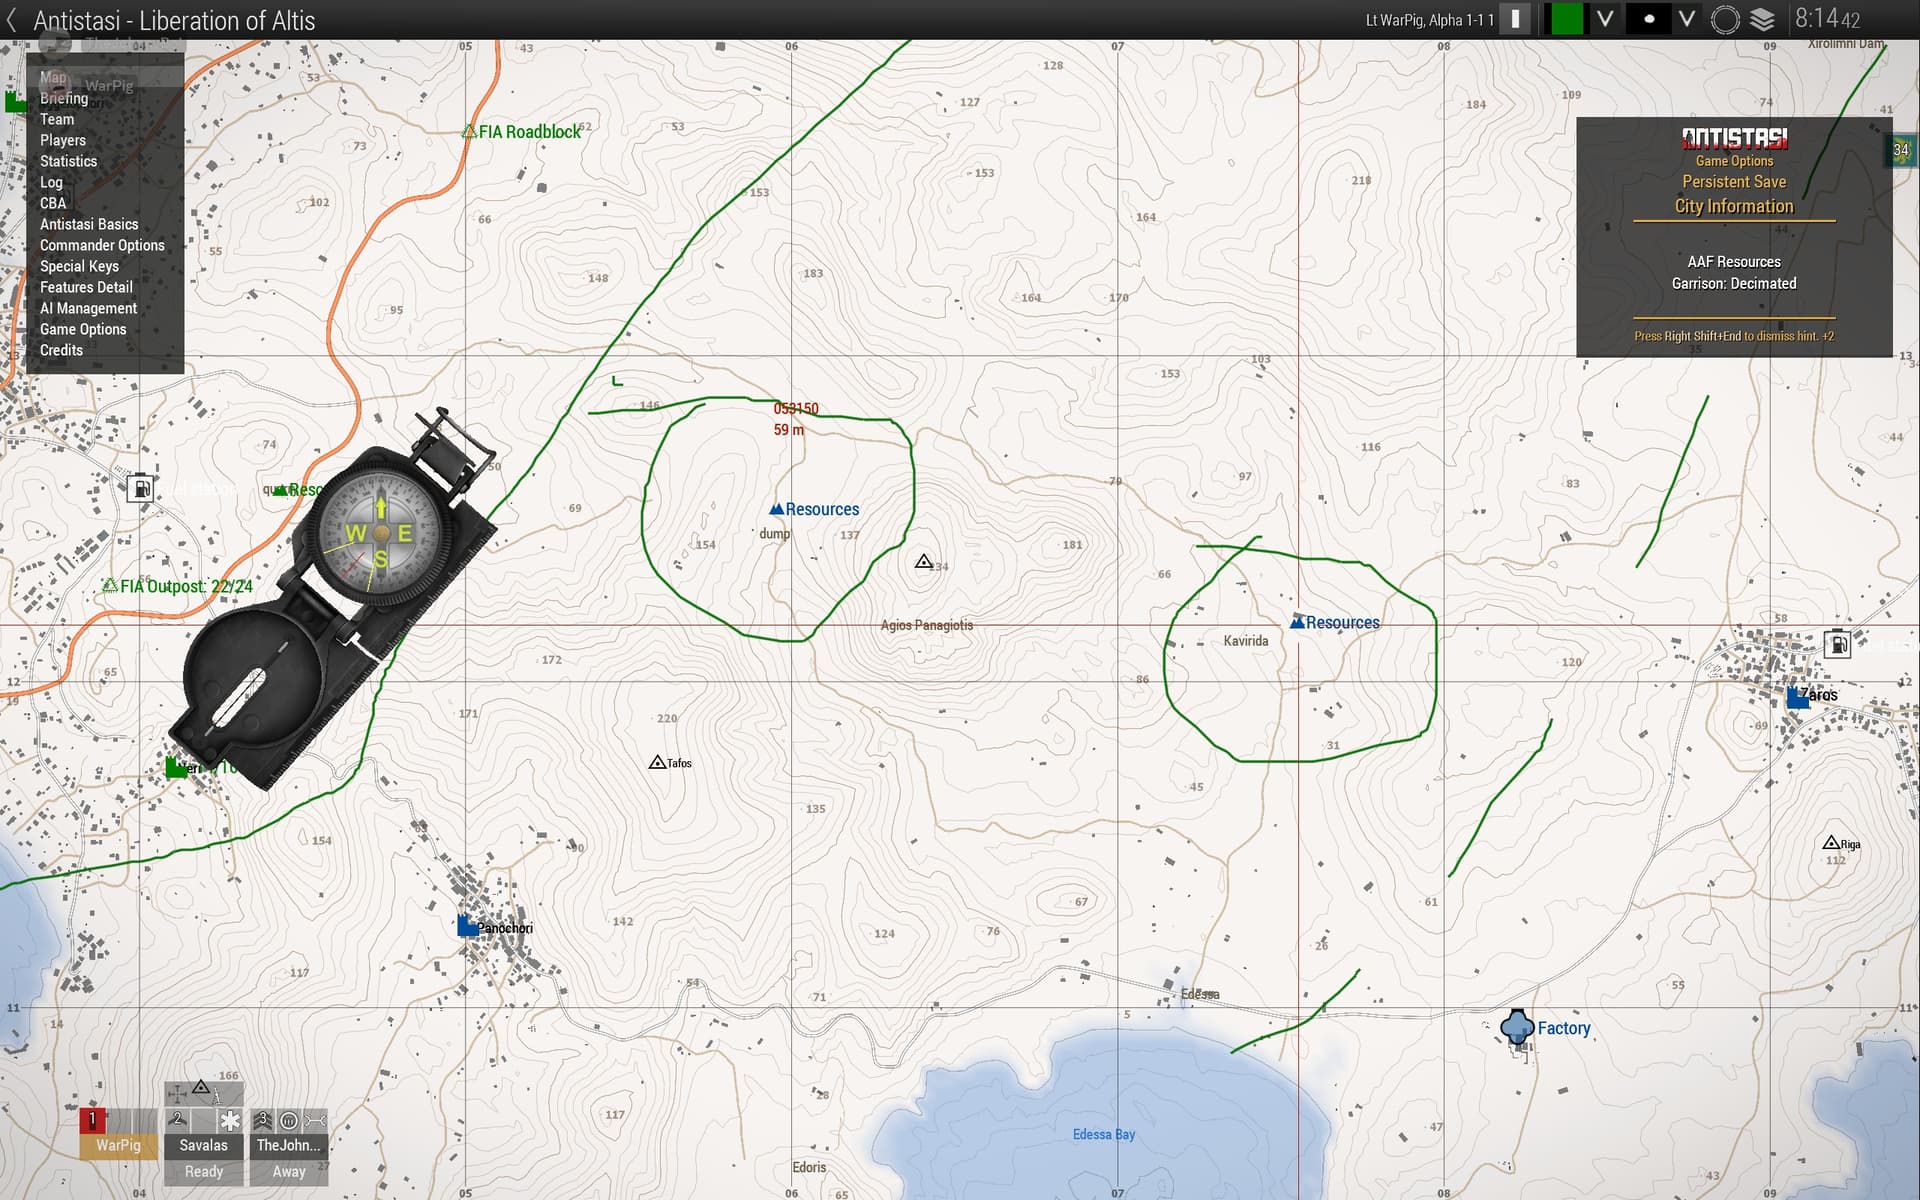
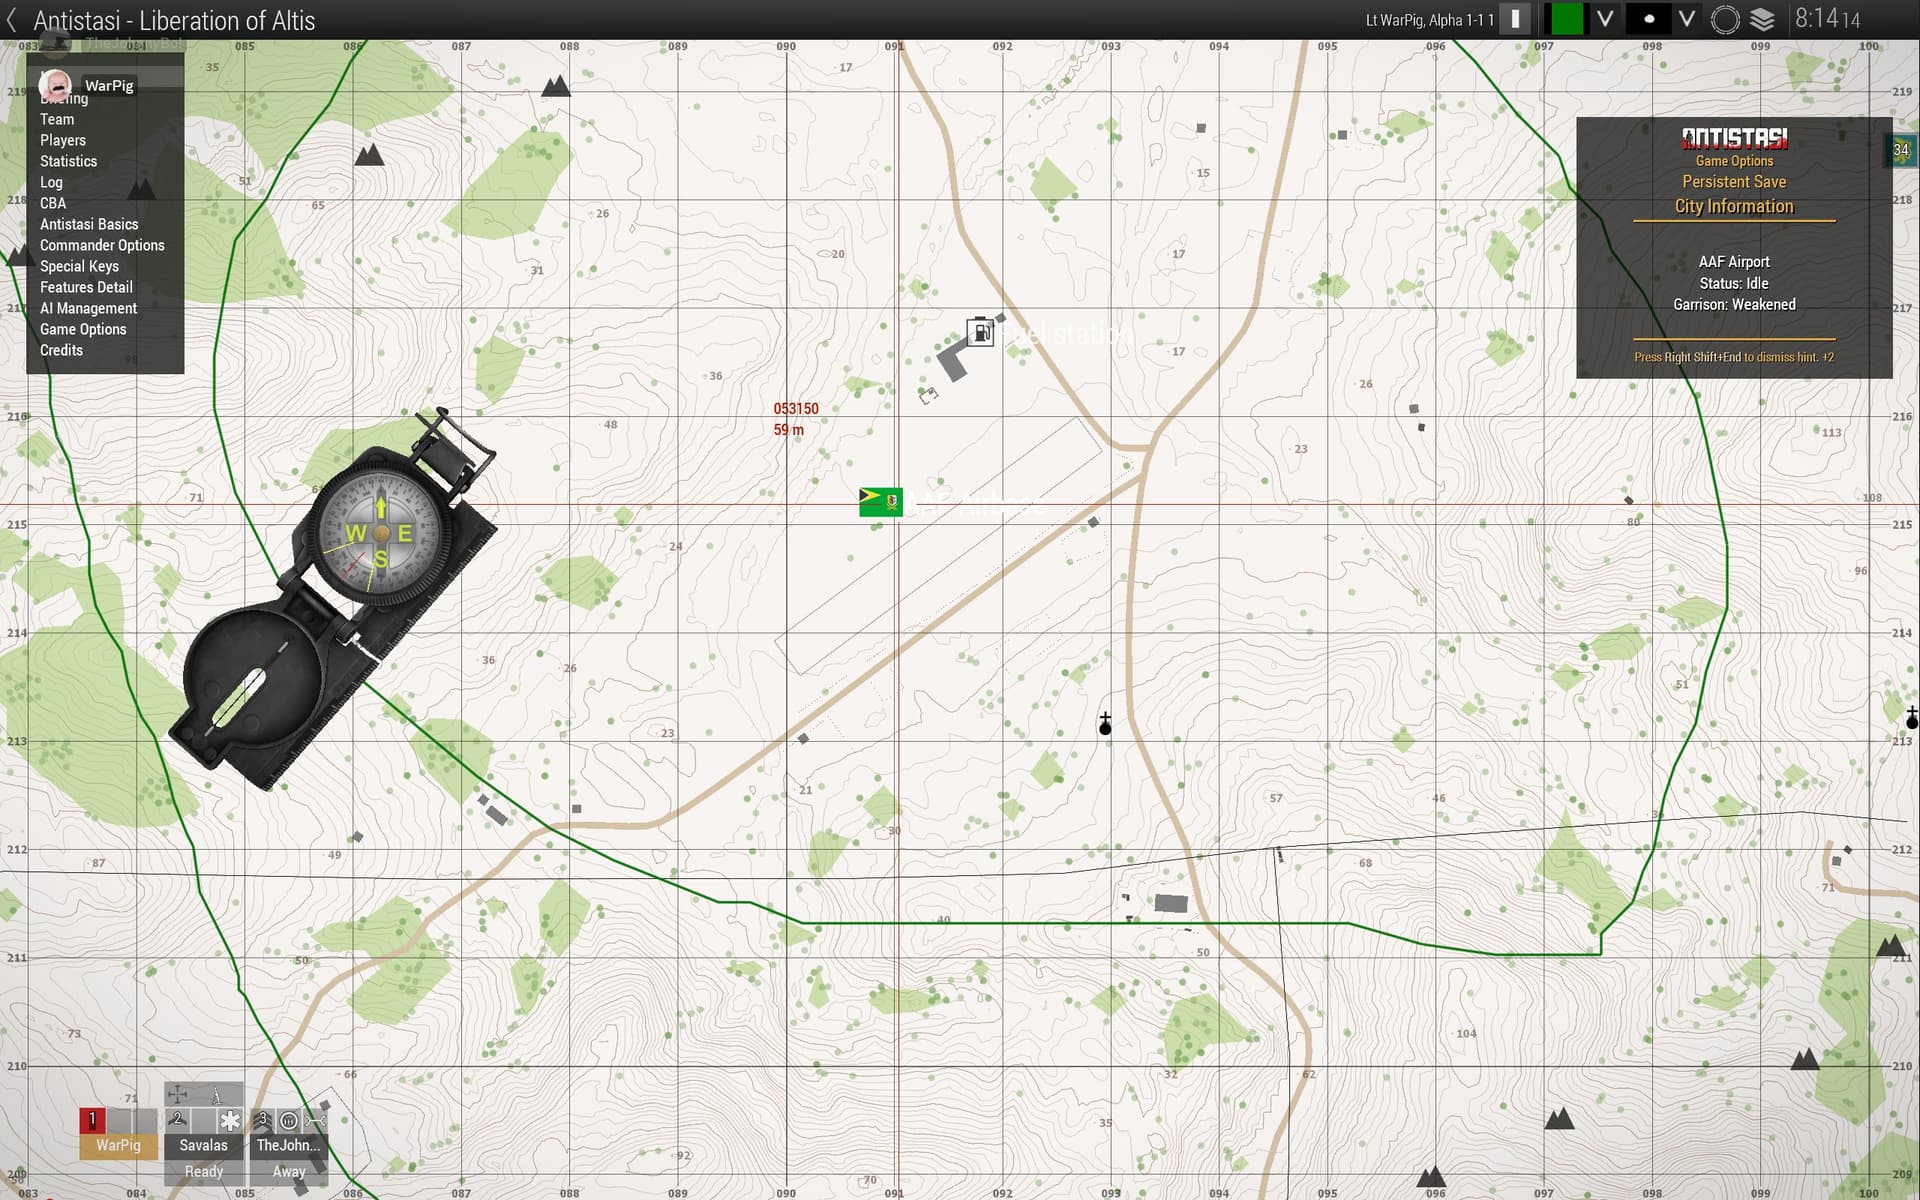
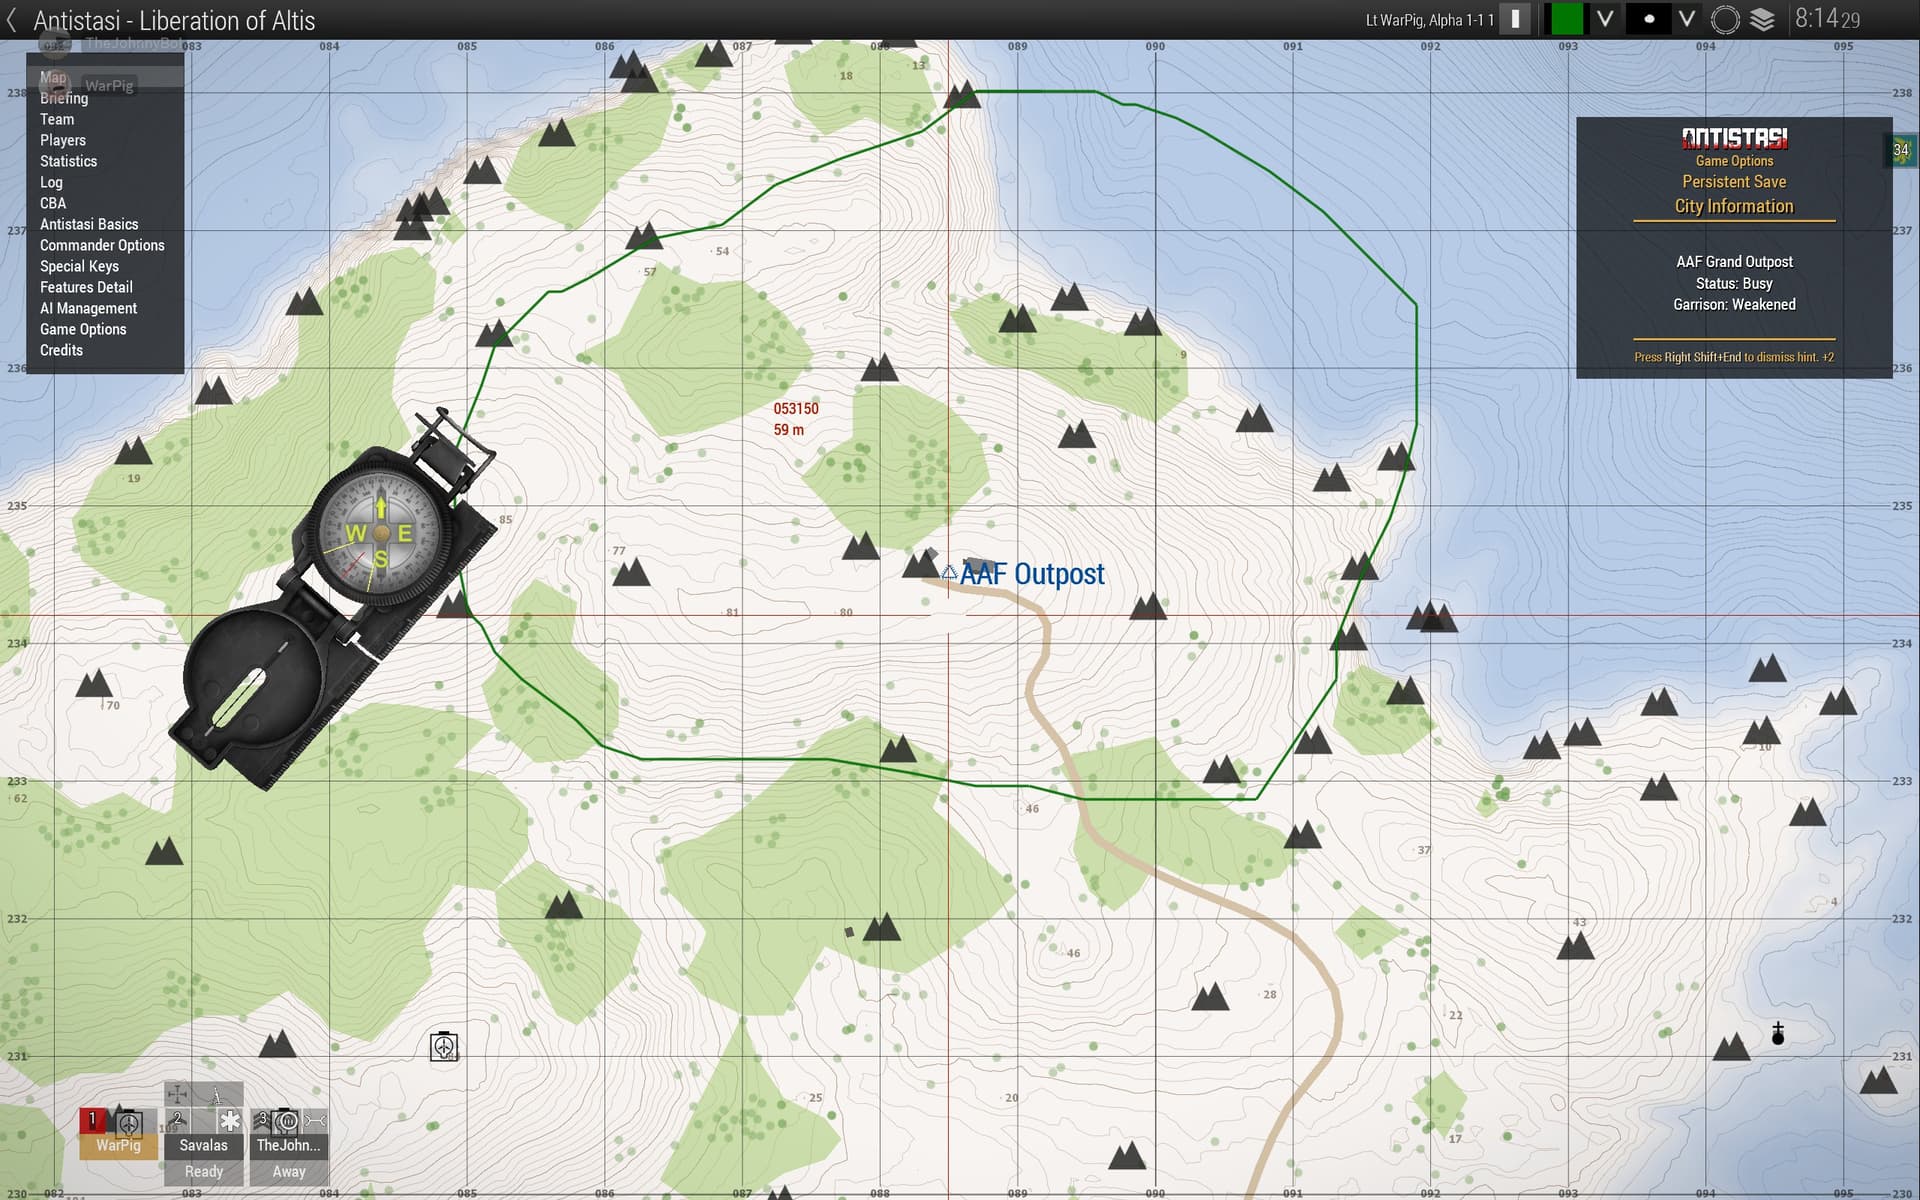
Overview of relative position of AAF outposts:

Situational overview showing nearby AAF bases and expected lines of approach for enemy counterattacks:

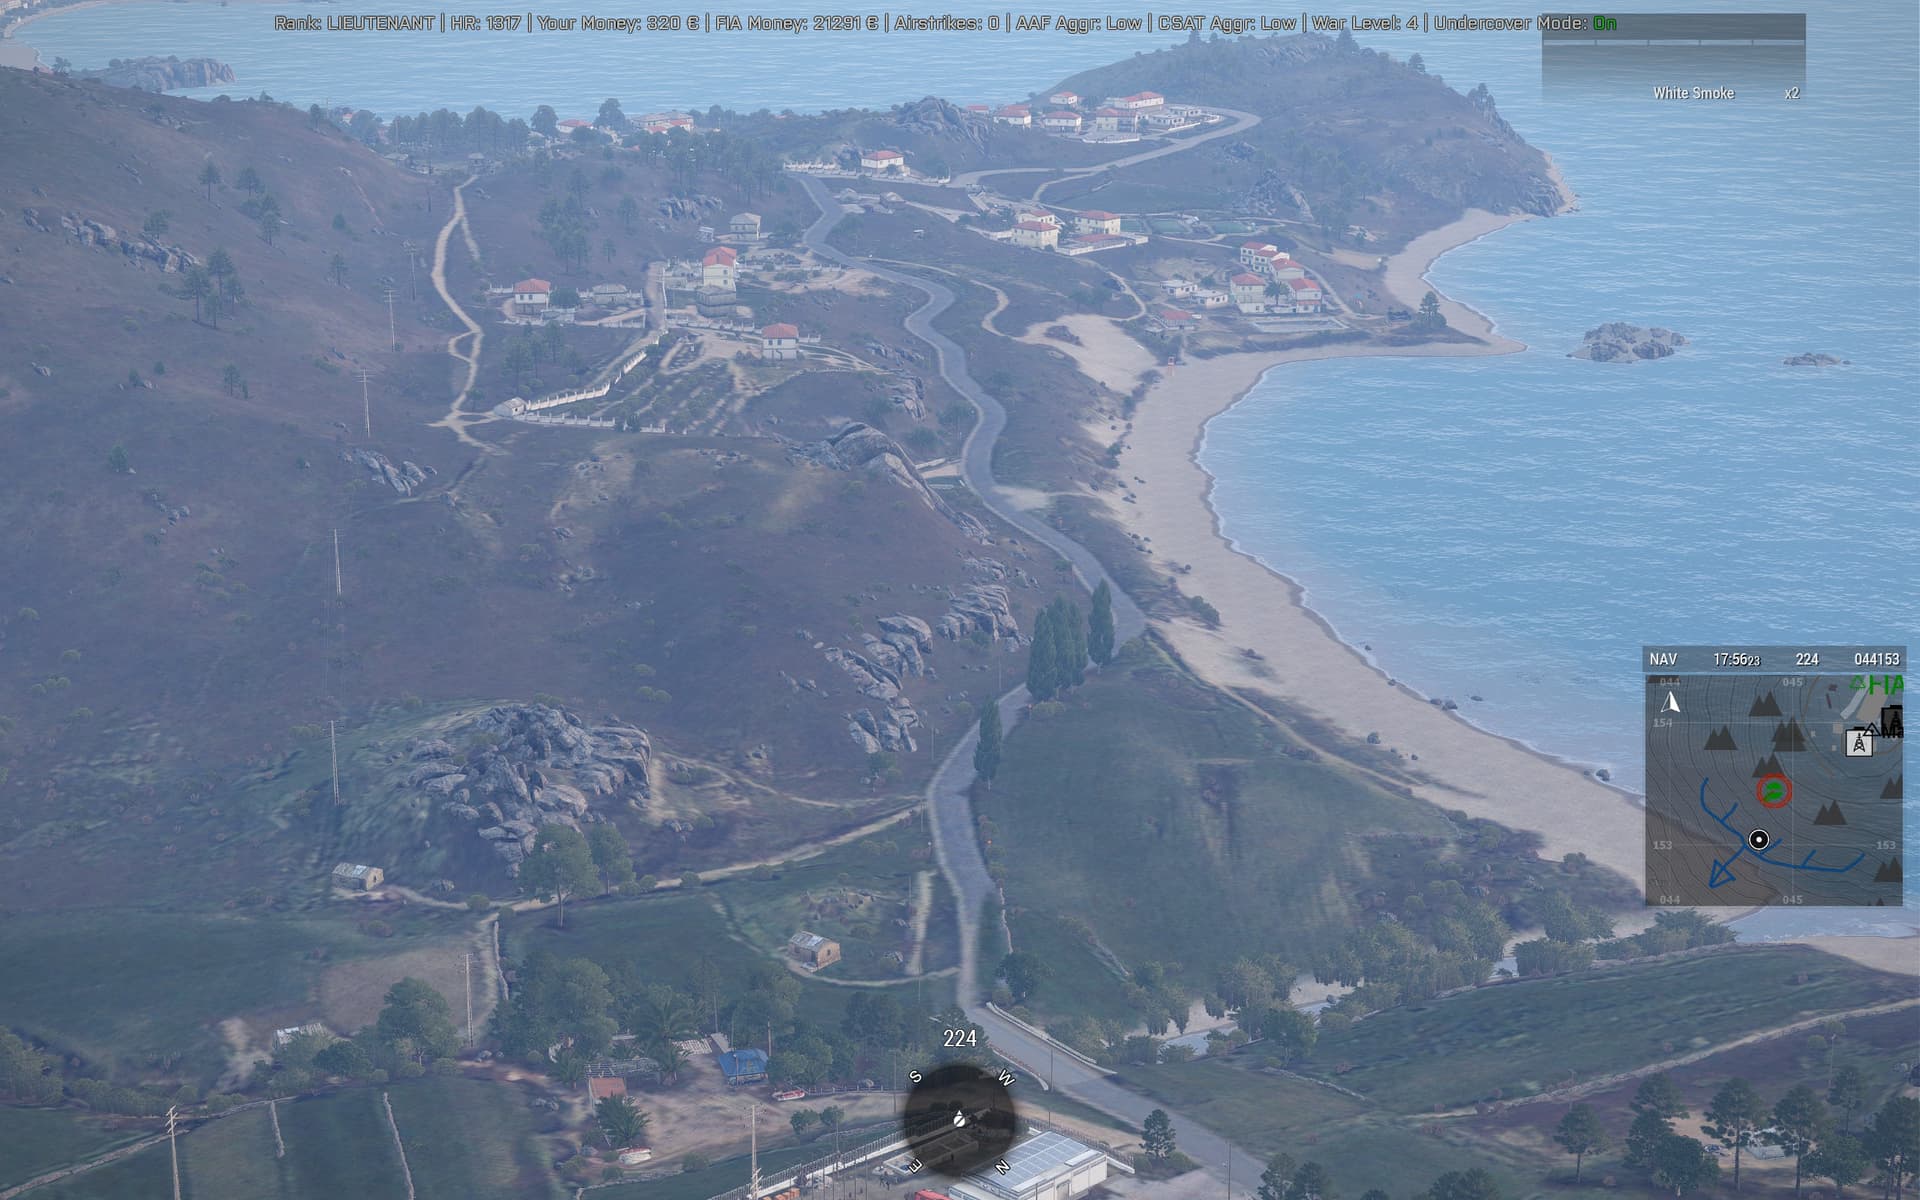
Road leading from the seaport south of the plant, showing an excellent spot to interdict incoming reinforcements:

3 Likes

That is an Affirm.

Double confirmation , it’s 1900 Local and the civilians are leaving the premise.

1 Like

I only had time to jump on, drive down and take some pics, but might be able to get on later today.

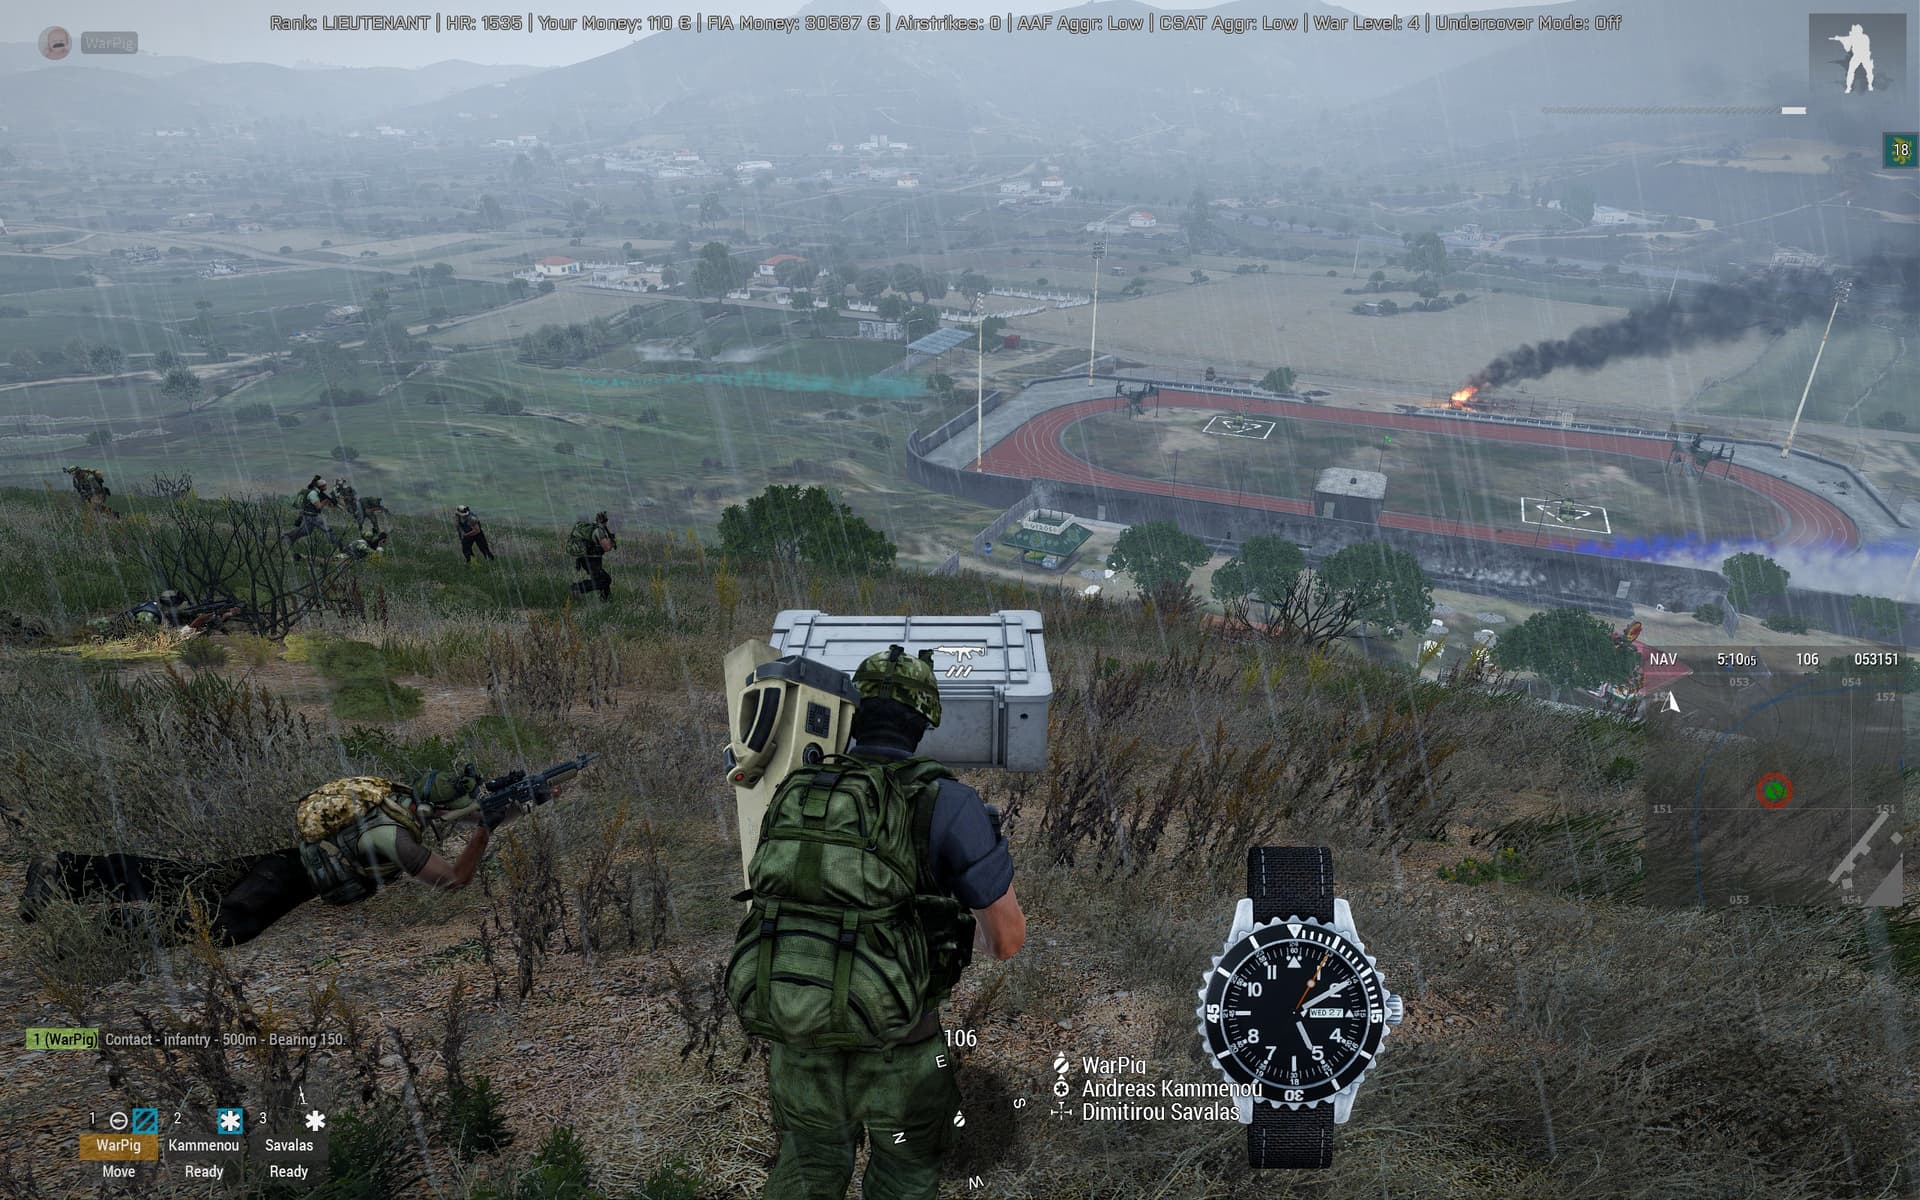
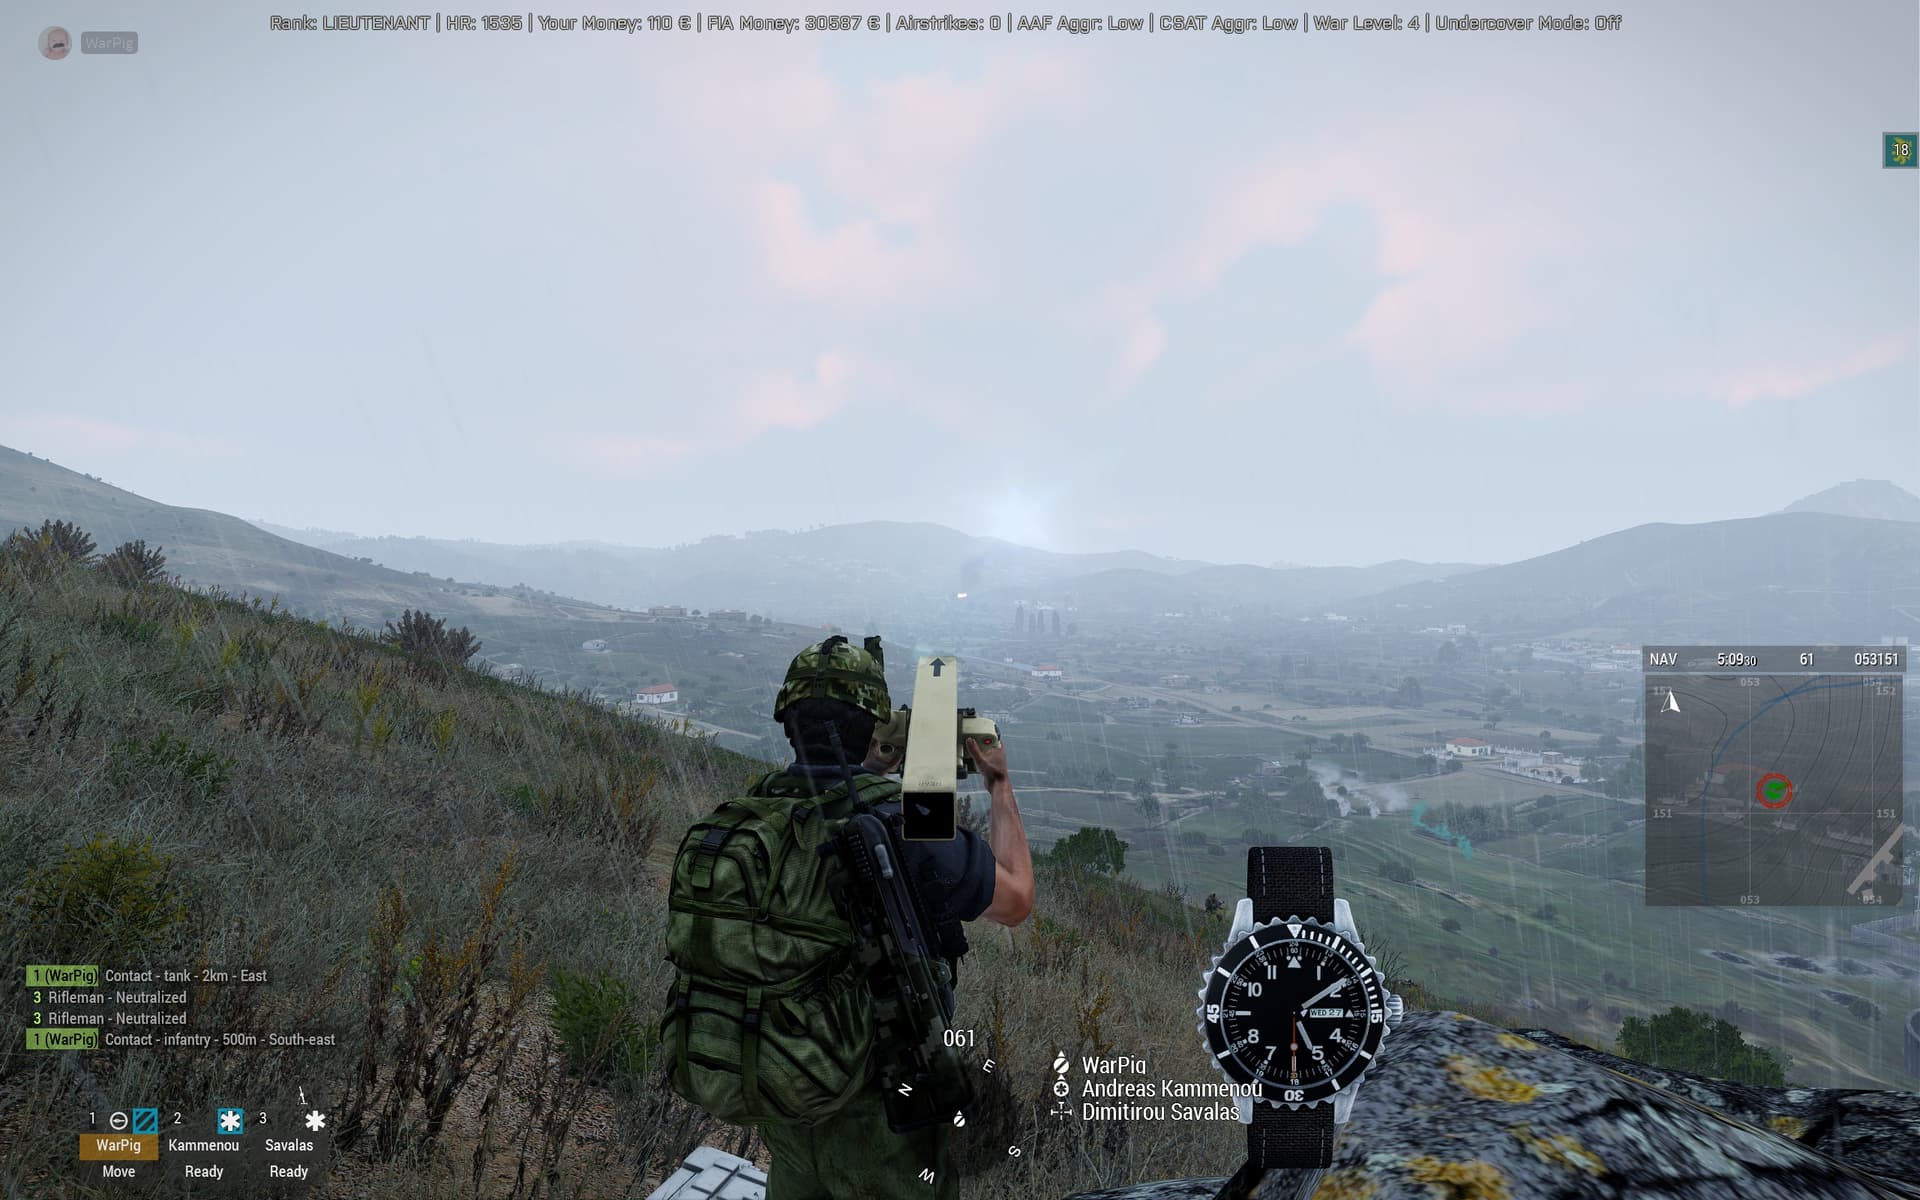
While I was there I did assess the security of our garrison on the hilltop, and while I noted the troops seem alert and well-armed, there was a distinct lack of heavy weapons. I took the liberty of making some purchases and putting in some static weapons that overlook the south and southeast approaches, which should protect both the power plant and the outpost itself in the event of a counter attack.

Suggestion: Based on the terrain, FIA infantry involved in combat on the objective won’t have good lines of sight to employ AT/AA weapons until the enemy is pretty close and the danger is imminent. However, the party providing overwatch from the FIA hilltop outpost has the ability to engage any targets in a 180-degree arc, with excellent sightlines. Why not pack a lootcrate with a loaded Titan AT, Titan AA, and 5x extra missiles each, and have it handy in the event an armored column or airborne threat shows up to the party?

Regarding Mortars on Trucks: One of my favorite weapons to employ- huge force multiplier.
Unfortunately it seems there’s a bug with the AI: if an AI is assigned to drive and/or as gunner for the mortar, the truck/mortar seems predisposed to randomly explode blowing up the mortar and everyone nearby. This has happened to me enough that I no longer employ this weapon with any AI involvement. If I want to use an AI gunner, I drop the mortar itself off somewhere safe and then have them use it.

Regarding heavy weapons and gear: If you load items into the inventory of a vehicle and it explodes, the items are lost. If they’re on your person and your body is ejected, they can be recovered but launchers sometimes disappear. However, if you load a loot crate with your heavy weapons and load the crate into the cargo of the vehicle, the crate itself can always be unloaded and recovered post-explosion. This protects valuable Titans, extra missiles, and other items and keeps them available on objective after a vehicle is destroyed.

Nice, thanks!

This objective looks so vulnerable it’s almost served to us on a platter now that we own the mountain overlooking it. Suggest that in addition to you sniping, we attach a (human) machinegunner to assist with suppression and share responsibility for employment of AA/AT weapons. Split the SE and S road approaches into sectors of responsibility.

So we’re looking at 3-4 human players:

  • Sniper section
  • Weapons section
  • Mortar section*
  • AI commander (nearly a full-time job, probably can’t be expected to contribute much else simultaneously)

*If we wanted to, we could employ AI mortar(s) through high command or dropped off. This works pretty well, and would free up a human player if desired. Either way I wouldn’t have any mortars firing from near friendly outpost or positions for fear of drawing counterbattery fire.

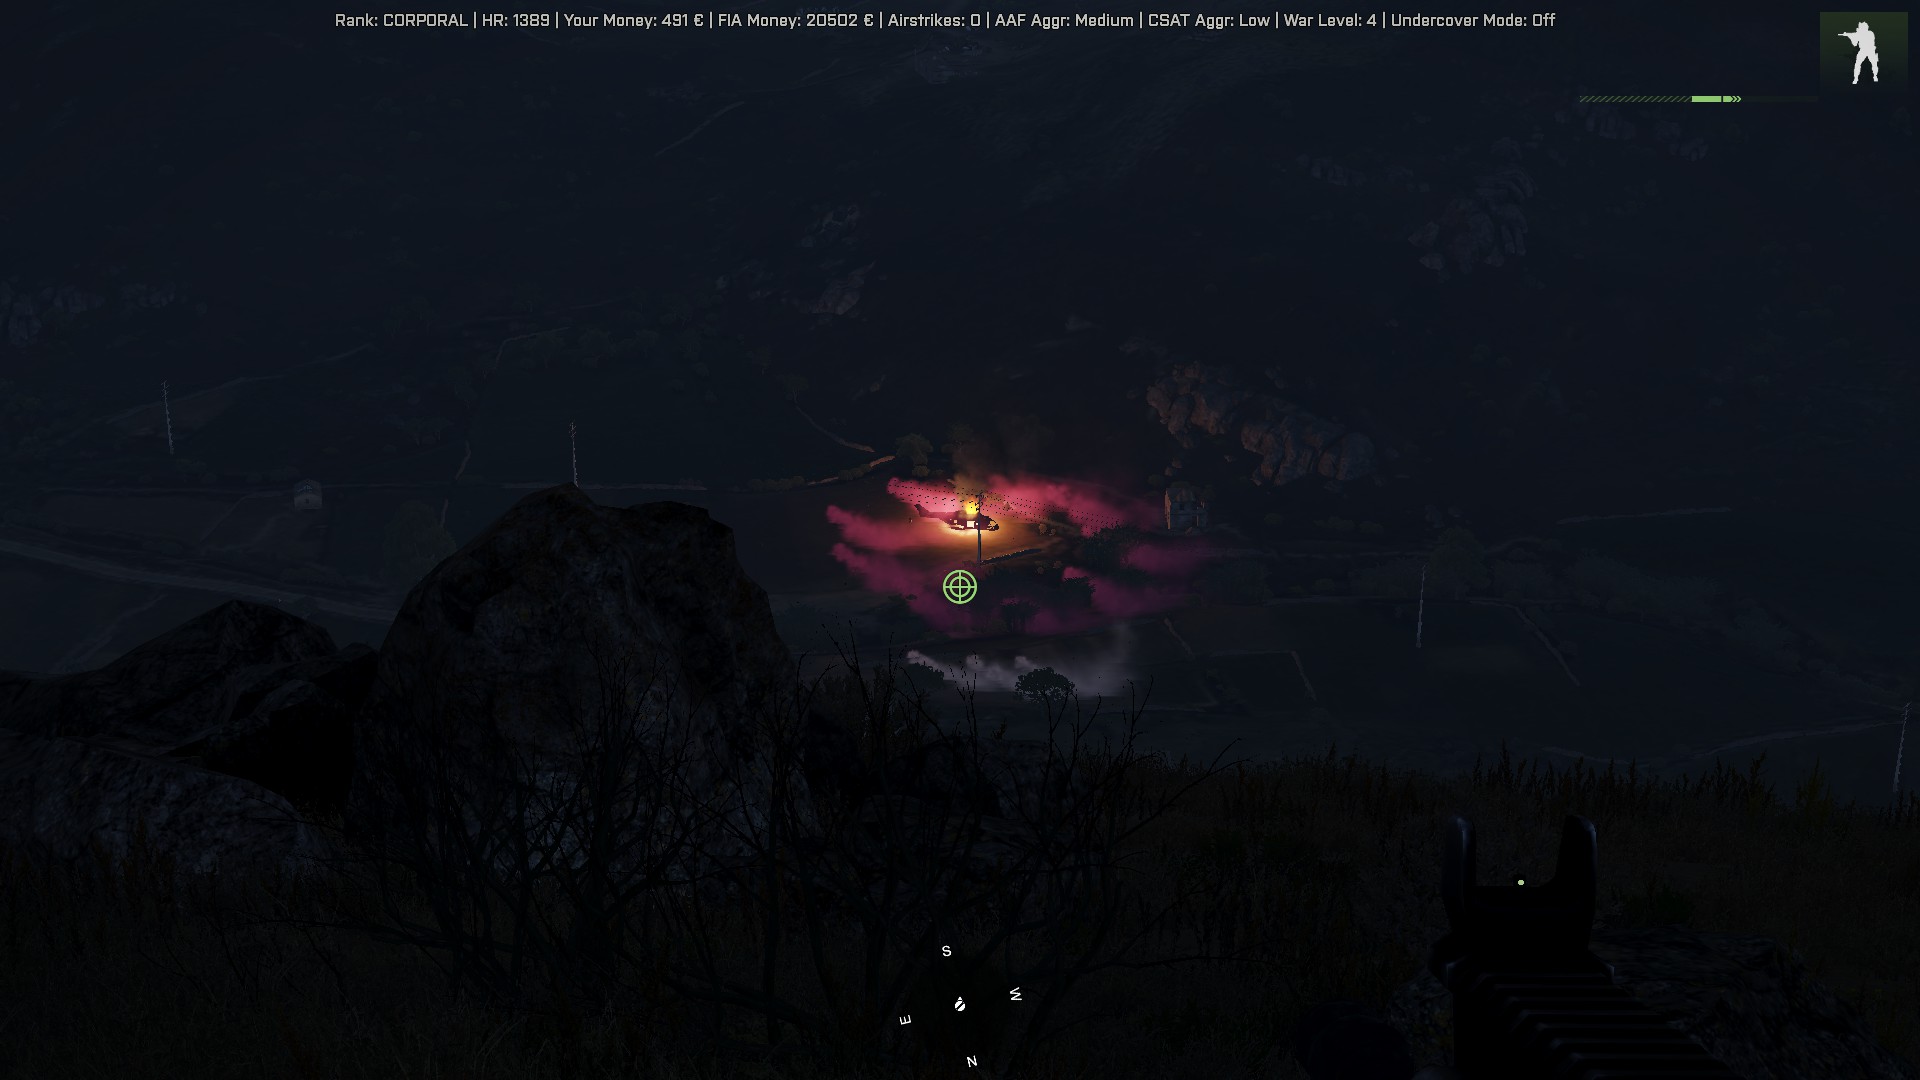
Ok, good news first- I annihilated the defenses with my sniper rifle.
There’s literally no enemy soldier alive…

Bad news - I have to go and cook.

:frowning:

Other good news - I love your planning @WarPig

EDIT: I am just so tempted to go down there and take that flag… :drooling_face:

1 Like

Do It GIF by Breaking Bad

ETA: Start planning a follow up to the power plant. Where does operational momentum take us? Do we finally silence the soccer outpost while we have assets in place? Or move into the supply depot (which might overextend us)?

2 Likes

OMFG!

That was close- flag taken!

2 Likes

Better get some AI squads moving in to secure it fast. :grin: :+1:

2 Likes

Ok… I can’t do It. CTRL + space does nothing…
In short… The moment I went down the hill and entered the compound I heard a pickup slowly moving about… Of course it was a AAF technical… Still, managed to evade visually the patrol and once they left I got the flag.

I skidaddle at the speed of fear and when I reach the nearby hill with radio tower I hear a missile launcher and a big explosion.
Guess what… one of ours AA gunner got the reinforcement /counterattack just right!

Shortly after I saw an APC running northward way east of the hill so… No idea what’s going to happen now.

Edit: everything is calm again…
I will go back to the factory and try to do something useful

2 Likes

:rofl: :+1:

Well done! Glad that AA emplacement helped.

1 Like

Did you recruit any AI squads on the Y menu?

1 Like

Oh heck yeah it did! Saved our collective asses!

Masterful! Rapid Mustang was a total SUCCESS!

Now some screenes…

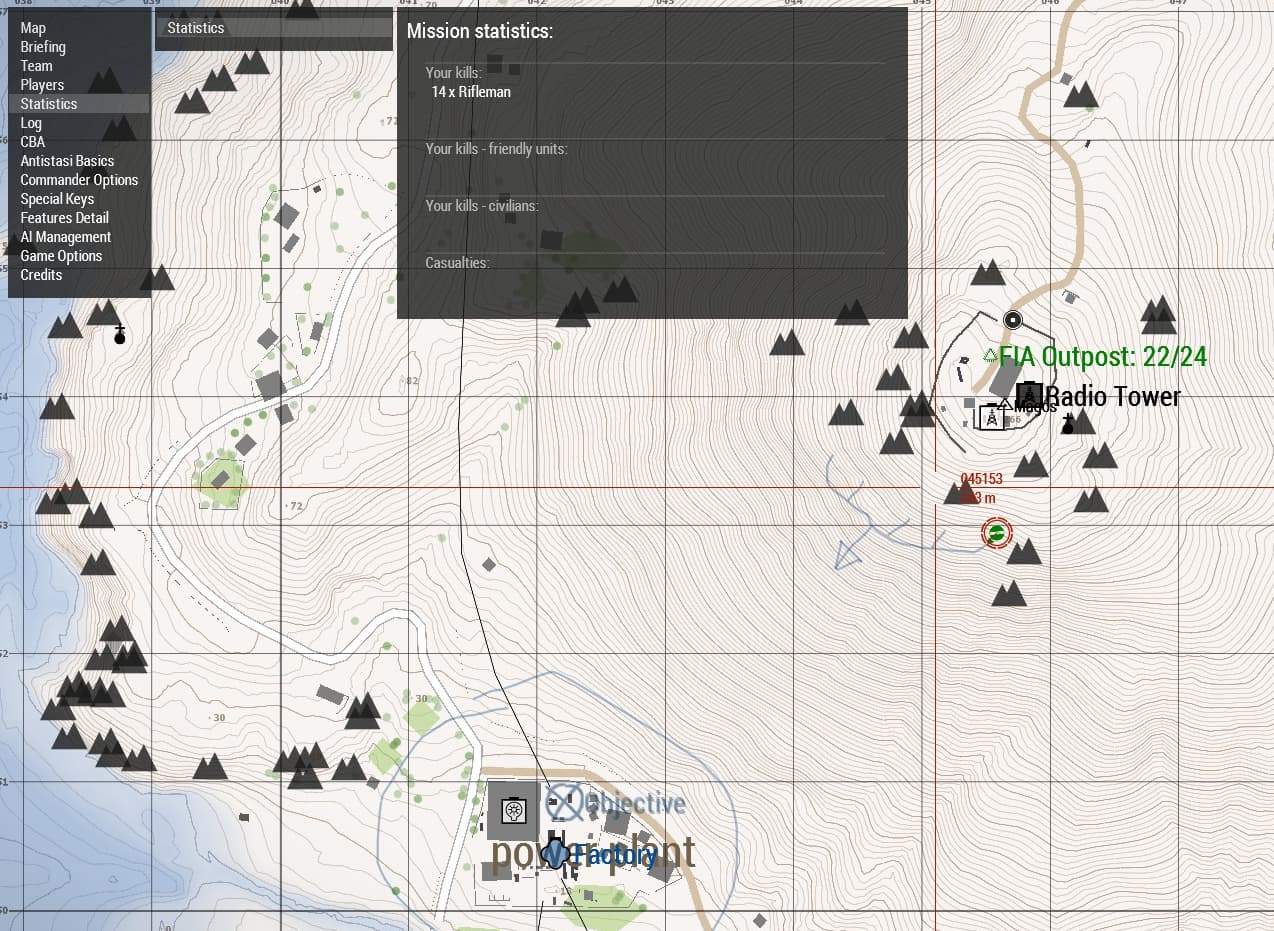
Killcount- sadly it doesn’t consider those writhing in pain on the ground…

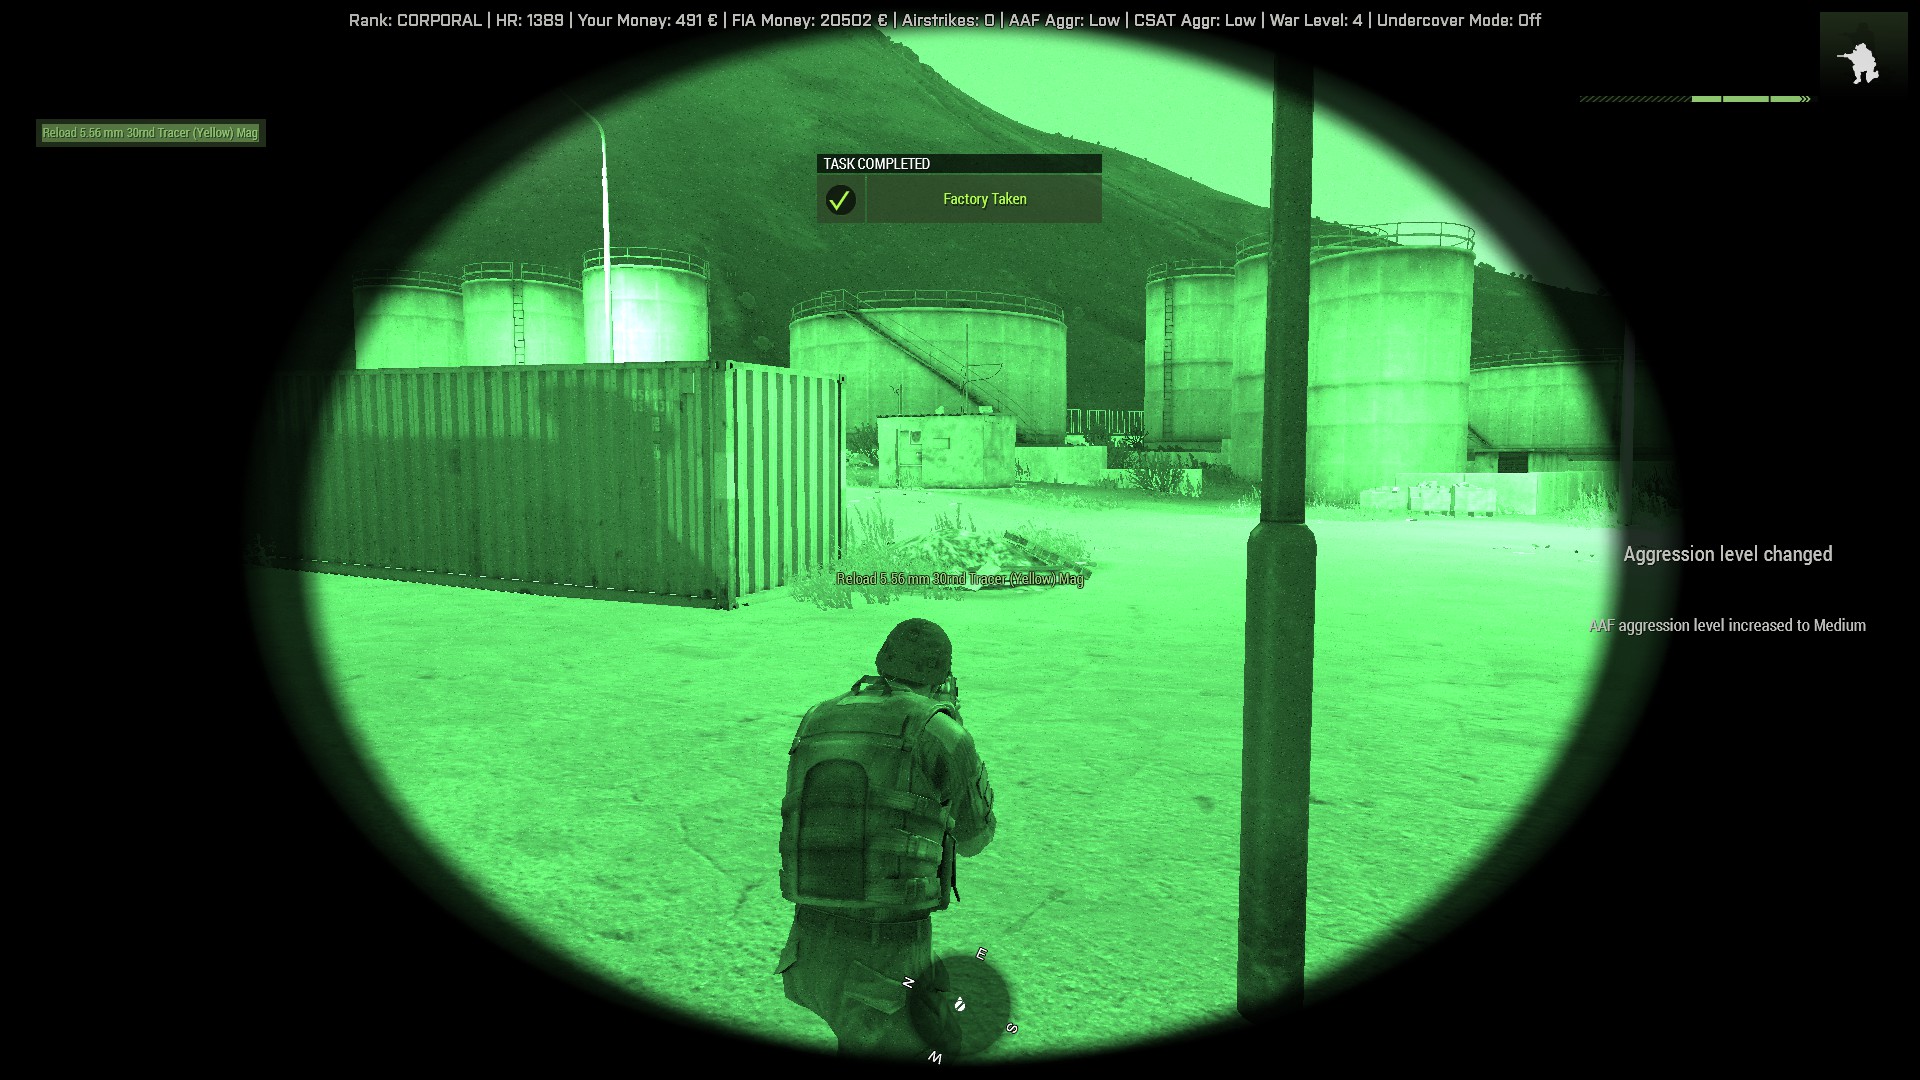
Factory taken, YES! :sunglasses:

Now it’s ours, waiting for the inevitable counterattack

Oops, was that the counterattack?! Sorry… NOT! :rofl:

In other news CSAT is getting more aggressive…

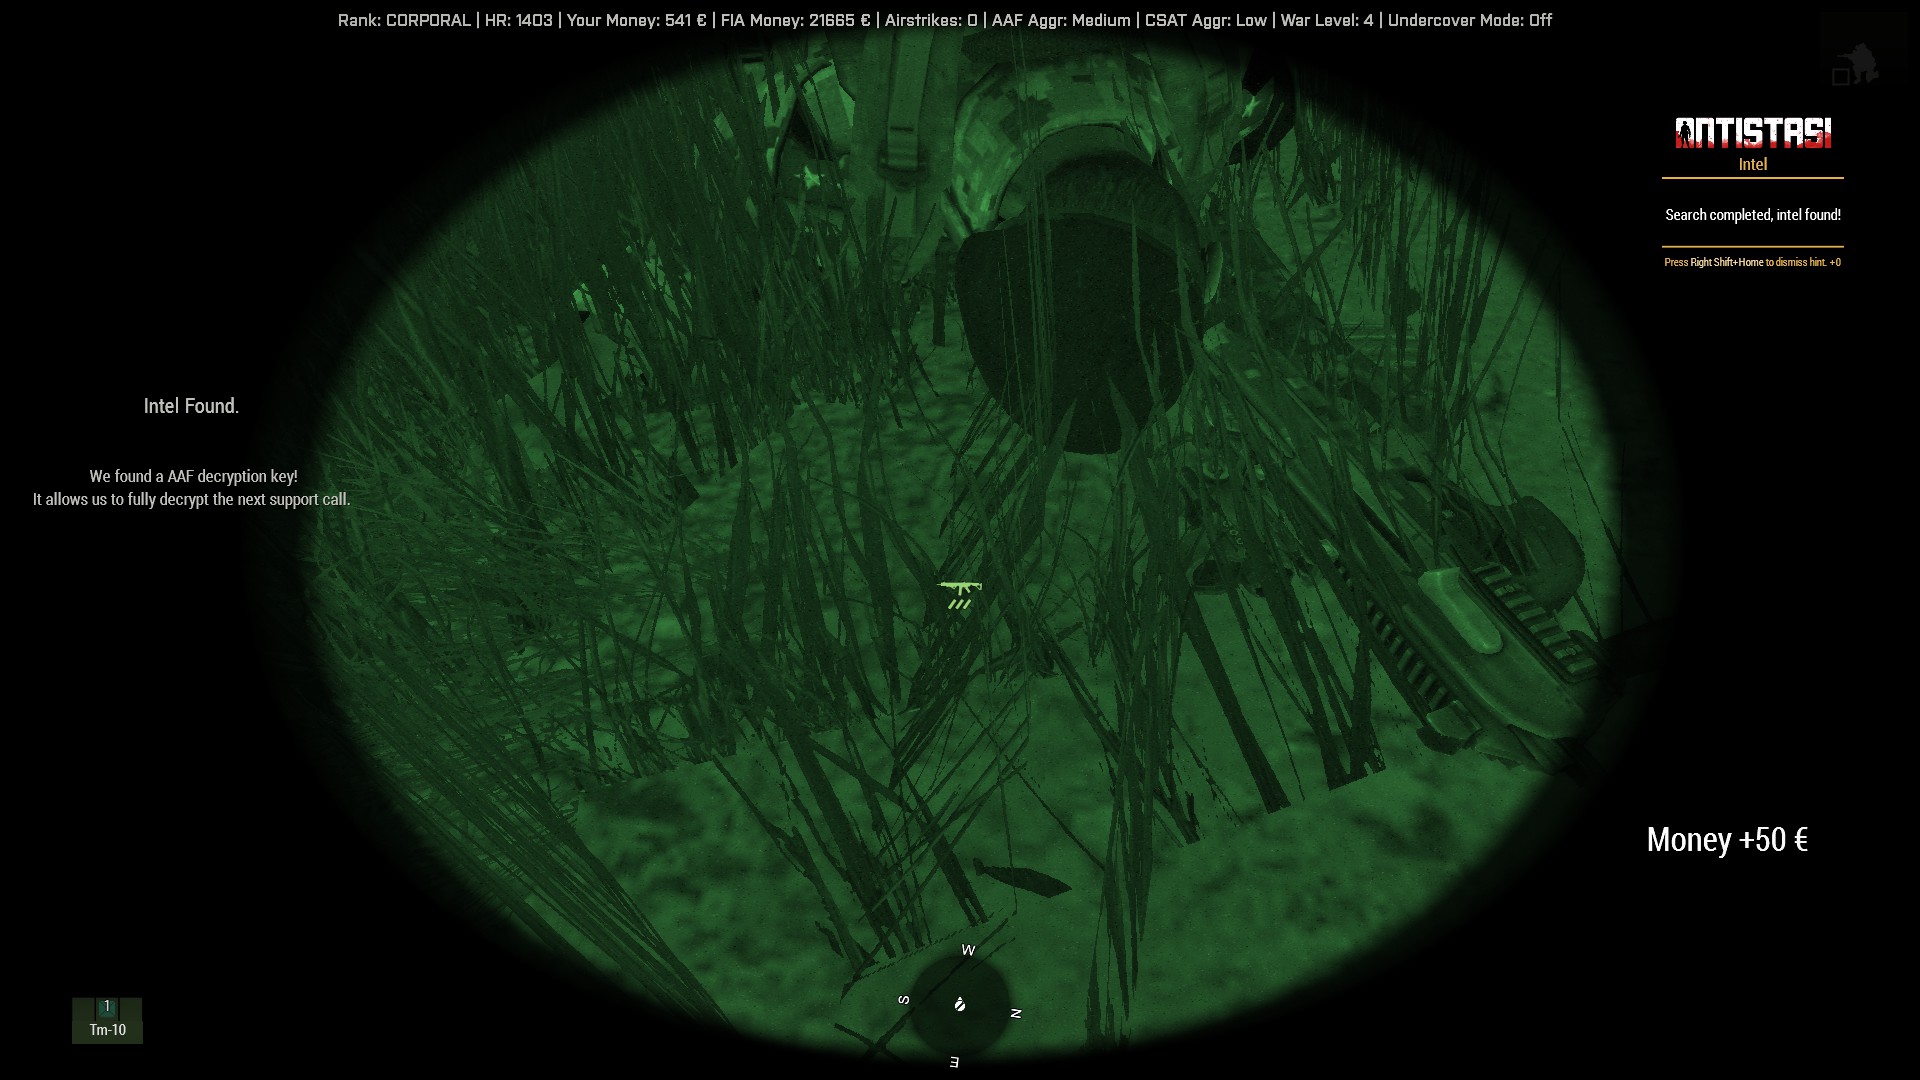
After a bit I went back to the factory and searched for intel and loot…

GOOD!

NICE!

OK tasked some friendly infantry to get ground control at the factory!
Friendly foot mobile… inbound!

You’re all welcome

gear up arnold schwarzenegger GIF

5 Likes

Noicely done! I’d say now we can easily take the soccer outpost using similar tactics, and then turn our attention southward until we own the seaport and surrounding installations, and then we can sweep eastward until we’re parallel with the northern front.

If you look south, you’ll see there are three resource sites in a row running E-W. Those would be a massive boost to our economy.

I’m optimistically hopeful that we can eventually own everything west of the ‘neck’ before CSAT closes their grip.

3 Likes

Yep, that was my missing step

2 Likes

These are my basic TTPs for AI management taking outposts:

  • Recruit 4-6 AI Infantry Squads, or 4 Squads + 2 AT Teams, and send them to staging positions in the AO. Strongly suggest sending them on foot to prevent Arma accidents or single vehicle explosions wiping squads. It takes a few minutes for them to move from the HQ into position.
    These troops will be the ones taking and holding the objective. Position them to provide mutual support and envelope the enemy.

  • If necessary, situationally-dependent: Set up blocking forces in key positions to interdict enemy reinforcements before they can reach the objective. AT Teams in good concealment overlooking narrow chokepoints or hairpin turns are ideal for this.
    If the objective is expected to be vulnerable to enemy attacks from a specific avenue long-term, consider setting up a persistent road block to help protect it.

  • Anti-Air Defense: Form a plan for dealing with enemy airmobile reinforcements, attack helicopters, and fixed-wing strikes. Suggest an AI AA Truck on a hilltop near the objective, and/or a player with MANPADs available. If you leave heavy weapons lying around in a crate, be aware that it’s possible (and likely) for AI to ‘steal’ them out of the crate (happened to me the other day, watched it with my own eyes!).

  • Form a plan for fire support, either AI or human. If AI, I like to use two separate motorized mortar teams so that they can take turns repositioning between firemissions in order to avoid counter-battery fire. Moving and setting up the mortar can take several minutes (a frustratingly long time) so moves must be planned ahead to ensure continuous availability of supporting fires.

  • Plan to use fire support early, in the opening act before enemy troops are alerted and rapidly moving into positions to counter your troops. Once the attack begins, friendly troops are likely to be in close quarters with aggressive AAF troops, and mortar firemissions will be much more difficult to conduct without risking friendly casualties. Remember to take time-of-flight into account and apply proper lead to moving targets when calling fire misisons.
    Likewise, have your troops close and ready to move in as soon as the last round splashes, as AAF reinforcements will begin pouring in quickly after the enemy garrison begins taking casualties.
    It’s generally much easier to defend the outpost from inside it than from the same positions used to attack it, depending on the terrain and avenues of approach.

  • During the attack, use the Y menu to regularly demand SITREPs from your squad leaders, in order to assess their strength and combat effectiveness. If squads begin taking casualties, consider calling in friendly reinforcements early rather than too late. Heavy casualties may be indicative of poor planning and execution on my part, and a sign to pull back and reassess. Keeping situational awareness can become difficult in the heat of battle, especially with friendly squads spread out and not within your line of sight.

  • Post-Attack: Once the outpost is clear, take the flag and immediately garrison at least two squads using the Y Menu. Station the remaining squads to cover likely avenues of attack, and wait out the counter attack.

  • Conversely, if your (remaining) forces are not strong enough to likely hold the outpost against a counter attack, consider not taking the flag, and only looting, in order to avoid a counter attack and increased enemy aggression. Forces not necessary can be dismissed (reclaiming their cost & manpower points) with the Y menu, or used to reinforce other friendly garrisons.

  • If the post-attack situation allows and terrain is advantageous, spend a few minutes placing static weapons from the garage on the flagpole. Never position mortars on friendly outposts due to the dangers of counter-battery fire.

  • Also, if civilian towns come over to our side as a result of your actions, strongly consider sending forces to garrison the towns themselves in order to hold them long-term.

I spend most of my time split 50/50 between the map and binoculars. Often never fire a shot with my rifle, or very few in self defense, only offensively engaging if there’s a decisive moment where my intervention is required to prevent a rout.

3 Likes

Wow this is good stuff. :sunglasses::+1:

Edit: I think I’m about to jump in again… I want to test the defenses of that stadium with my sniper rifle, which I nicknamed “Moonlight”.

1 Like

I wish I was free to jump in, I ended up getting some conference calls thrown my way, then some admin stuff and my day got eaten up with work. I’ll try again tomorrow. :woozy_face:

1 Like

No worries… I’m doing stealth reconnaissance.

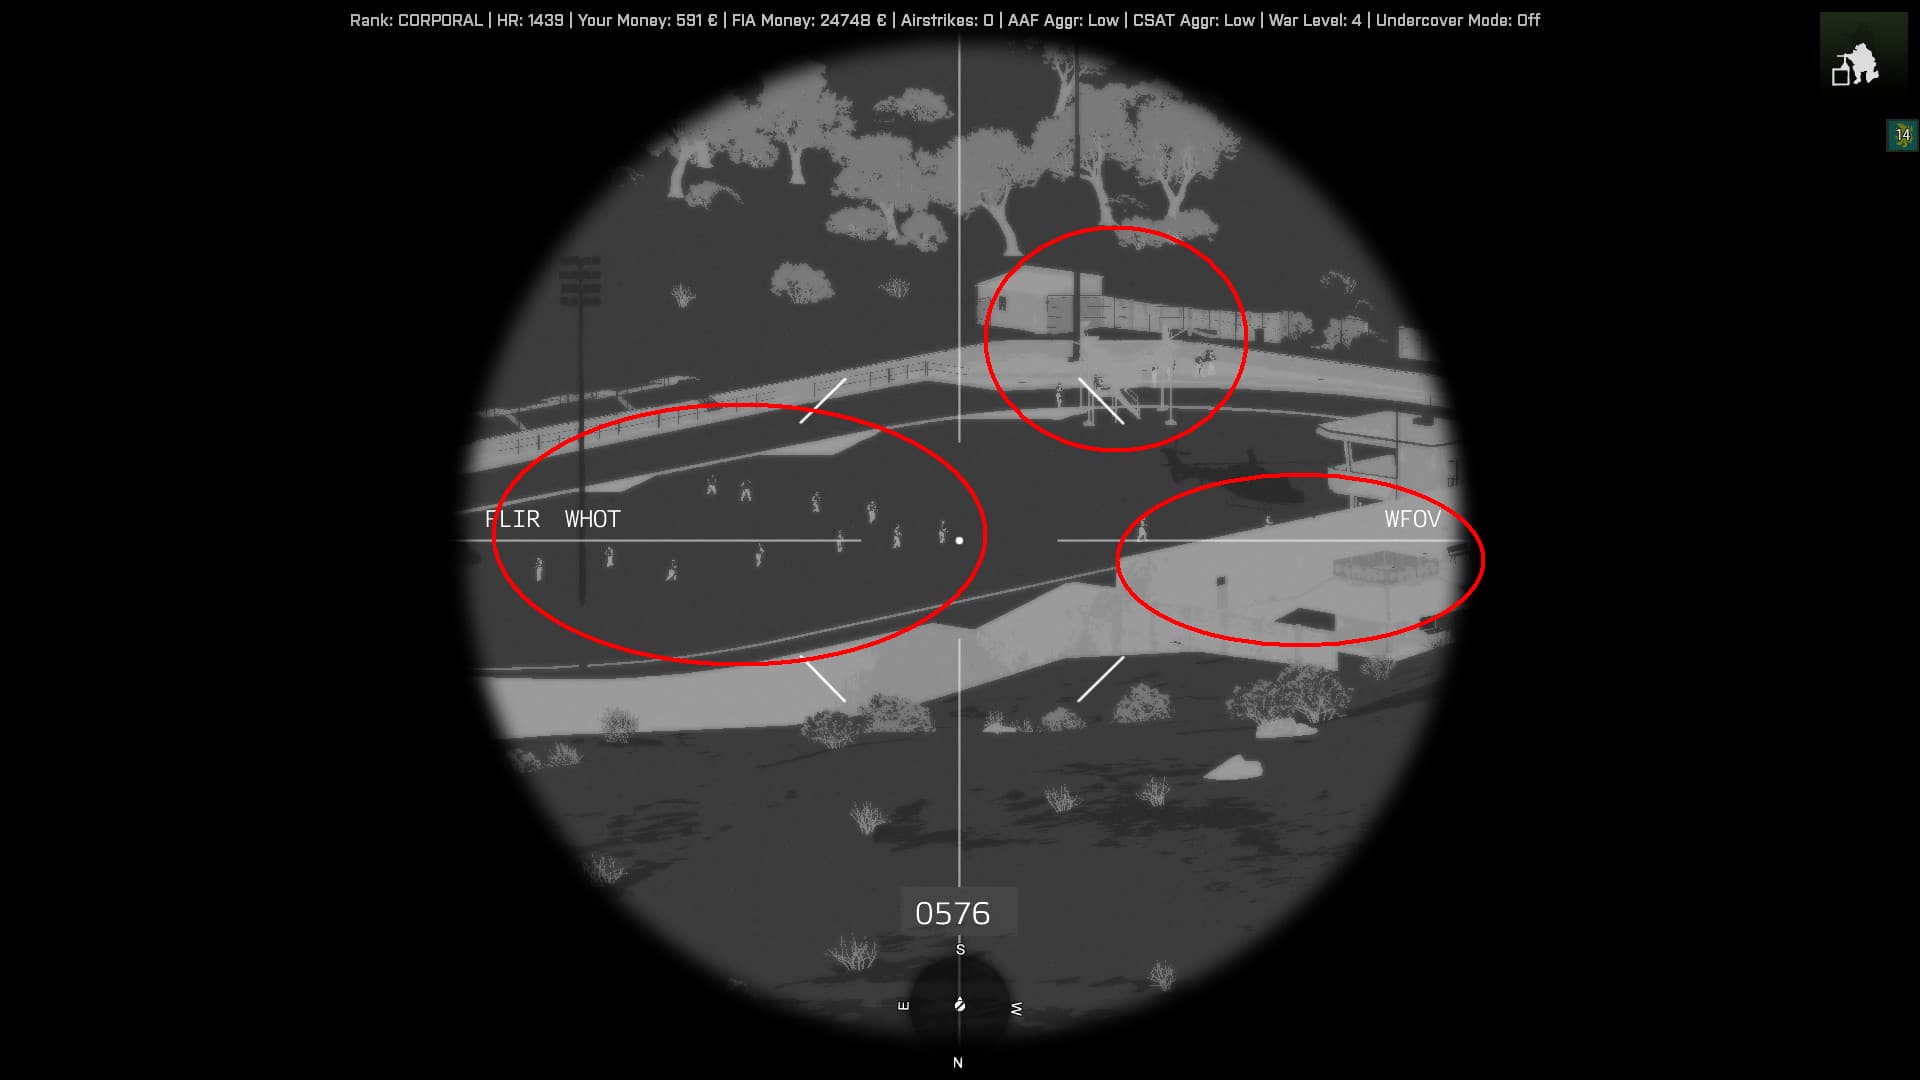
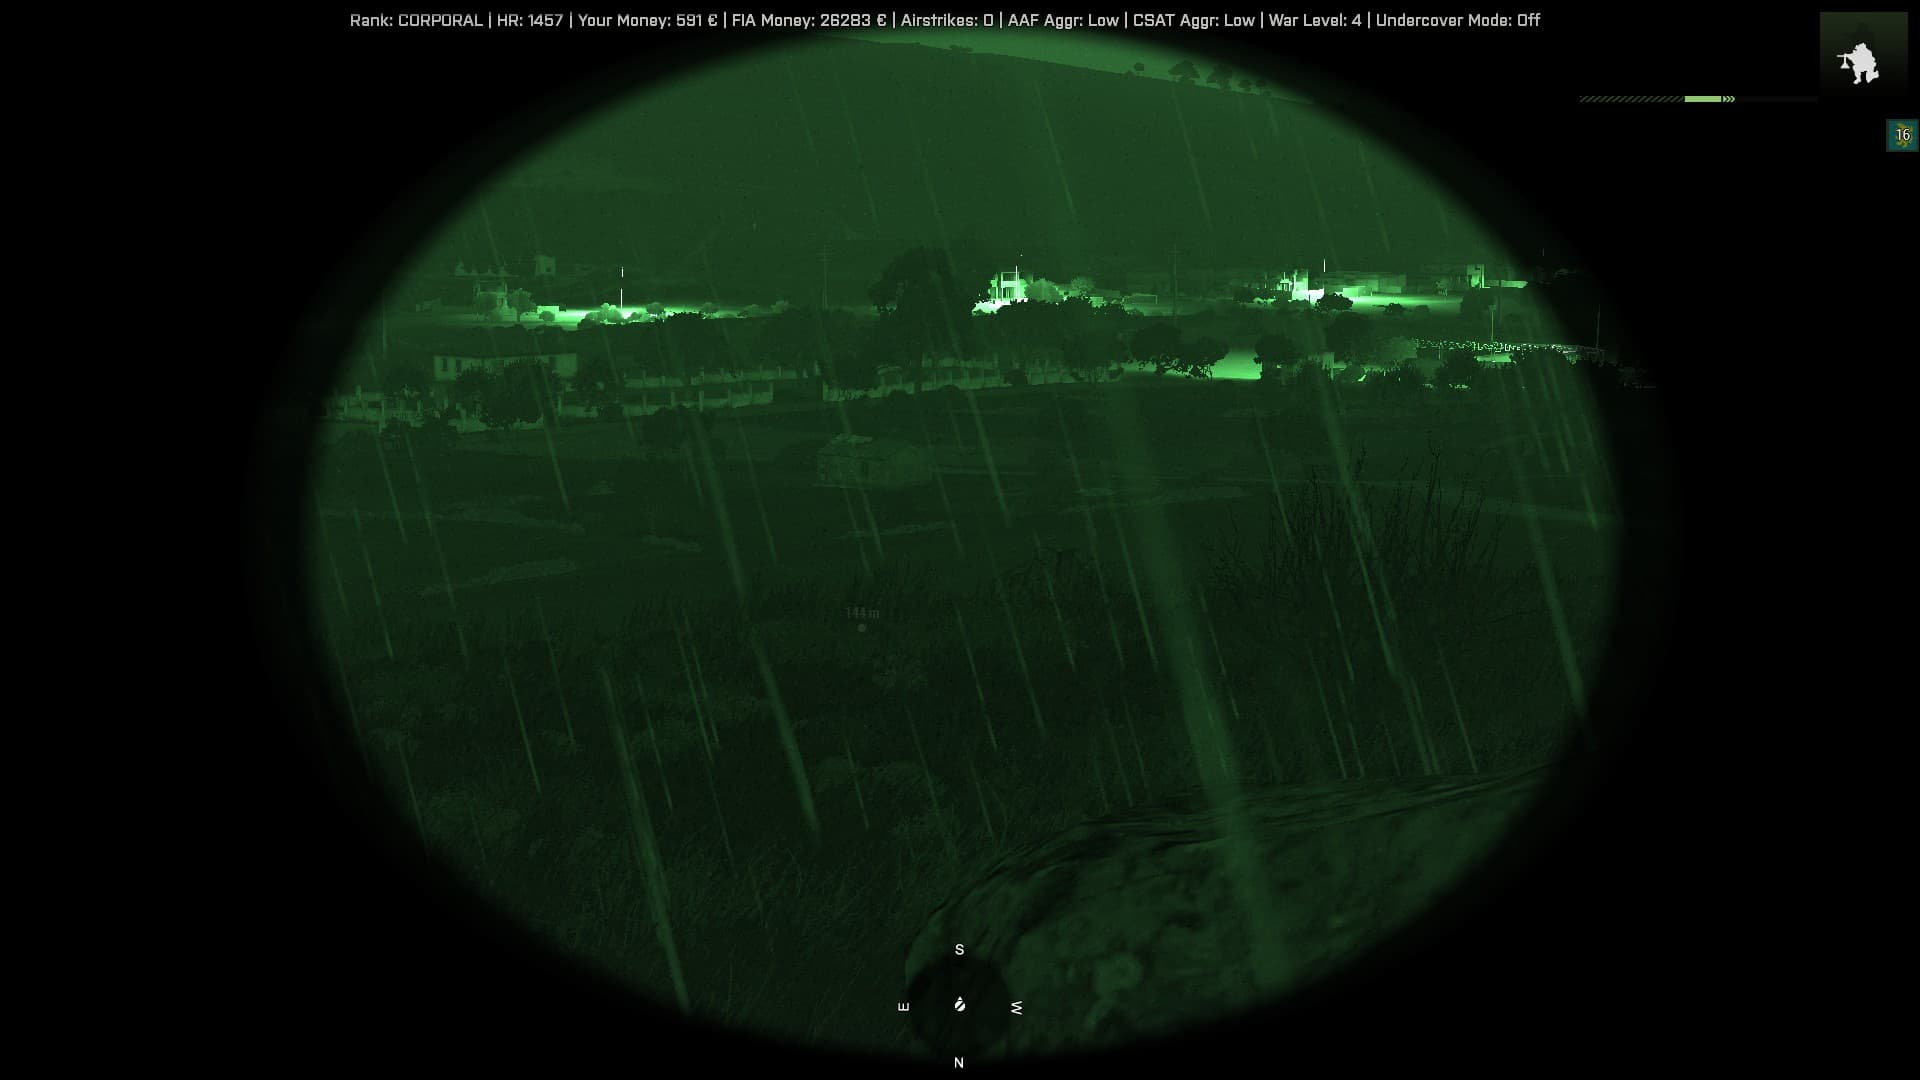
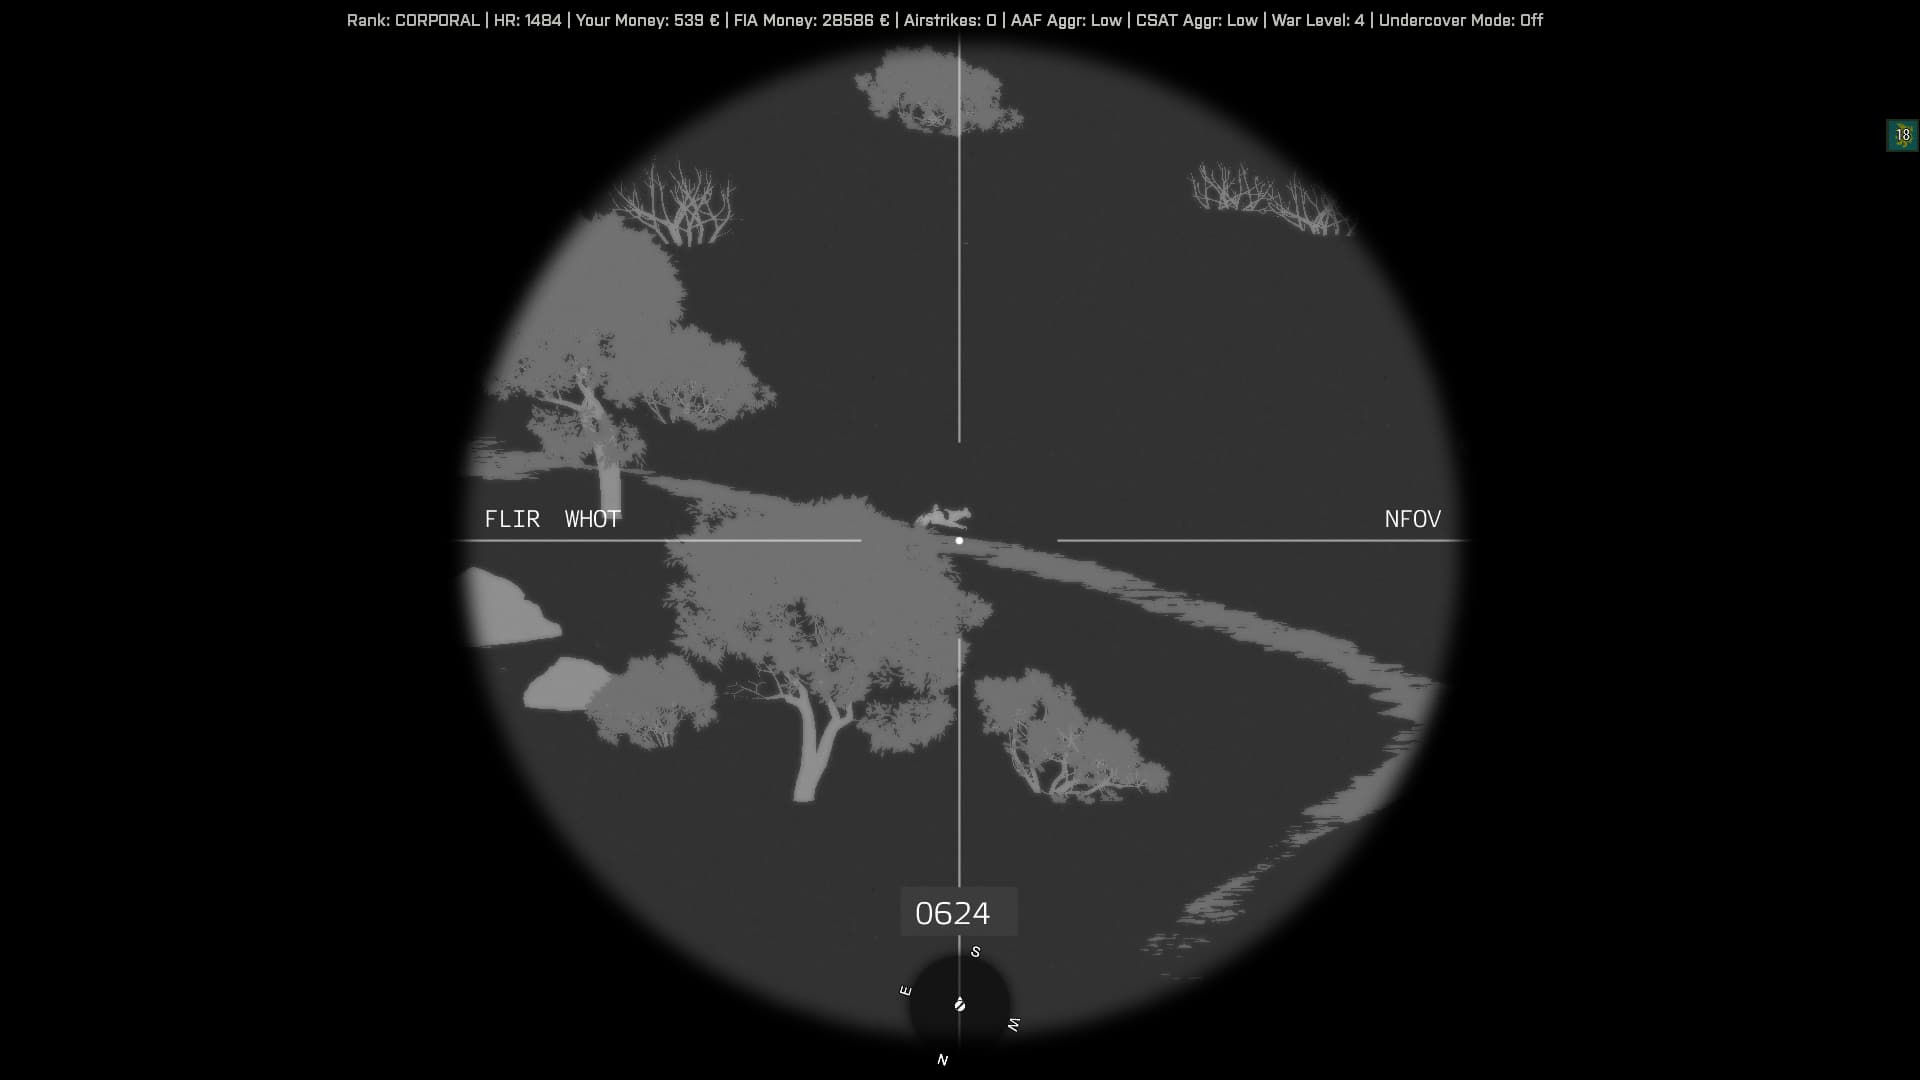
Roughly 800 meters to the Stadium center from my spotting position.

It doesn’t look good. At least 30 foot mobile fully geared out.

Four men snooping around the north perimeter

The bulk of the force bumbling about the stadium…

And a couple more two-men teams down south…

On top of this show of hands, there’s two helicopters in the Stadium center.

Me and Moonlight can plink some heads but we can’t defeat this amount of force.

2 Likes

Could use a mortar, but you forfeit the helos in that case. If you can thin them out, maybe we can follow up and clear them out with MG.


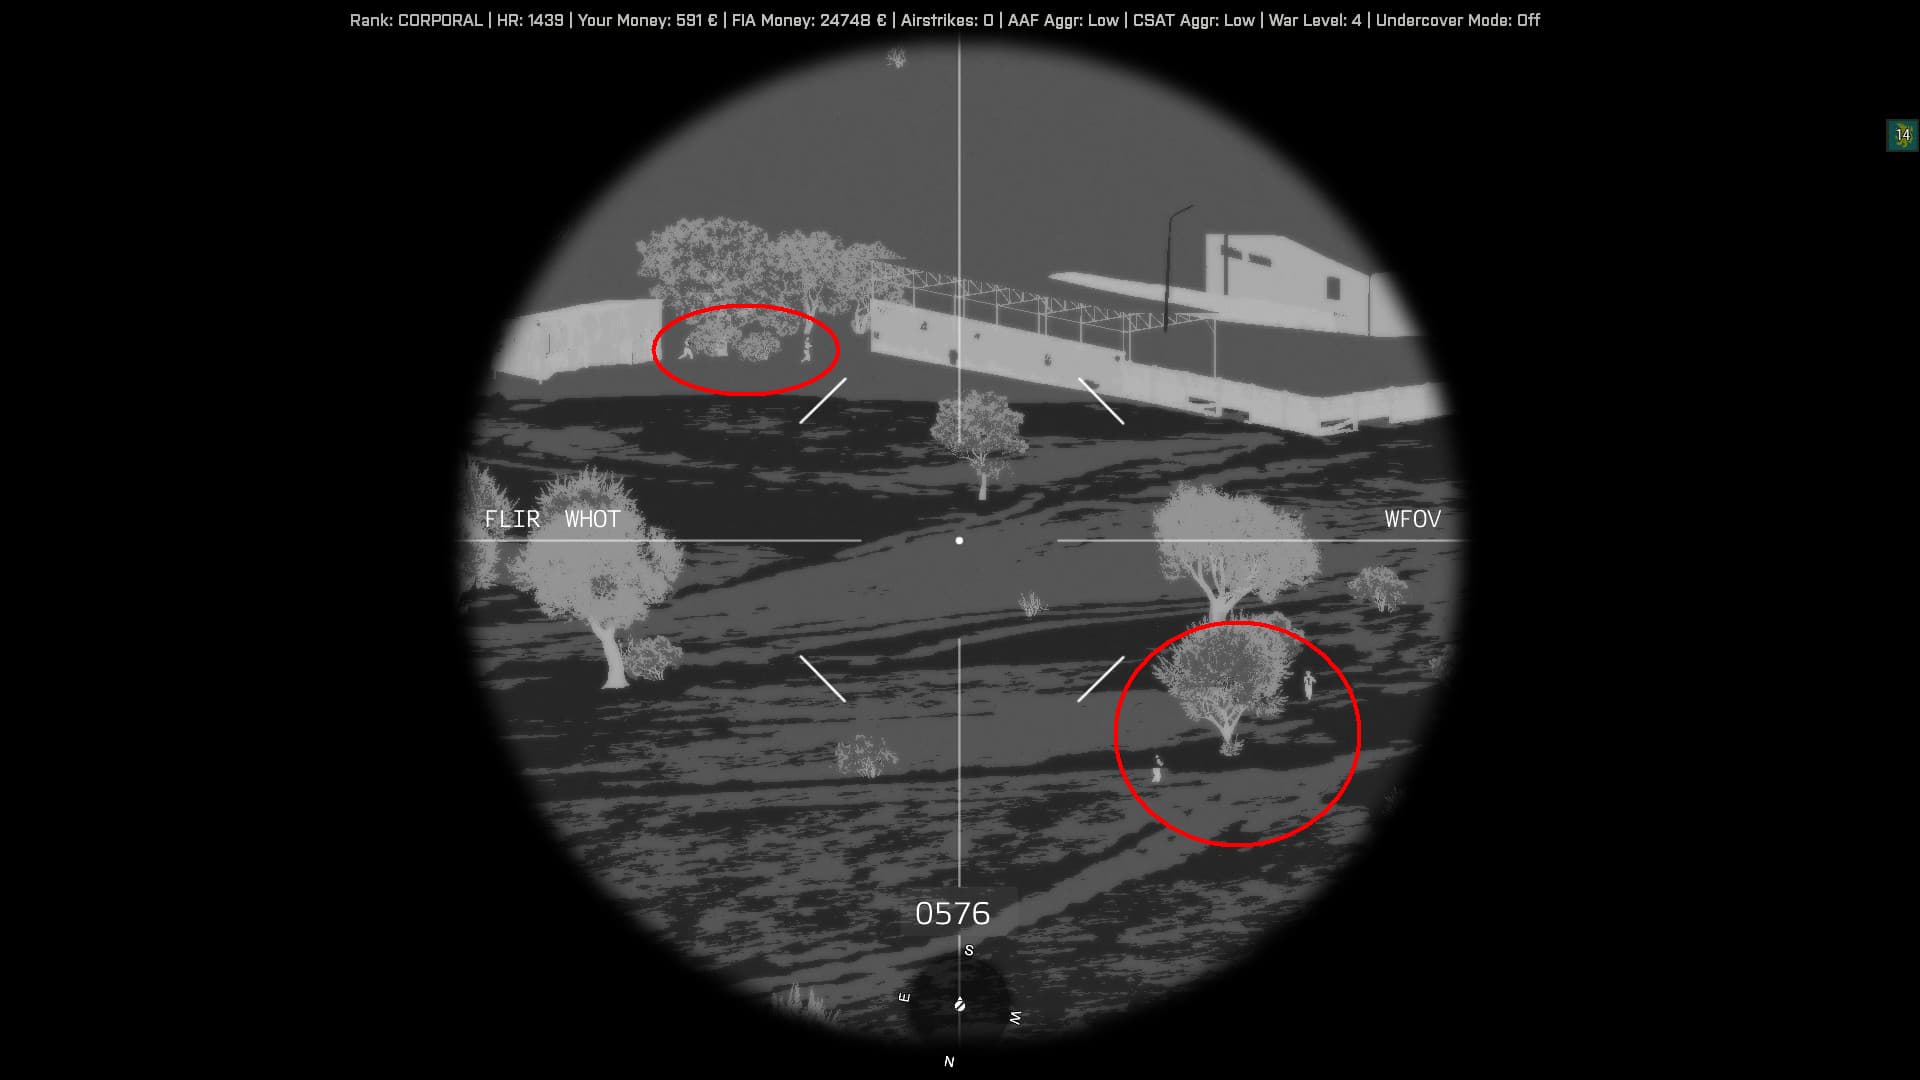
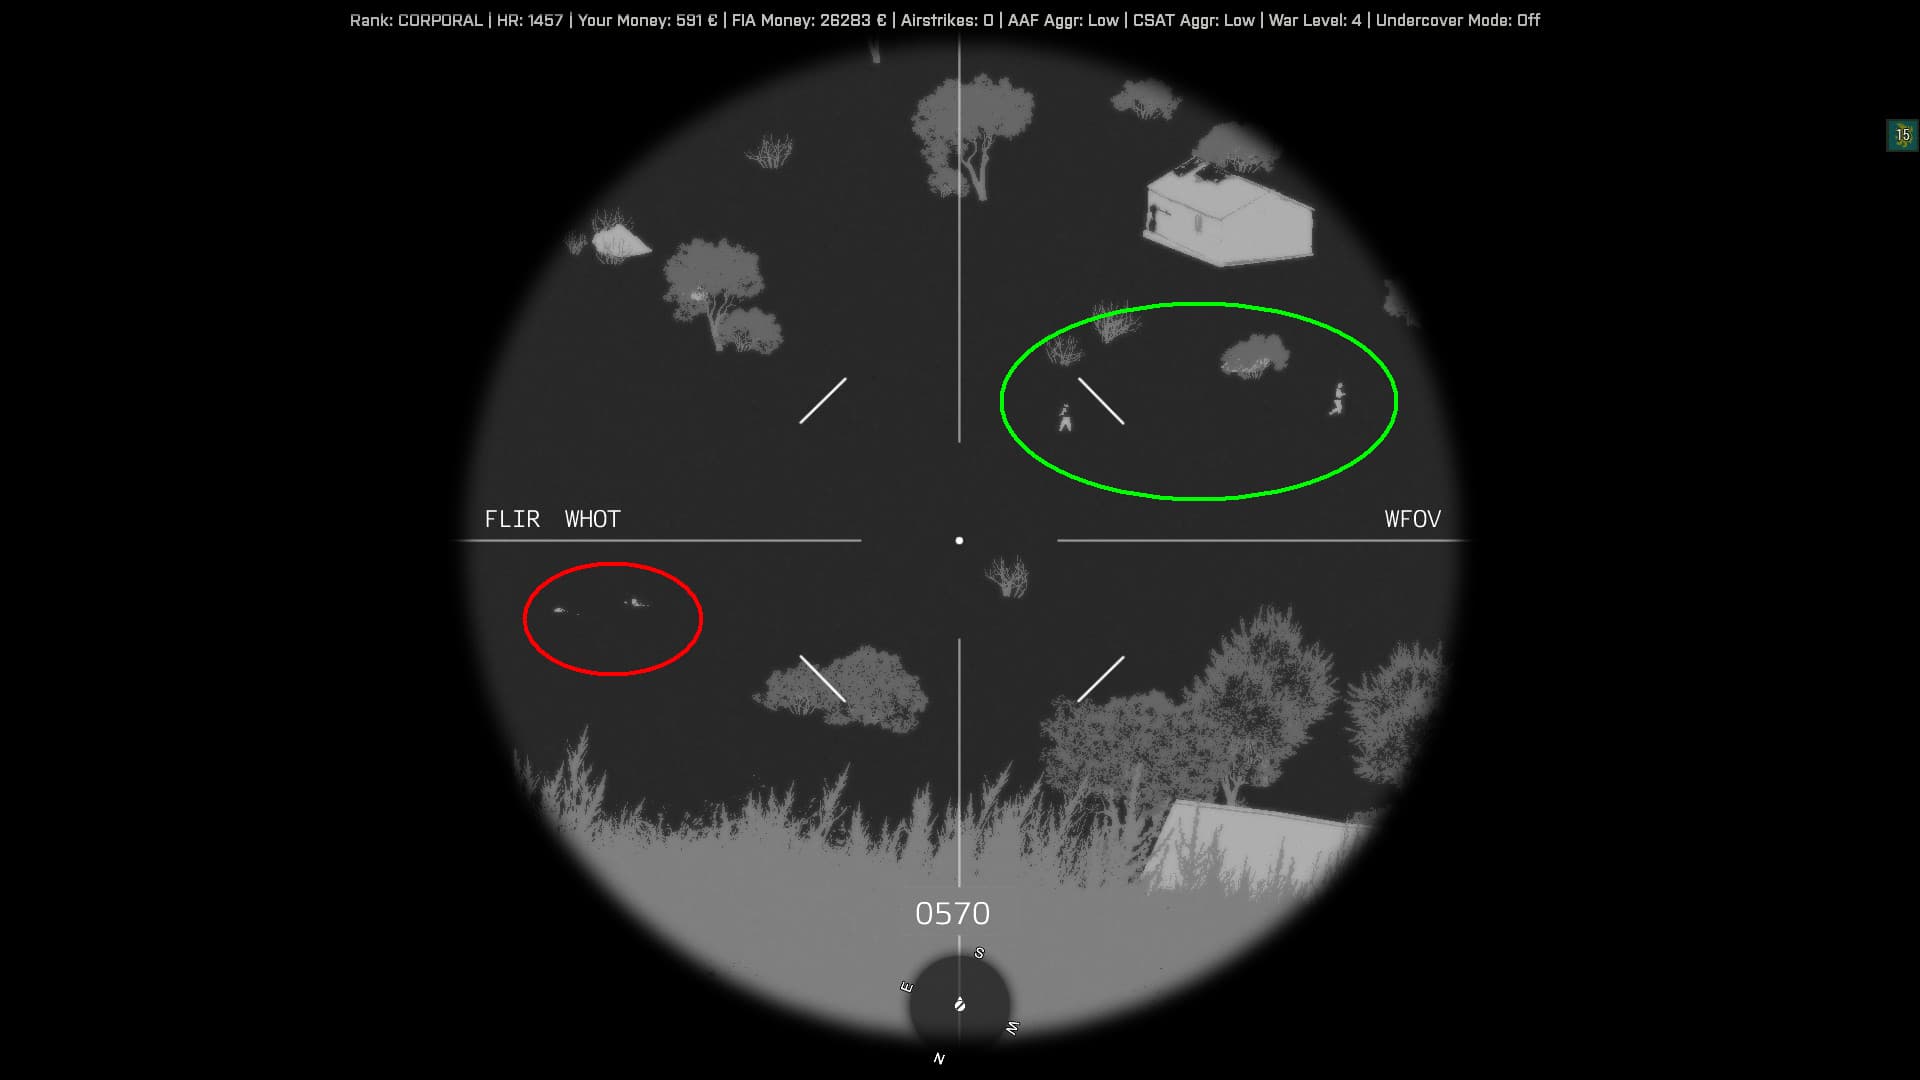
I manage to nail the two-man element in red, while the other circled in green is unaware…

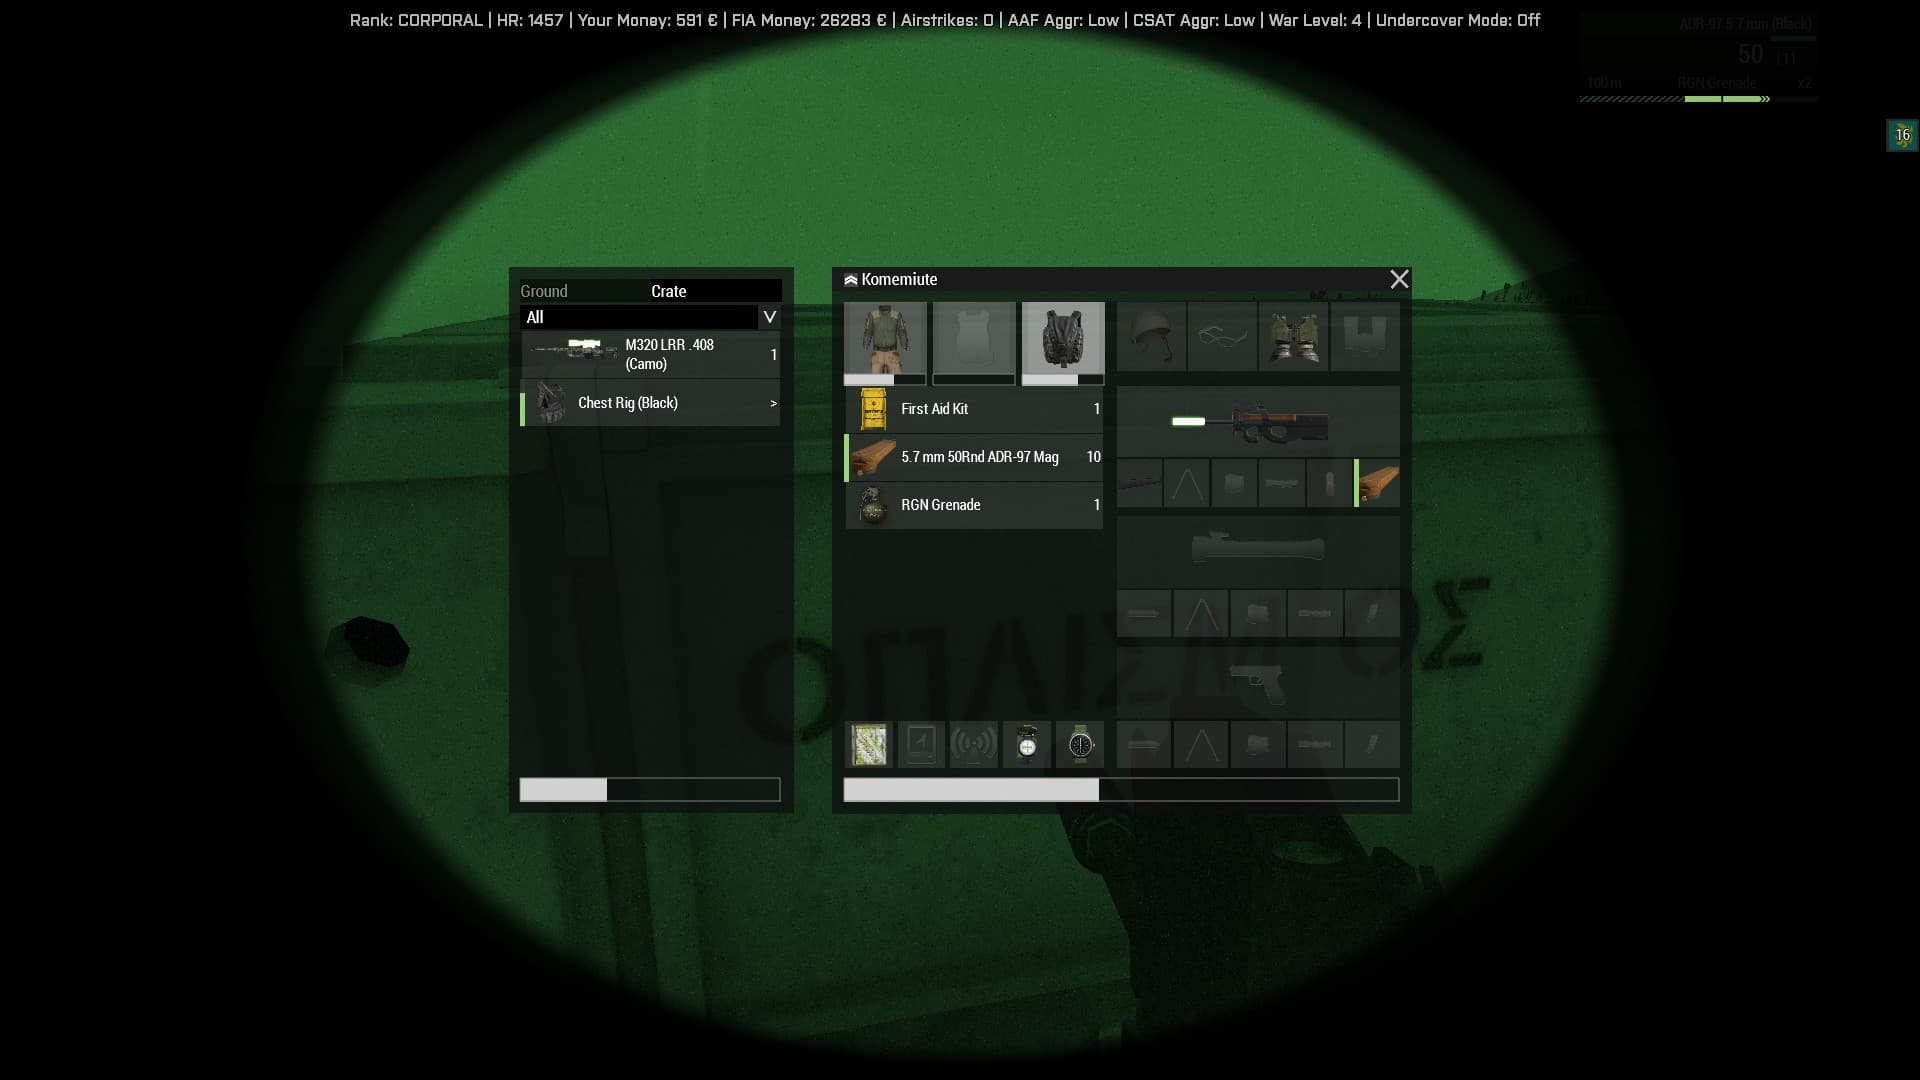
I swap my gear in the quad, leaving my Moonlight for a short SMG

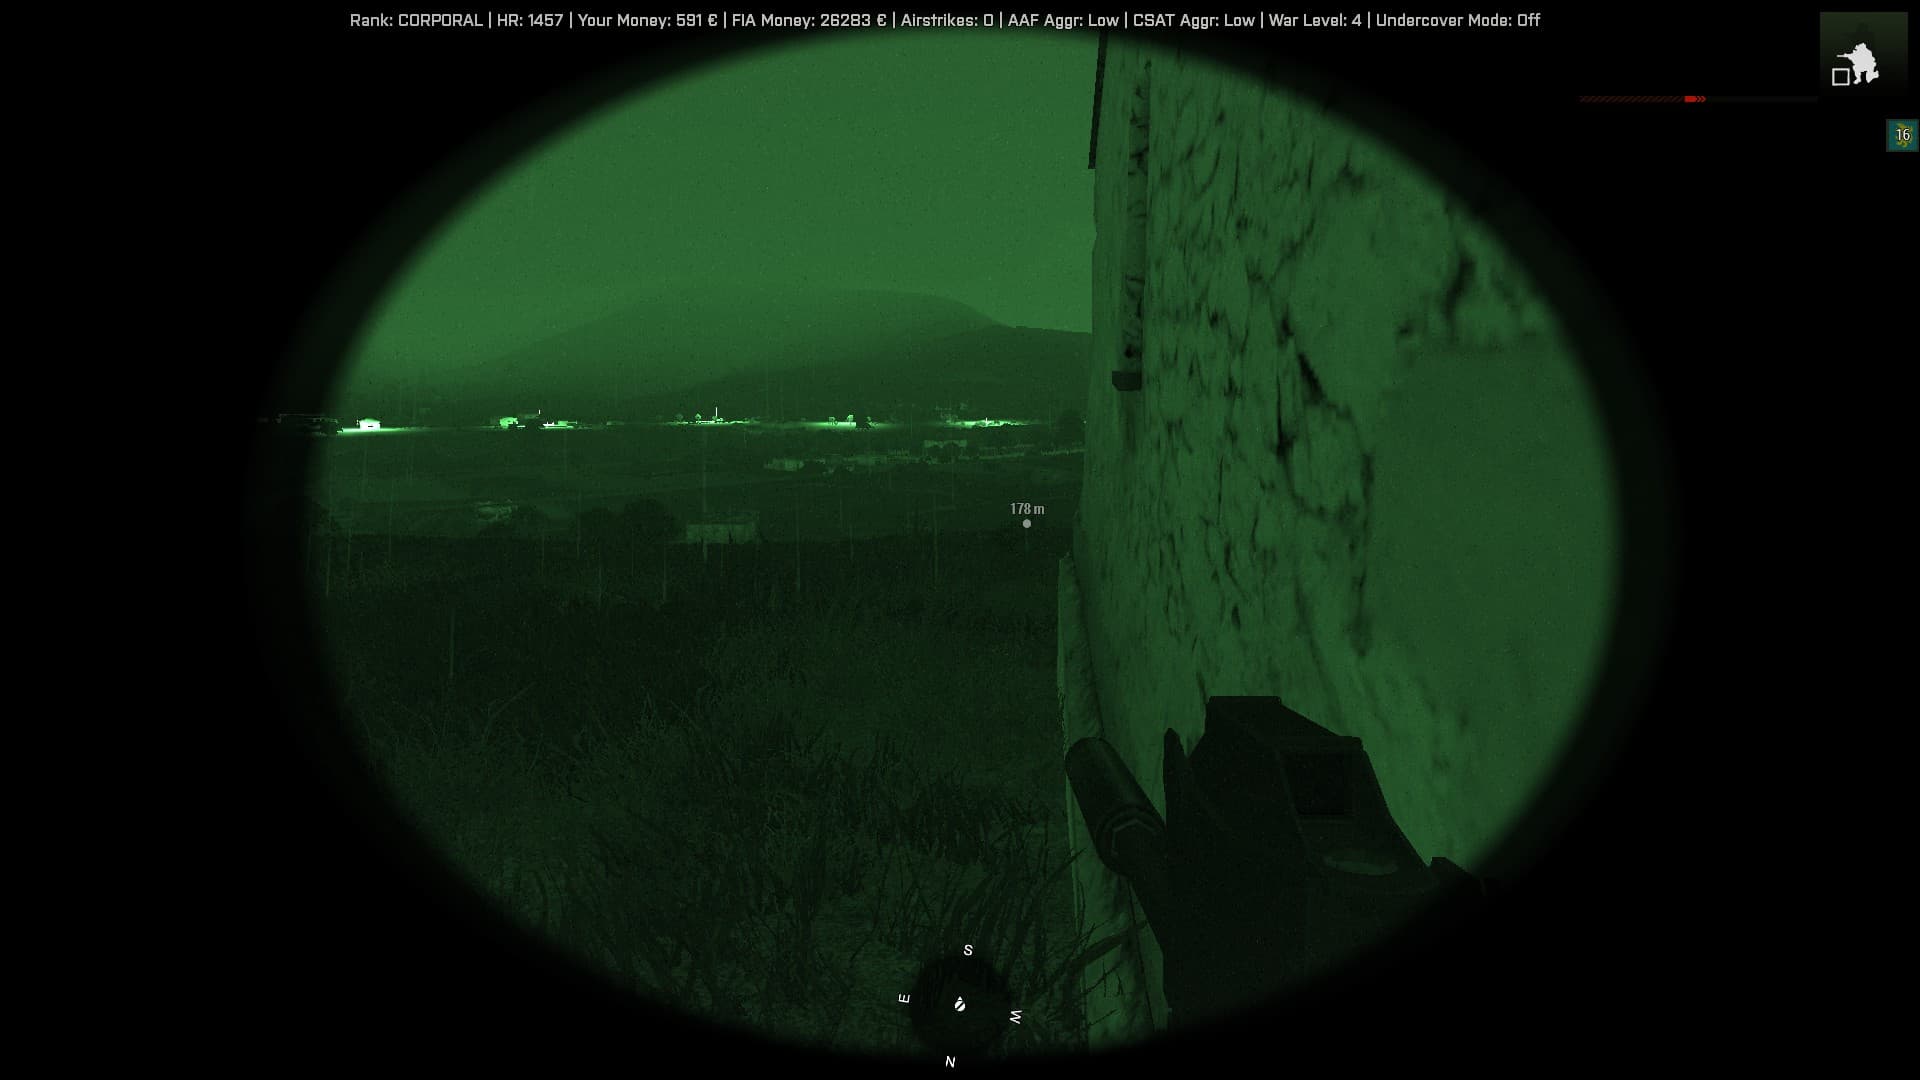
I want to scout the two bodies… I start to carefully sneak my way down…

Seems all clear

Crawling the last 100 meters

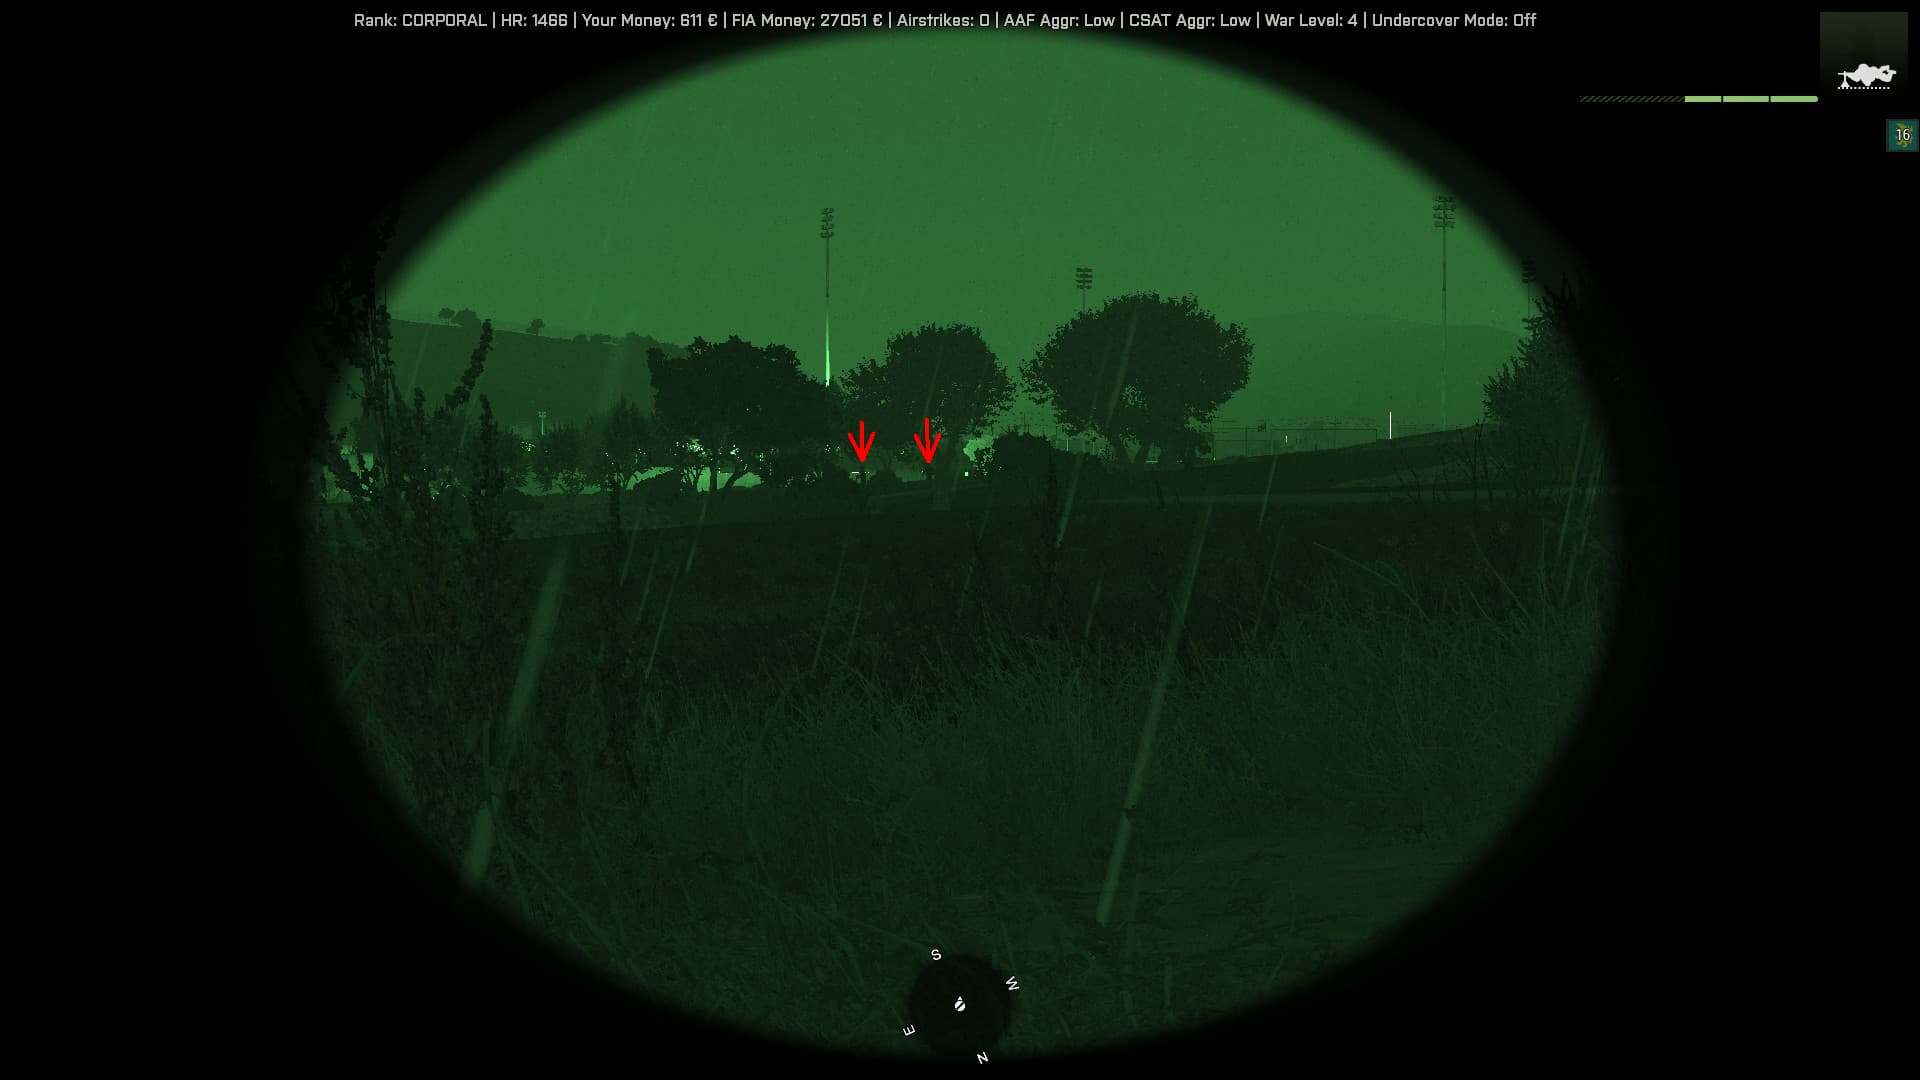
Two men in the darkness, unaware of me

Don’t find much, and crawl all the way back…

After which I nail unseen the other two-men patrol.

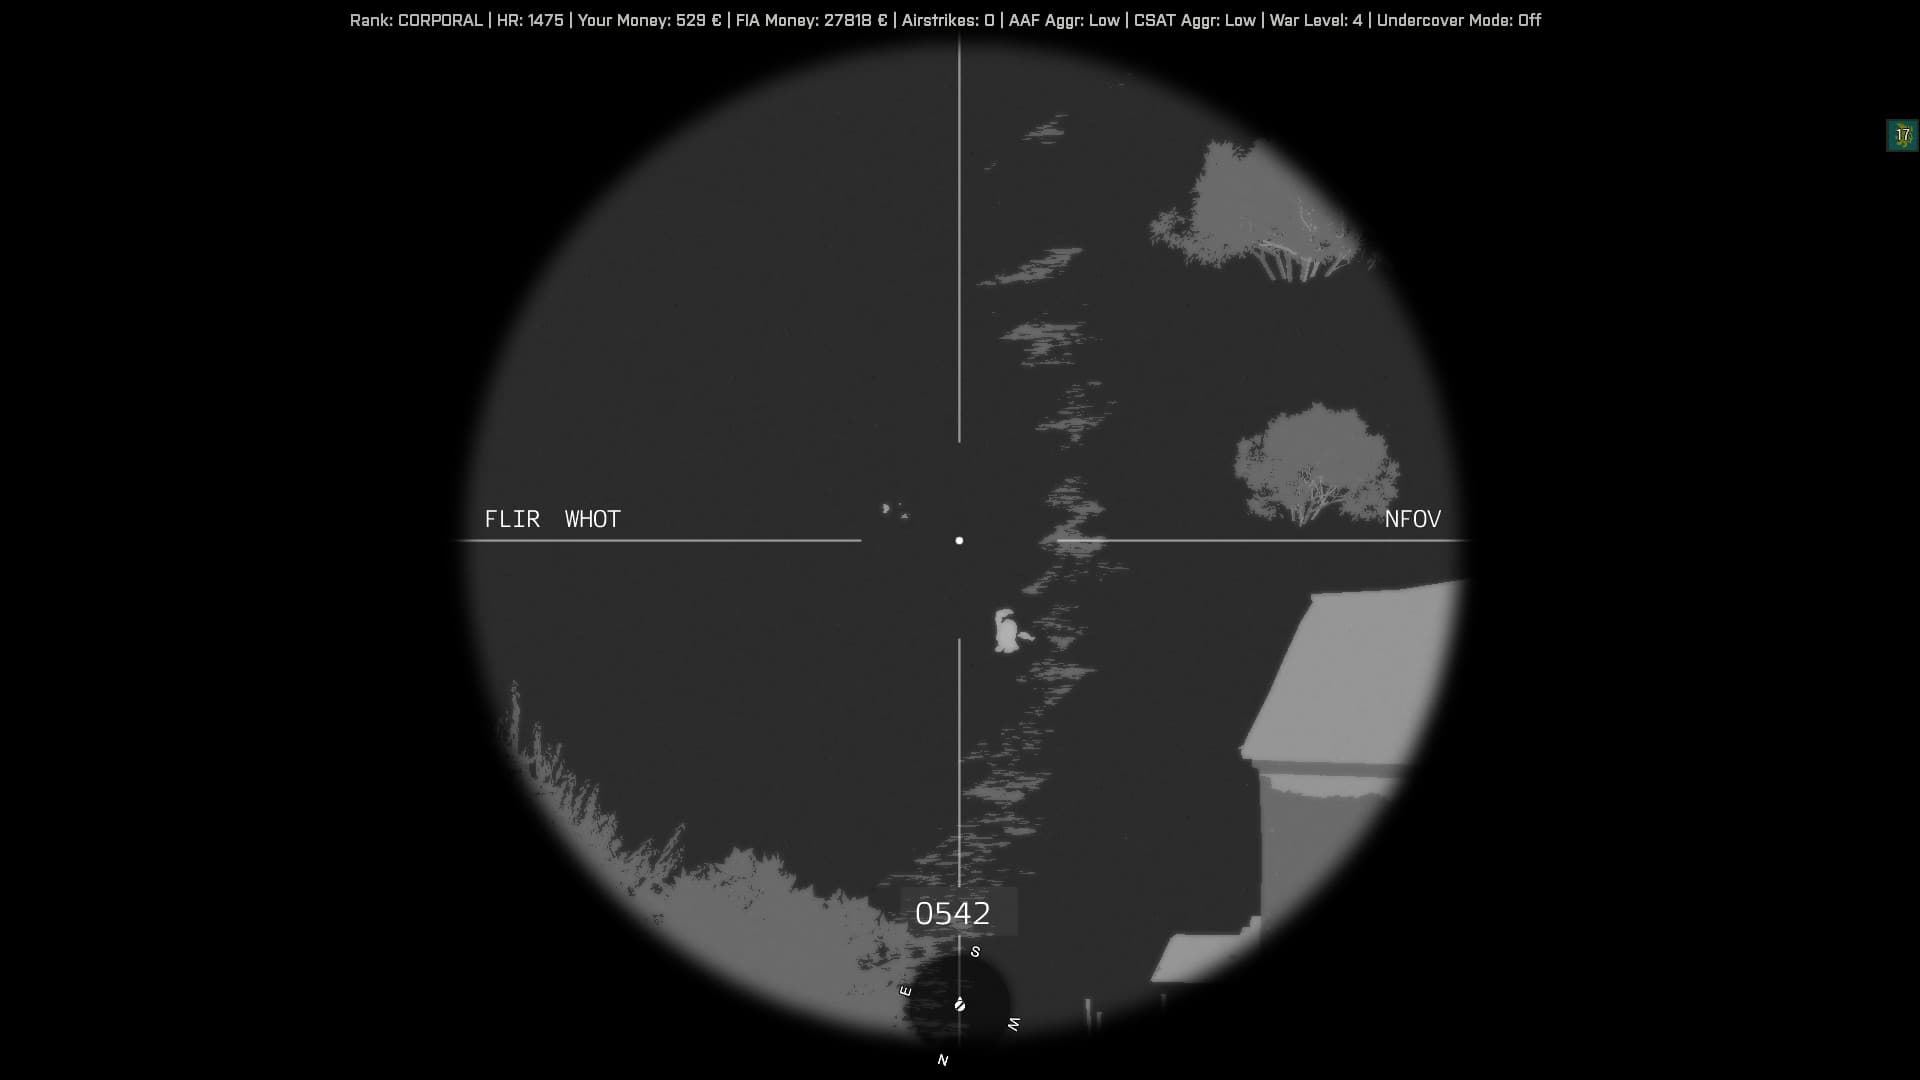
And another two-soldiers patrol

4 Likes

Sorry I missed it. You paved the way for all that follows:

When I was finally able to get on, I saw that Petros had assigned the task of taking the supply depot south of the soccer field, but only 25 minutes remained on the timer. I quickly assembled an assault force, and then attacked the soccer field first, taking it without any losses due to the weakened state of the garrison thanks to your sniper rifle and recon.

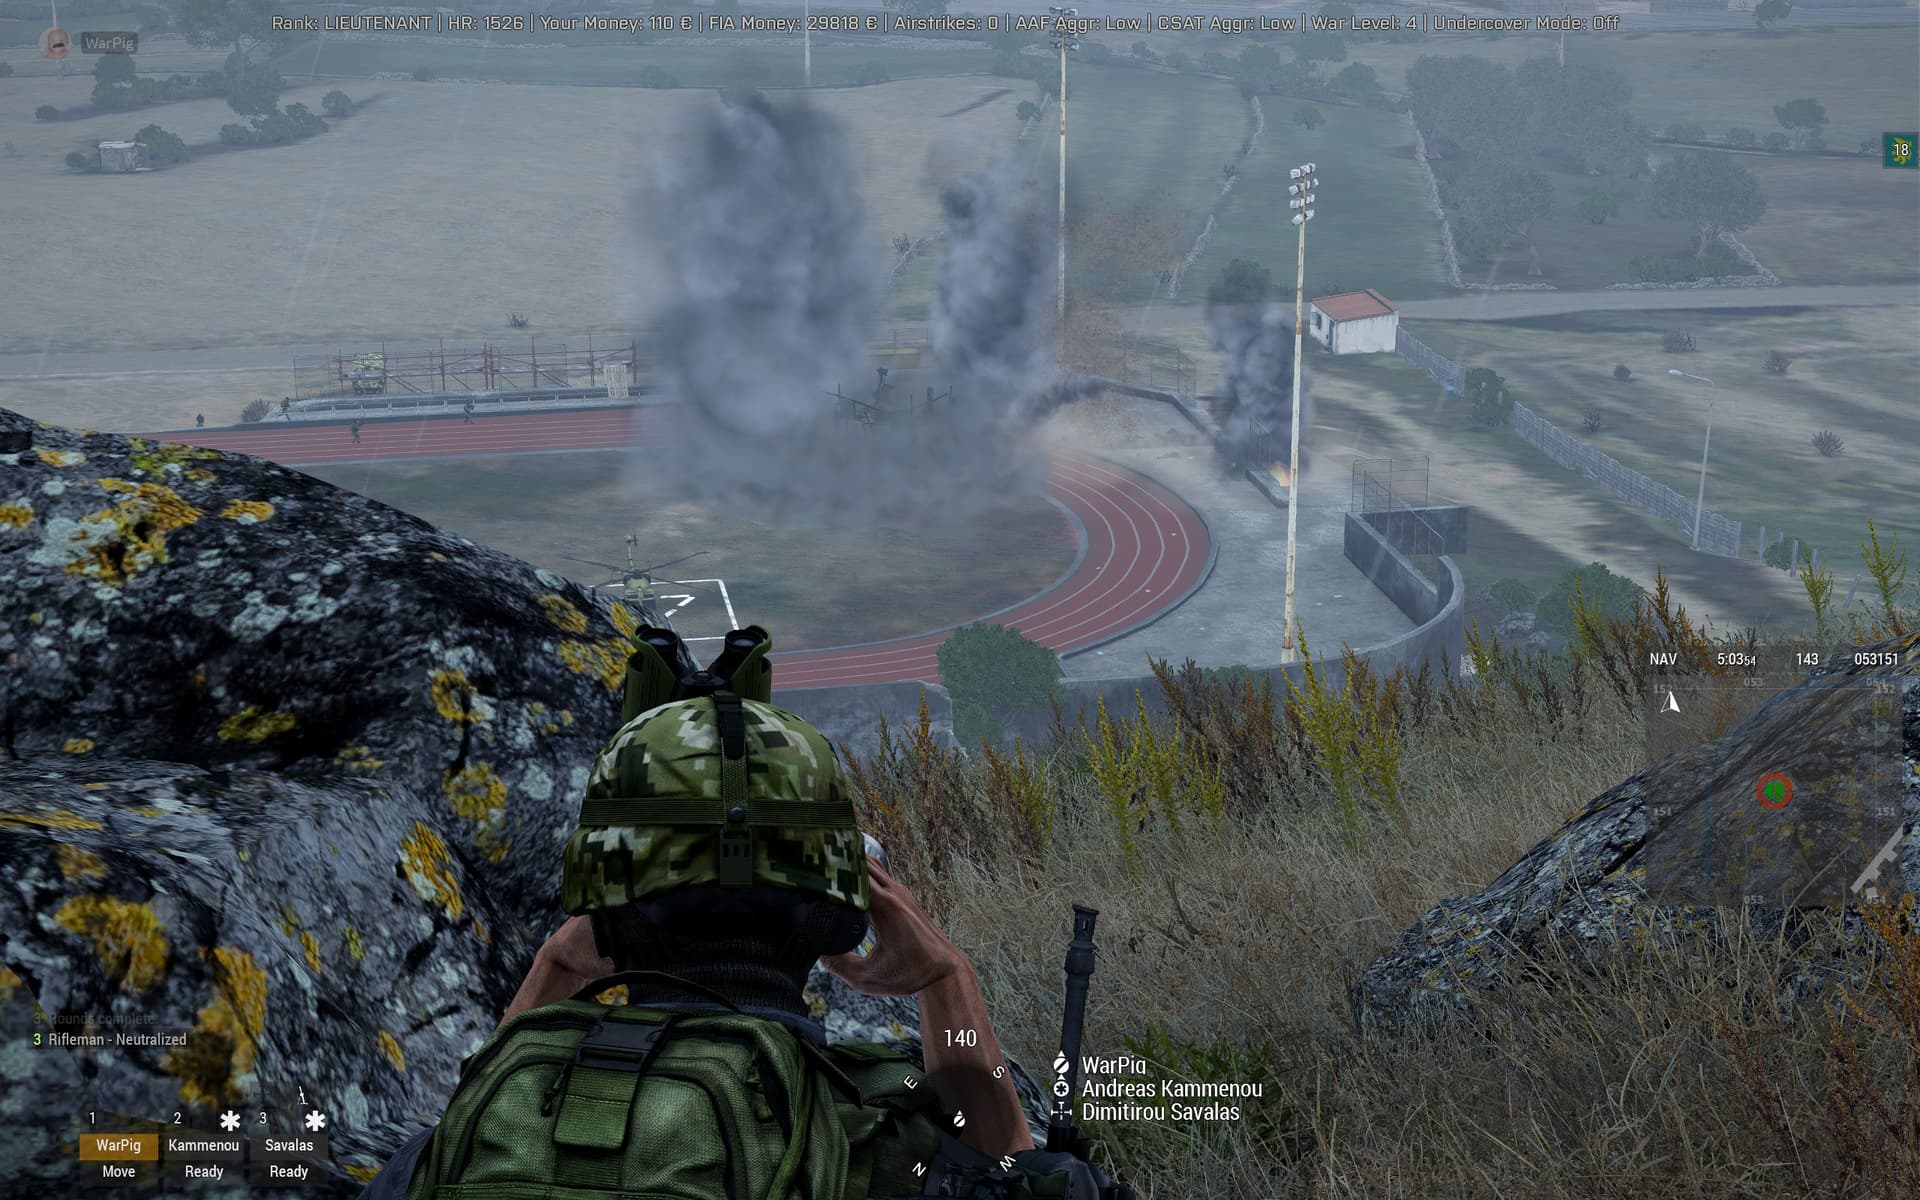
It would have to happen quickly, and a bit dirtier than I would have liked, with mortar rounds danger-close to one of the helos.

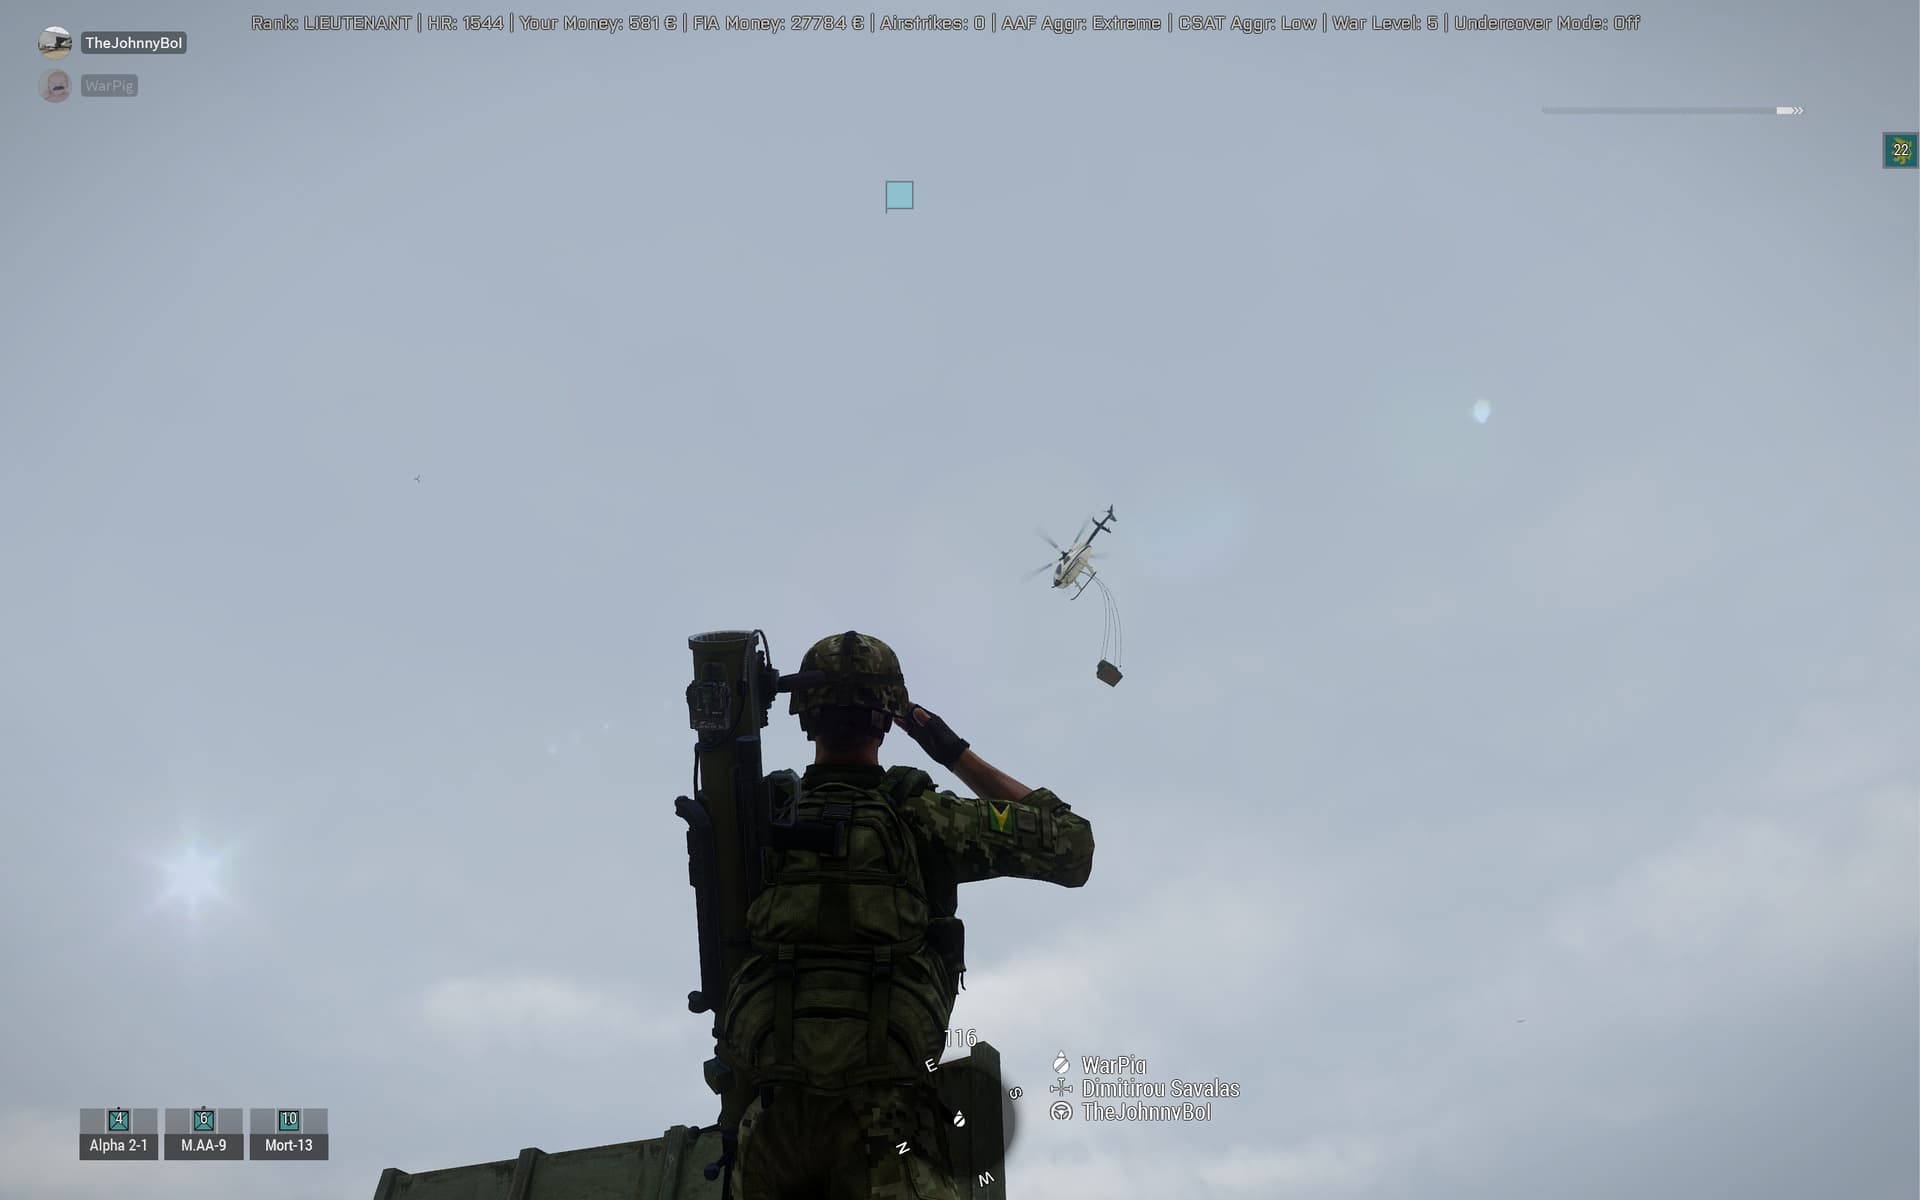
Violent chaos reigned between the first mortar strikes (left) and the final infantry push (right). Both choppers were captured (relatively) intact and repaired on-site for FIA use, but were lost in subsequent combat operations. One was shot down by an AAF guided weapon, another suffered an acute case of interrete interruptus.

Two Mora IFVs showed up near Kore, but were slowed down by the roadblock to the north, which knocked out the lead vehicle. A maximum-range Titan shot was required to take out the second one- it was actually too far to lock-up, and required manual SACLOS guidance all to impact.

An overview of the hastily planned attack on the outpost, performed under time pressure.
The first mortar rounds splashed right before friendly infantry charged in.

FIA forces managed to seize the supply depot with literally only 15 seconds to spare, and more surprisingly, few casualties.

Shortly after, an AAF COIN aircraft arrived overhead on a run-in, but was defeated by a MANPAD in my companion crate. Some mortar fire took out counter-attacking motor infantry before they could cause trouble.

Then TheJohnnyBol hopped in and helped me carry the fight to the nearby factory, then south to the resource site (another dump, why?). He’s pretty aggressive, and immediately started an attack on the large tower outpost south of Kavala, which was a hard fought battle.

His skillful machinegunnery and my haphazard spotting allowed us to neutralize the heavy machinegunners on the tower, then clear out the rest inside the old-fashioned way (doors and corners…), leaving the tower intact. As soon as AI squads took things in hand they were raining .50 fire from the topside HMGs into the neighboring enemy installations, which fell like dominoes.

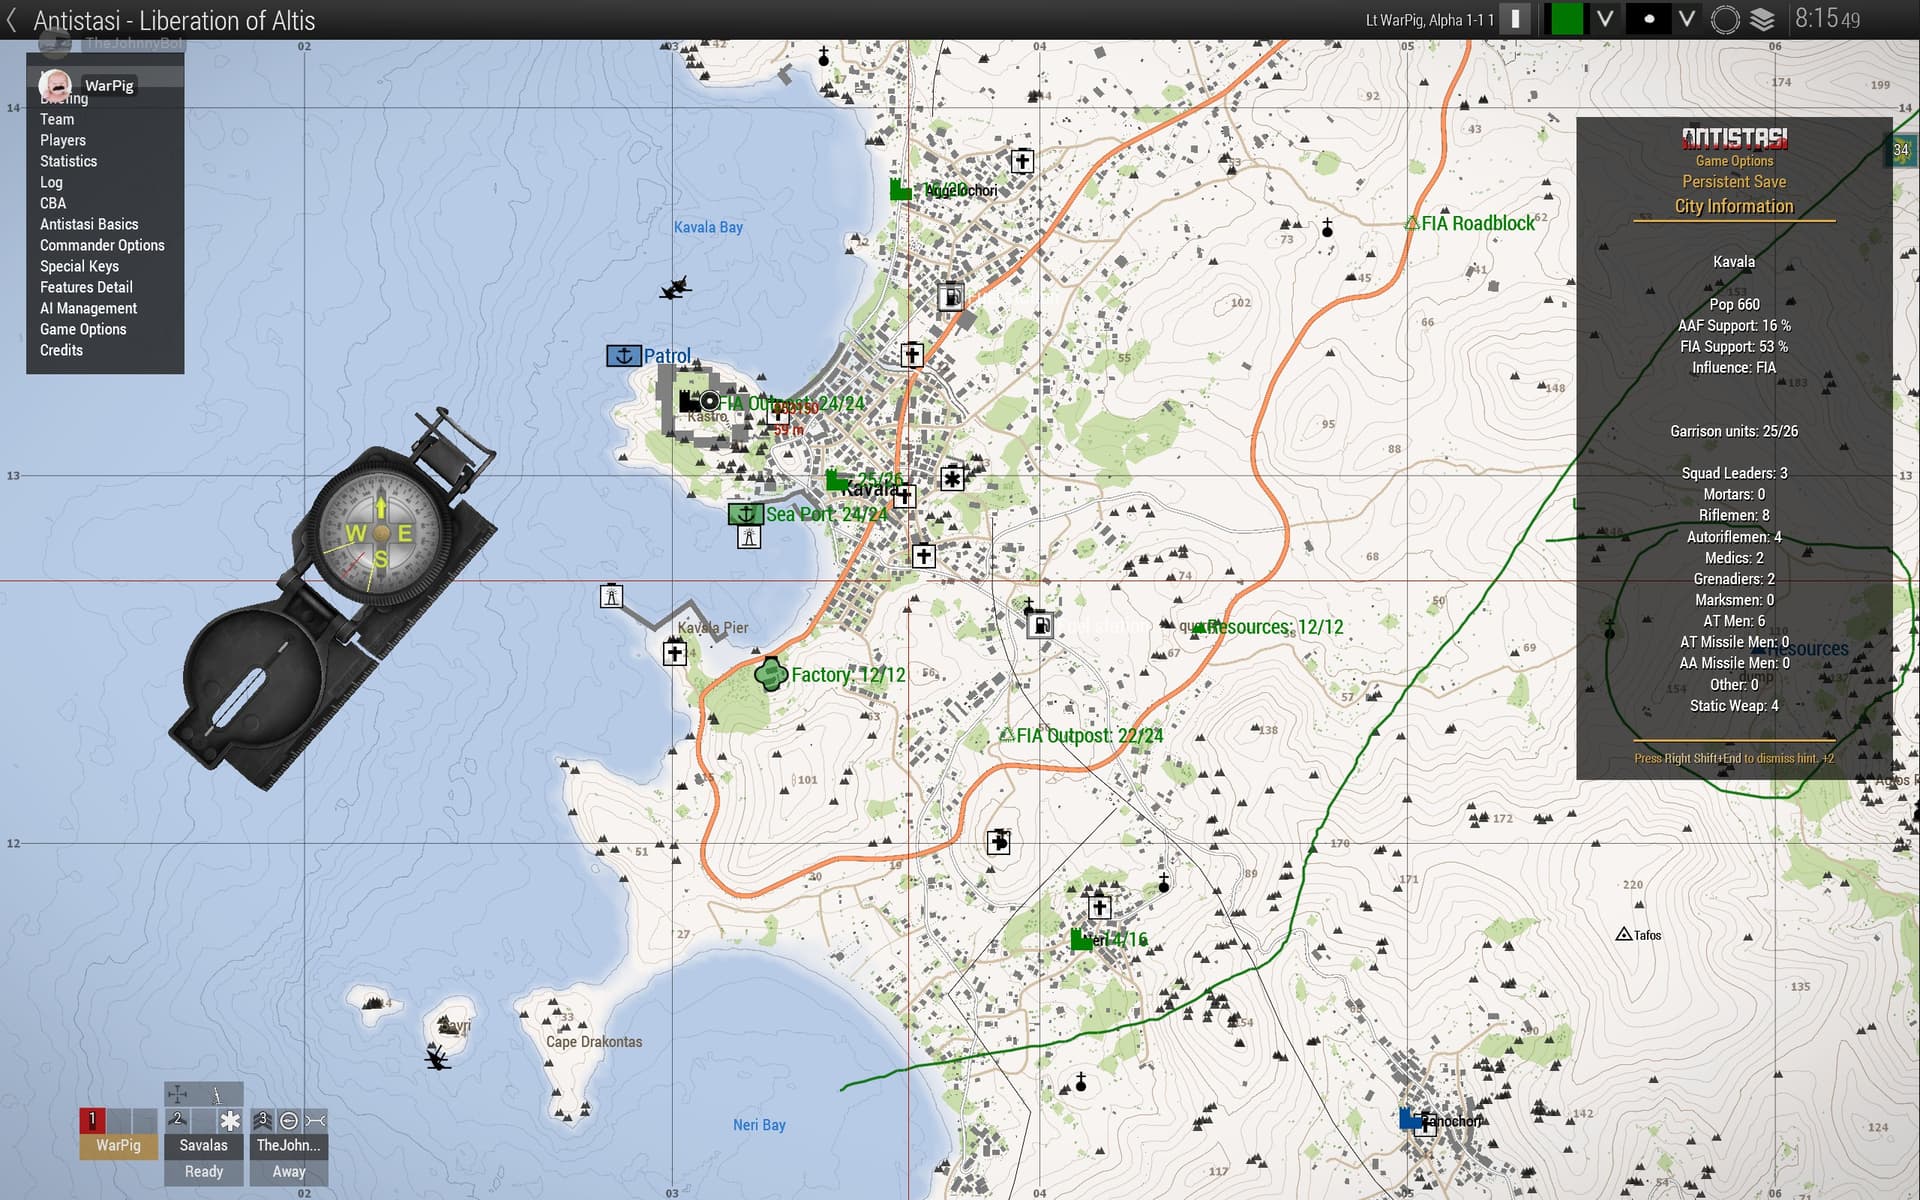
Pretty soon we were fighting over the seaport, the factory south of it, and up the steps to the fortress above the city, where the worst of the fighting took place. We then carried the capital city proper.
Taking Kavala was not easy, nor bloodless (nor even planned), but with his help and a steady stream of brave freedom fighters joining local units, we were able to carry the day.

With Kavala in hand, there are now two resource sites to the southeast that are ripe for the picking, and two weakened outposts to the north, along with the airfield.

I think the resource sites are our next target, but TheJohnnyBol wants to take an airfield. All appear to host understrength garrisons. @komemiute, a penny for your thoughts?


Also, likely time to move HQ- although I’ve no clue where. The old factory’s served us well, but is an awful long way from the front now.
5 Likes