Too many hobbies, too little time

This is the first thread/topic I’ve started in the 10 years I’ve been here. It’s a thread that is a branch from @Victork2’s Ultimately Follies thread and will primarily be about my Bedford RLHZ Self propelled pump. Hopefully it’ll be interesting and document my blundering’s dealing with 1950’s UK automotives.

I’m viewing this that Ace is sat on a deck chair, can of Stella in hand, laughing and occasionally nodding at my in/competence.

Here goes…

You’ve bent it.

Yep. It’s doing my head in. Last week I took the better half out on the weekly run, to give her a lesson and chance to drive.

It’s a relatively short trip out, 8 miles to the gallon will do that. I drove out to the turning point where the army range starts and began a 3 point turn.

A 3 point turn in a Green Goddess is not really a 3 point turn, it’s a workout. No power steering, fighting with the gears and the steering wheel, coupled with the in cab engine and you rapidly start sweating like you’re in a sauna.

Reversing back all looked clear then I felt a nudge. Only very slight. I realised I’d probably just touched the sign at the t-junction. No harm done.

Getting her back ponting homewards, “The boss” drove her back. Lots of stop start, missed gears, all the expected things. By the time we were turning back into the farm she was driving well.

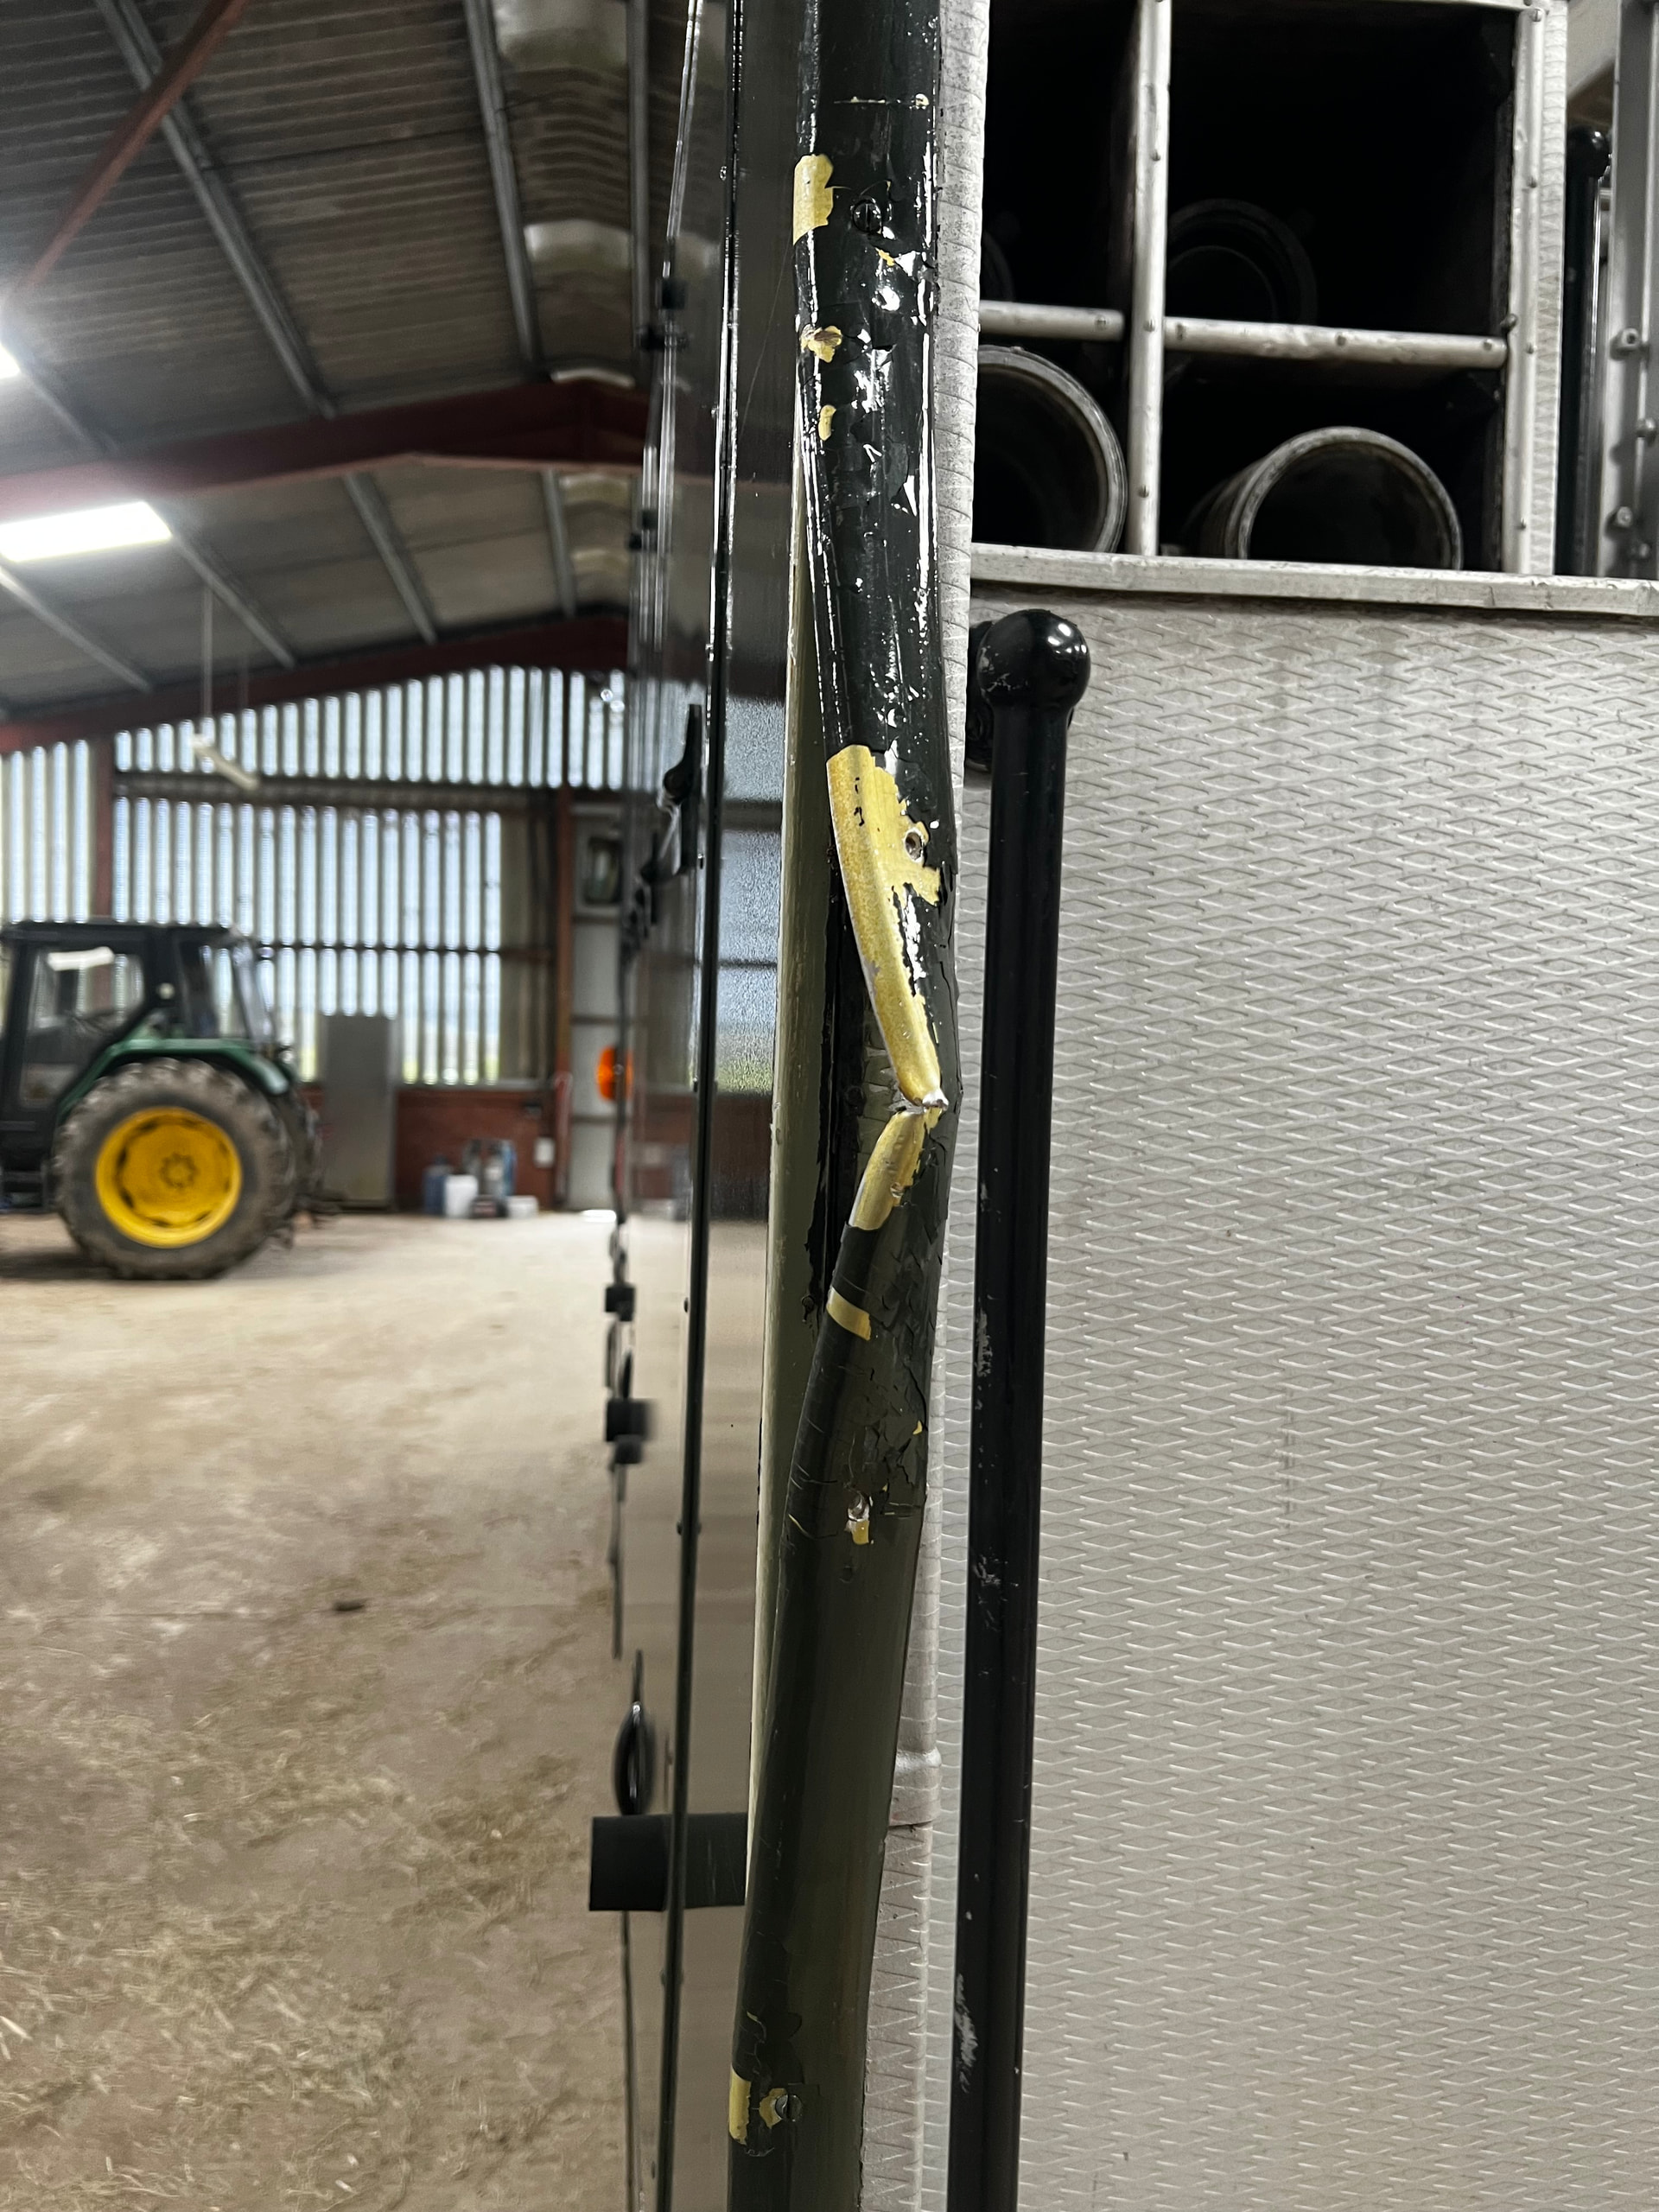
Parking back up in the barn I jumped out and checked the backend for damage and saw the above.

:face_with_symbols_on_mouth:

I believe it’s aluminium trim so should be ok to knock back in shape, though it’s at least 4 metres long.

The way I see it, two options:

  1. suck it up, take the trim off and deal with the repainting required after

  2. minimise the amount to take off by hacksawingnhust above the damage. Bend/hammer flat, re-fitn and use an automotive filler to fill the saw gap.

Both options will need some small paintwork.

Another priority is the pump primer. This supplies vacuum to the pump to lift water from open water into the pump to be pressurised and fired out. Checking it last weekend there was zero oil (v bad) and she made an awful clunking grinding sound. More investigation required.

That’s about it for now.

12 Likes

If I didn’t need it to be show class straight, I’d tap it back to roughly straight without taking anything off, give it a day or two and then see how it looked from 10 feet. You’d be surprised how much a bit of time, and a normal viewing distance will fix.

If that doesn’t work, or you want to really fix it I’d recommend pulling the whole piece. If you cut a section and then try to refit it, it will be very difficult to do so with out some bumps, ridges, etc where you fill in the kerf. If you can weld it then you can get away with it, otherwise it will be noticeable. Also in my experience it’s very difficult to get a long straight piece to look long and straight when you cut a chunk out and put it back in. The whole piece will have been mildly sprung from end to end, but so long as the curve is consistent and shallow the eye accepts it. Having a dead straight piece stuck in the middle of the curve, even an extremely minor one, and all the eyse see’s is the curve.

5 Likes

This is what I’m leaning towards. I’m worried if I try and knock it back in-situ, I could damage the edge of panel that the trim covers.

Taking it off without damaging the trim further is my worry. These screws have been in place for 70 years and are just standard japanned slot heads. I just know I’ll end up stripping the slot of at least a couple.

Decisions decisions.

2 Likes

If there aren’t any old UK fire truck experts you can draw on, I think you guys first instincts are best.

Remove the trim and patch/repaint.

If you bugger the screw… drill/patch/repaint :wink:

Even if you don’t replace the trim, who is going to know the difference?

1 Like

Just gently knock it back into sorta shape? adds to the character of the thing?

3 Likes

Do you have a welder or torch, are you comfortable using it? If yes, then stripping a screw head is a non issue. Once it strips just weld (or alternatively braze) your screwdriver into the stripped slot and carry on. Once it’s out, just fill the slot with weld, and then cut a new slot. If you want to do it the right way, get a slitting saw blade of the correct dimension, and then file the bevels on the sides. Else just take a “looks about right” width hacksaw blade to start it, and file it to fit your favorite screw driver. Or if you’re not worried about it looking original, replace with your prefered screw type.

6 Likes

You can drill out the bad screws and retap the threads in the hole, or rivet new nutplates. Or use an extractor. It’s pretty easy work at the scales I deal with. Four meters of fasteners would be painful.

4 Likes