DCS World 2 – A-10C Red Flag Campaign
By @BeachAV8R - October 1, 2015
Originally published at: Articles - Mudspike Forums
In this AAR, we’ll take a brief look at a representative mission from the forthcoming A-10C Red Flag campaign authored by Matt Wagner for NTTR.

Note: This AAR is based on a beta version of DCS World 2, NTTR, and the A-10C Red Flag campaign. Features and situations shown and described are subject to change.

When Matt Wagner, producer for Eagle Dynamics, asked me if I’d be interested in doing some play testing for some of the forthcoming DCS World content, I excitedly proclaimed my enthusiasm before really stopping to think about it. In the back of my brain however, my Spidey sense was tingling. It wasn’t until later, sitting in front of my monitor, reading the briefing that I remembered. Valhalla! How could I forget?! Matt Wagner and Hornit’s signature campaign for Jane’s F/A-18. It was a project squarely in line with Matt’s capabilities as one of the designers of Jane’s F/A-18. With unprecedented realism and difficulty – Valhalla kicked my ass. I’m pretty sure I can still feel the knots in my shoulders from the tension of trying to dodge Russian SAMs and fighters, tanking, and trapping aboard the carrier (at night). *Shudder* So, a realistic DCS World Red Flag campaign huh? I should have just agreed to be blindfolded and kicked in the nuts (repeatedly).
 Getting my butt handed to me in Matt and Hornit’s Jane’s F/A-18 Valhalla campaign…
The Red Flag campaign will come in two flavors with both A-10C and F-15C mission sets.Wags collaborated with renowned author Steve Davies (yes – that Steve Davies!) to add authenticity to the DCS Red Flag experience. Steve crafted the briefings and additional assistance was garnered from an F-15 pilot with actual Red Flag experience. The campaign is prefaced by a nice six-page briefing document (PDF) that reads as a bit of a first person diary of a mid range experienced 4FLUG, meaning you have just completed upgrading to a four-ship flight lead. You’ve been selected to participate in Red Flag – and to put not too fine of a point on it, you are striving not to F-up at your first Red Flag. Now, read between the lines a bit – – you will be flying (eventually) as a four-ship lead. In a realistically depicted Red Flag. In a nearly completely realistic A-10C simulator. In a campaign created by Matt Wagner. Would you care to borrow my blindfold?

In order to preserve the experience – I’m going to focus on just a single sortie in Matt’s campaign. This puts you in the heart of some of the action, but be aware there are build-up sorties that effectively introduce you to the Red Flag experience. For additional realism, I would recommend a bottle of fine bourbon and a trip to your local gentleman’s establishment to really capture the entire Red Flag experience.
Each mission contains a bit of a personal diary, a briefing section, intel, mission objectives, and a nicely marked up area map. The briefings are very well done and you would be wise to study them in detail. Unlike many missions, the Red Flag missions are highly structured in the performance of the mission with regards to planning and time on target. Obviously, the mission will morph and change as events unfold, but these missions are meant to be conducted in a way that resembles the learning and high pressure environment that a real Red Flag is flown in. Hitting your time on target ensures (well, it *should*) deconfliction and mutual support from CAP and SEAD flights. I’ll tell you right now – my skill level in the A-10C was not up to par with being super-effective in these missions because I’ve been spending the bulk of my time in the MiG-21 for other purposes. I would qualify the A-10C Red Flag campaign as an “Advanced” campaign with attendant A-10C knowledge required. Obviously, you can scale the difficulty using in-game settings such as labels, unlimited weapons, or invulnerability, but I’d encourage you to gut it out at high realism levels – the sense of accomplishment when all the parts of a mission click together is phenomenal.

I’ve chosen Mission 03 as a sample of what kind of missions you can expect in the Red Flag campaign. For this mission, we are part of a major package that includes F-15Cs, F-16s, F-15Es, Tornados, A-10s, AWACS, and tankers. The full briefing is much longer and detailed, but the OBJECTIVE spells out the meat and potatoes. Our two-ship flight will proceed up the normal route to the exercise area and then follow both the waypoints and timing to enter the target area at the ideal time. Obviously, we are hoping the SEAD flight will have degraded enemy defenses and the CAP flights will have distracted any RED air. RED air is brought to you by Mikoyan and Sukhoi. (Hey Wags – have you seen any F-5s around here?) Our primary target is a battalion of self-propelled 2S19 artillery that are in transit from south toward RED positions. We are just one piece of a large puzzle. Don’t be that missing piece!

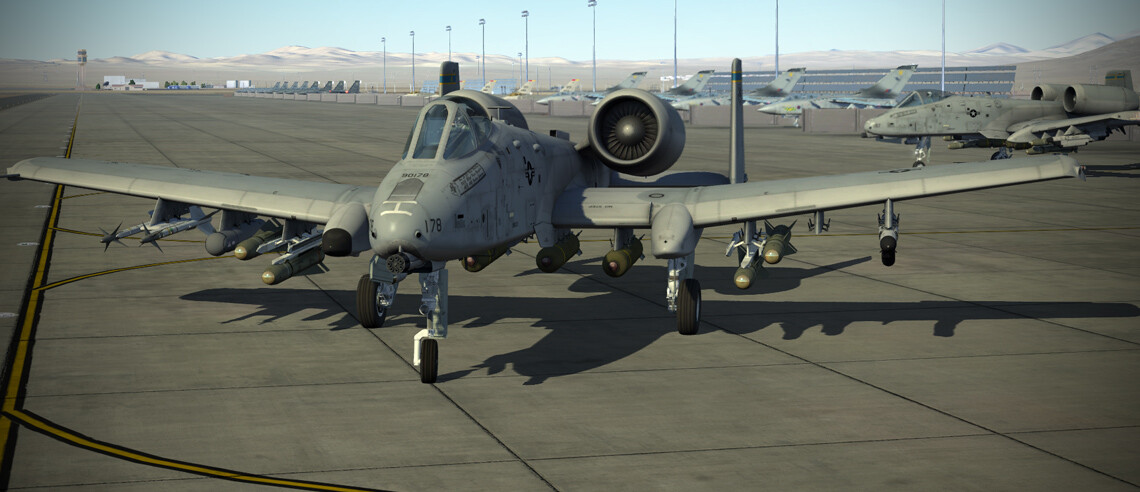
We start in our revetment with a loadout I selected during the mission briefing. Since the briefing stresses a low altitude ingress for this mission, I went with a 4-pack of AGM-65D Maverick missiles, a targeting pod, ECM, Sidewinders, and some CBUs. Cue all the posts telling me what I should have taken. Having not flown the Hog in quite a long time, I went for ease of use and stand-off range. Sue me.

I had to fly this mission a few times to get into the groove. Why? Because I couldn’t remember all the steps to start the A-10C properly. After two or three run-throughs (I actually took the awesome A-10C startup tutorial again – one of the best ever made for DCS!), I was finally back up to speed. And that is important because you are slotted for a “chock out” and takeoff time that are important to make. So if you forget your CDU switches and get delayed on the inertial spinup – you’re going to be bending those throttle forward hoping you can catch back up to the strike package.

It is a busy ramp, runway, and terminal airspace around Nellis on Red Flag days. Almost all of your package will be taking off immediately before or after you with the exception of tankers and AWACS, who are already airborne and at their tracks. Keep your head on a swivel, know your place, and for God’s sake – don’t foul the runway! Despite the number of objects – I have DCS World 2 maxed out on graphics, running at 1920 x 1080 with a mid-range system featuring a GTX 760 running a silky 60 FPS. DCS World 1.5 Open Beta users will know what I’m talking about.


ATC is still being worked on – so I don’t have much to report on that – but the slotting of the flights seemed to work out fine and everyone got away from the field in good order. What is particularly impressive is watching the gaggle of aircraft take off down the Sally Corridor (the typical transition route to the northern ranges) and still be able to see them as light grey dots of varying size and dimness – a huge improvement for visibility that air-to-air gladiators will revel in. I try to show the concept in the screen below, but it doesn’t translate well in a screenshot (click to enlarge).


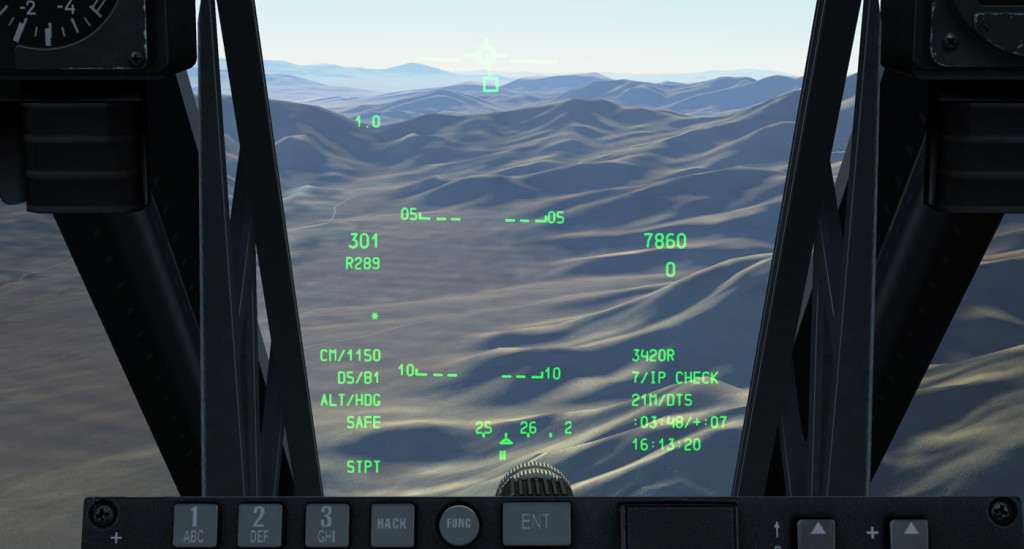
As the entire gaggle is strung out along the Sally Corridor, I keep my eye on the HUD readout which allows me to gauge my progress toward each steerpoint. In something like the A-10C, you don’t have a lot of wiggle room on the upper end of the speed tape to catch up if you fall behind, so it is better to build some time and not need it instead of wasting time and struggling to get back on the profile. Wags has done a great deal of research and tweaking on this mission and you’ll find the times and progression work out very nicely. As well, there are triggered items that allow some wiggle room, so not all is lost if you end up flying toward Mexico instead of South-Central Nevada. Enroute is a good time to do some housekeeping such as setting up your DSMS profiles, getting your targeting pod warmed up, and configuring your countermeasures.

Approaching Caliente Alpha we are at the marshalling area where the strikers, CAP, and SEAD flights all get sorted. This can be an area to orbit to await the PUSH time and is created to give all players a chance to get on the same page of music. Our orders are to PUSH at 1607L, so we pretty much hit the MARSHALL waypoint right in time to PUSH westward.

Between steerpoint #6 and #7, we’ll descend down from our enroute altitude of 12,000-ish feet to 8,000′. This puts us down among the hills and mountains, so you have to be somewhat attentive to your flight path. The frequency will be chock full of other flights radioing their position and intentions and it is important to keep track of all the moving pieces. A true master would probably disable the F10 map altogether and build the picture in their head.


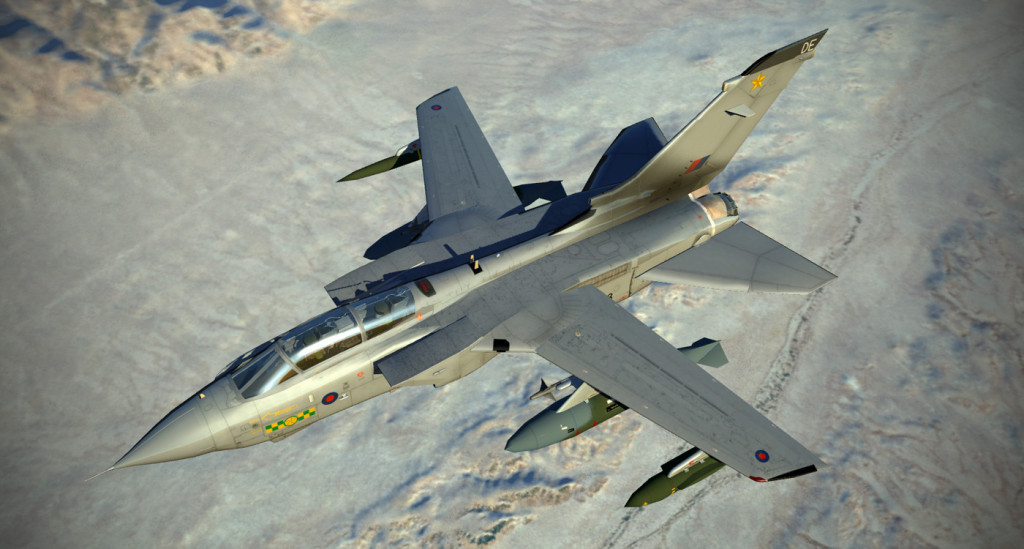
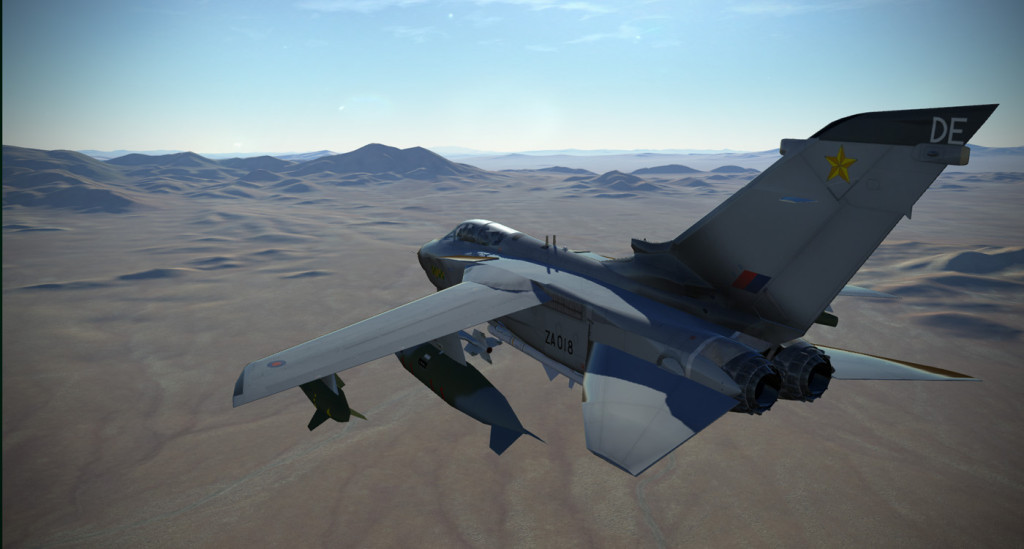
As our two-ship flight makes its way westward, I keep an eye on the RWR and we start picking up the telltale chirps of MiG-29s and surface radars. MUDSPIKE indeed!! That’s what I’m talkin’ about! After the PUSH point I select my weapons to ARM, and have the counter-measures dispenser set to manual. I also start the four minute warm-up process on the Mavericks and make sure the targeting pod is working. As our slower A-10s push westward, the fast jets know the drill and orbit a couple more times at the marshall point before drilling their way westward. An F-15C CAP is already orbiting over COYOTE CHARLIE while the awesome Tornadoes scream in on their SEAD mission.
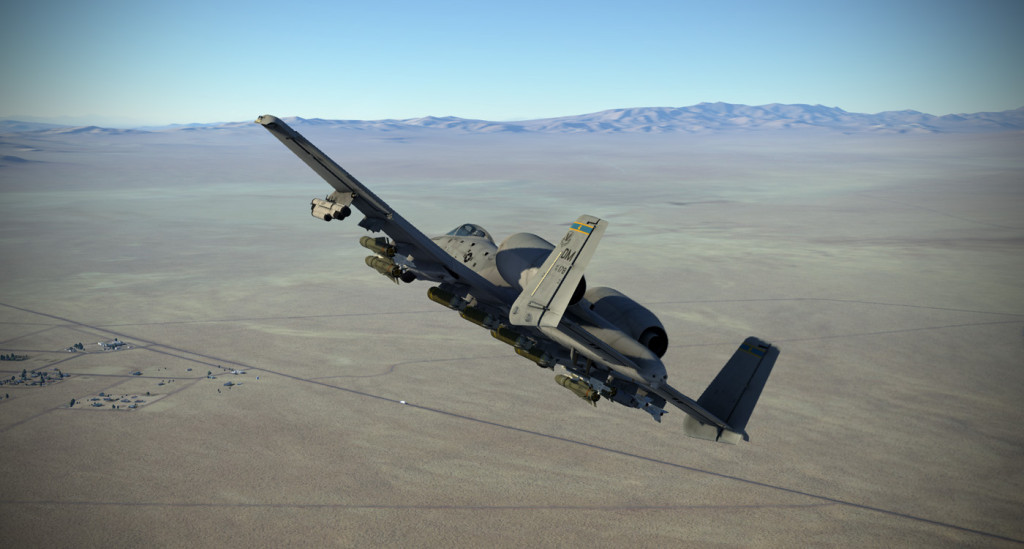
Having already admitted to you that I had to fly this mission a few times – I’m not too embarrassed to say I finally figured out that just because I had a PUSH time, doesn’t mean I have to be first over the ridgeline into enemy territory. As the other fast jets come in from the east, I found taking a few low altitude orbits over Rachel was a very good idea because you need to allow some time for both the SEAD and CAP flights to sanitize the airspace west of COYOTE CHARLIE. Just don’t go drifting south into “The Container” or Bad Things Will Happen. And don’t go poking your head up too high trying to get some slant range on your TGP toward the target area or else Bad Things Might Happen.


On time to reach steerpoint #7 showing +7 seconds to the good. Of course, I’m going to burn some time over Rachel to allow the SEAD to soak in – so don’t fret if you get a bit behind here.

A low orbit around the Rachel area will give you some time to assess how both the CAP and SEAD are faring. Drift up too high and you might agitate the non-friendlies to the West. Let the Tornadoes do their thing and make sure to buy them a round at the pub when you run into them. Of course, being SEAD pilots, you may just have to pour a sip onto the pavement and toast to their memory…

Orbiting over Rachel.


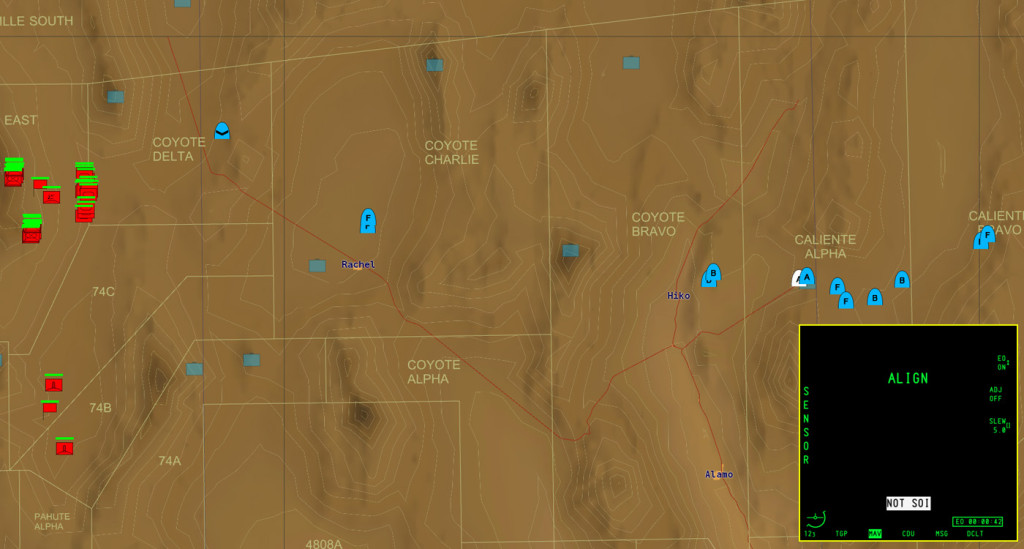
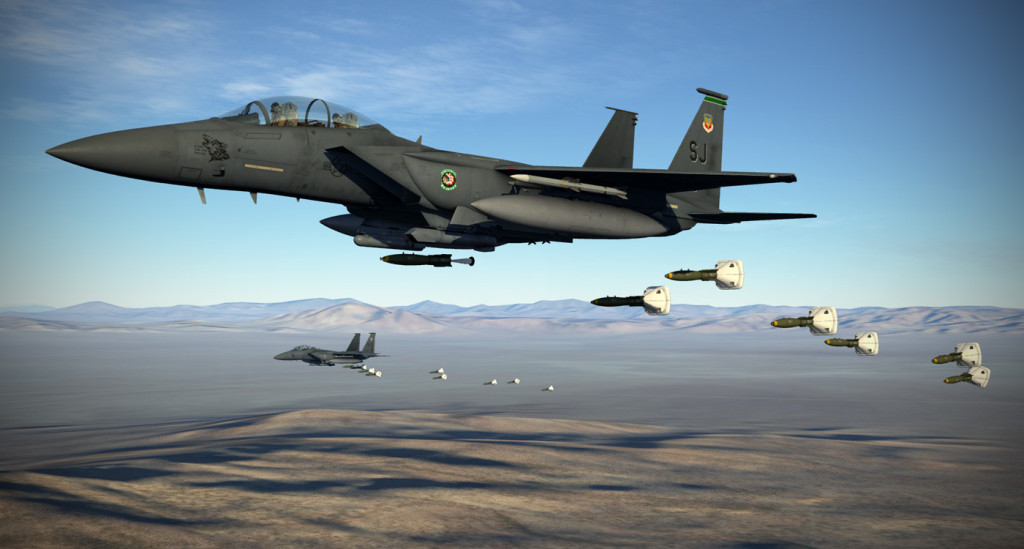
A look at the Big Picture shows what is about to unfold. As we orbit (cower in fear) over Rachel, two flights of Tornadoes and two flights of F-16Cs are slated to systematically attack the enemy air defenses. Red Flag is a great training opportunity for all types, including rescue aircraft, tankers, AWACS, and even support aircraft. Another two-punch of F-15Es has been tasked with additional targeting just behind the SEAD flight. This is truly a huge evolution…


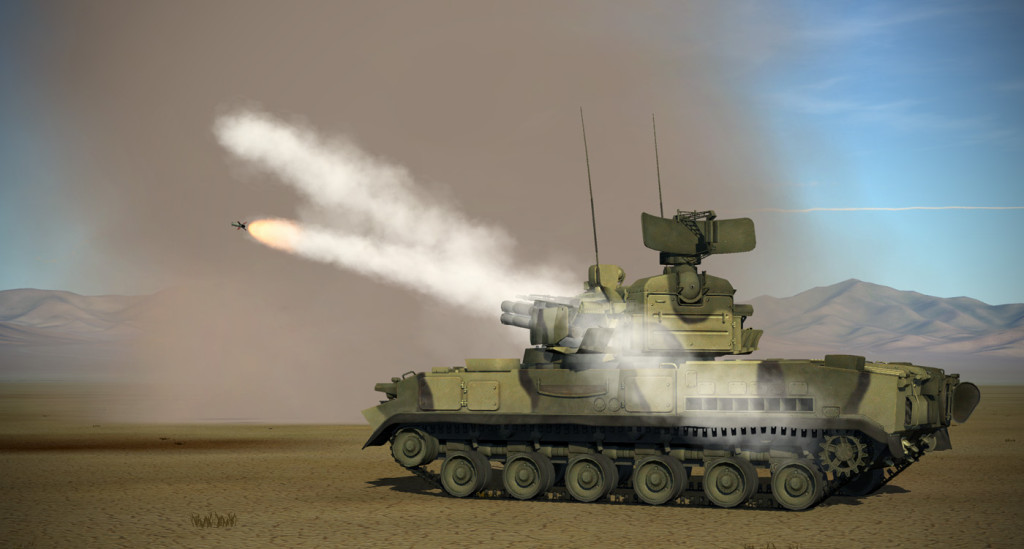
After a couple quick minutes of dueling – the SAM sites start to fall one by one. A combination of ALARM and HARM missiles rain down from the east and any operator that was emitting was targeted. The new smoke effects in EDGE, coupled with the HDR and extreme viewing distance make DCS World 2 just an incredible experience…


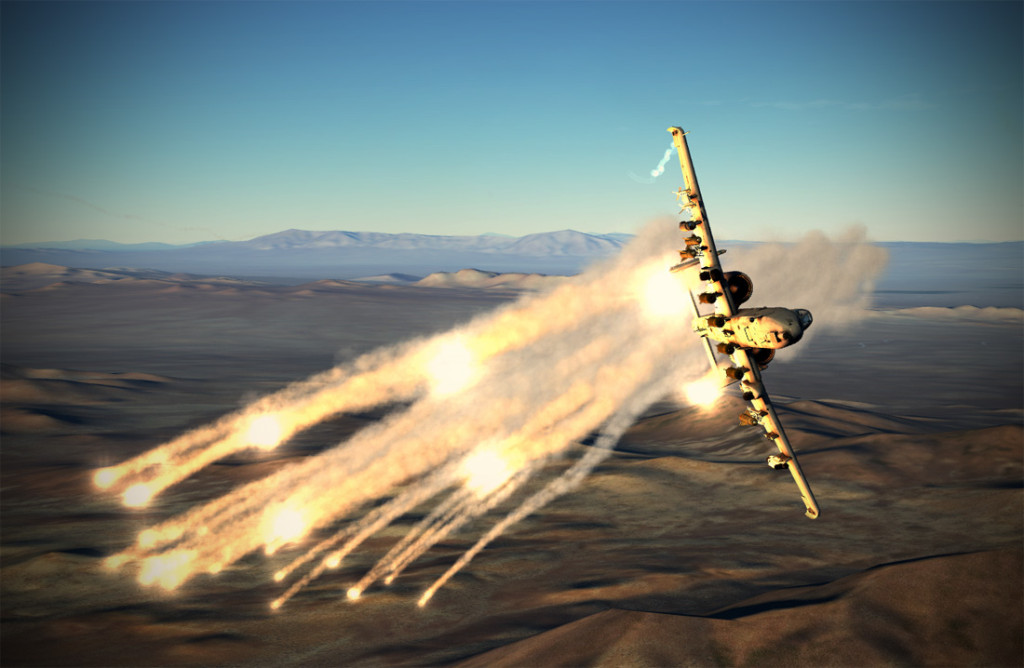
 Remember what I said about poking your head up – it can earn you a missile!

 If you are patient – the CAP flight will help drive the enemy CAP out of the area…
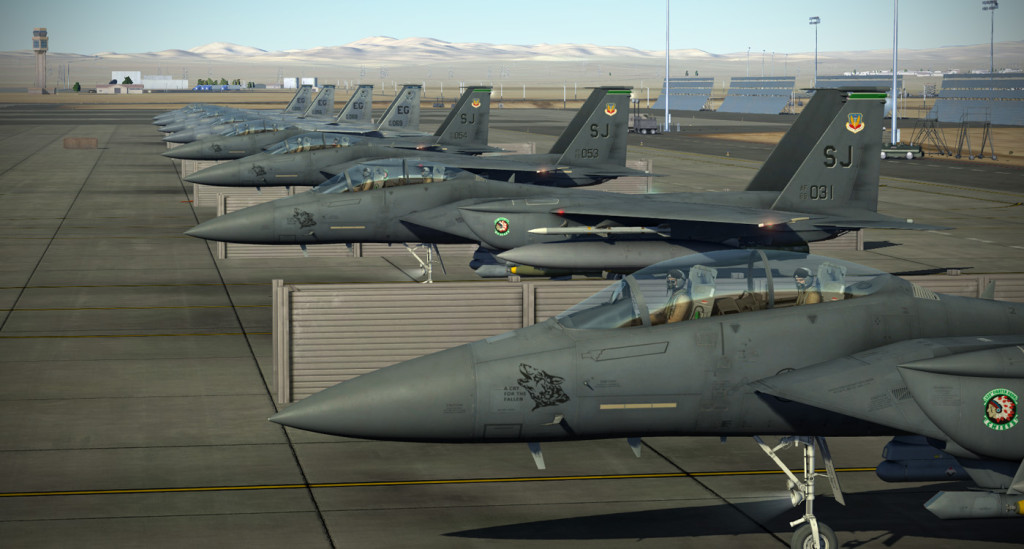
If you don’t weep openly about how awesome the Mudhen looks over NTTR – you must be an emotionless robot. I just imagine myself being the backseater in that baby..pulling up a patch map..designating..giving steering commands. Oh Razbam – make it happen!


As the last of the anti-radiation missiles fall from the sky and the final bombs blow apart the radars over the ridge to our west, it’s time for the Hog to get to work and root out some artillery. Given this is a Matt Wagner production – I’m smart enough to know there is one goal here – hit the objective fast, quick, and get the heck out of there. Proceeding west out of Rachel, it is only a minute or two until we pop over some high terrain and see the enemy disposition.

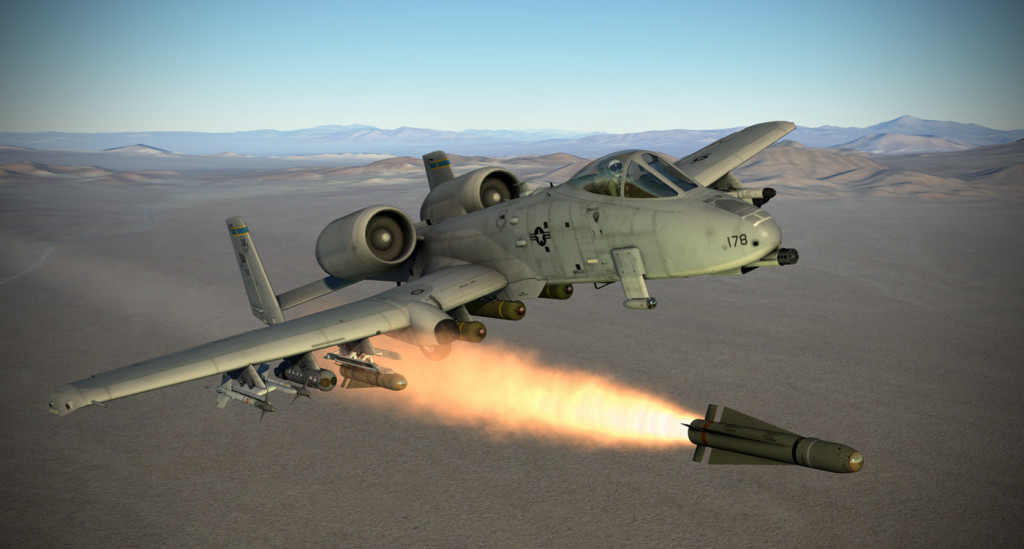
Thankfully, I’m able to slave my TGP to my steerpoint, which is located on the road, and then walk the pod view south until I come across the convoy ambling northward. It only takes seconds, but feels like minutes. A long forward press on the TMS or DMS or PMS..or whatever it is (I know it’s under my thumb!) and the TGP is locked on.


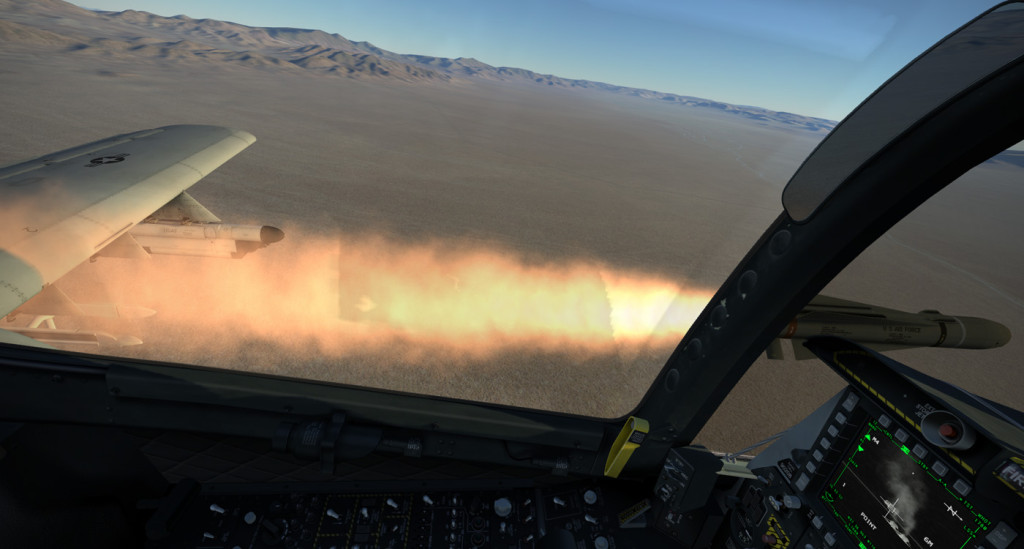
A quick press of the HOTAS to switch MFDs, switch to make the Maverick the SOI (Sensor of Interest), long press forward with my left thumb on the China Hat, short press forward with my right thumb, lock – RIFLE! Holy cow that is fun! Now I remember why I enjoy the A-10C so much..it’s a bit like playing the piano (or something).

A proficient A-10C pilot could ripple all four missiles off on one pass. Me – it took me a go or two before my finger memory came back to me. Not to mention I panicked when I got a missile warning on my RWR and then sheepishly remembered (after I did all my evasive maneuvering) that a wingman shooting a Maverick will cause that. Ooops…

I reset back to the east and come back around for another couple of shots. The convoy is stalled out and my wingman is doing a fantastic job picking off his own targets.


A seasoned A-10C pilot could probably make fairly quick work of this mission – but I do think there is a heck of a lot going on, and with practice, situational awareness comes back. I’m a self admitted helo guy – so I tend to be very slow and methodical in my predatory ways. At least the A-10C is somewhat slow, giving me the slightest chance of staying on top of things. I still can’t comprehend how the fast jet fighter guys I see on multi-player can grasp all that is going on around them.
So I’ll leave it there with the destruction of the artillery and wrap up this article. As it stands now, both the A-10C and F-15C Red Flag campaigns are slated to be comprised of ten single player missions each. I have not tried the F-15C missions, and likely won’t because I know not to swim in the deep end of the pool. The thoroughness of the briefings, the attention to the order of battle, and the authenticity of the design of the missions from someone who is most definitely “in the know” is great. I’m unaware of any pricing structure for the campaigns – I will post an update in the forums once those decisions have been made. As for when? Well, a watched pot never boils. Go play some 1.5. Besides, why hurry getting a swift kick in the nuts from Matt Wagner? Think you got what it takes? (I know, I know..SEAD pilots wear titanium cups.)
Chris “BeachAV8R” Frishmuth
Like this content? Want more of it? Let us know – we are a fledgling site and your input will help us shape our future!


