Preface: I am by no means an expert in DCS’ WWII modules or anything like that – the only WWII module I have is the Spitfire. Everything written here is within the context of the Spitfire as presented in DCS and the limitations of such.
I’ve noticed that gunnery in the Spitfire seems to be difficult for a few of you, so I thought a quick and simple guide describing my approach might be handy. Bear in mind this applies only within the context of fighting the AI WWII modules. Human players will operate on an entirely different set of rules.
Firstly: Rudder. Know it. Live it. The rudder is your life. There is nothing more important for WWII aircraft than the rudder. The better you are with your yaw control, the more success you’ll have, whether it’s just flying or in fighting. Yanking on the stick feels good, but stomping on the pedals will lead you to success. On that note, make sure your controls are properly set with curves, deadzones, etc. as to avoid unneeded inputs. Fine control wins the day in the Spitfire!
Secondly: Trigger discipline. Think of your ammunition as “time of fire.” Every time you slam that trigger, you’re wasting “time.” The Spitfire has the worst ammunition endurance of all the WWII modules combined. The .303 machine guns are just shy of useless and your cannons only have 120 rounds each. The cannons fire at 700 rounds a minute, which gives you just shy of 11 seconds of continuous fire. Your .303s go at about 1,150 rounds a minute, giving you about 19 seconds of continuous fire. That’s not a lot of time for a pipsqueak round! Fortunately, that rate of fire also gives you a lot more chances to hit, which is important. Make sure you have separate triggers for both weapons! Firing both at the same time is a foolish waste of resources and you need your 20mm hits to count.
Thirdly: You will not win an energy fight against the AI. It just doesn’t happen. They don’t overheat, they don’t have the same drag, and they can hang on their props while remaining in control for a speed as low as 50 knots. Do not follow them into the vertical! Fortunately, you can make up for this in other ways, like head-on attacks where they will rarely shoot. But be careful: sometimes they do shoot! Much of the strategy used here is dependent on grazing shots and scissors, with a few tail on shots.
Fourthly: Minimize your profile! I can’t stress this enough. Just about every form of aerial gunnery is based upon the idea of having the most area to shoot at. Deny your enemy this! Level flanking shots are the hardest for anyone to pull off, including the AI. Don’t present a clean ventral or dorsal deflection shot to your pursuer! If they’re in a position to shoot, make it as difficult as possible – a diving opponent might need to turn, so bring him into as tight a turn as possible, then when he’s in range, flip your aircraft to present a flank shot to him and turn with your rudder. You’ll have to coordinate with ailerons for this, but more often than not he’ll sail past you without having had a decent shot chance. The AI will then try to pull up to go vertical again, which now gives you a chance to rake his dorsal side with .303 fire. Don’t use pitch for this! Draw a horizontal line from your gunsight to your bandit and roll so he comes through the horizontal arc. Fire .303s as he comes through your frontal arc and you’ll land a few light hits.
The good: you have a nice, varied set of weapons backed up by hard-hitting 20mm cannons. I like to think of them as “quick killers” because they can be used to quickly end a fight. The Spitfire is also the most maneuverable aircraft outside of the I-16, with good acceleration and handling qualities in the air. Jerry can run away if he has enough of an advance, but if you’re behind him, he’s going to have a hard time shaking you. The AI knows this and will avoid turn fighting in the horizontal and instead will leverage his incredible power advantage in the vertical.
The bad: your engine burns up if you fart, say “boy, it’s hot,” or even think about pointing the nose 1 degree above the horizon. Oil and coolant temperature need to be watched like a hawk, and you have an extremely limited amount of time from which you can operate at maximum power. It’s tempting, but don’t use this in the vertical – only the horizontal at higher speeds. The slower you are, the less air moving, the more heat that stays in the engine. Keep moving as quickly as possible. On that note, you black out – the AI doesn’t. Don’t pull sharp turns that burn off all your energy and black you out, because the AI can dump speed and regain it quickly and easily. You can’t.
The ugly: the AI doesn’t have your damage model. So while a facefull of .303 fire might seize up a player’s engine, the AI will laugh it off. You have to score many hits to beat them, and if you want the fight over quickly, you’d better hope the random number god loves you that day. The AI will fly with total yaw, pitch, and bank despite missing all their control surfaces. Remember that.
Fence in checks: you’ve spotted Jerry and it’s time to make the attack. First of all, force your radiator control open:

This will keep your engine cool much better than the automatic setting. Yes, you’ll get some drag, but it’s one less thing to worry about in a fight. You’re not likely to be pulling less than 9lbs and 2500RPM in the fight, so you’re not going to overcool it. If you are, then you need to start giving yourself more power.
Gun safety off – I’ve lost count of the times I’ve forgotten this one. It’s stupid, but make sure that little nub is sticking up.
Temperature considerations: you can only run at 90C oil temperature and 125C radiator temperature for a short time. Don’t exceed these limits or you’ll burn out the engine. Critical regimes to watch out for are in the vertical and when you start slowing down; throttle back and cut some prop pitch to avoid burning out the engine. Again, you’re not going to catch the AI in the vertical, so don’t burn out your engine trying to hang on the prop. I find oil temperature to be more limiting than radiator temperature, so if you’re at 75-80C and need a boost, use it. Otherwise, try to keep it at 80C or lower. I’ve rarely had oil pressure become a factor. Make sure you glance at these gauges occasionally and ensure you’re not exceeding the limits.

Actual gunnery takes some experience before it all clicks; eventually, you get a feel for the general speed and trajectory of your weapons. The context of below is based on fighting a high skill level AI Bf-109K pilot, which has many advantages over the Spitfire. I’ve turned icons in this track replay to easier show the bandit’s position.
In the merge, we assume that he’s going to take a shot at us, so we minimize our profile. Ideally, you want to gain speed in this process and force your opponent to dive. The overall goal is to maximize your energy and make him use his.

Note the sharp turn he has to pull to come around; we do a gentle turn to meet him.

This is a perfect shot aspect for the Spitfire. He’s coming down from the top of your windshield, so you can rake him with fire easily. He can’t turn quite hard enough to bring his weapons to bear, but yours are already ready and waiting.


First hits! He’s flown into a bunch of .303 rounds by now, front to back.


By the time he’s passed behind me, I’m already lining up my next attack.

Remember that horizontal line I talked about earlier? You can easily imagine it here:


Second set of hits!

Now he’s trying to go vertical and I’m running out of energy.

Going back behind me, I am again lining up my next shot opportunity.


Hits! Third time!

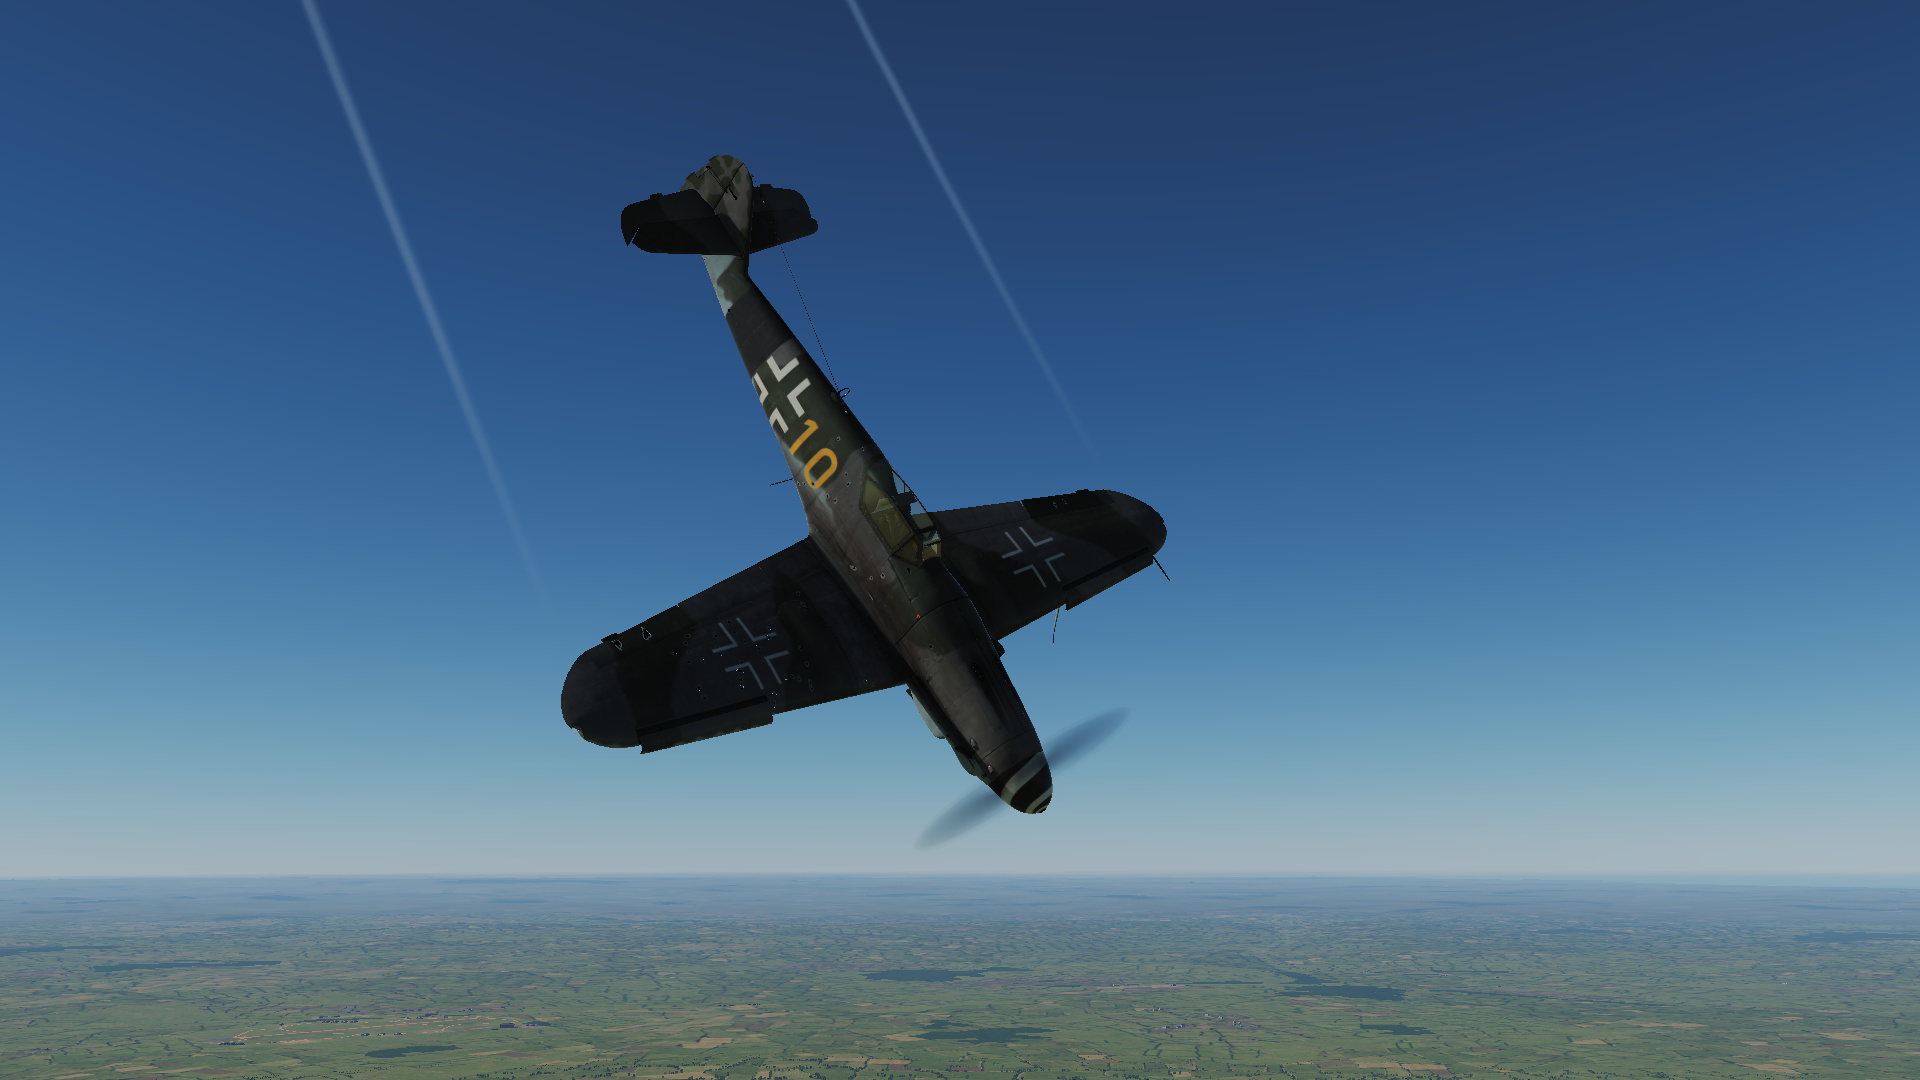
As he goes through his vertical arc again, I line him up to come through the top of my gunsight.

Fourth set of hits.

As he goes down, I again line up as he comes back around.

Once again, he’s raked with .303 fire.

Yet another time, I catch him on his vertical turn and rake him from my sides.

Now we’re at a point in the battle where I can’t keep up, so instead of trying to follow him, I dive and extend, forcing him to burn up his altitude energy in an extended chase.

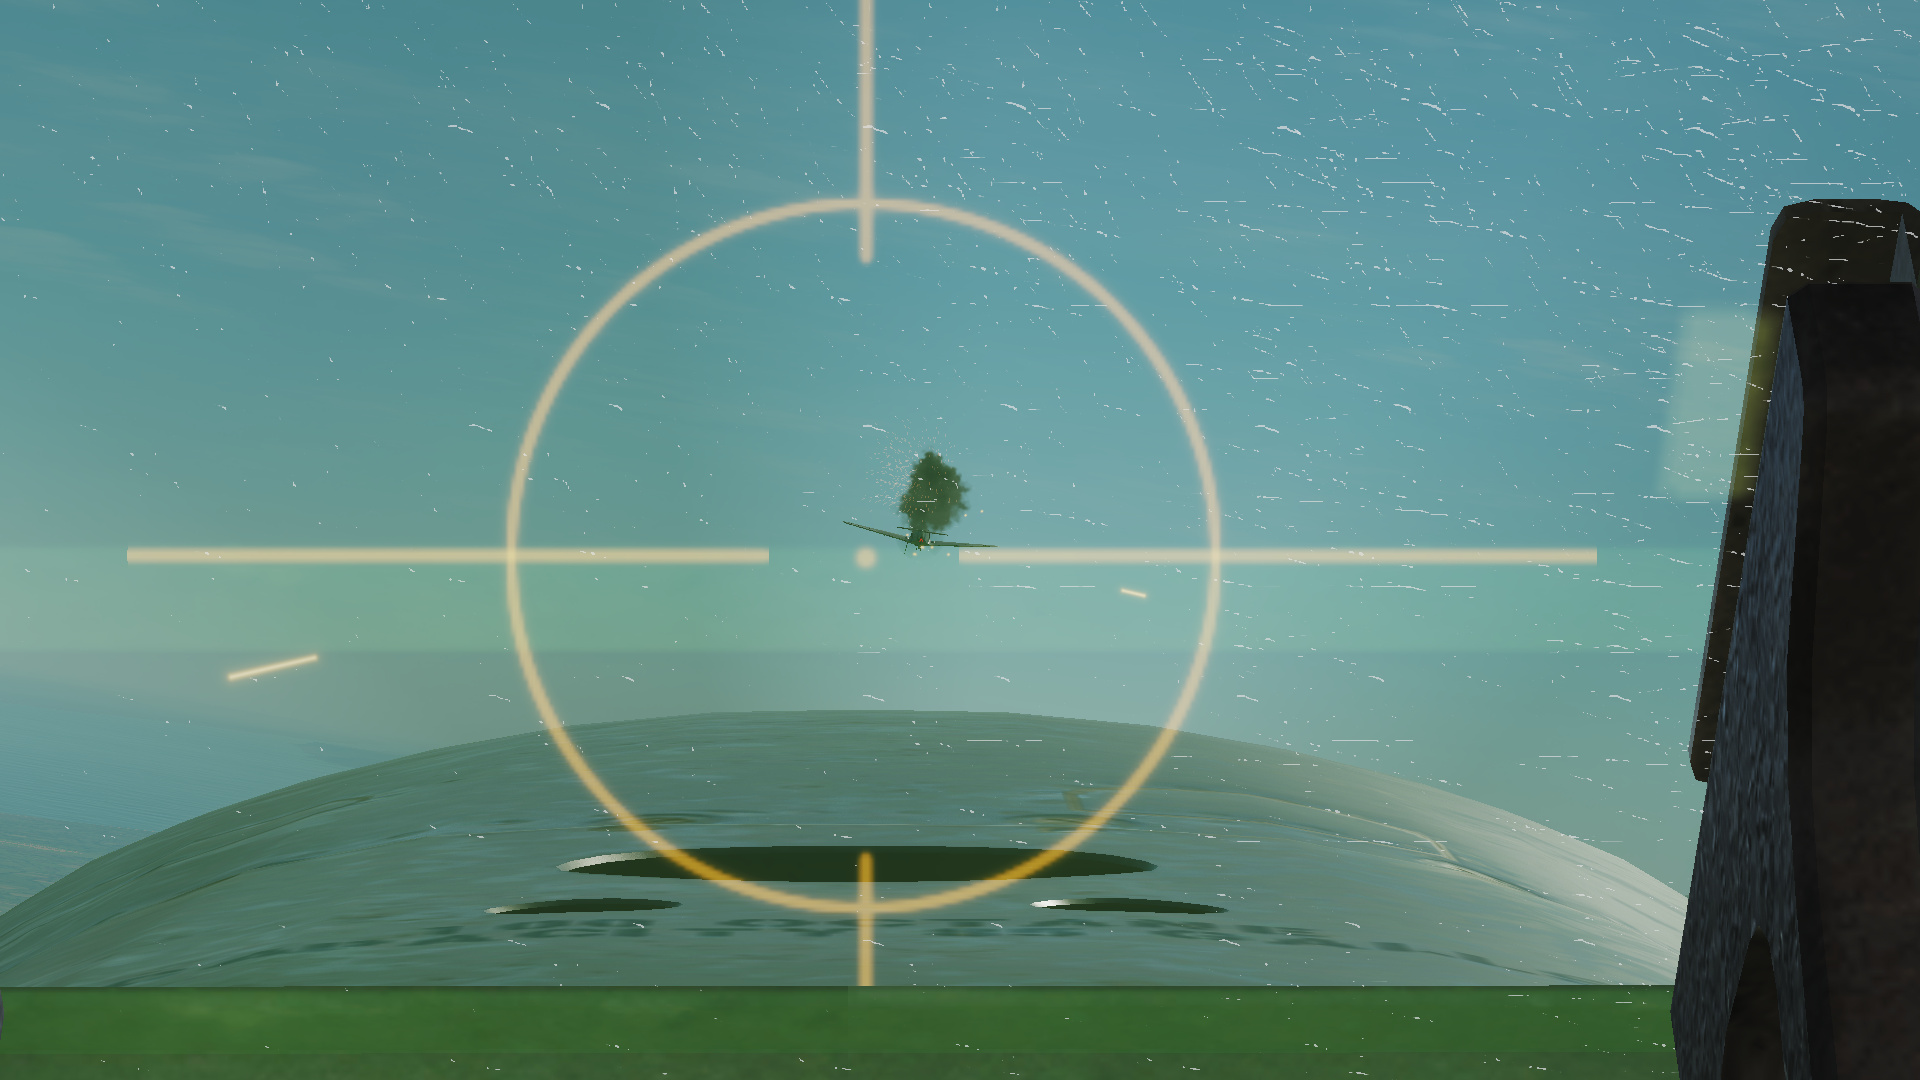
As a result of this, I force him to try and turn with me, which he can’t do and goes vertical again. I take this opportunity to put 20mm into him at the top of his arc – he’s slowest then and I don’t have to lead as much.

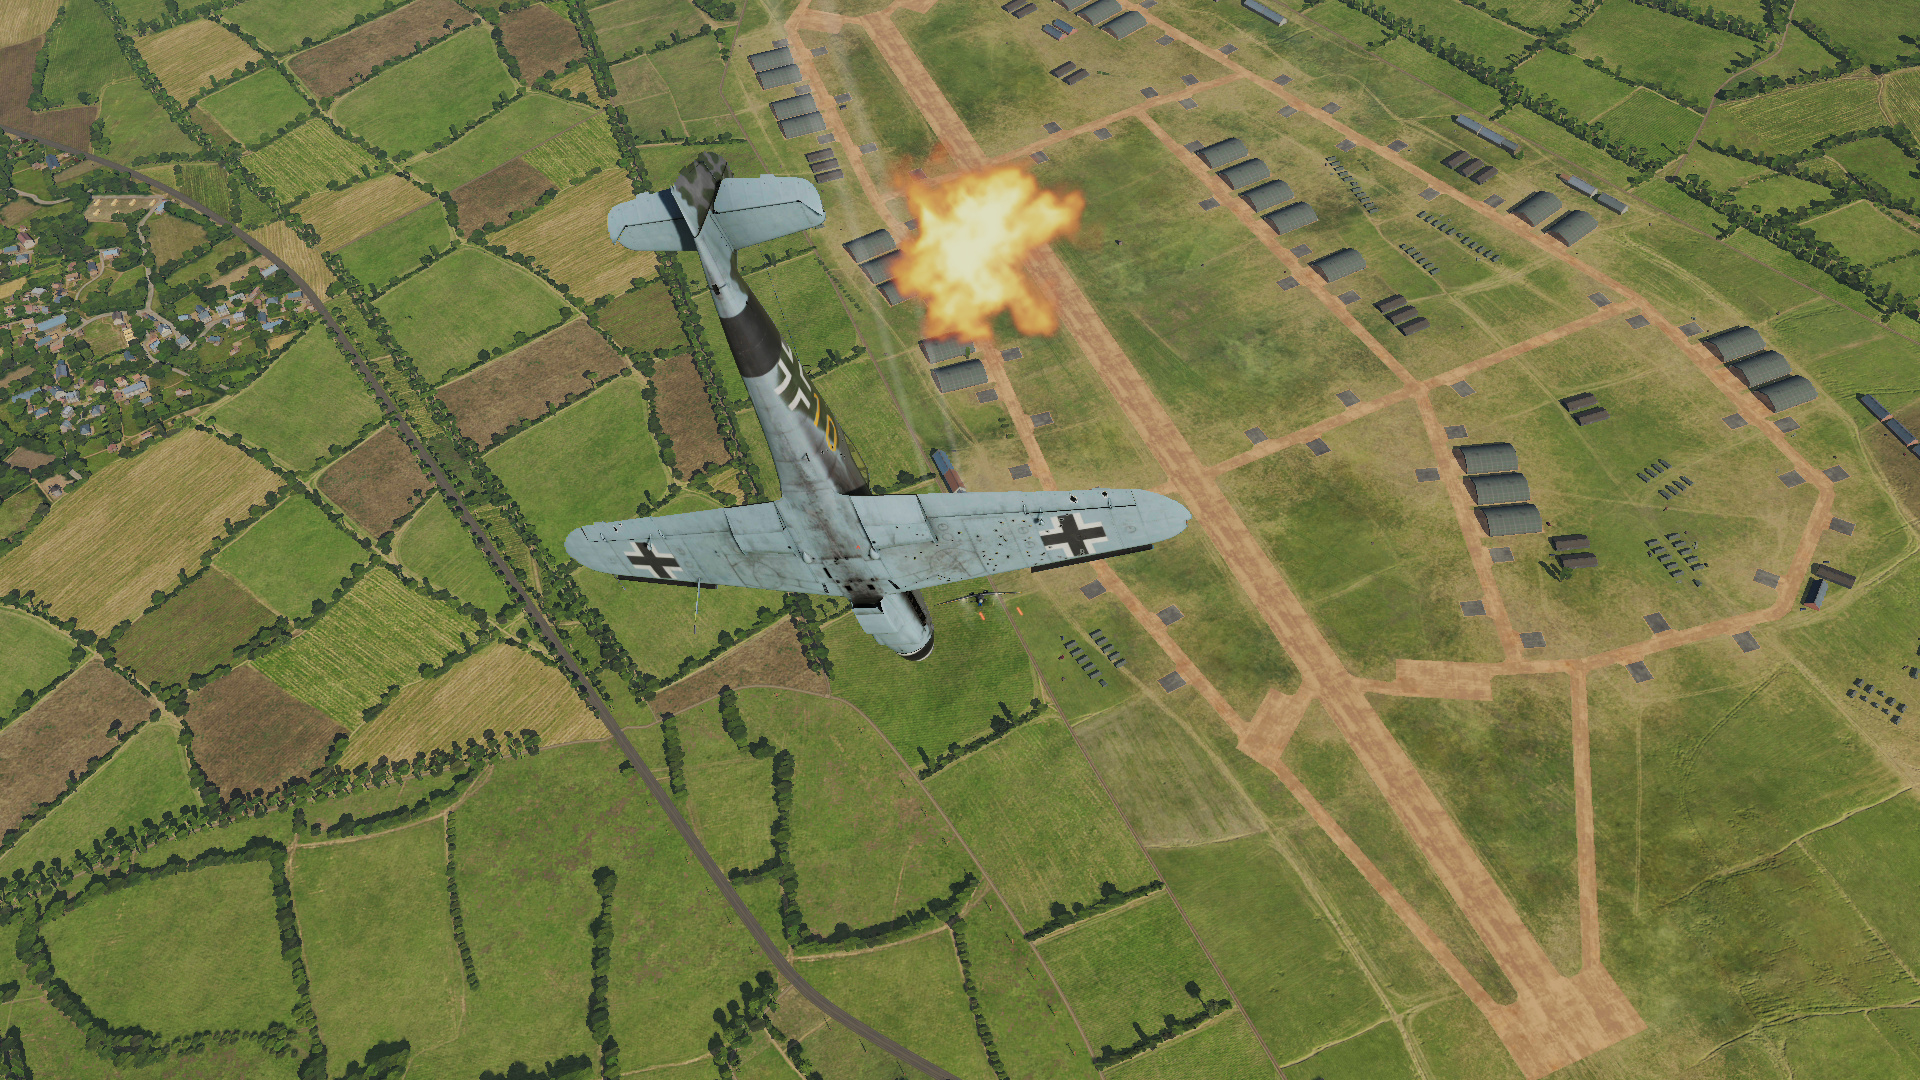

He’s now showing some significant damage to his starboard wing.
I have to extend again, but before I can do that, I have to pull him into a scissors, from which he’ll try to go vertical. When he does that, I can pull away and come back around.

Multiple head-on .303 hits. I wouldn’t want to do this against a human pilot unless I was out of options.

He’s not looking too good, but remember: to him, this might as well be no damage at all.

Another vertical meeting, again raking him with .303 fire.


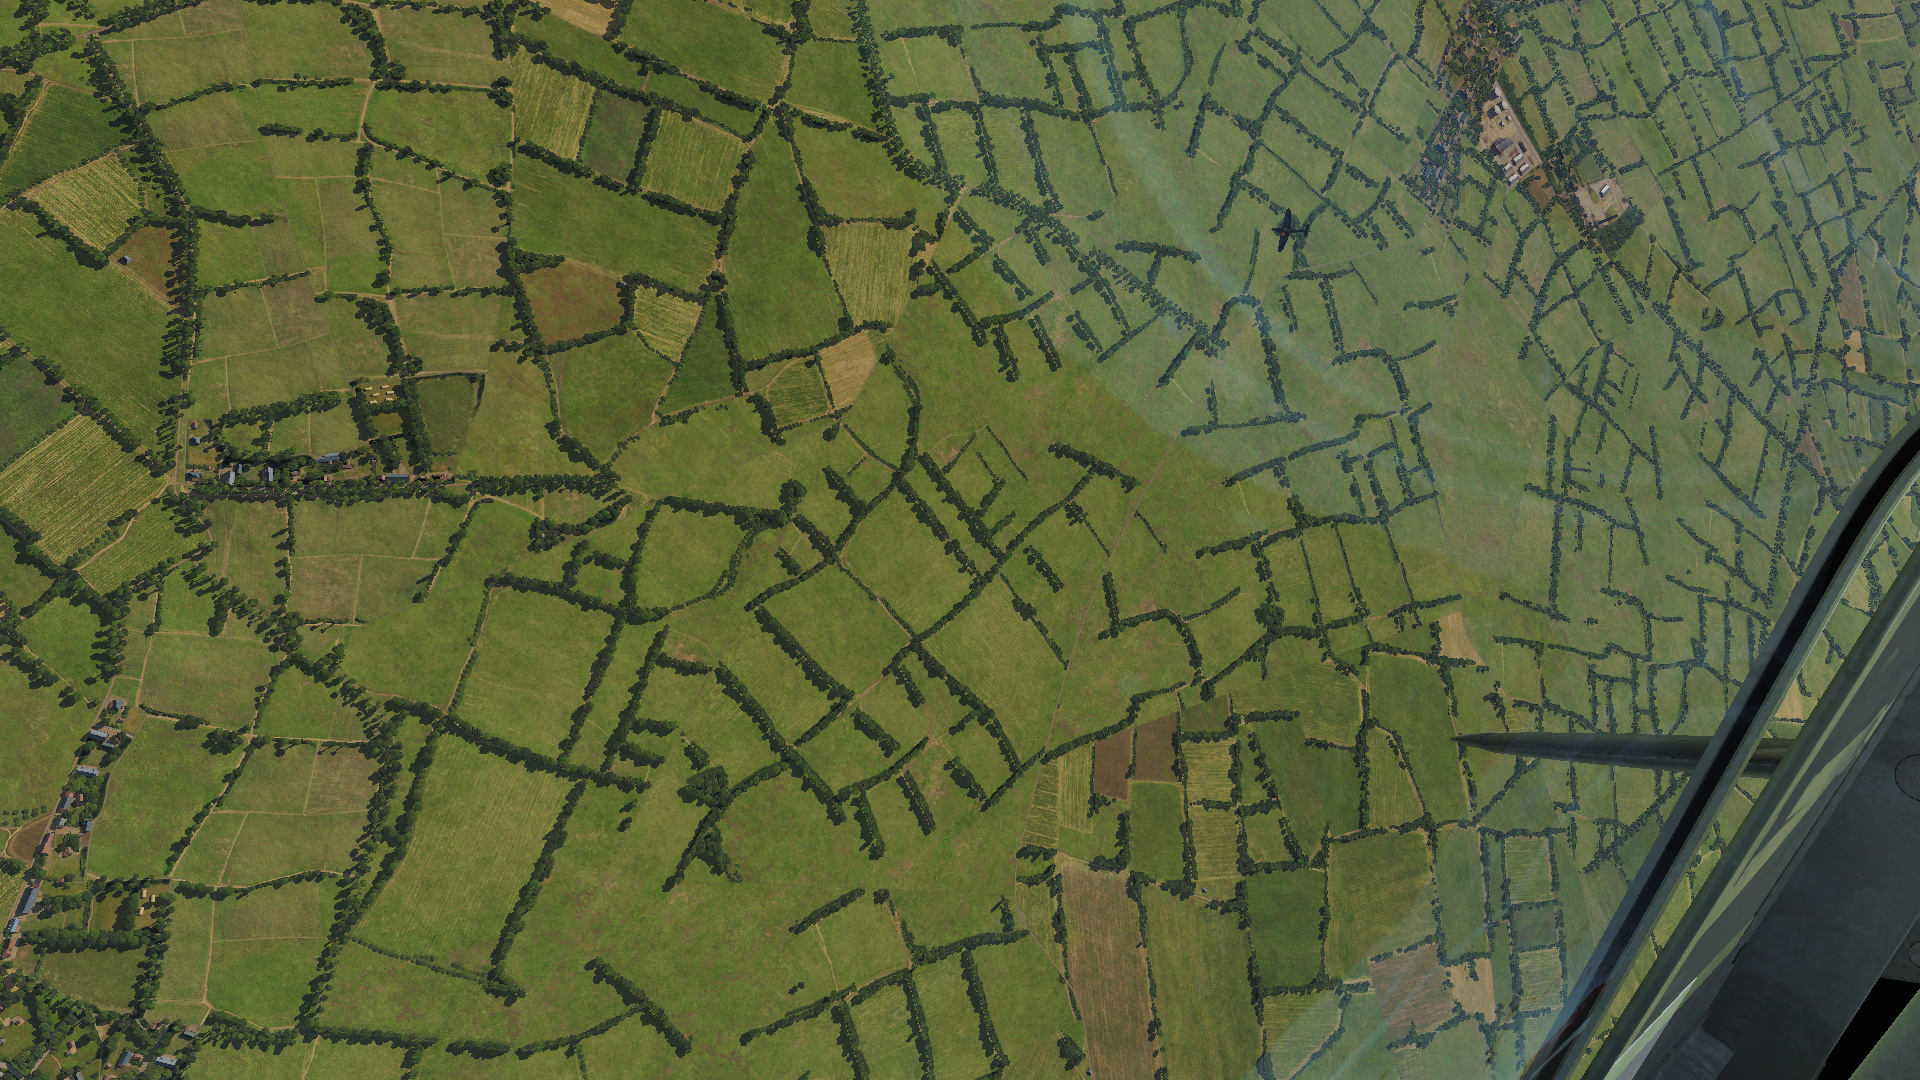
He’s going up again – no energy to follow, so I dive.


Forcing him to pull up to avoid the ground or pull hard to catch me. Either way, I can reverse and rake him again.

Head-on with .303s again as he passes under my nose.


Extending away again as he goes vertical, coming into a turn to force him to pull high-G to follow and burning up some energy. This might take a couple times to get workable distance from him.

More head-on hits:

He’s not looking so good:

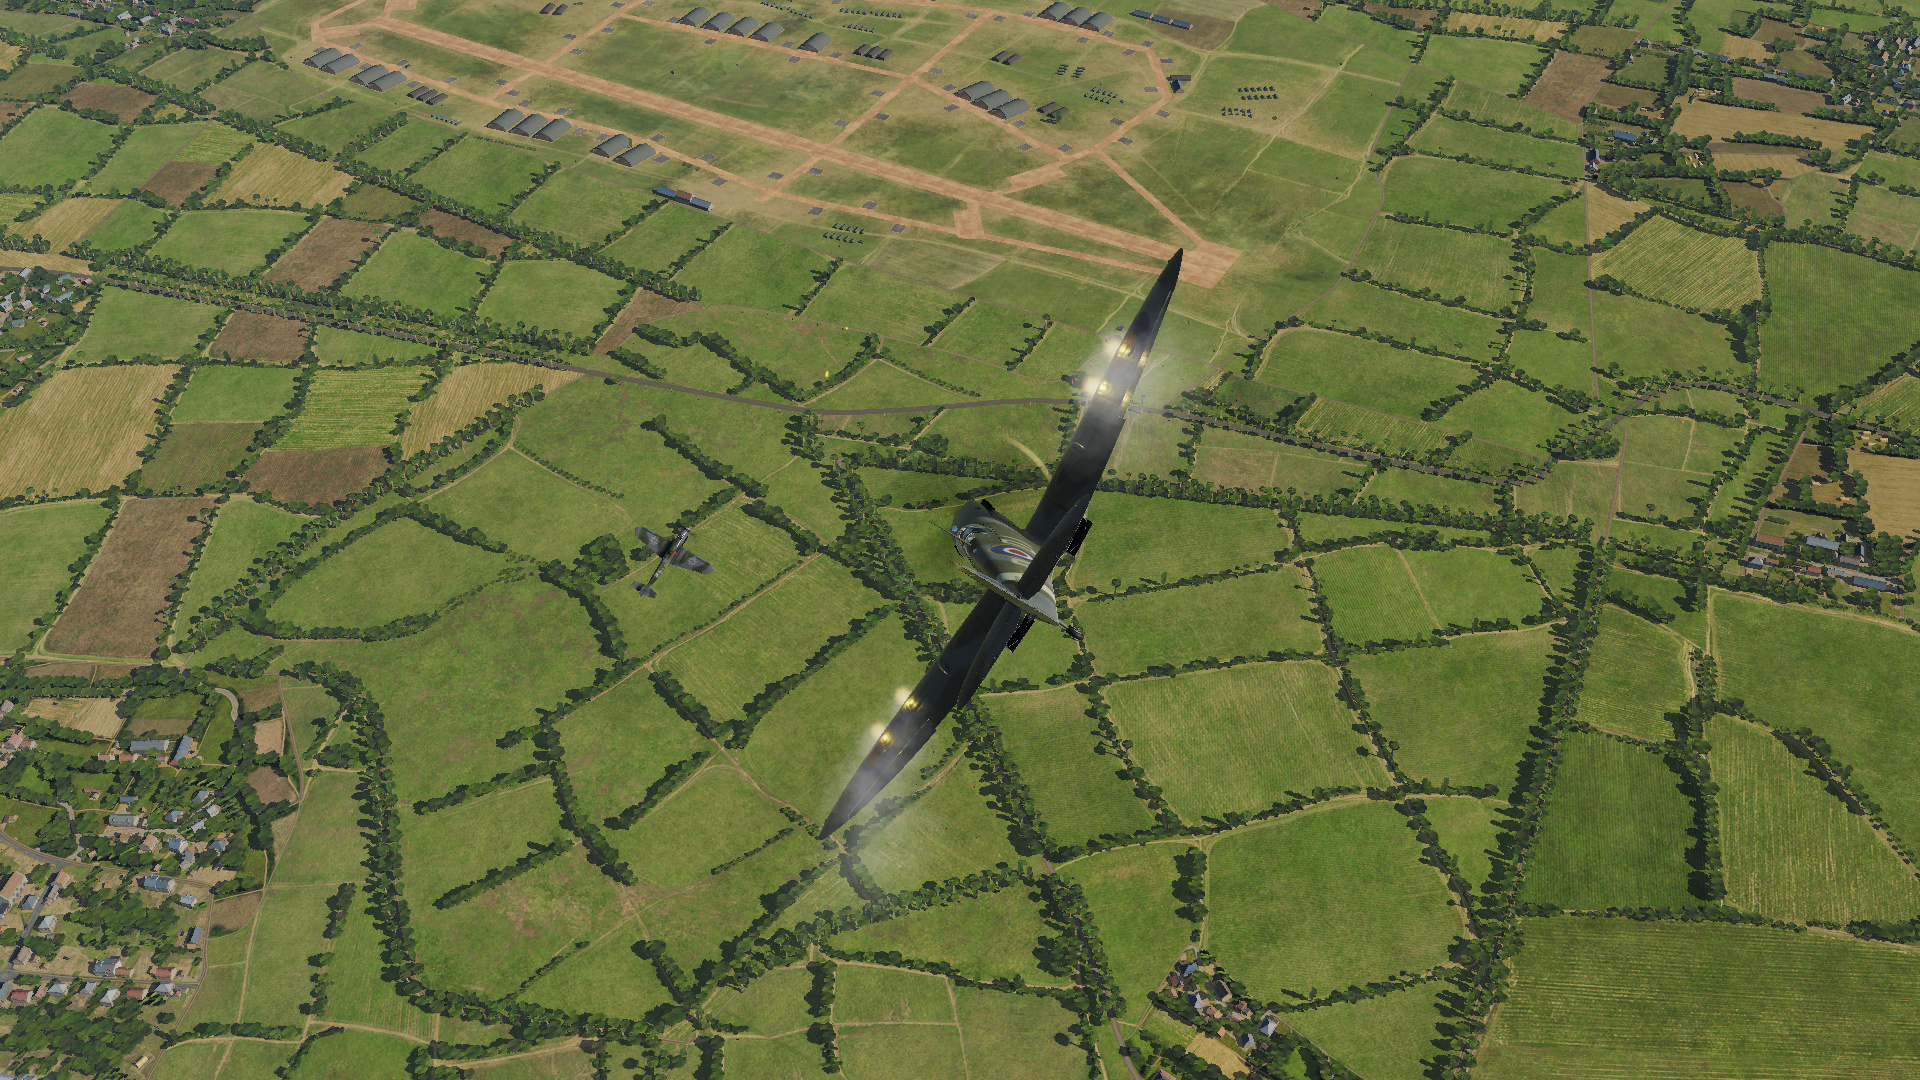
He’s getting impatient! Slipping into a horizontal turn, where I can easily beat him. I’m more than happy to play that game!


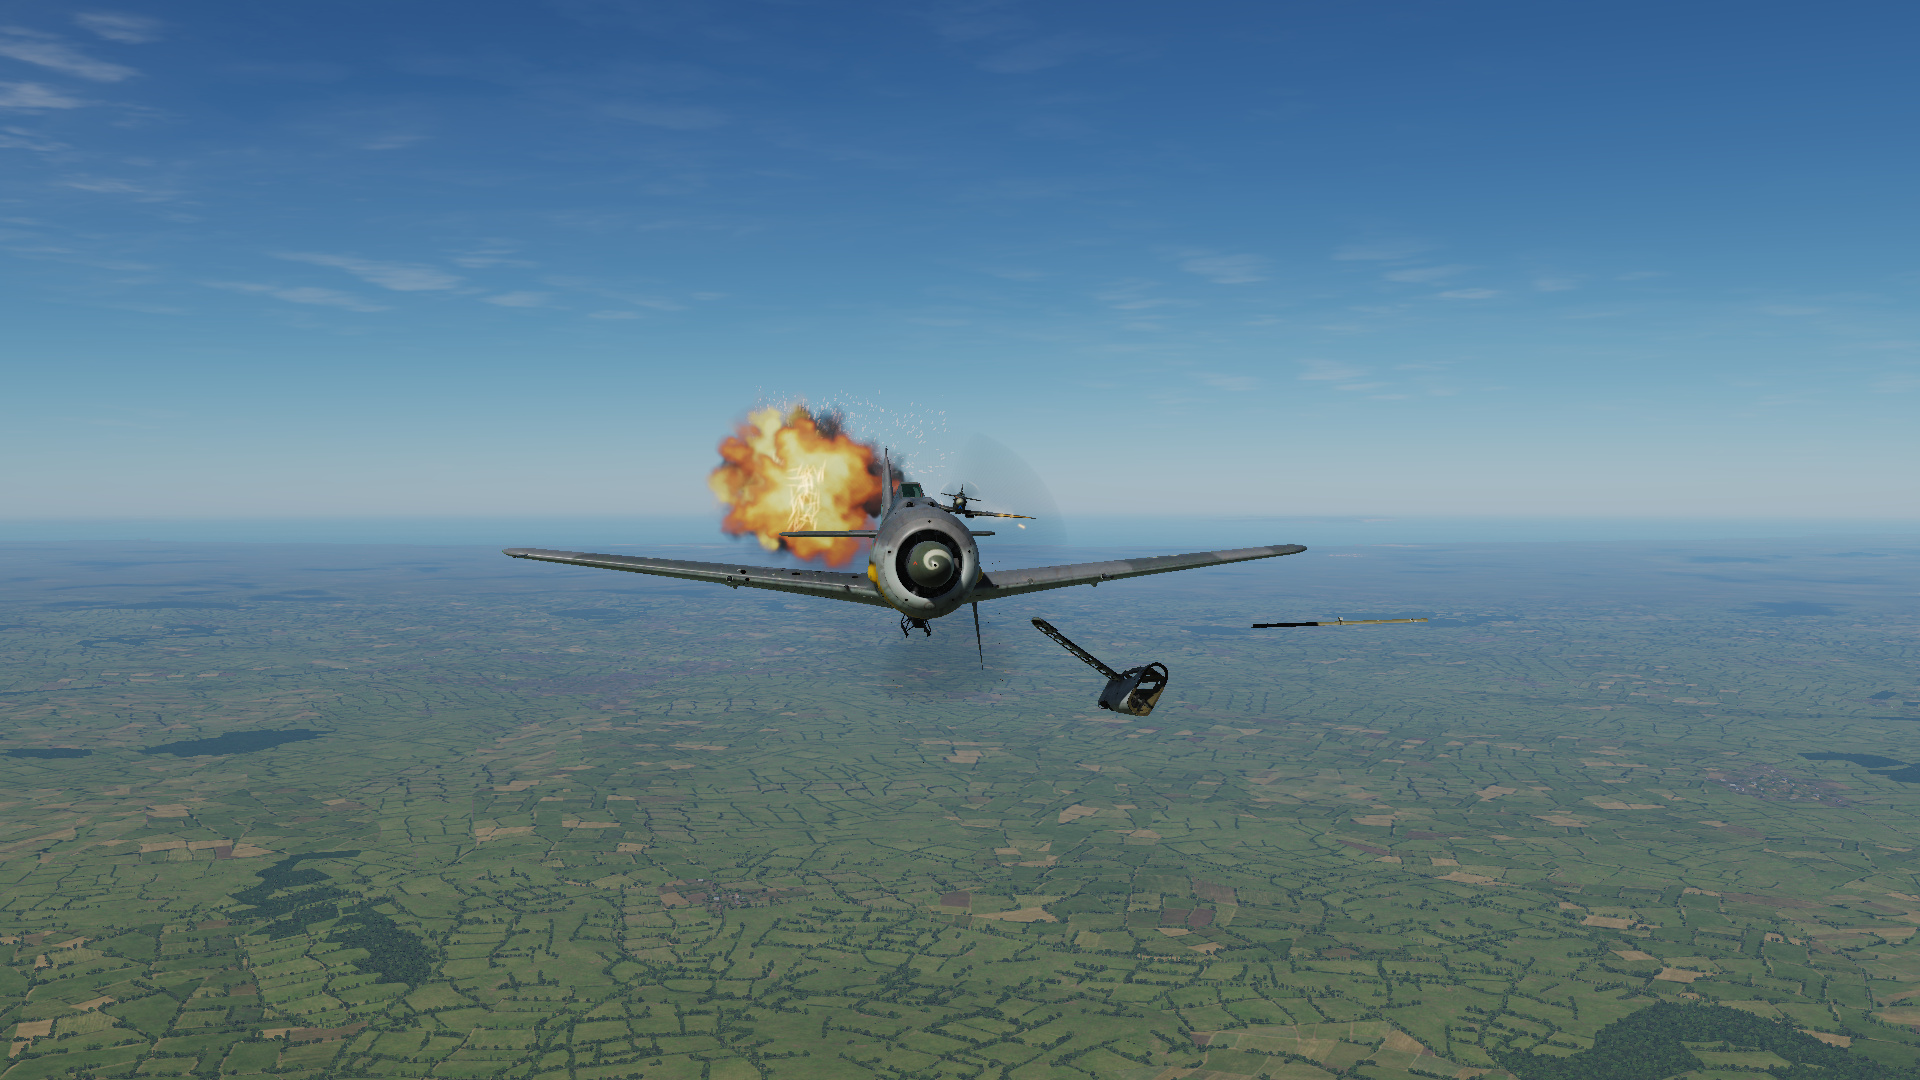
Game over for him. Coolant system finally hit the damage threshold.
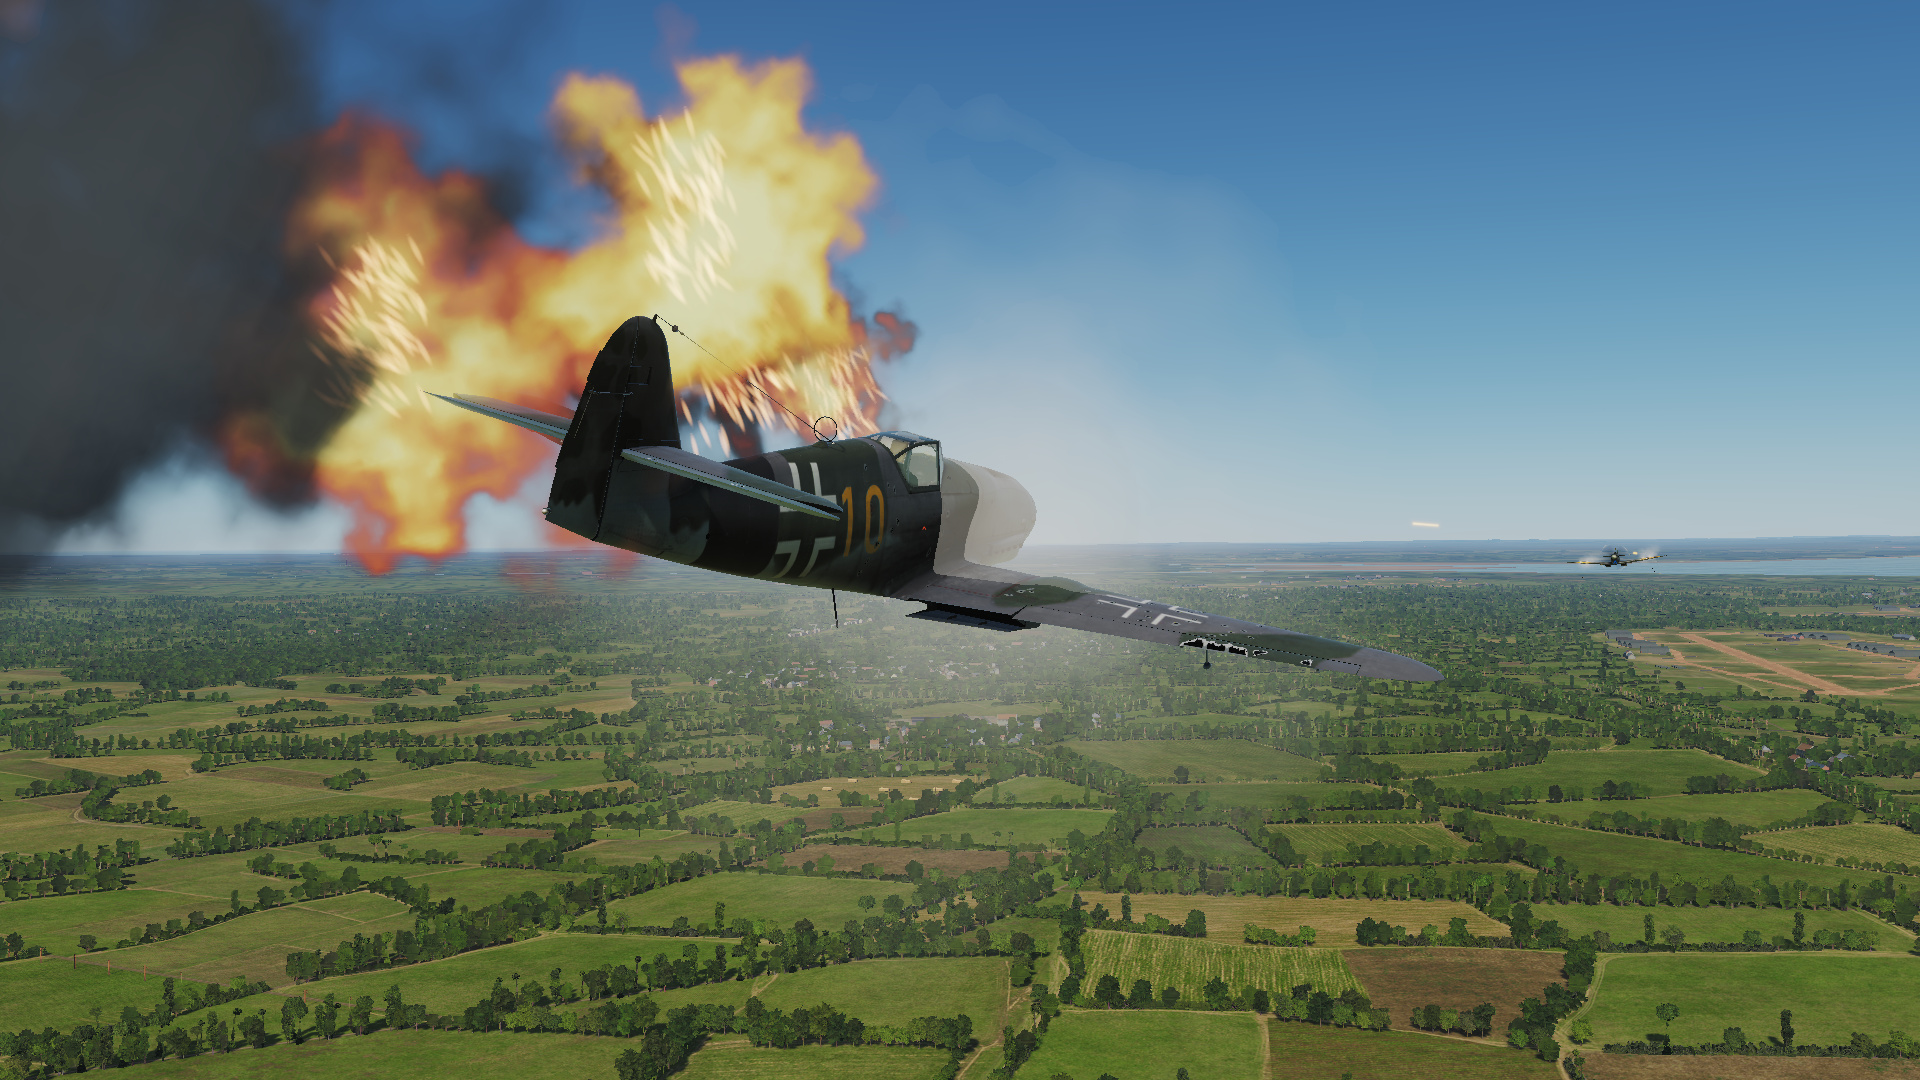


Engine seized!

Leutnant Infinite Cooling Energy Cheater on his way to becoming a red paste on the French countryside.

Summary: The AI presents many shot opportunities, if you take advantage of them in the right way. Be liberal with your .303s and stingy with your 20mm. Always know that they have the energy advantage, but you’ve got the turning advantage. Don’t try to use your pitch controls to make shots, but instead focus on your rudder and horizontal axis to make shots from angles which you can see. You can’t see over your nose, but you can see up, left, and right!
I’ll make part 2 covering rearward aspects on level targets, which won’t necessitate as much detail, but still has certain quirks and considerations for the Spitfire in particular.