3D printing is fun!!
CADding away on the computer, modelling something virtual and then build it into something physical is so incredibly rewarding!
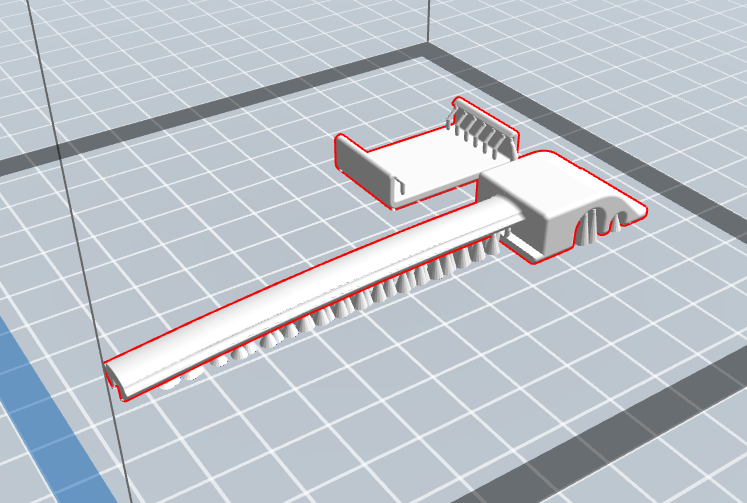
Here are the parts with raft and supports, in the printing software.
For those who are unfamiliar with the world of 3D filament printing, the printer extrudes melted plastic and builds layer by layer, until the part is finished. The height of the layer determines the resolution of the print. This print has a layer height of .12mm. It will go as low as .08mm but such prints take much longer to print. Thin layers=many layers.
The printer can’t lay plastic in empty air. Well, it can, but the molten extruded plastic will sag. So the print software analyzes the 3D part for overhang that needs support and adds those where it deems appropriate. It also ads a “raft” around the parts to keep the print in place and stop it from warping as the plastic cools down.
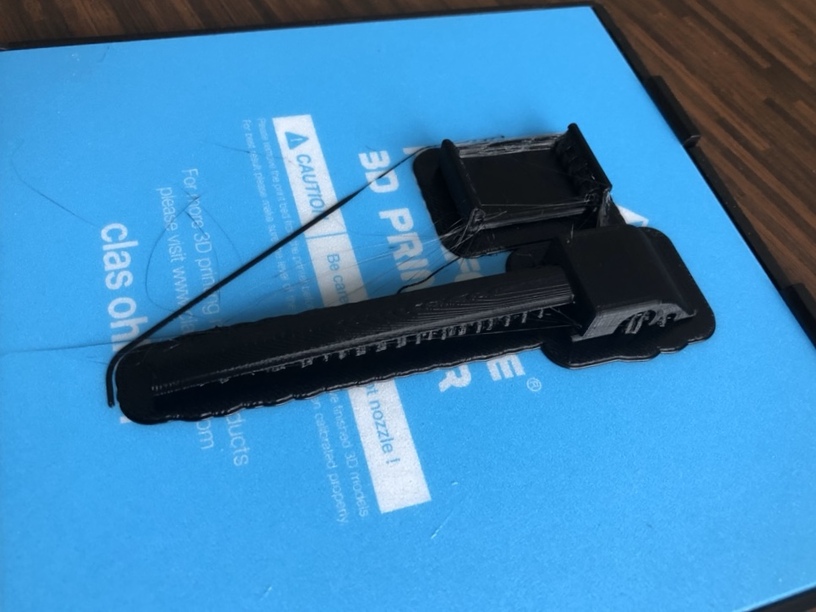
Here’s the printed part.
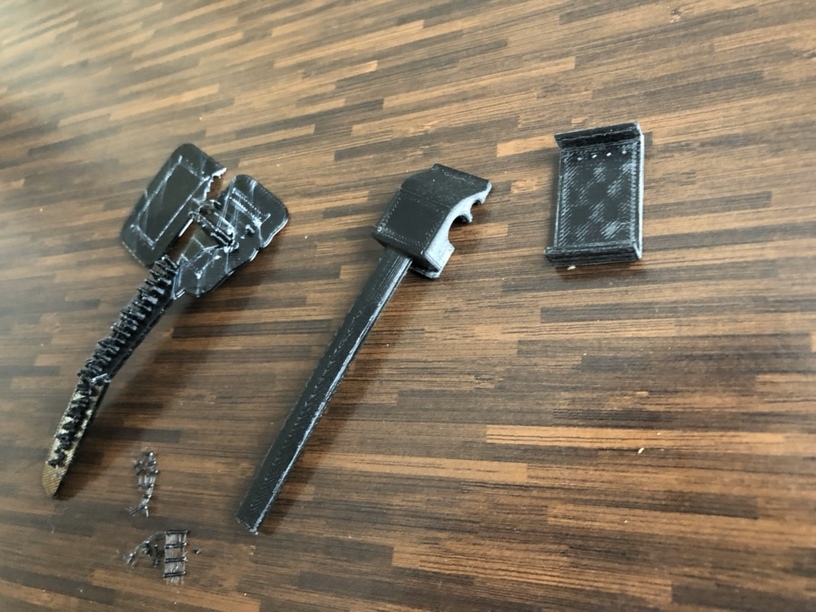
The printed part with raft and supports removed.
Removing the support plastic is a bit like picking scabs and is, as such, strangely satisfying…!
The support structure is designed so it has minimal contact with the print part.
Some light sanding is needed to remove the contact points.

It fits! The speaker can slide up and down the rail and the assembly can slide back and forth on the Rift S halo. I just need to make a key for the retainer clip, so it won’t move in relation to the speaker rail.