I made a little walk-through of finishing 3D prints, in case someone is interested.
I have a pretty straight forward entry level 3D printer. It’s a FlashForge Finder 2 which prints in PLA. The layering technique of these printers creates small layer steps in the printed object and to remove these, to get a perfectly smooth surface, you can do what I usually do…
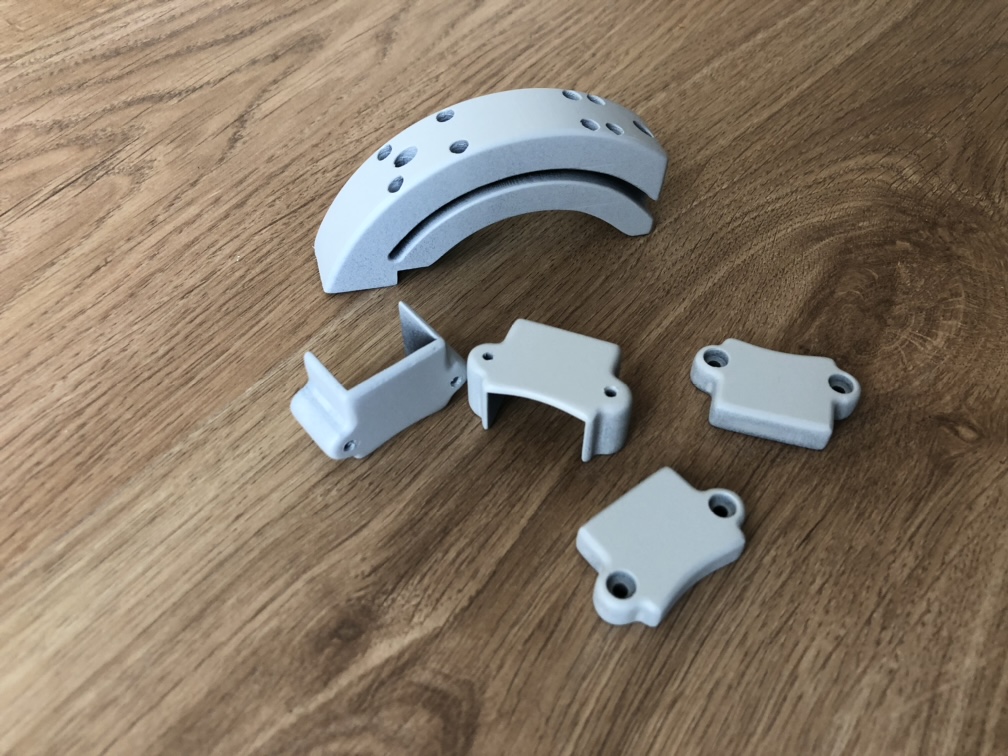
This is what the parts for my throttle detents look like out of the printer with the support structures still on.

Removing the supports is pretty easy.

Rough sanding to remove the worst steps and remains of supports.

Use filler to cover the largest surface irregularities. I use two component filler as it cures in 10min and doesn’t shrink. Use sparingly! You’re the one who will have to remove the excess filler…

Sand down the filler until you reach the surface again. As you can see, the largest pits and steps has been filled.

For a premium finish, apply some spray filler. This is to cover small surface imperfections such as scratches from the coarse sanding paper and air bubbles in the filler.
And sand it down again, with a fine sanding paper. See how this fills the small scratches?

Spraypaint! I use a plastic bumper paint from the auto-parts store. It adheres well to plastic and has great coverage.

WARNING!
Use a facemask or use wet sanding to avoid inhaling plastic and filler dust!
Wear rubber gloves when using filler. Especially two component filler. Don’t get it in your skin.