None!
What did software did you model the knobs with? And what slicer?
I’m most comfortable with my trusty ol’ Turbo CAD. I used Flashforges own slicer. I will probably try some alternatives, eventually, but so far this does the trick.
I would guess that their slicer is properly configured for the Flashforge that you have. If you run into issues, you may have to go with a different slicer/config. That can get a little tedious. ![]()
Amazing results there.
But as a person who is easily distracted, I’m just as impressed by your clever use of the clothes pegs ![]()
Nice! Spray can paint or have you got an airbrush?
I have a couple of airbrushes, but for this I use a can. It’s a car plastic bumper spray that I get at an auto part store. It’s a bit thicker than normal paint, flows well and adheres well to plastic. It’s also very durable,
Perfect, I was just contemplating what paint to get for motorcycle fairings, look like this is what I need!
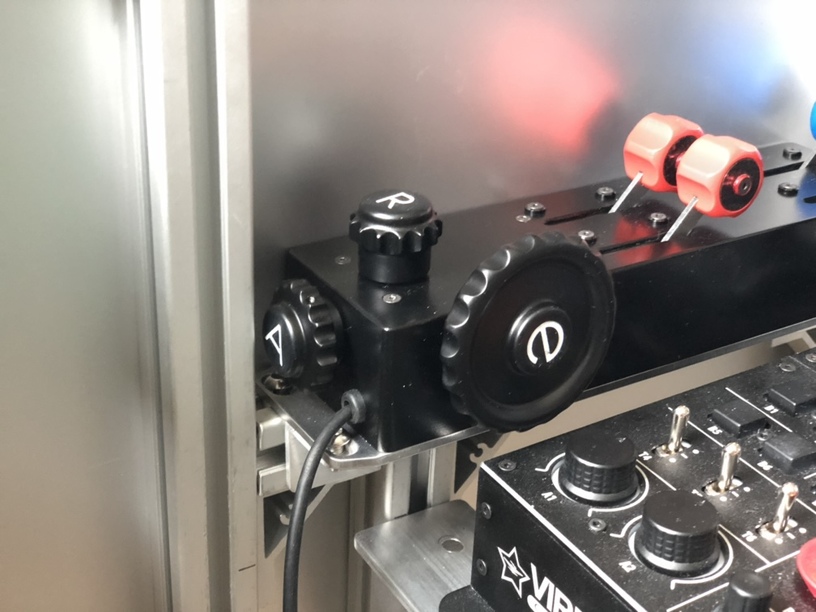
You’ve got capital “A” and “R” but lower case “e”? ![]()
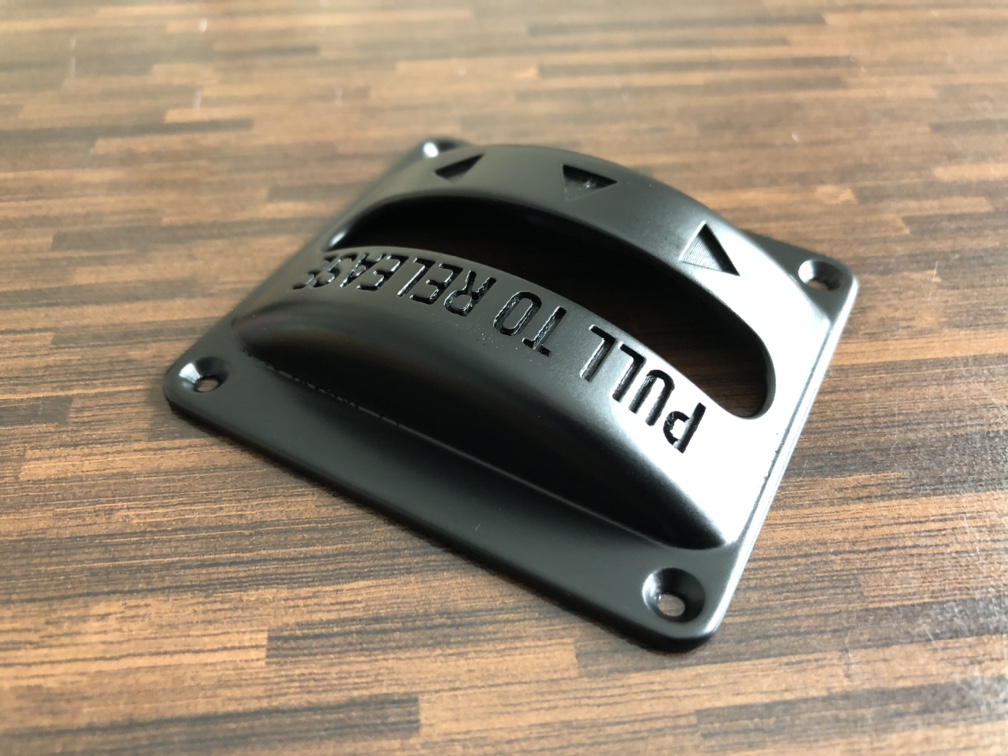
Looks awesome. The filler paint really helped, can’t see any ridges from the printing.
Someone will lose sleep over it… ![]()
‘sactly! ![]()
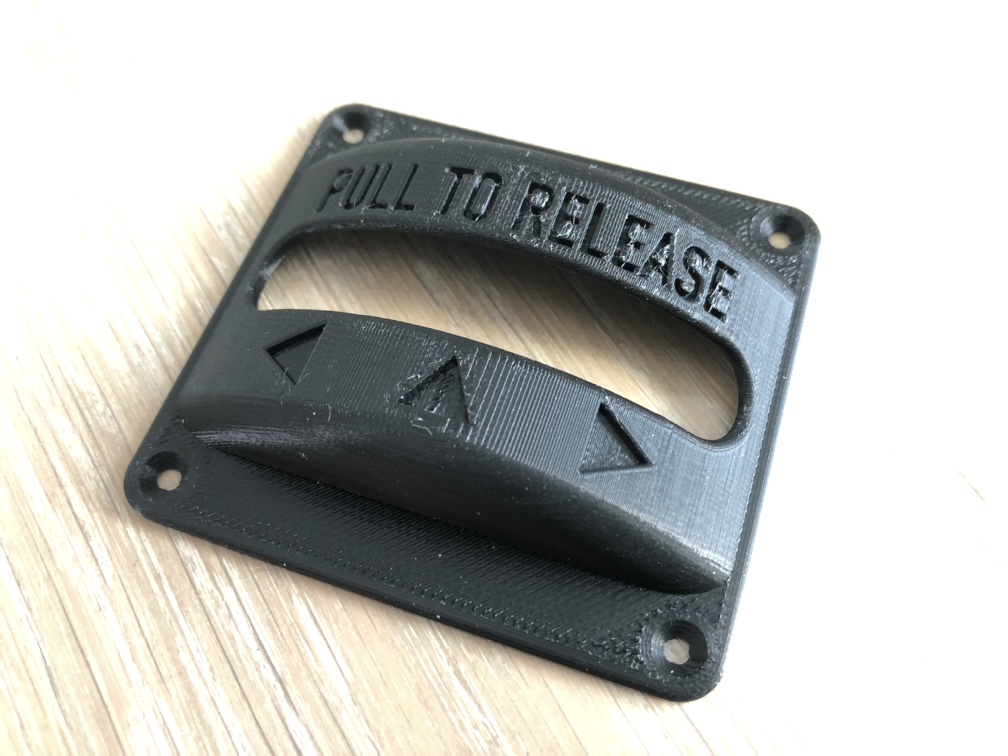
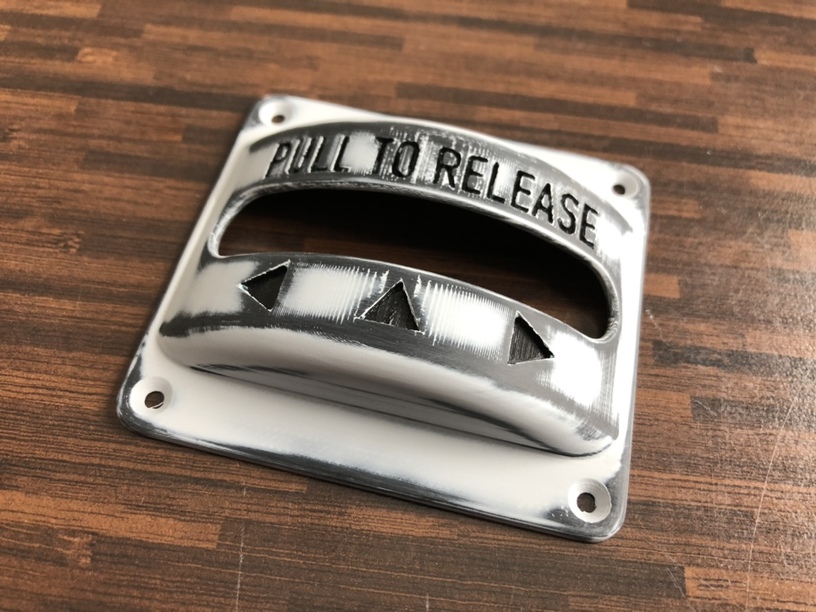
I thought I’d document the finishing process of 3D prints.
In the picture above, the steps created by the layering technique of the 3D printer is rather obvious, even if the layers are 0,08mm thick.
If your printer can use ABS plastic. You can use acetone vapour to smooth the print, but ABS plastic stinks, and I wouldn’t be allowed to use it in the house, so I got a PLA plastic printer. But that means that the only way to remove those ugly layer steps is good ol’ elbow grease!
First I use wet/dry sanding paper to remove some material and prepare the surface for spray filler.
Since I have recessed detail in my print, I filled the details with masking putty.
I also mounted the print on a stick…
…so I had a handle when applying spray filler.
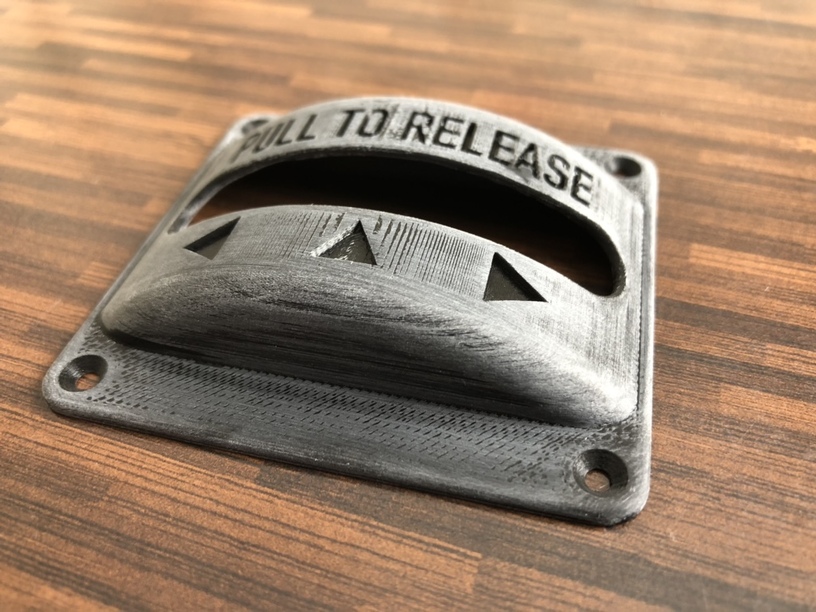
Putty removed and the spray filler is left to harden over night.

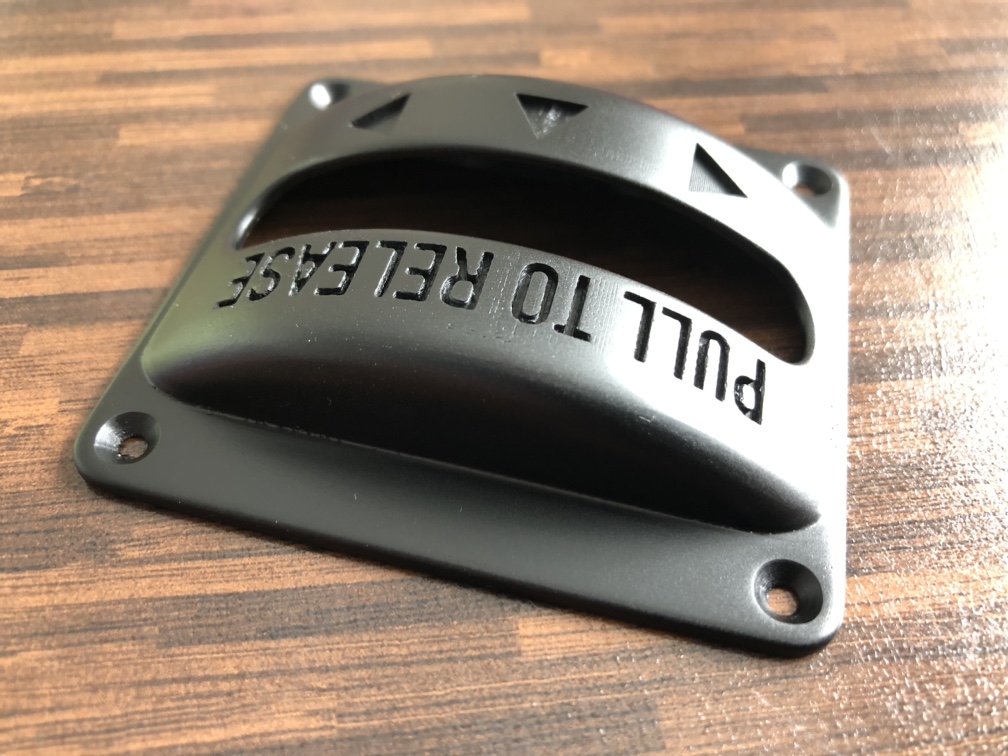
First coat of black paint.
You can still see some irregularities where the steps are. Even if the spray filler was sanded smooth, the spray paint will adhere differently to the filler and the printed plastic, causing slight surface irregularities like these. So this first coat is just considered a base coat. Let’s give it a light wet/dry rub, and a new layer of paint…
Some very nice processing there, those lines dont give up without a fight!
That recessed text looks extremely sharp for a printed piece. Can I ask how wide and deep you have made the text recesses, and what size nozzle do you print with?
They sure don’t!
0,4mm
The width is whatever the font gave me… Don’t have the CAD running right now, but they look like 1,5mm? Depth is 1,2mm.
Thanks, I’m gonna have to try doing a panel with that layer height (0.08mm) Never did anything other than 0.2 so far, it might help with the sharpness.
Painters caulk. The carpenter/painters best friend.
It’s basically thick water based paint. It dries without too much shrinkage, with a semi gloss surface that can be painted over.
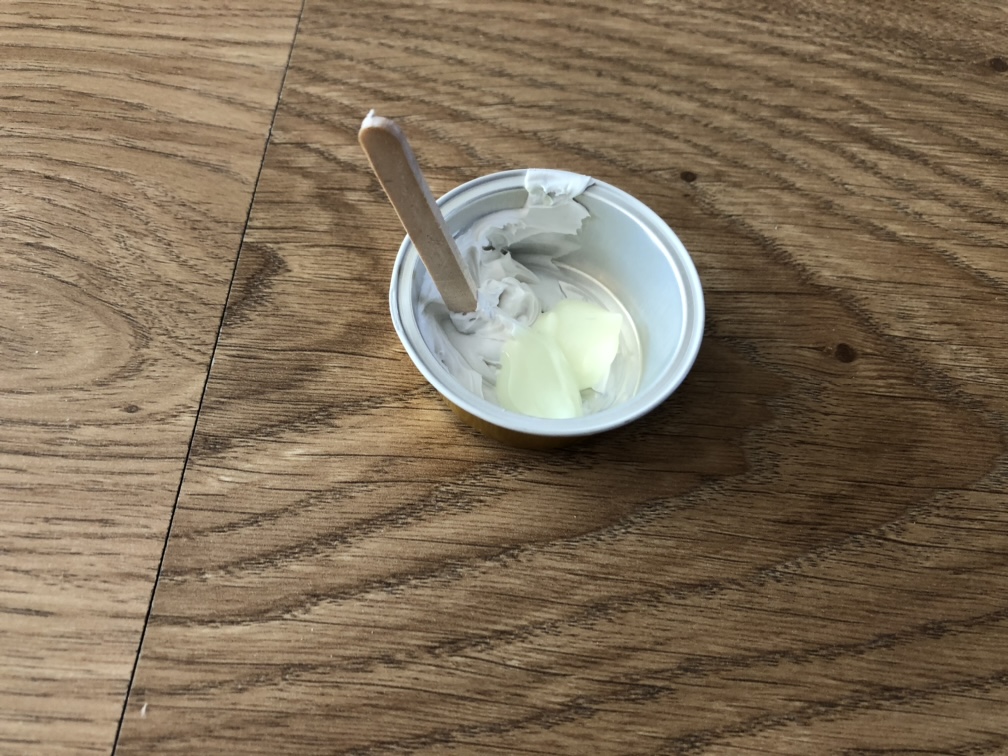
You also need a small cup, stirrer and a rubber spatula.

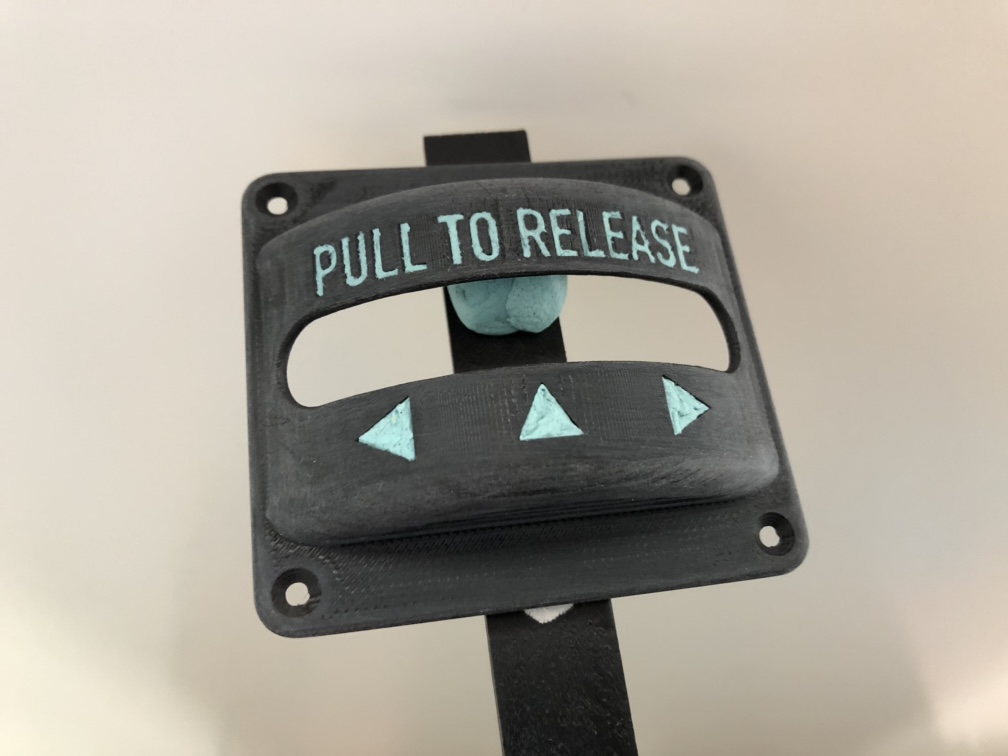
Now, what about mixing the caulk with some glow-in-the-dark paint…? Wouldn’t that be cool? It’s a water based acrylic paint, so it should mix well with the caulk.
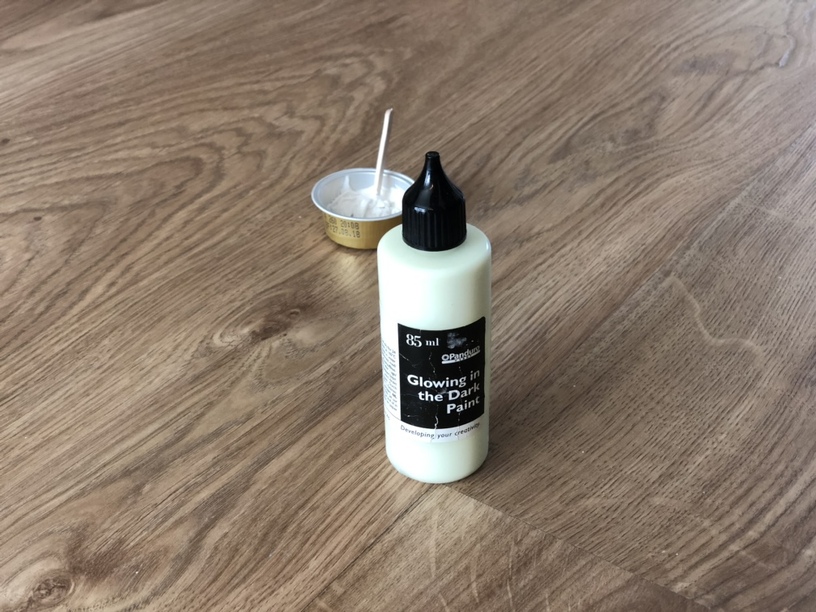
I mixed about 2/3 caulk and 1/3 paint.
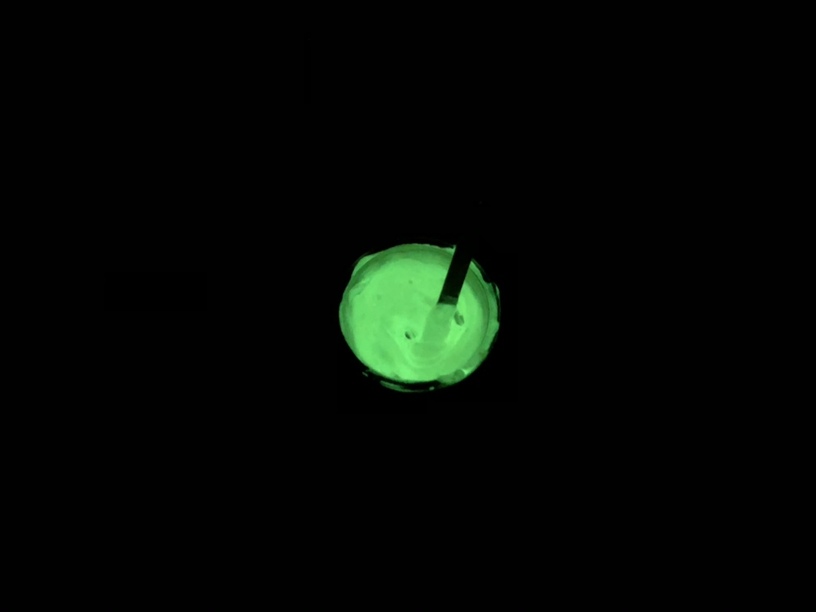
Will that be enough to make it glo…in the dark…?
Sure is!
Apply the caulk/paint mixture with the rubber spatula. Make sure to work it into the recess so you don’t trap any bubbles in there. Scrape any excess off, gently. There will be some residue but that will rub off easily when it dries. Because it is water based. It won’t stick to the black paint.
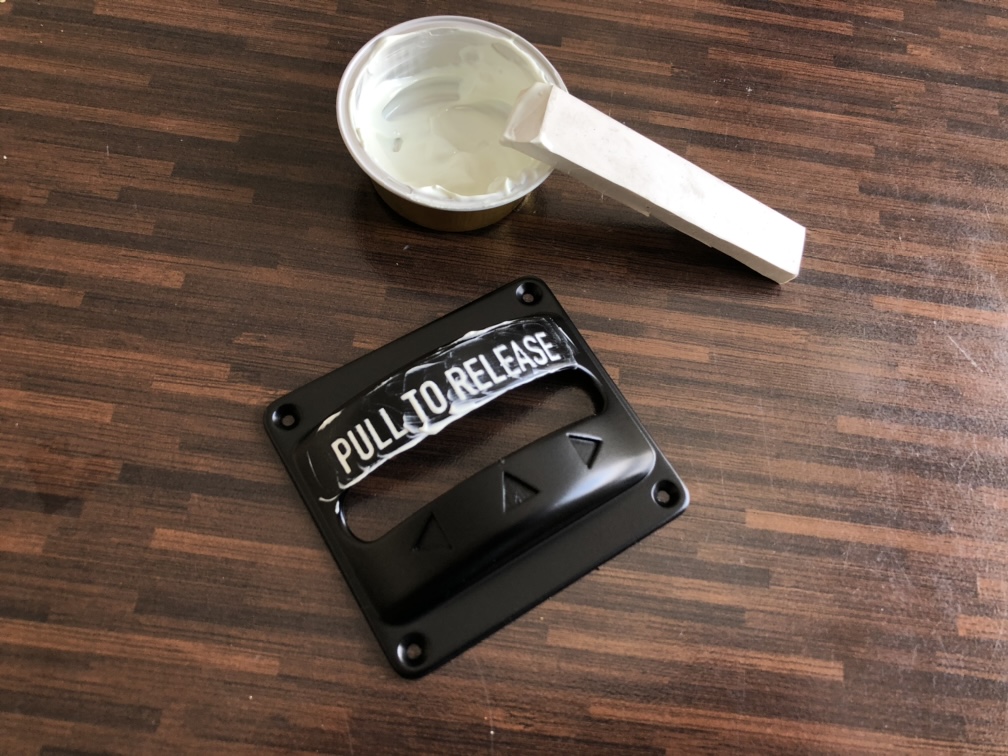
Let it dry for a few hours, and rub off the excess with a moistened piece of paper towel.

Stay tuned for the final episode…