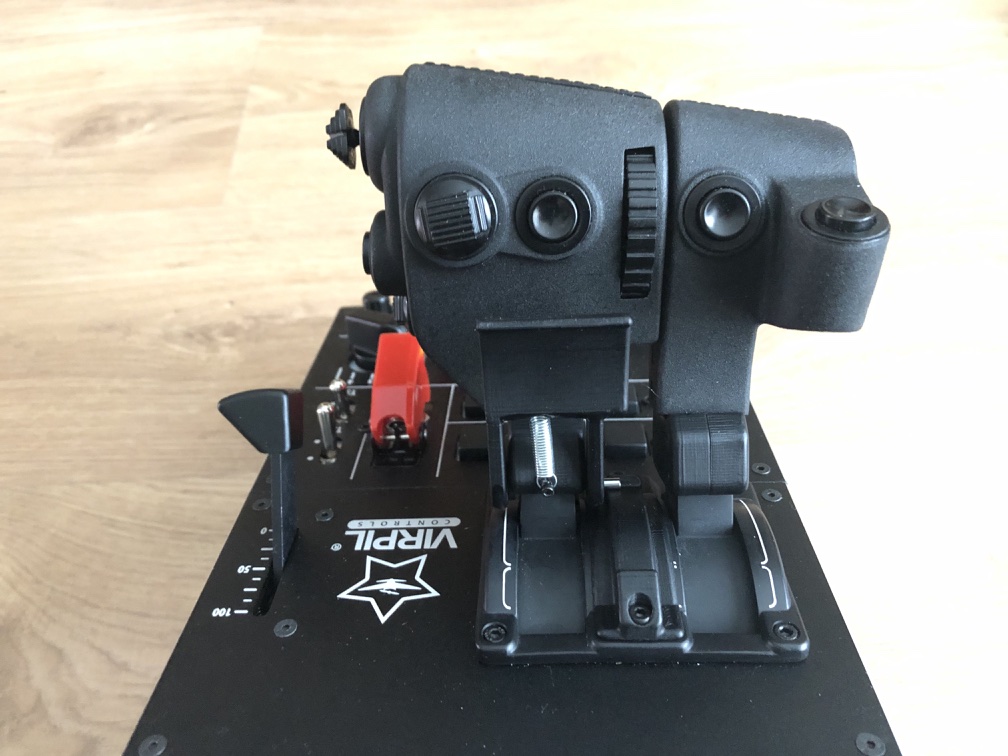
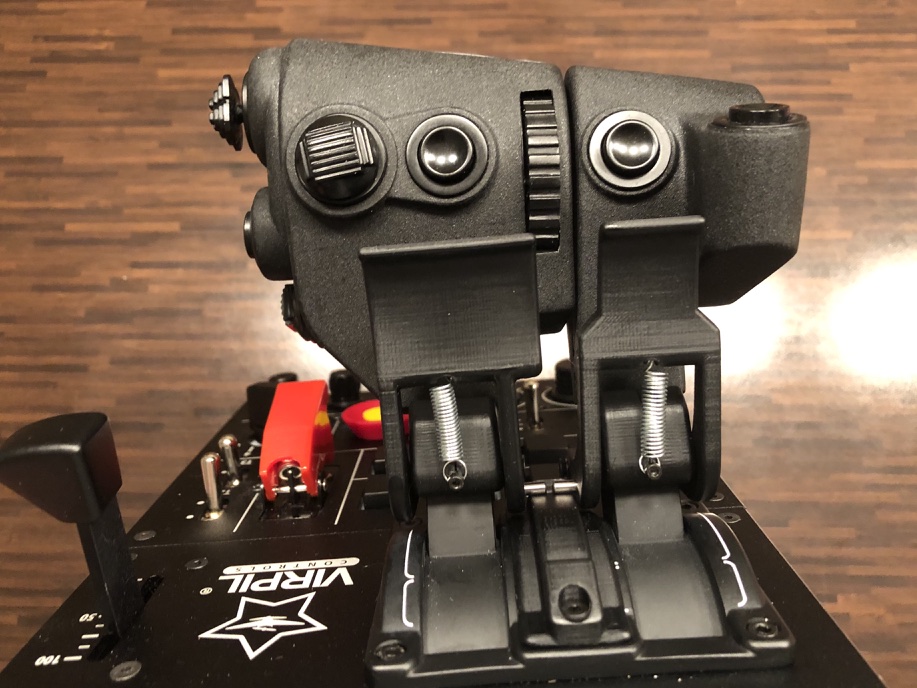
The collars are designed to be mounted around the throttle lever cover, but since that cover is slightly loose, I designed the collar to grab onto the handle.
Tried them out in the DCS F-5. Works great!
In the VPC setup software i calibrated the throttle axes full range.
The idle detent is 0%-6% and the AB stop sits at 83%.
I then set up two ’Axis to button’ definitions with a button output between 0-3%.
In DCS i set the throttle axes up with a custom curve.
I managed to make it so that flight idle to full military thrust equals 6-83% on the throttle, and AB kicks in just above that. Moving the throttle down into zero doesn’t generate an axis input, just a butto press that I bound to shut/idle. This works just fine.
But I would prefer it if I could get separate button presses for moving the throttle from 6% to 0% and another when moving it from 0% to 6%.
Need to tinker some more with it…
Solved it!
The VPC software is pretty powerful!
So, I defined a switch when the throttle is between 0-3%. From that I can specify two different button output, one that sends a signal when activated, and one when deactivated. So now the throttle sends one button press when pulled behind the Idle stop and another button press when pushed above it.
That’s great. One of the things I loved about the TMWH throttle with the DCS Hornet is watching the throttles come out of fuel cutoff position to idle when I lifted the throttle from the stop. I need to take some time tonight to program the Flap lever on the CM2 to have three button output. With the Tomcat it works perfectly setup as an axis. But the Hornet is switched do mimic the real life a/c.
This is really slick. I would definitely buy this for the CM2 throttle.
EDIT: I think I misinterpreted the pictures, it looks like you DO have an idle detent included in the design correct? It looks really awesome. Very excited for this.
Hi, @shawarma_bees and very welcome to Mudspike!
The finger lift mod does have an idle gate and an afterburner gate. You need to lift/pull the handles to move behind the idle gate, where they will lock the throttle handle at 0%. You lift/pull the handles to move the throttle out of 0% again. I have made a VPC profile with virtual buttons that activate when you move in or out of the Idle gate so you can use it to start and shut the engine.
And then there’s the afterburner gate, where you lift/pull the handles to move the throttle levers into afterburner.
I don’t have the CM2 throttle yet, but I will buy it and make finger lifts for that throttle too. I think it will work even better with finger lifts because it has even larger movement angle.
Awesome. This is exactly what a lot of us have been waiting for. Were you able to buy one of the CM2 throttles during the most recent restock? If not, I would be happy to send mine to you once I receive it (just purchased yesterday), if you need a physical model to work on.
I just created an account here because I’m very interested to get these for my Virpil throttle. Could you please let me know how I can (if possible) order them ? Unfortunately I have no ability or facilities anywhere near me to print these for me even if i had the files needed.
Hi @MultiDoc and welcome to Mudspike!
First of all, these fingerlifts only work with the original Virpil throttle. It will probably work with the CM throttle, but definitely not with the CM2.
The .STL files used for printing is found here.
There are online printing services that will print these for you, but there is quite a lot of work needed after printing as well. The print parts will need sanding. The holes must be drilled out and threaded, and then you will need some hardware. I have made and sold one set for a guy with a CM throttle, because I was curious if it will work with that unit. But that was a one off. I can’t commit to making and selling more of these, unfortunately. At least not in the foreseeable future.
I do have the Virpil CM throttle (not the newer CM2). I can try and find some online 3D printing service, but although I’m quite handy with DIY and can definitely do some sanding and drilling, I don’t have the slightest clue how to thread holes and where to get the parts needed.
I’ll look into it though but is there any chance at all to “order” a set ? Time is not important.
I understand and respect that Troll. May I ask you if you have any links for any extra hardware that is needed for this please (except for the 3D printed parts) ?
I found a company locally that is able to make the parts for me.
Hi all, a doolie here & on the same boat with MultiDoc.
Troll, in viewing the STL files, I found that there are no corresponding thread holes for the screws that secure the springs on the clamps. Could you please provide an update on the files?
Also, would you mind sharing the following information?
1.) % infill & number of walls during the printing;
2.) Dimension of the springs (Outer diameter, free length, wire diameter, length of body);