Cool! Please come back with some pics! I’d love to see.
The quest continues…
When on vacation I came across this garden hose that was expandable. When you put water pressure through it, it expanded to about twice the length. When done with it, it contracted and could easily be put away.
Yes, I understand that you want to make jokes and innuendos of a NSFW character, but please wait!
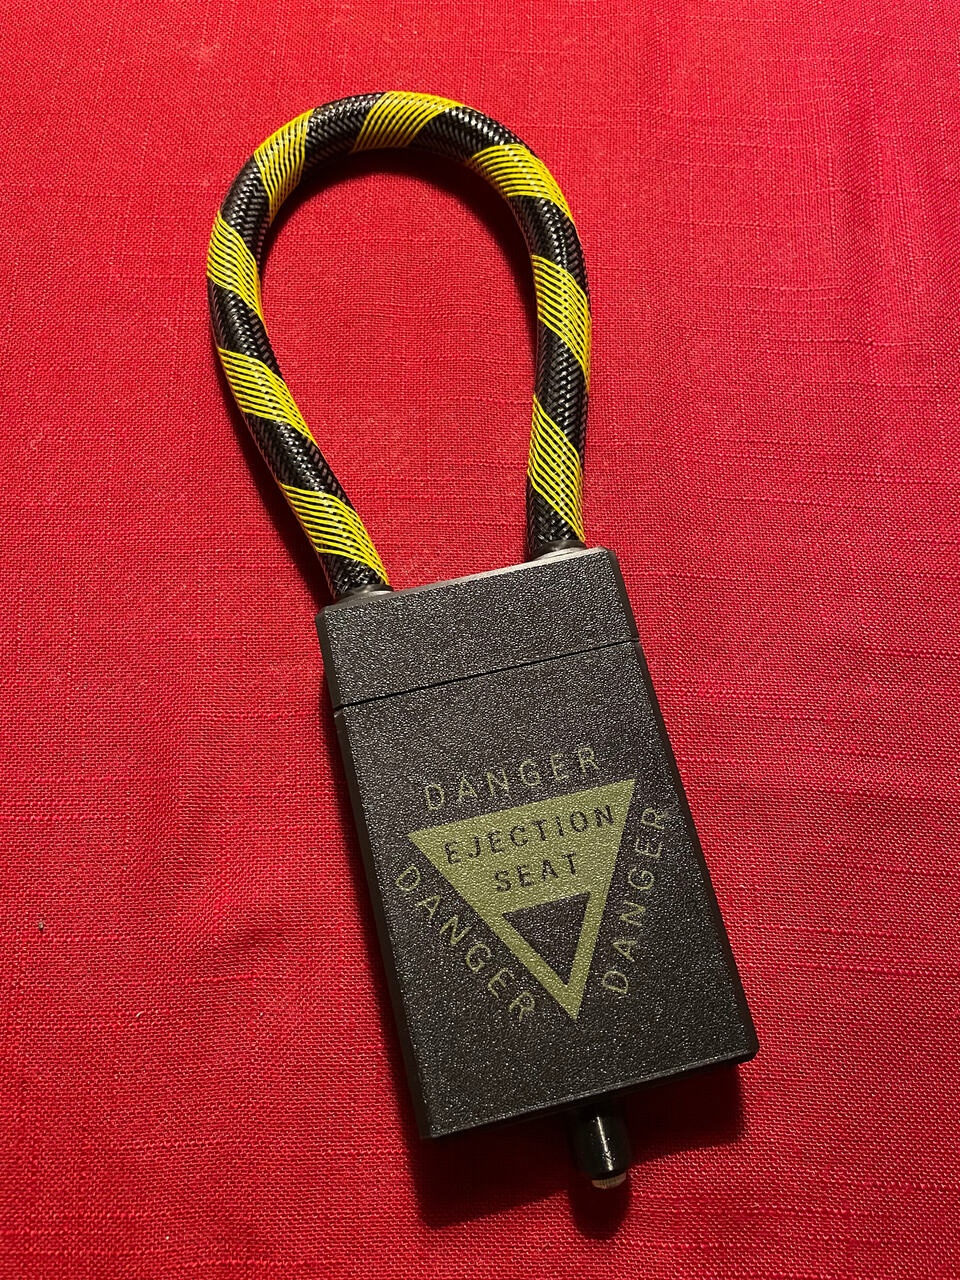
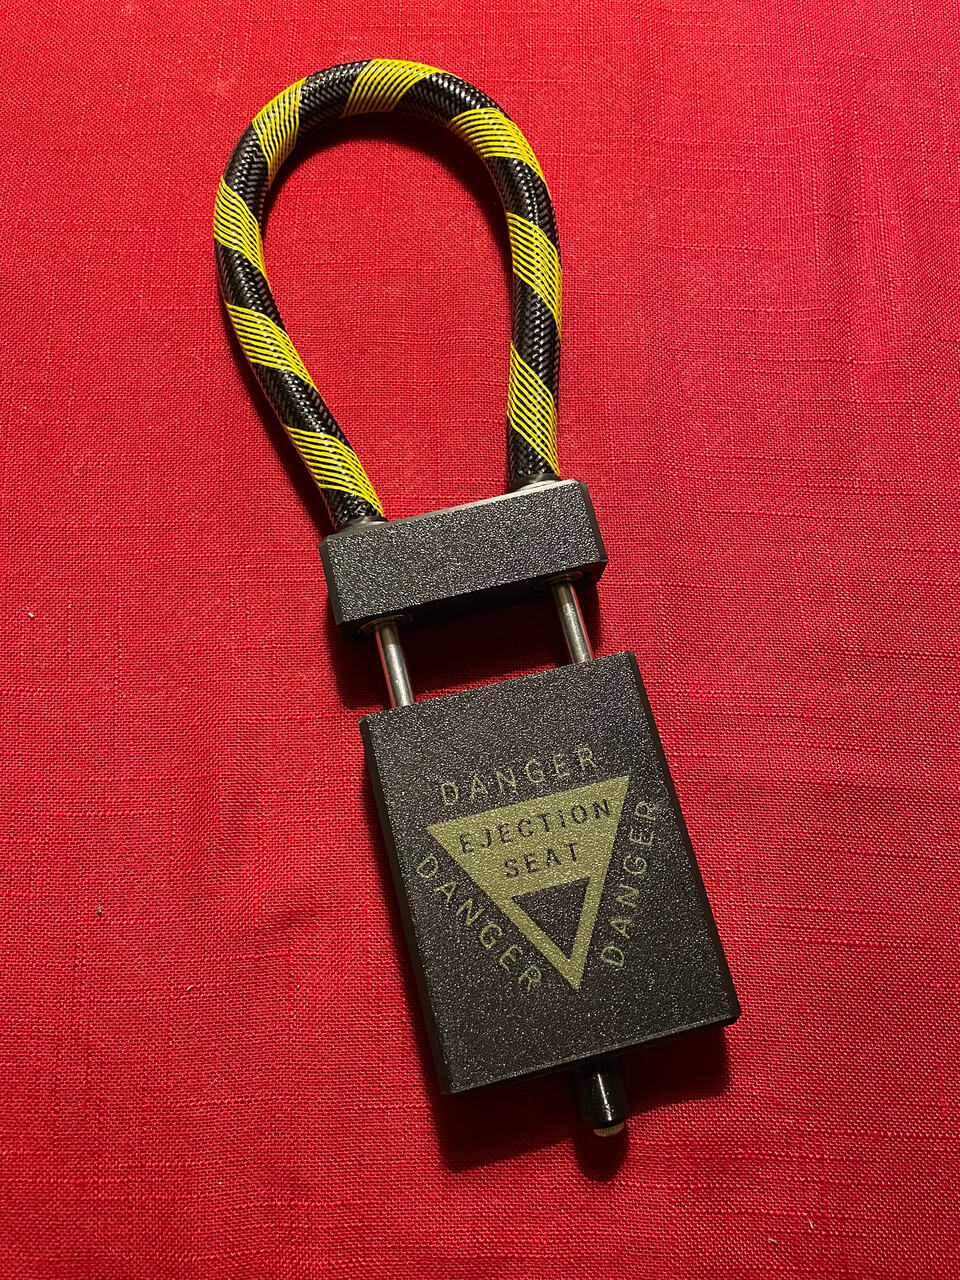
The hose has an outer fabric layer that stretches a bit and I got the crazy idea that this could be the perfect Ejection handle material!
When searching the interwebs I found that Hozelock has a yellow hose, which I immediately ordered.
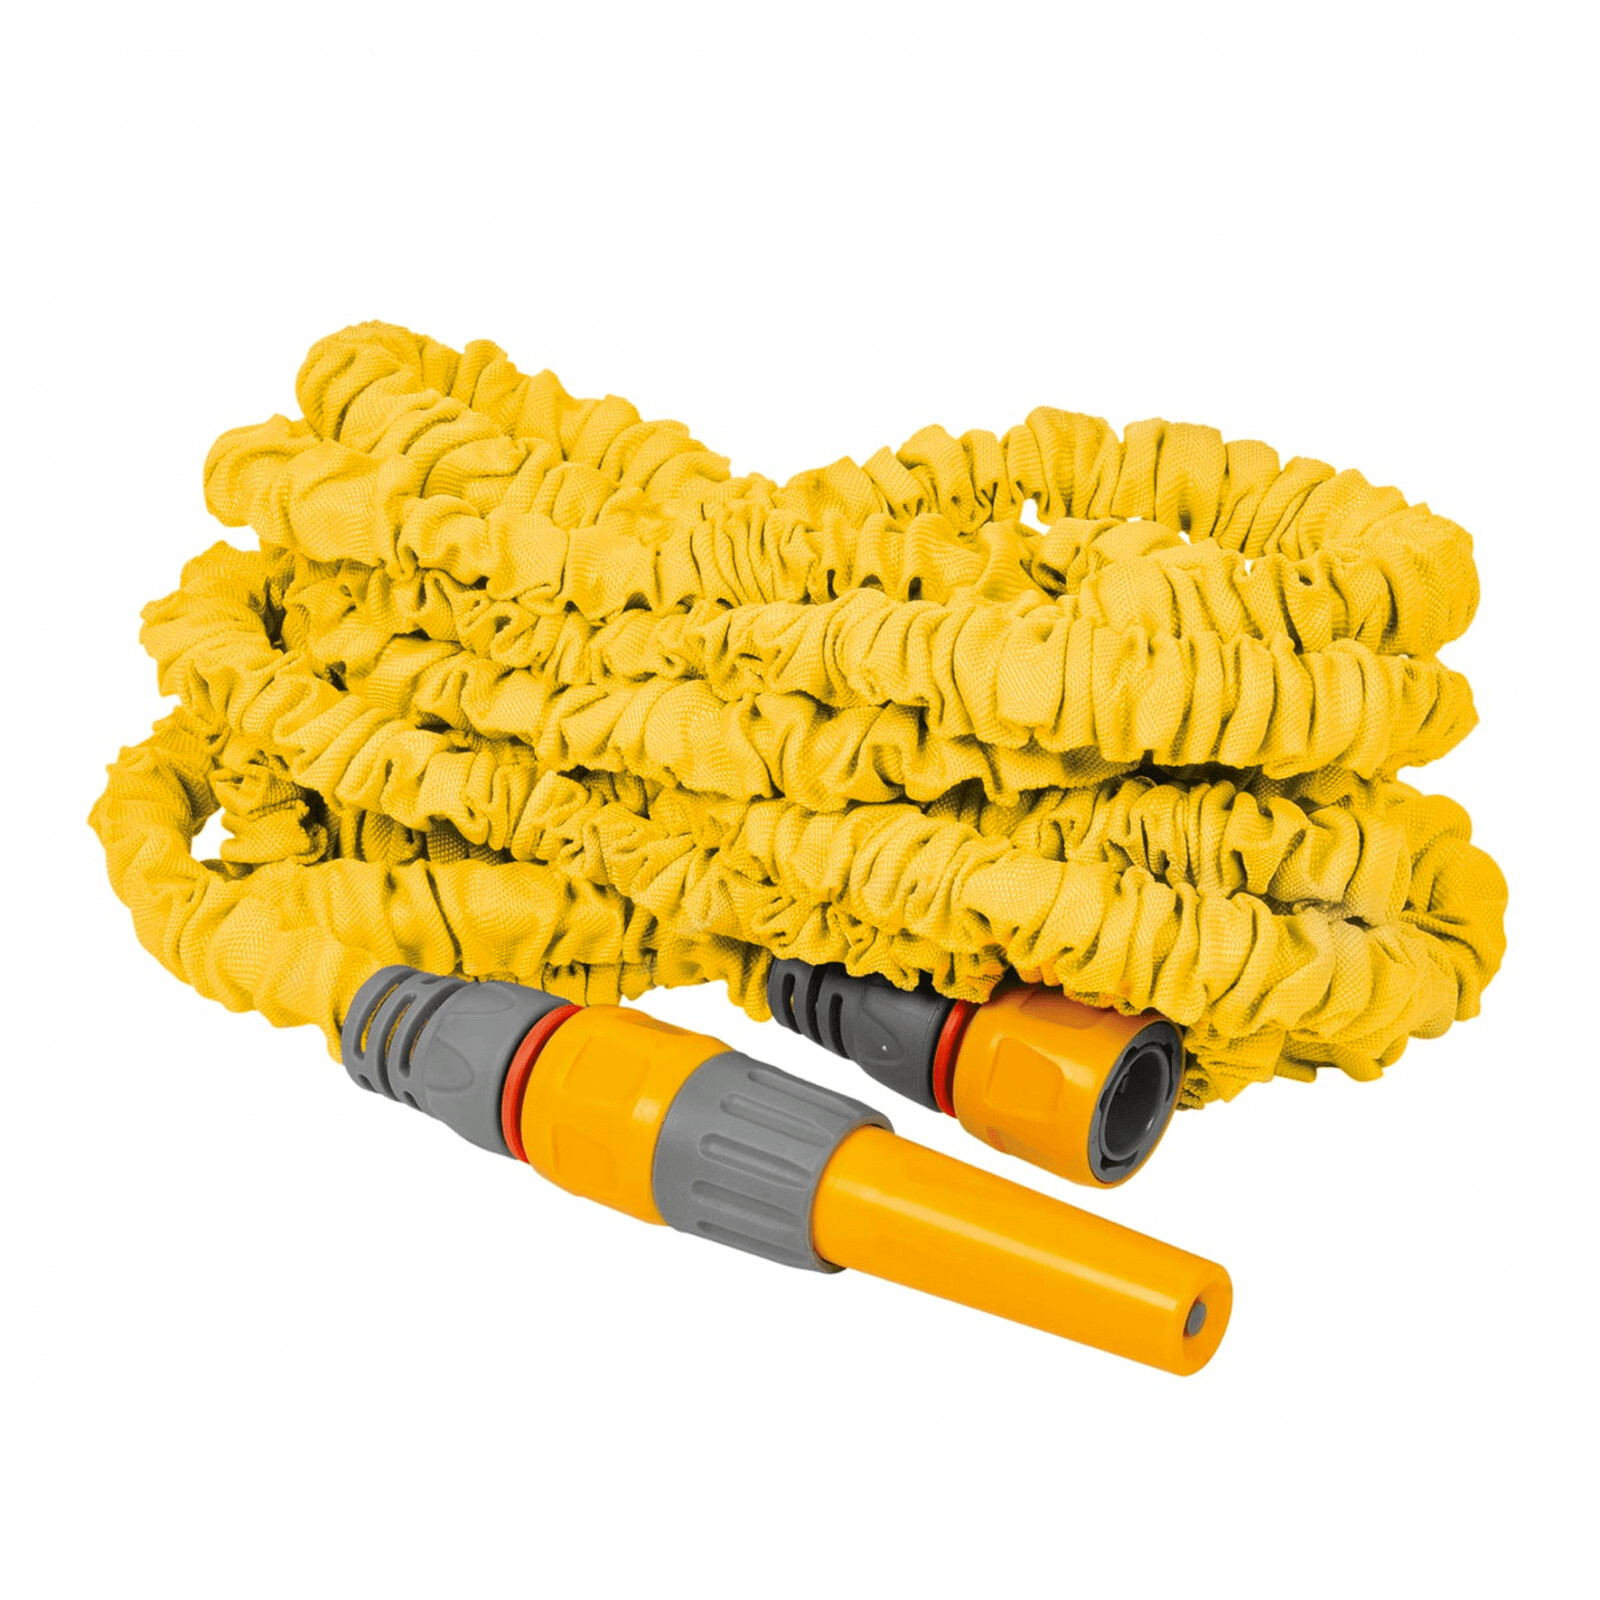
I stripped it of the yellow fabric envelope layer and laid it flat on one side and painted it black. The fabric is shaped like an envelope and appears flat, when you remove the tube inside it.
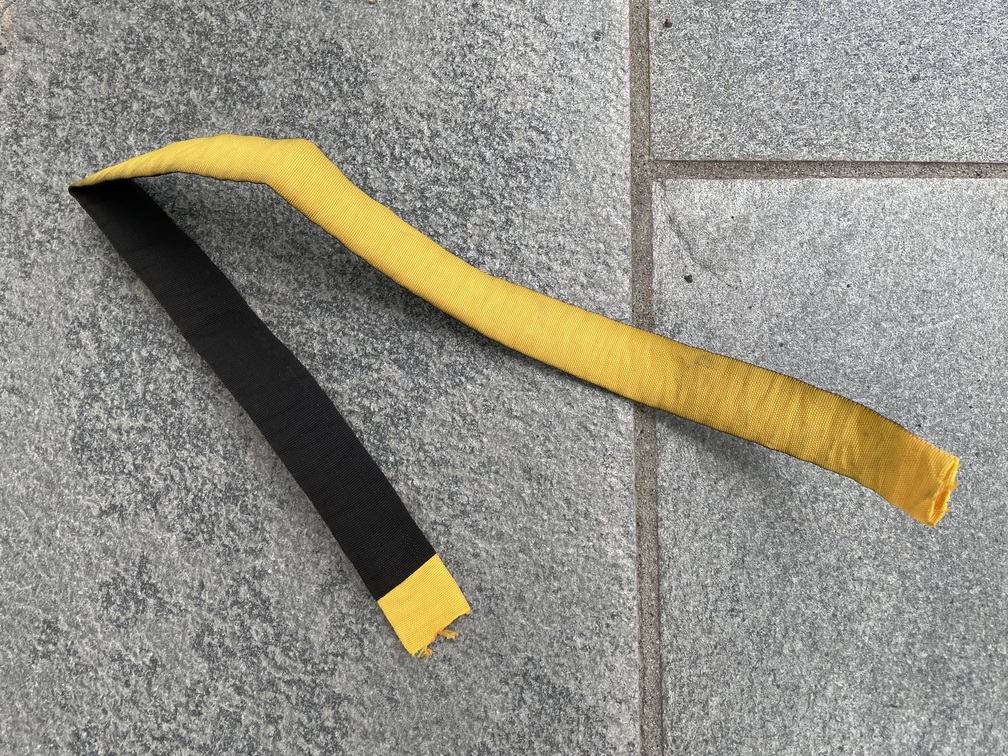
I then threaded it onto a regular 18x14mm clear PVC hose.

I then twisted the fabric envelope and heated it in the oven on 180°C to tighten it a little.
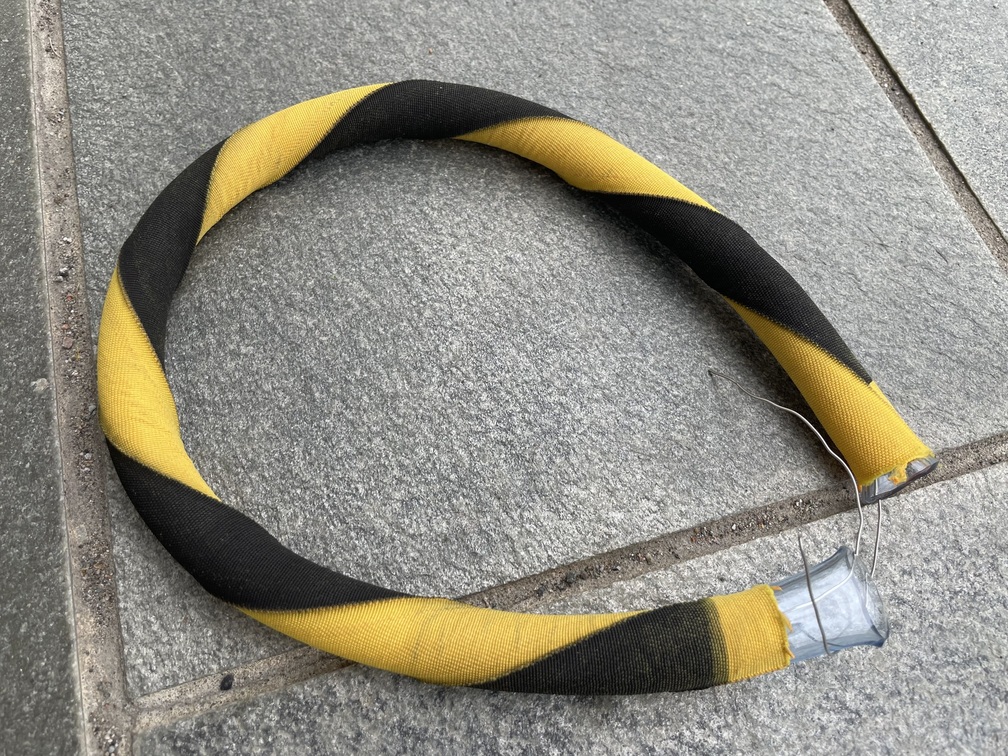
Now that looks rather cool…
I’m thinking of making over head handles, like in the F-4 and F-14.
Thats amazing mate
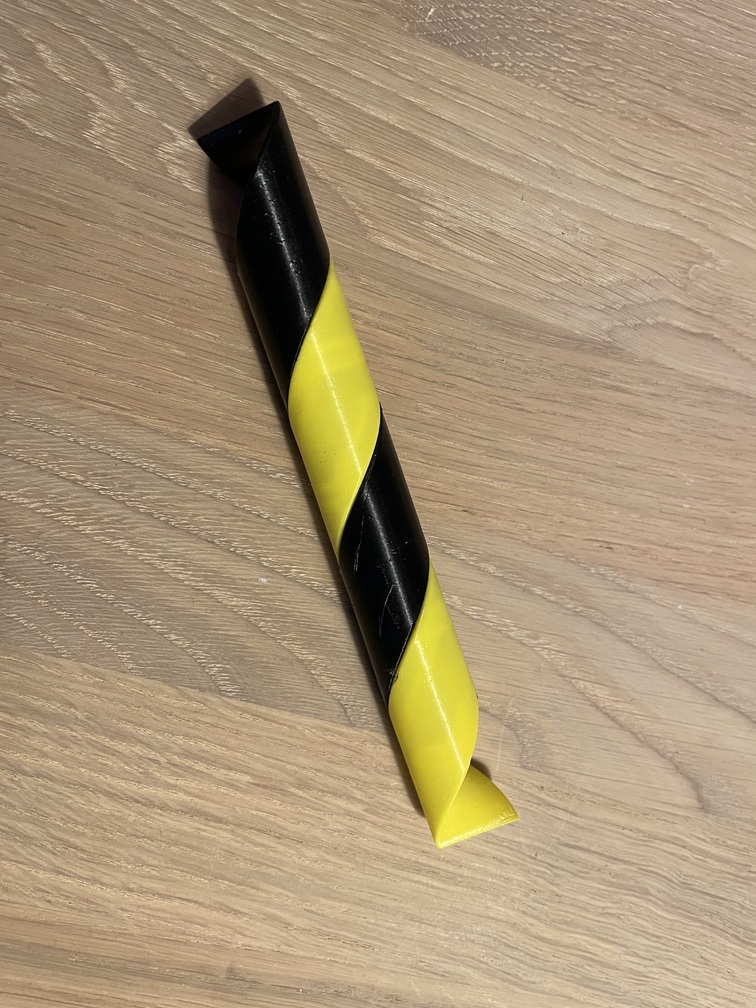
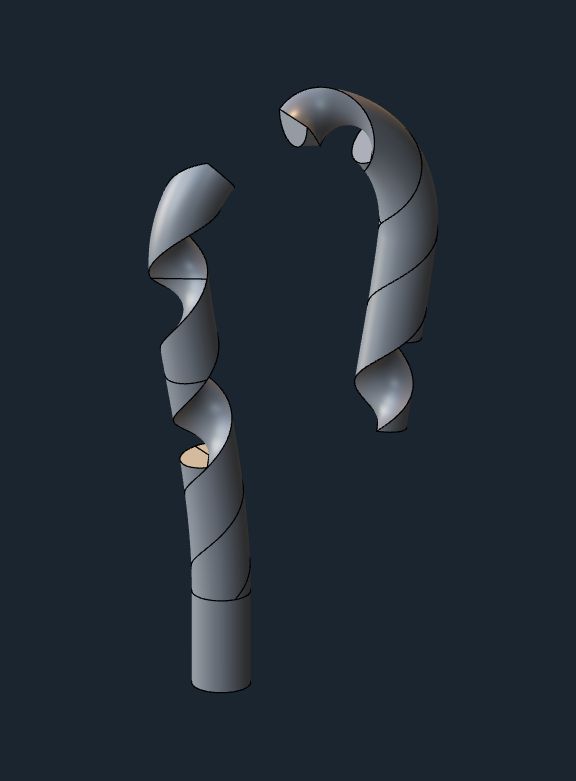
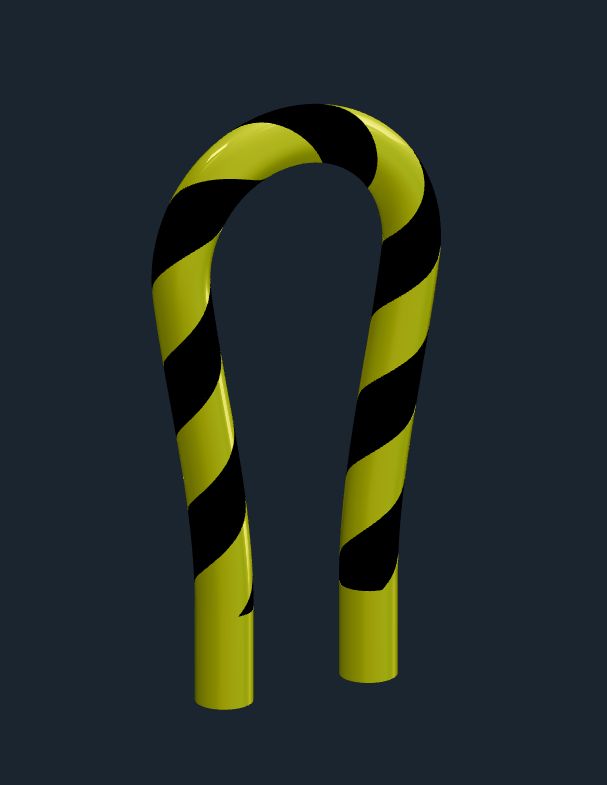
Prints are finished!
A bunch of twisted parts…
Yes, the printer can switch filament during the print, so it would be possible to print the whole handle in one go. I will probably try that too, even if it’s a 16h print. The switching of the filaments takes about half a minute and is done for every layer, so about 11 hours of the print is filament switching.
So for now, I print the handle in parts, with yellow and black overlapping. I could also try printing the different colors as single, separate pieces, and see how that goes…
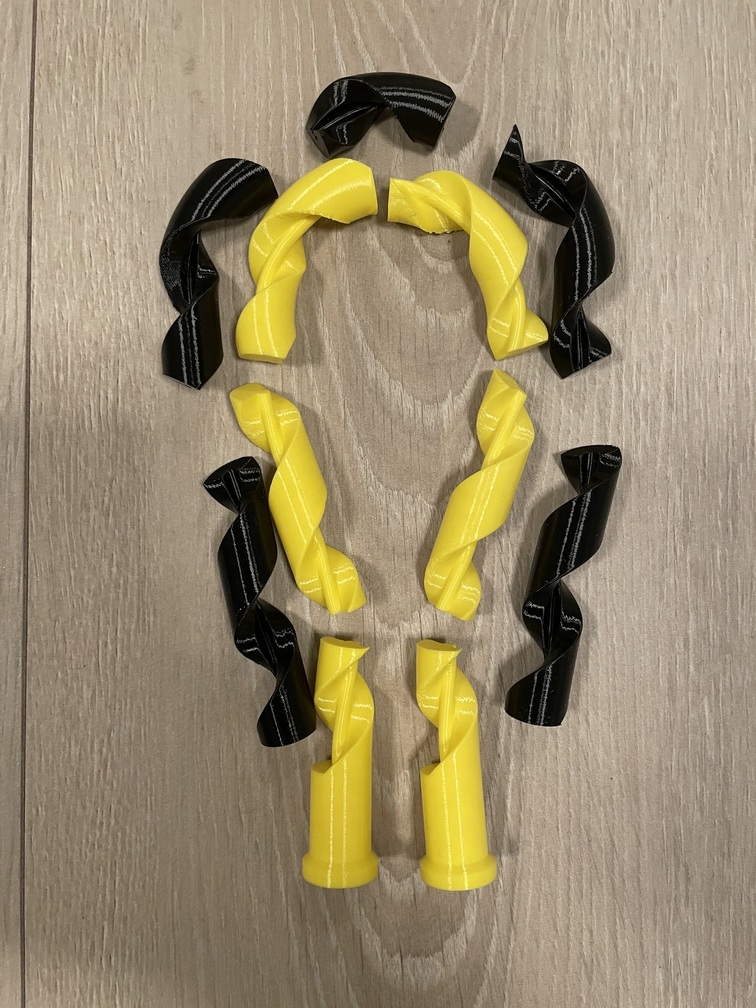
They actually click into place rather well!
I will try glueing with a flexible CA glue to see how that holds up.
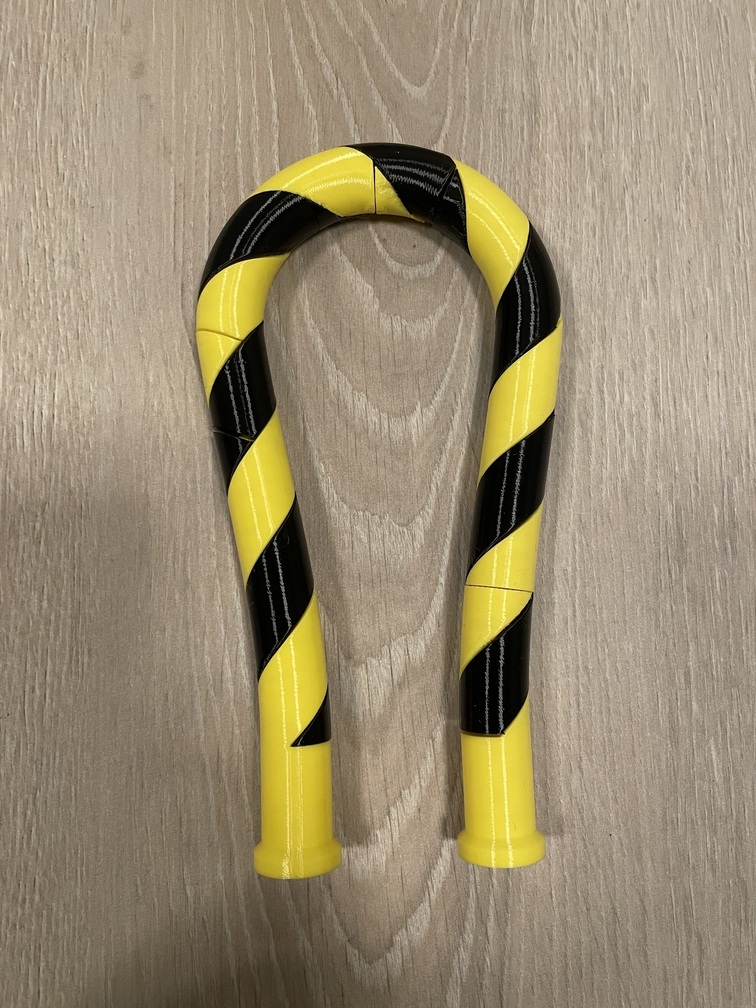
So, glueing the parts worked… It’s not the optimal solution though.
Let’s try something else.
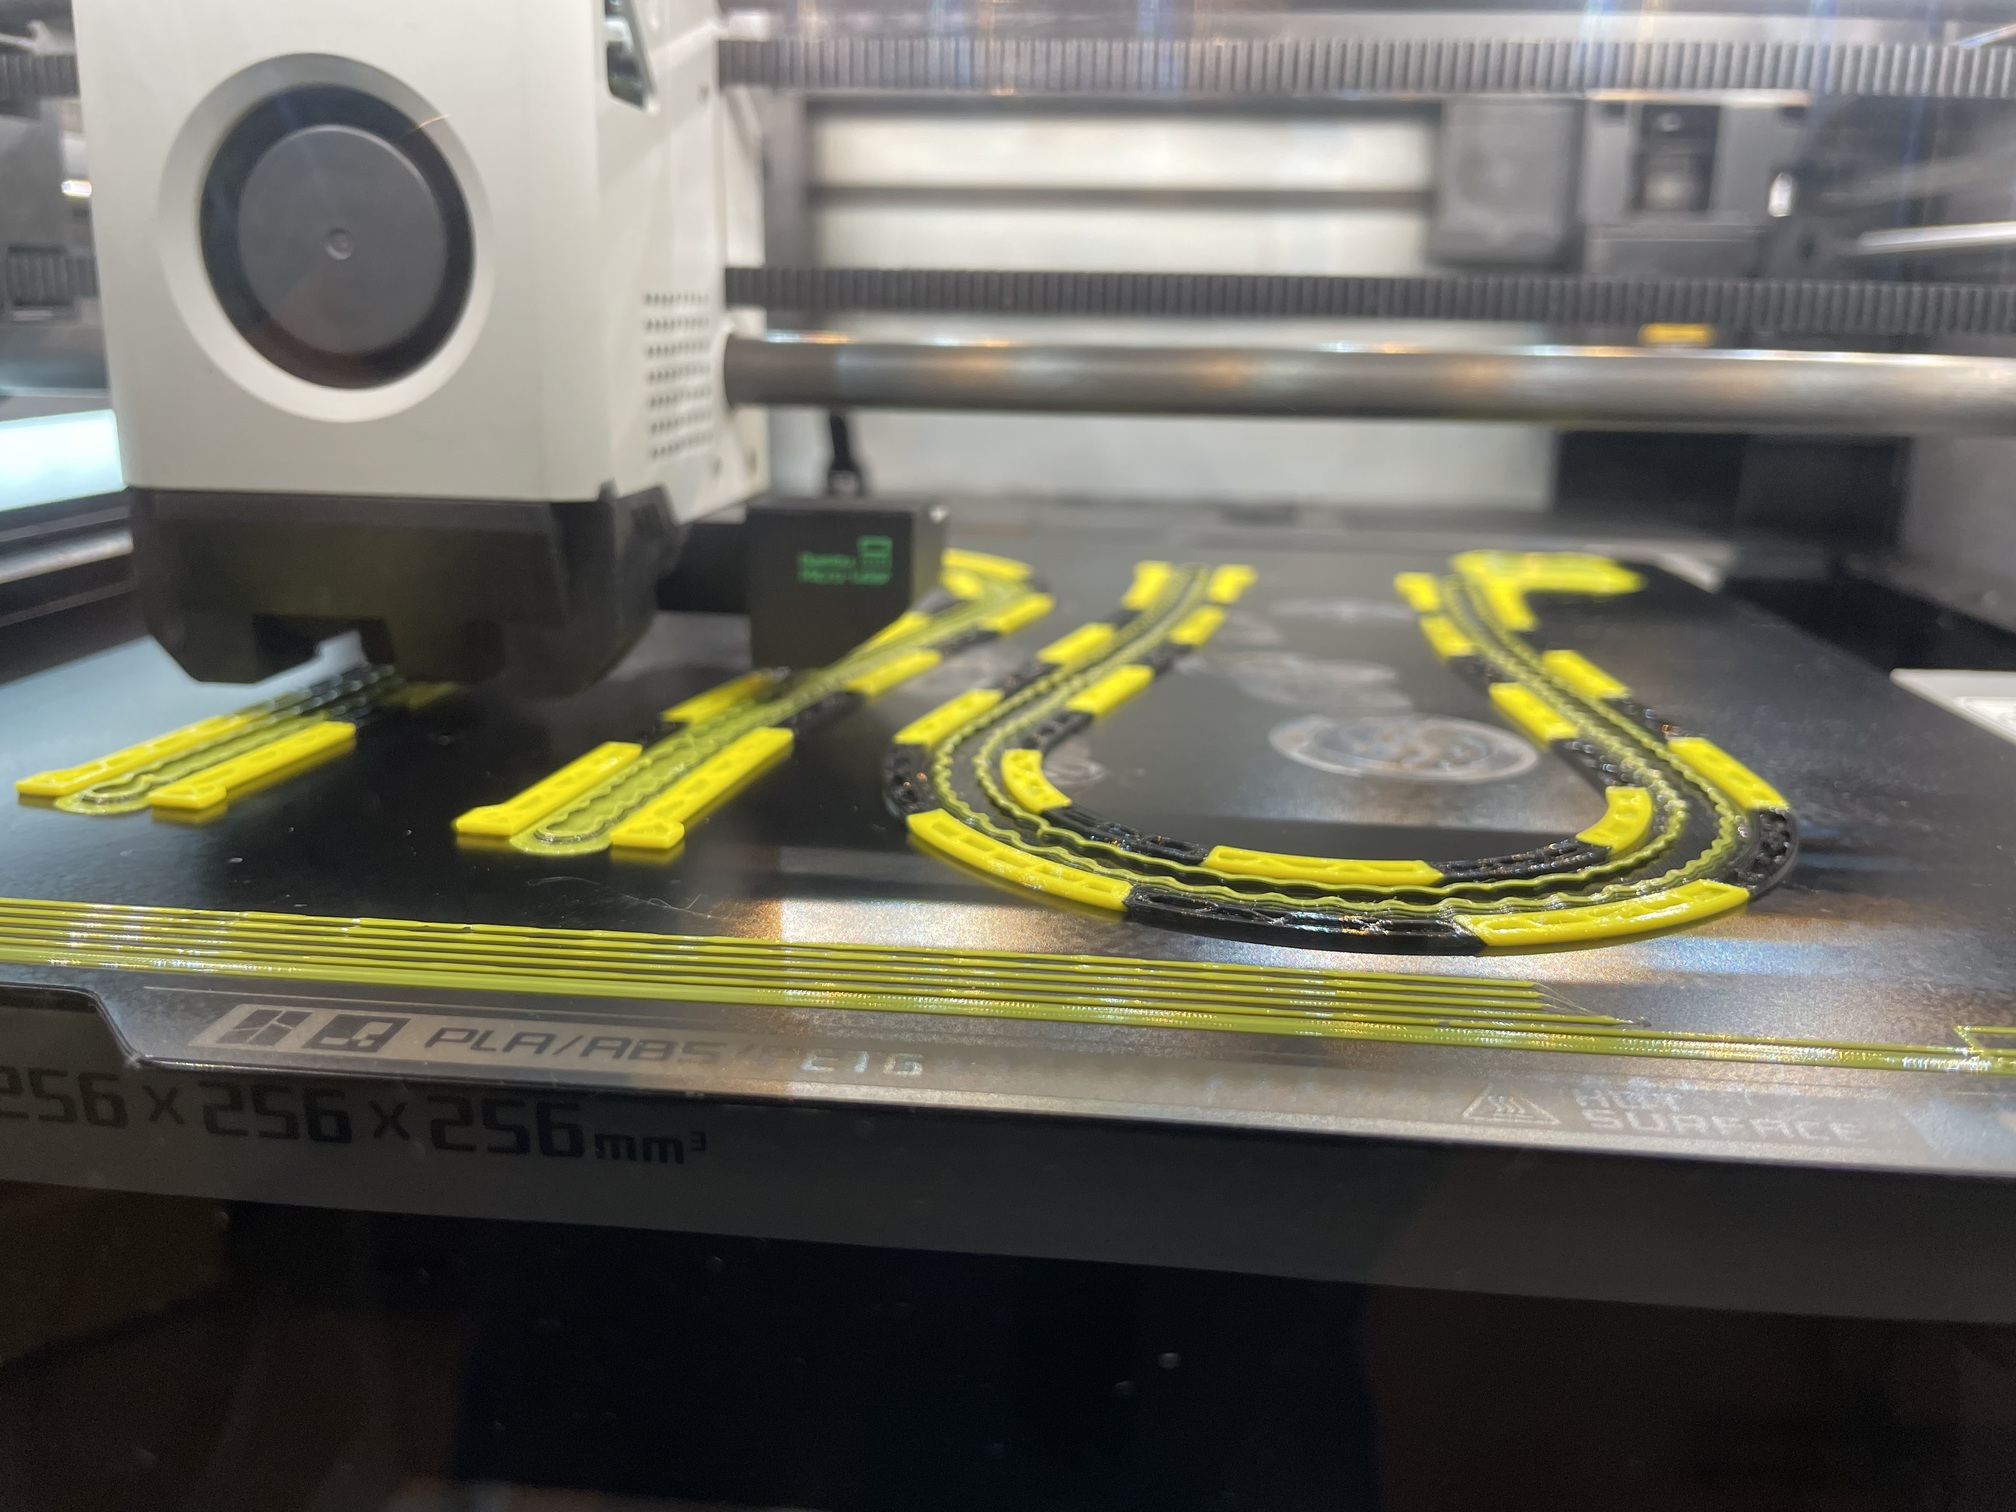
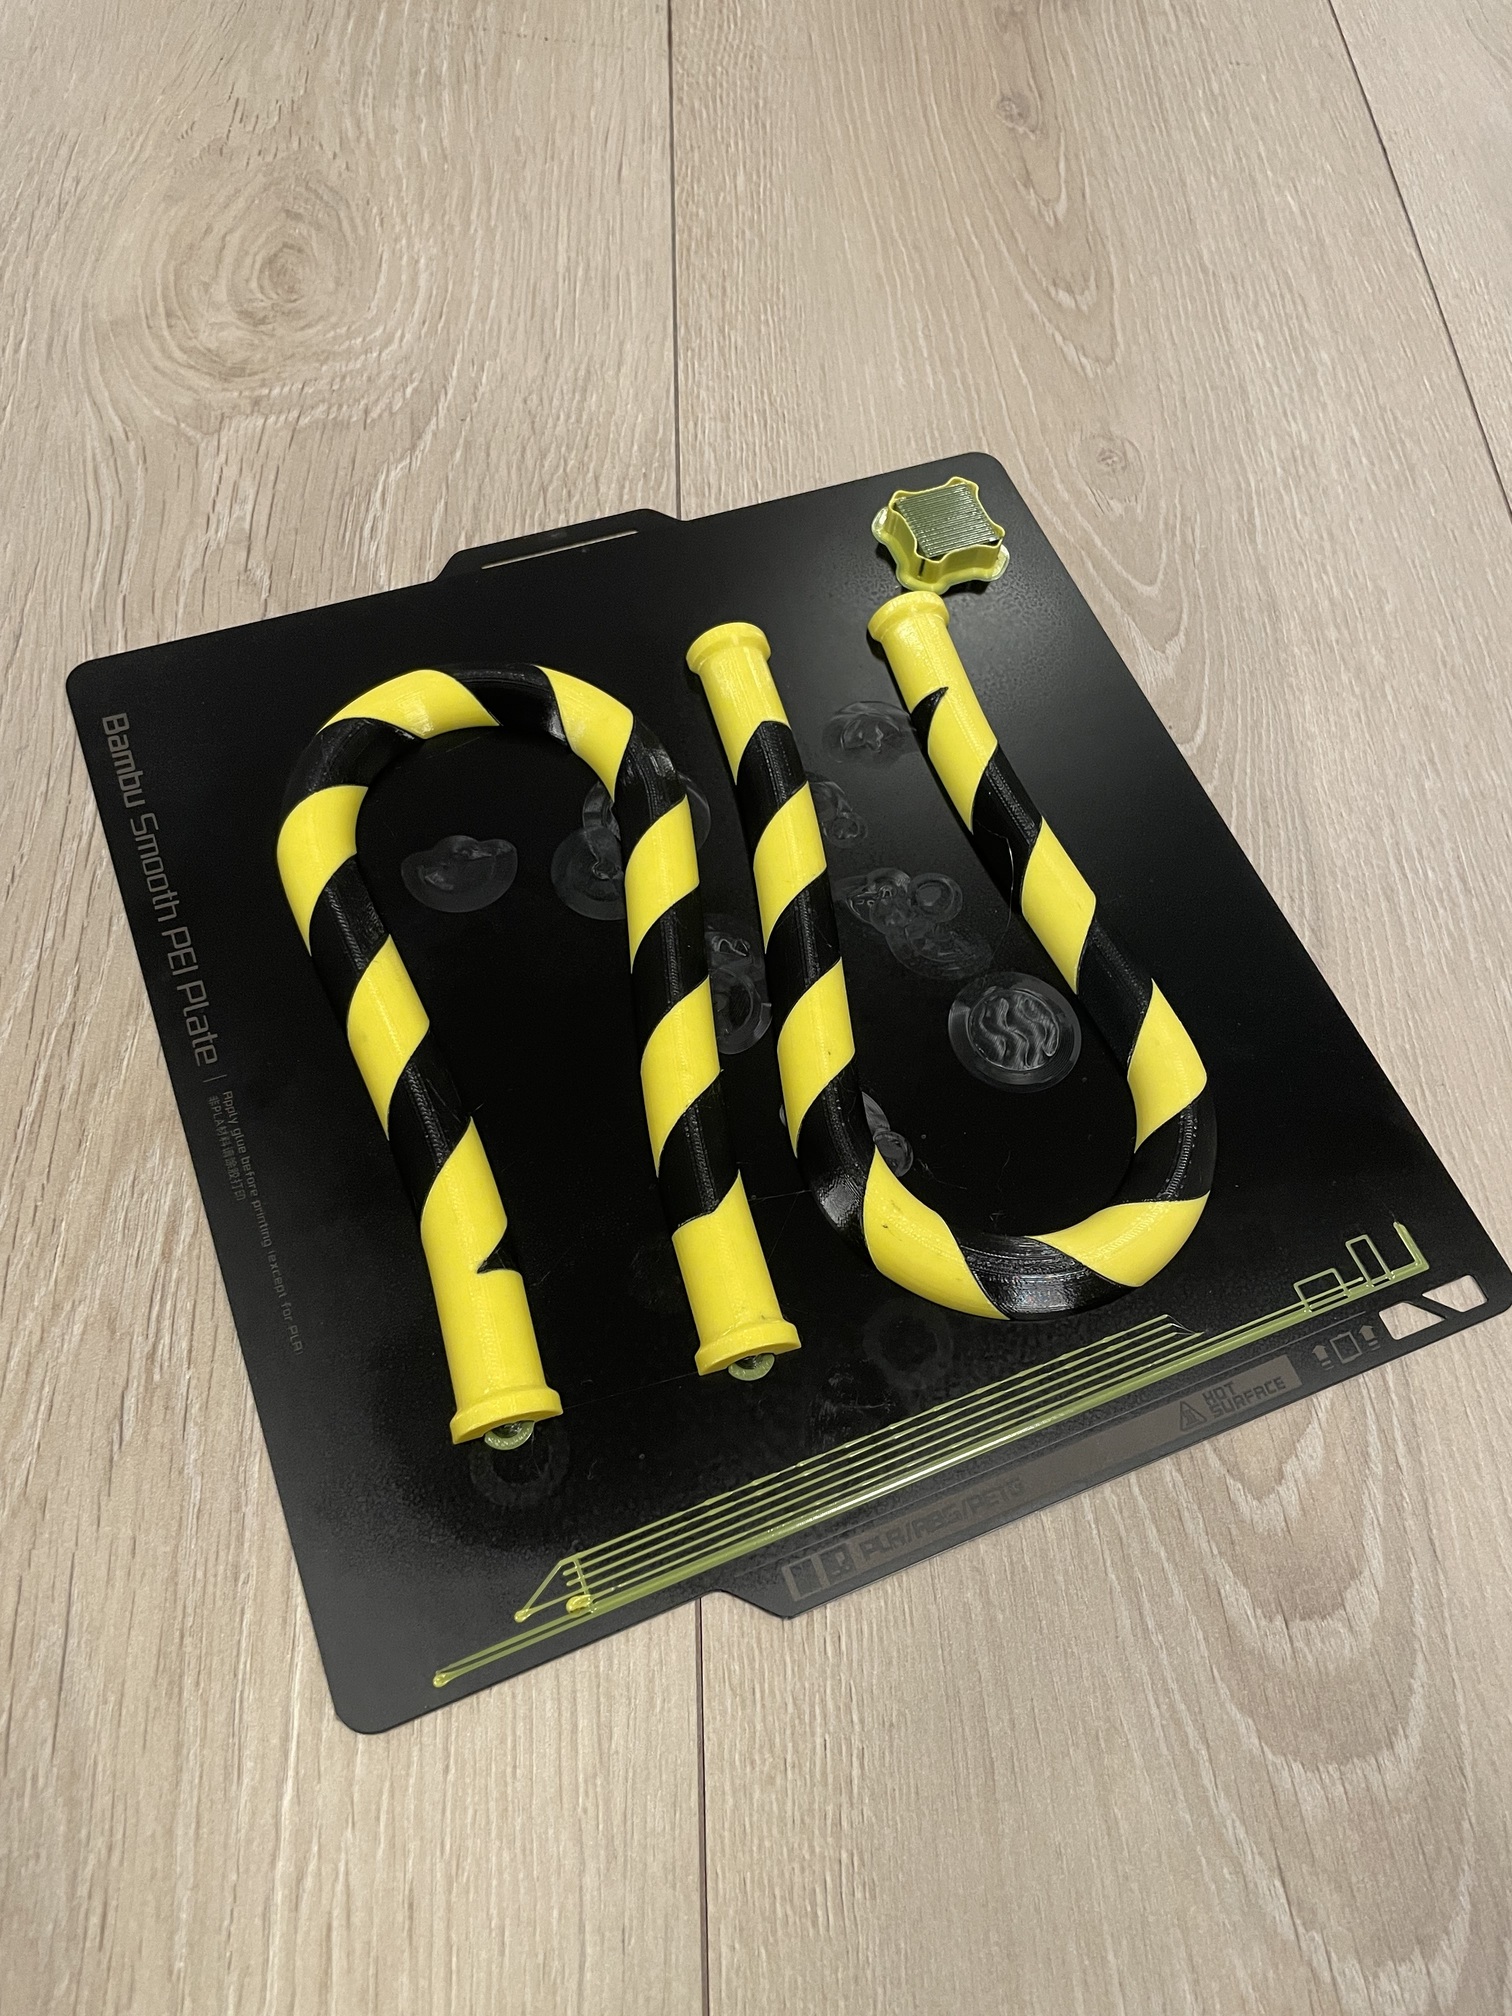
I’m printing the handle split in half, lying down on the printer bed. I hollowed out the handle to accept a 10mm electrical cable I had lying around. This cable will act as a key, aligning the two parts of the handle when they are glued together.
flight simming and 3d printers a match made in heaven 
I love my Bambi X1C (same as you, Troll, I seem to remember). I use it for all kids of things, but especially tweaking the flight simulator.
I love 3D printing!
The possibilities are almost endless!
And yes, I have the Bambu X1C. It just works! Really happy with it!
Exactly, it just works. Even for long prints, I’m not concerned with print jobs that take 5-10 hours. And I have the AMS, so having 4 color options on a single print is pretty fantastic, or separate filament for supports, etc… It’s a fantastic piece of kit.
I also love their Maker site. Amazing what is available on their app and ready to print in seconds. For example, I’ve been at the hardware store, seen some little plastic tool or doohickey upcharged way beyond the material cost, found a similar object already available on the Maker site, hit print from my phone, and had it waiting when I got home.
Indeed! It’s really good.
Those hoses are such fun. They retain pressure for quite some time after turning off their feed. I had some fun with them disassembling the nozzle right after turning the faucet off. Or that time Bert cut the thing while there was pressure on.
They are very practical yet also more fragile than regular old hose. anyway.
Eject! Eject! Eject!
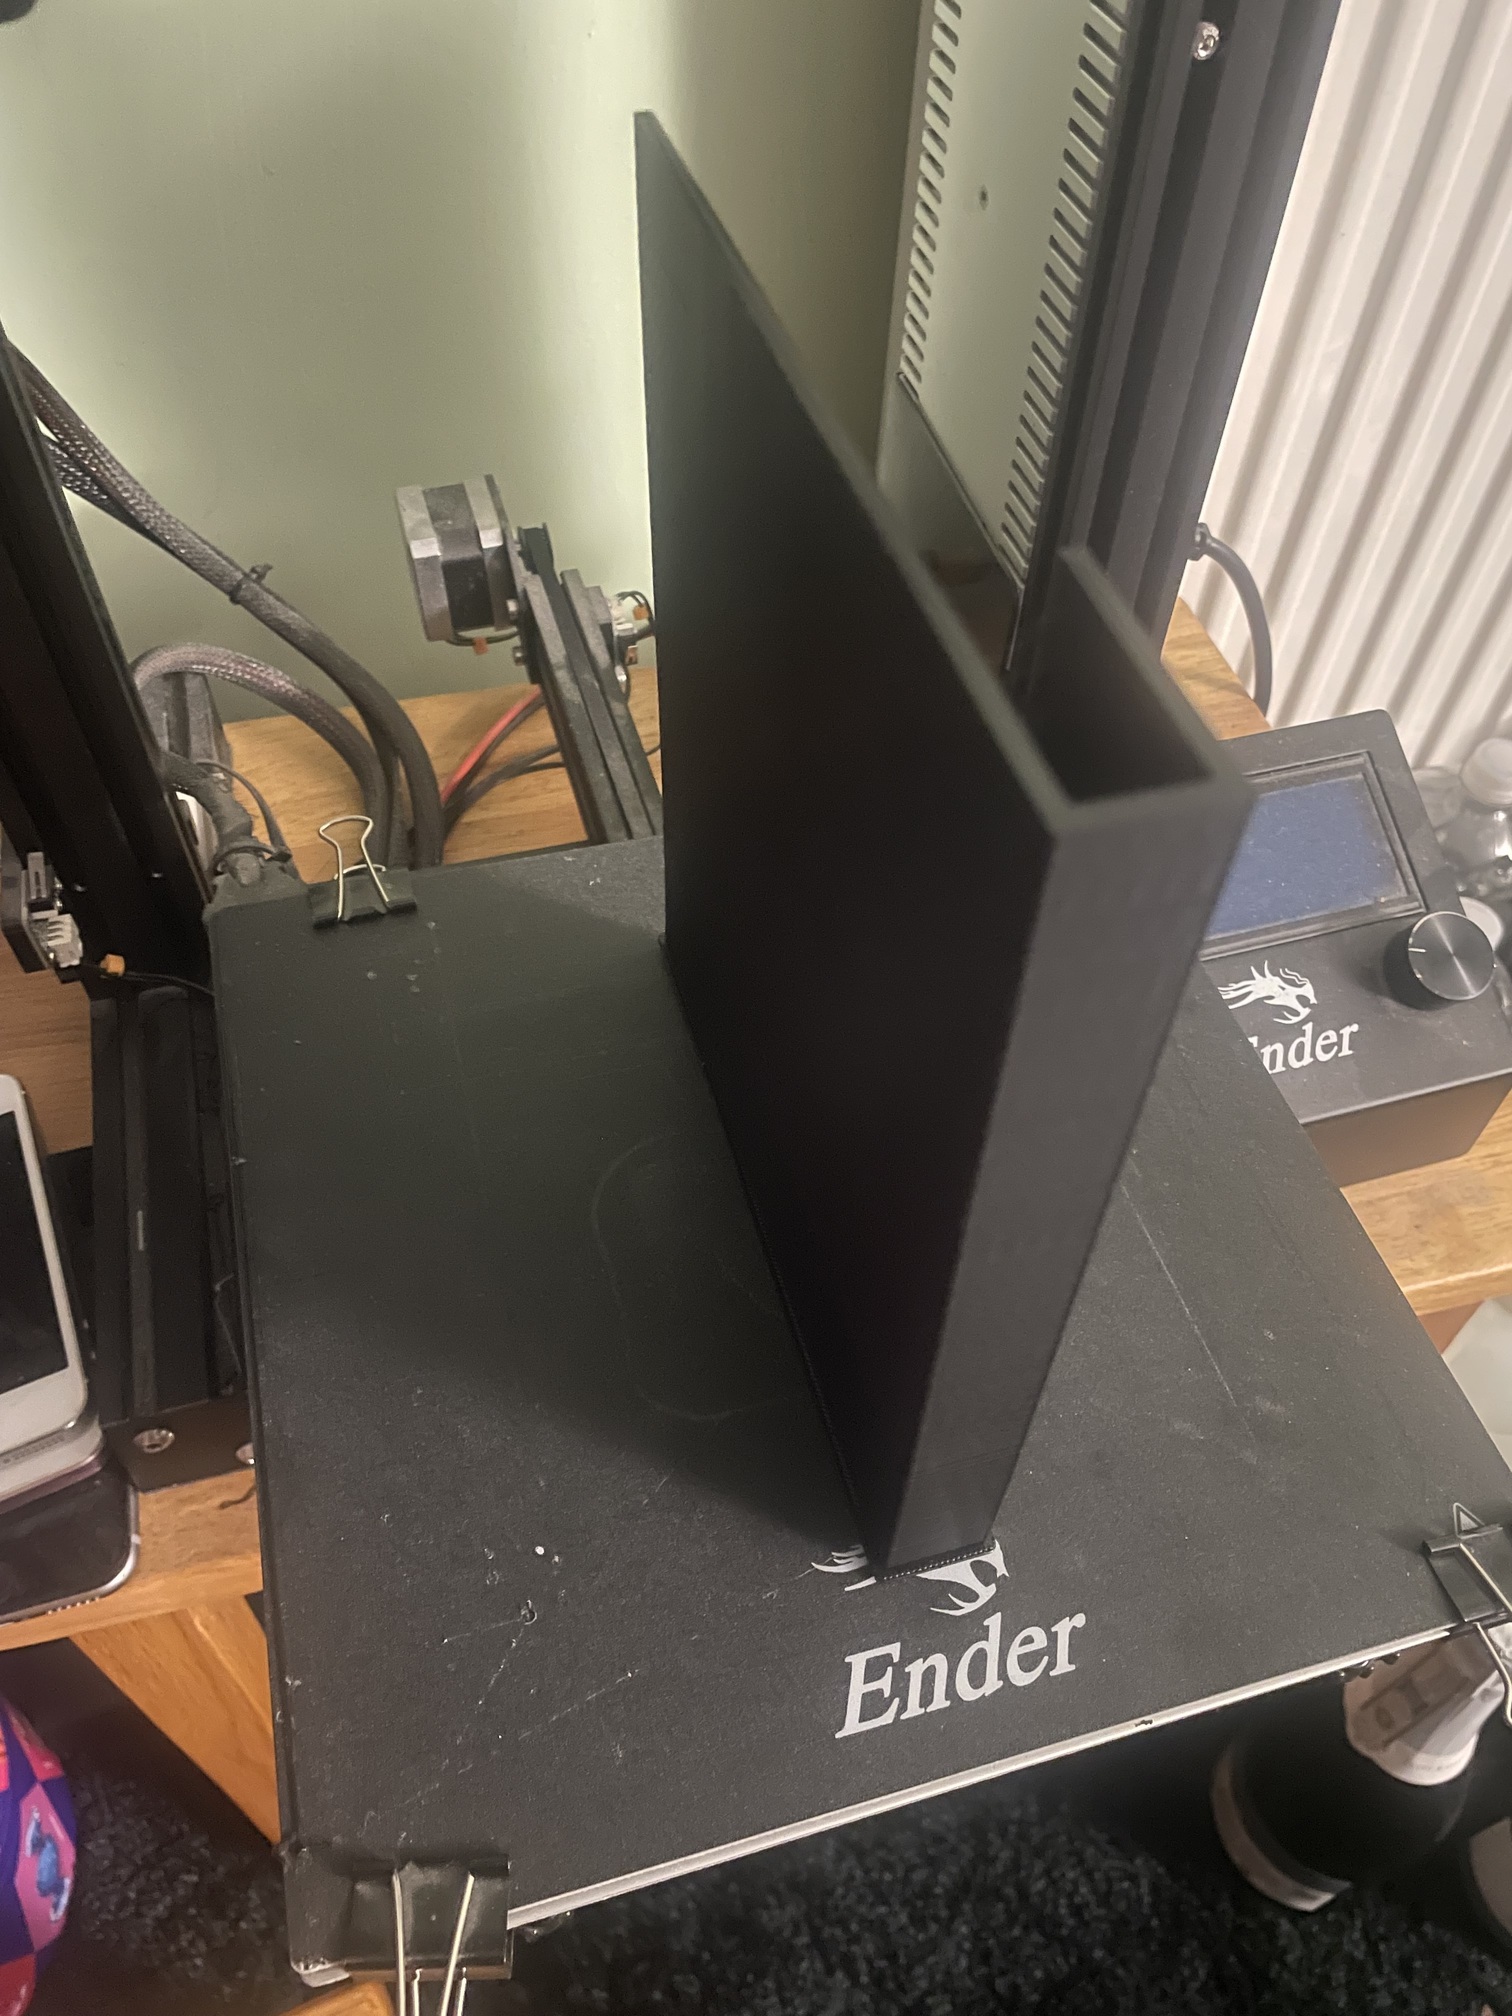
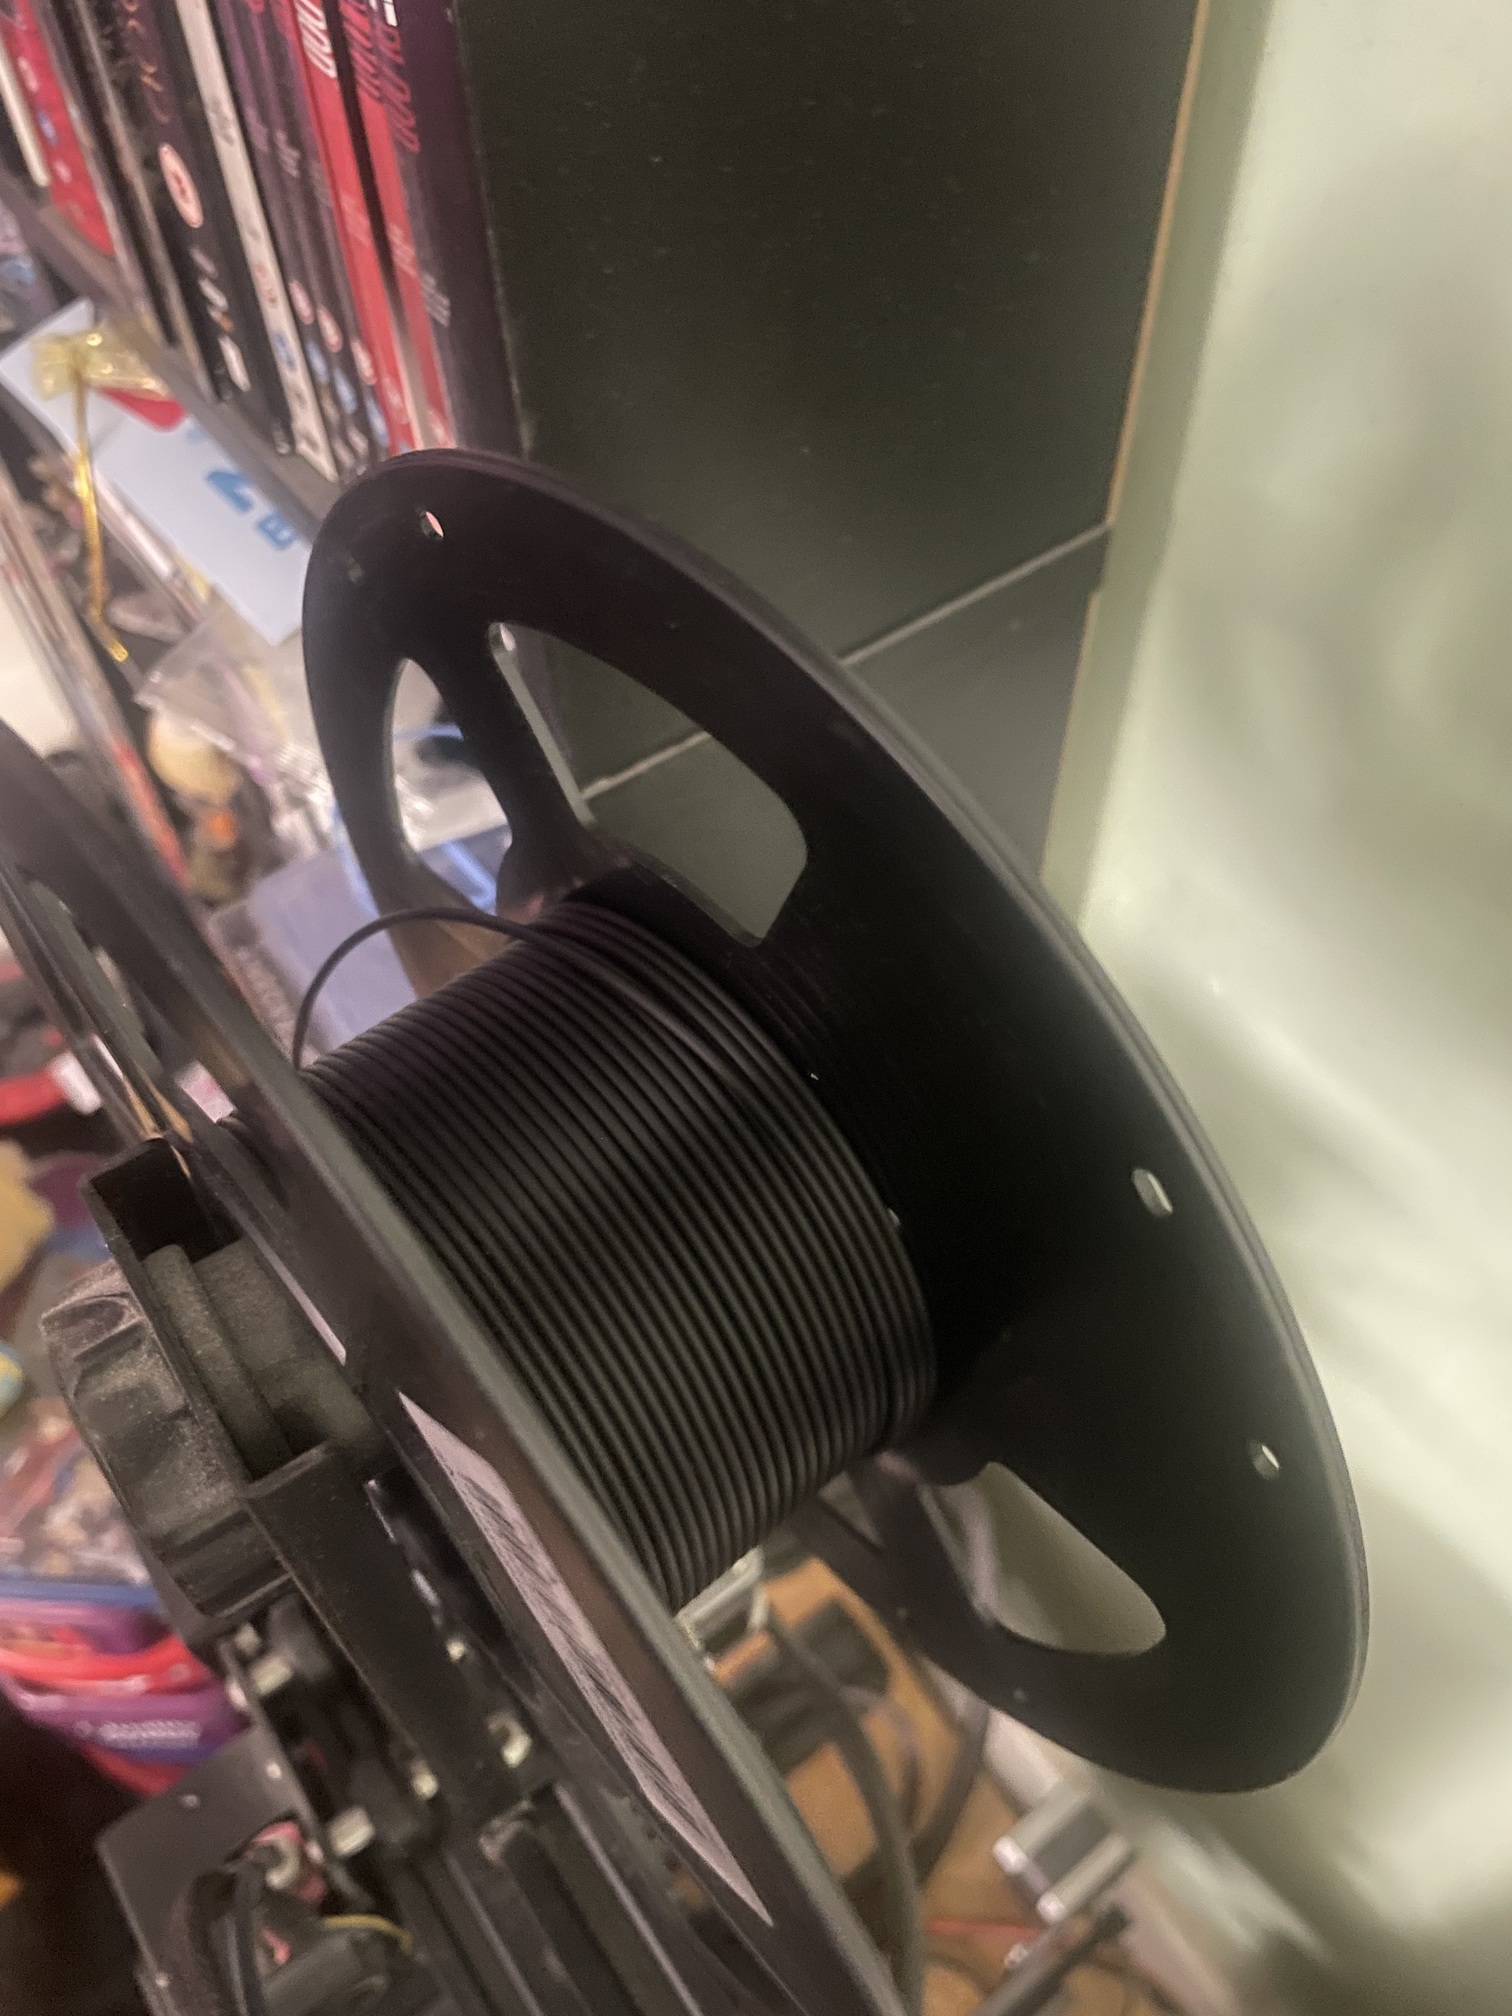
I once had a print end with about an inch left of filament sticking out of the extruder…! 
BTW, impressive print height on a bed slinger!
Cleaned up the parts and the cord insulation with a light sanding and some rubbing alcohol.
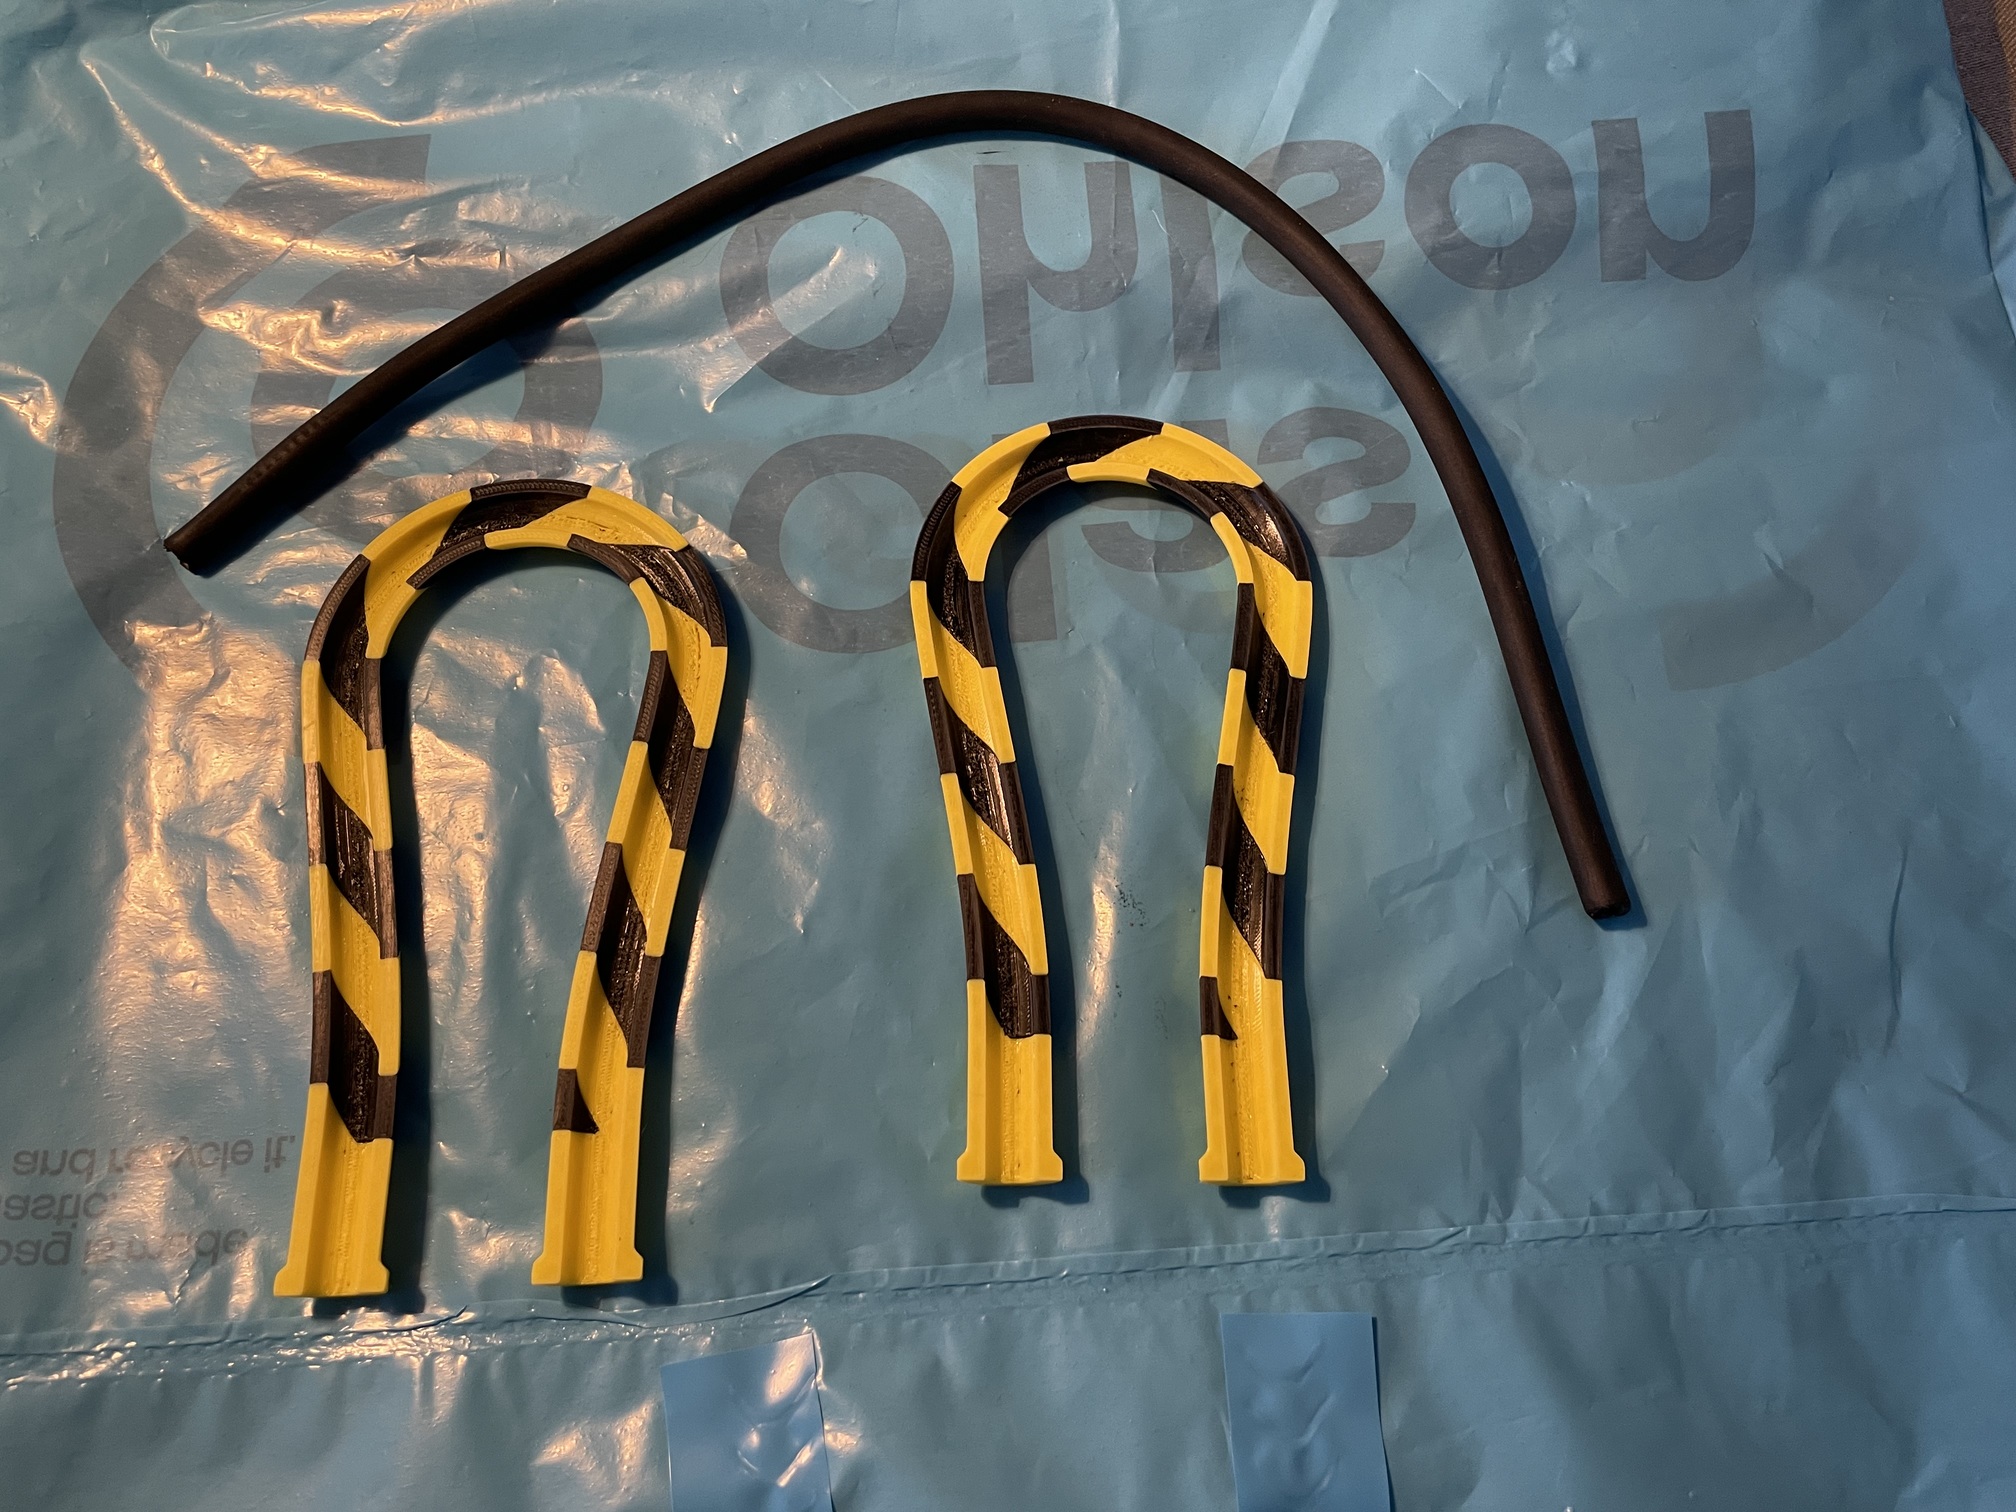
Put some flexible gel CA glue in the channel of one half and pressed the cord insulation in there. Added more glue and mated it with the other half of the handle.
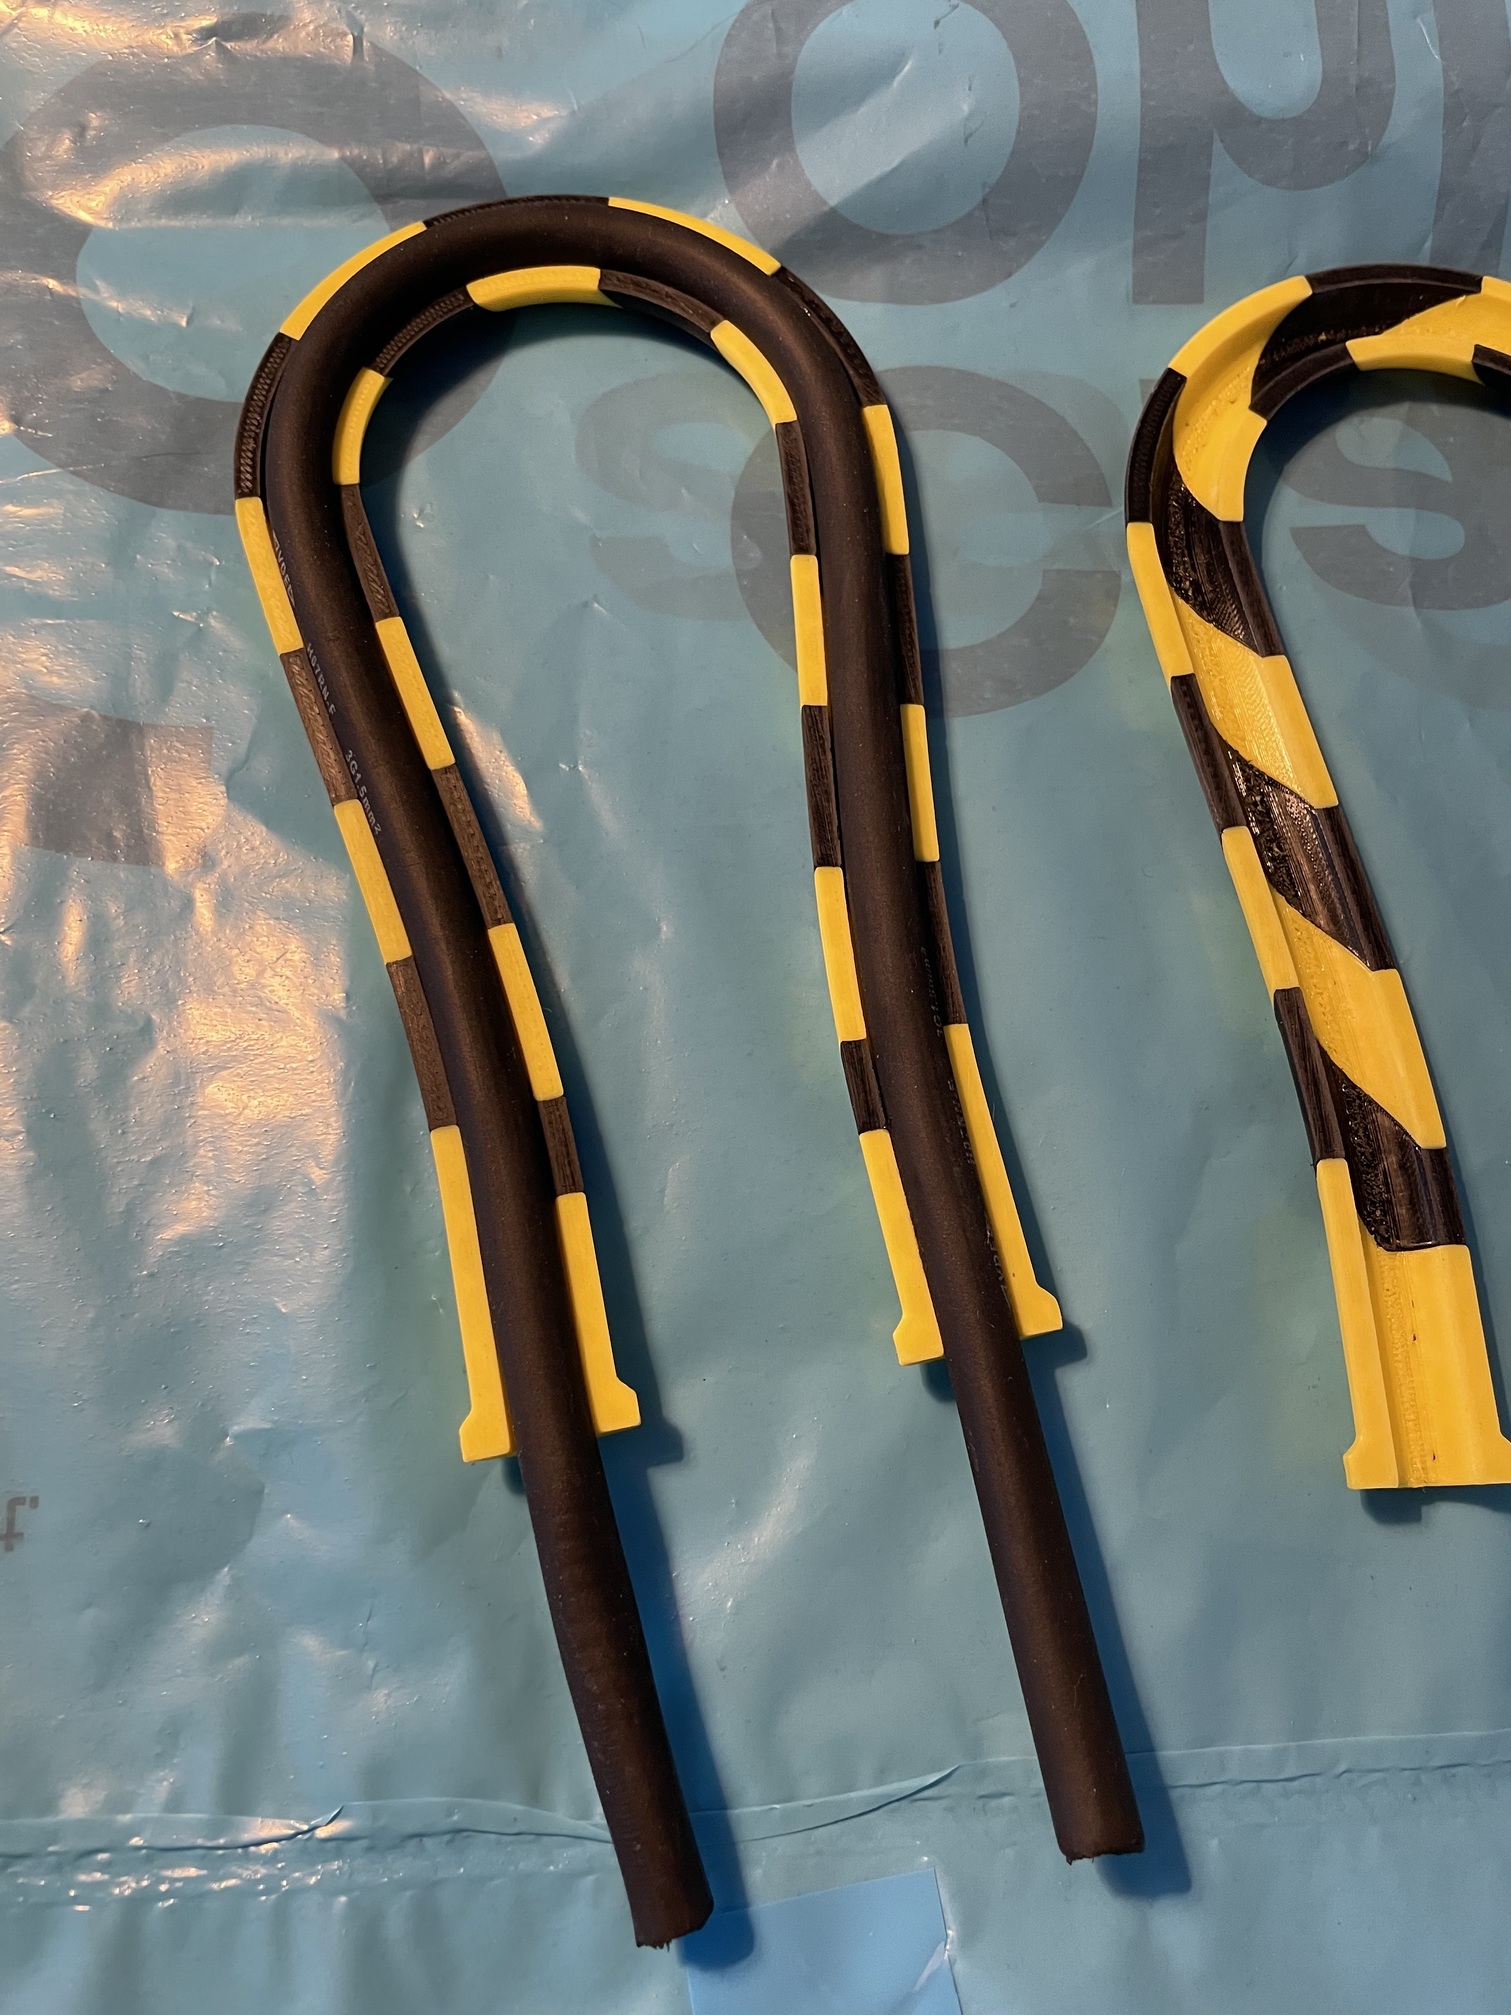
I used electricians tape to hold the parts together but I may have made the channel for the cord a bit too small as the fit is very tight…
Oh well, I am already thinking about an alternative solution… 
Not too shabby!
I sanded it to get rid of some layer lines and hardened glue. As the filament is flexible, it’s quite resistant to abrasion so I needed a rather coarse sanding paper.
Could use a bit more sanding, but I stopped there as this is not the final solution.
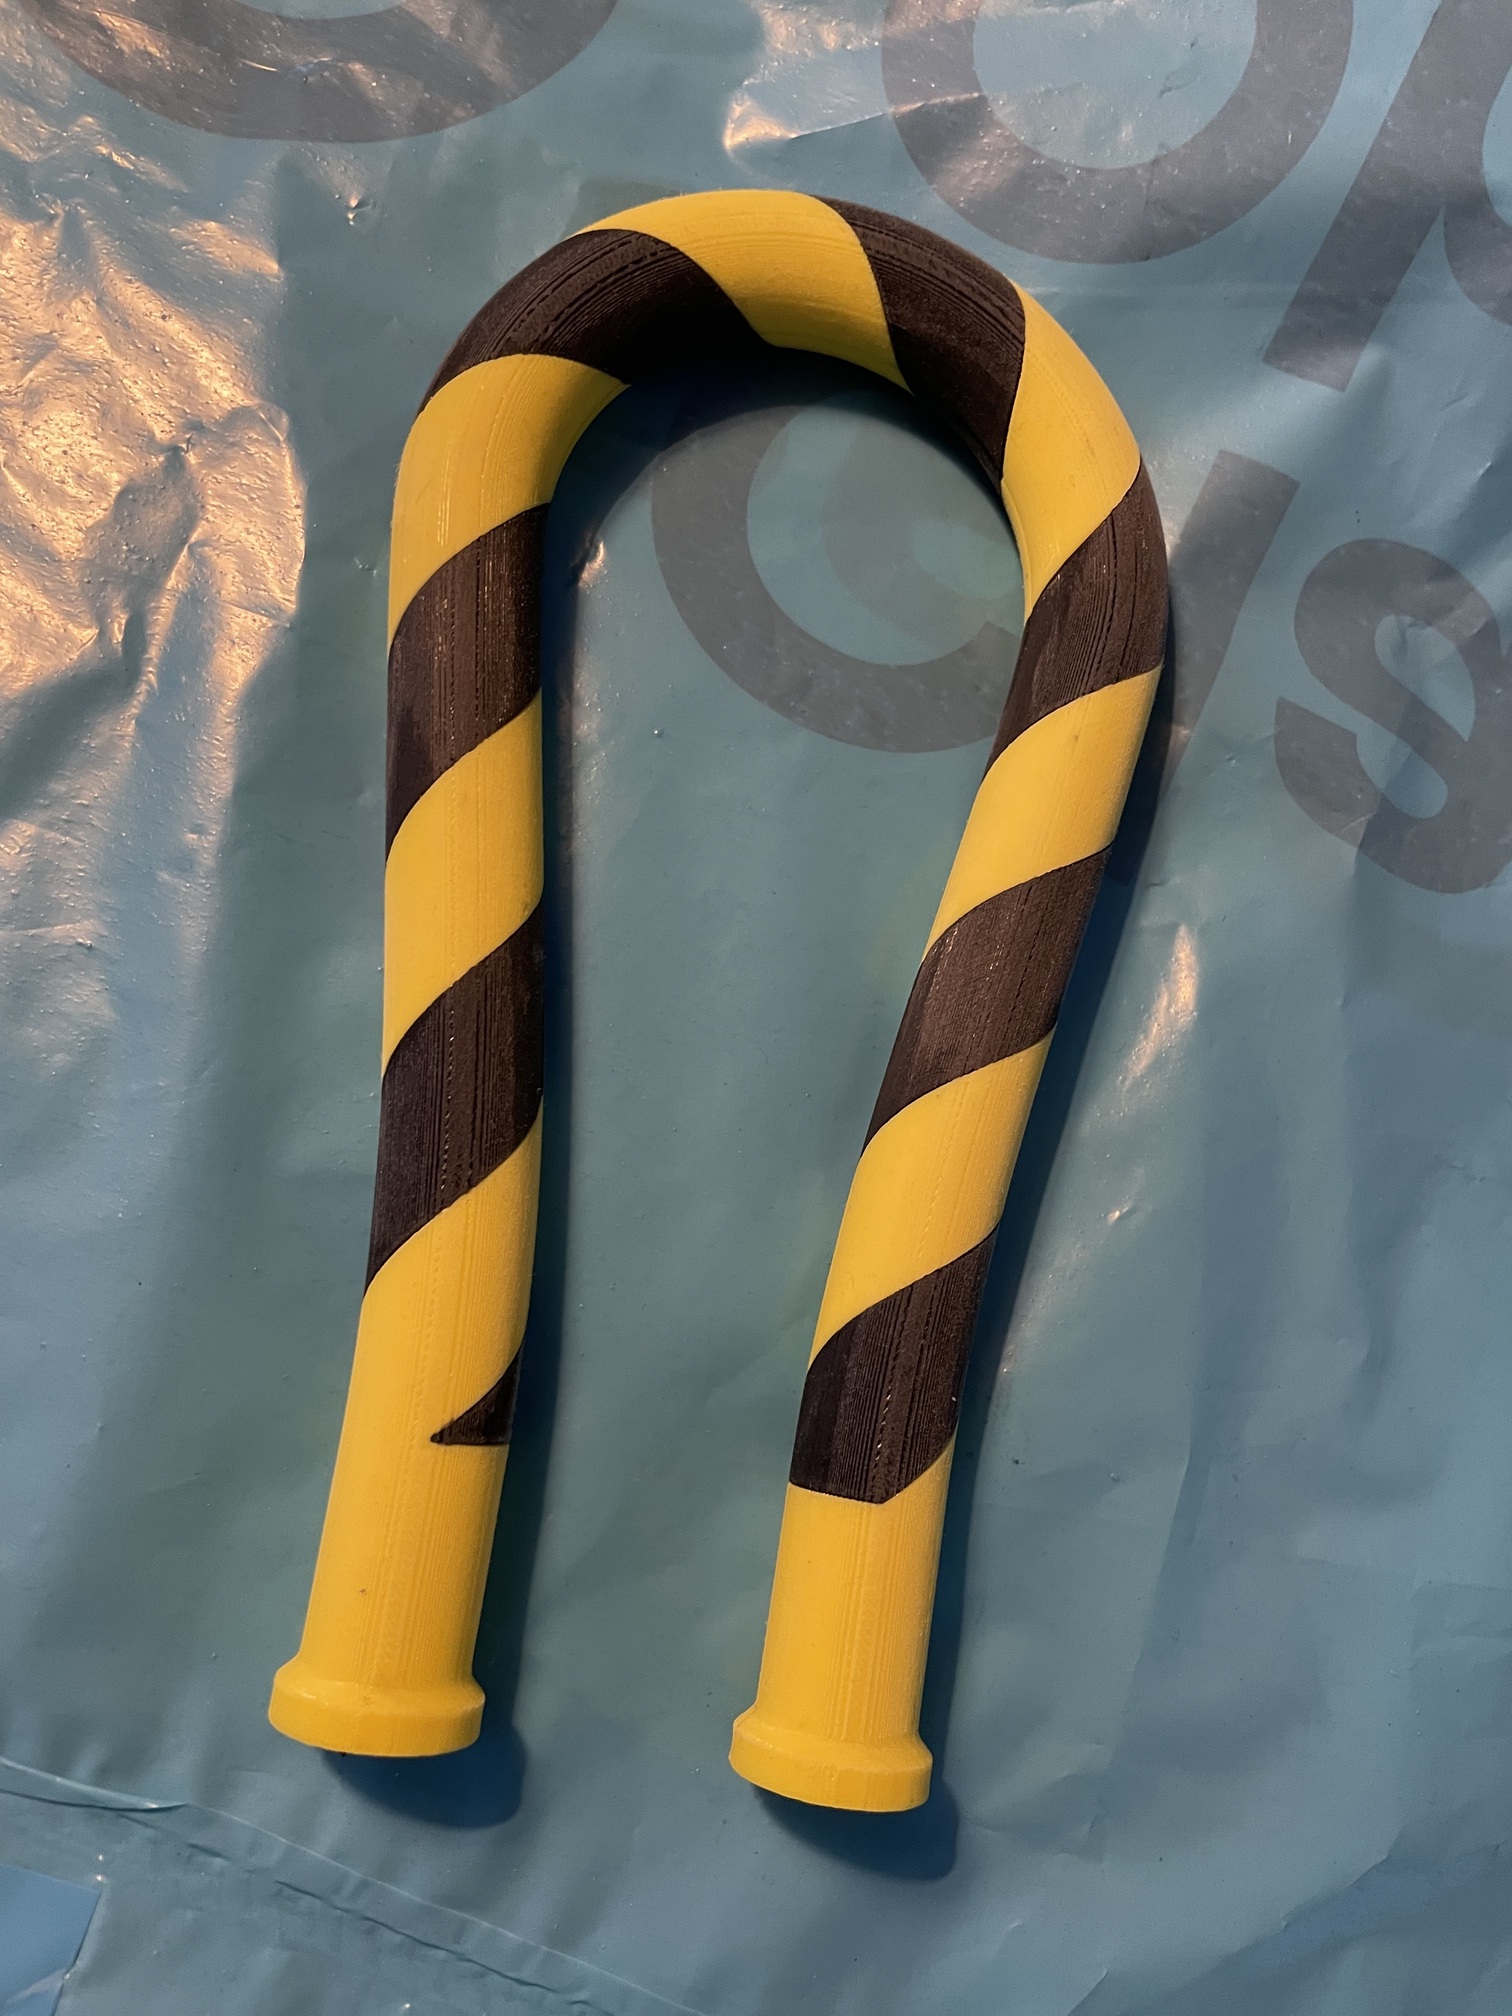
Unfortunately there are some gaps due to the channel for the cord not being wide enough.
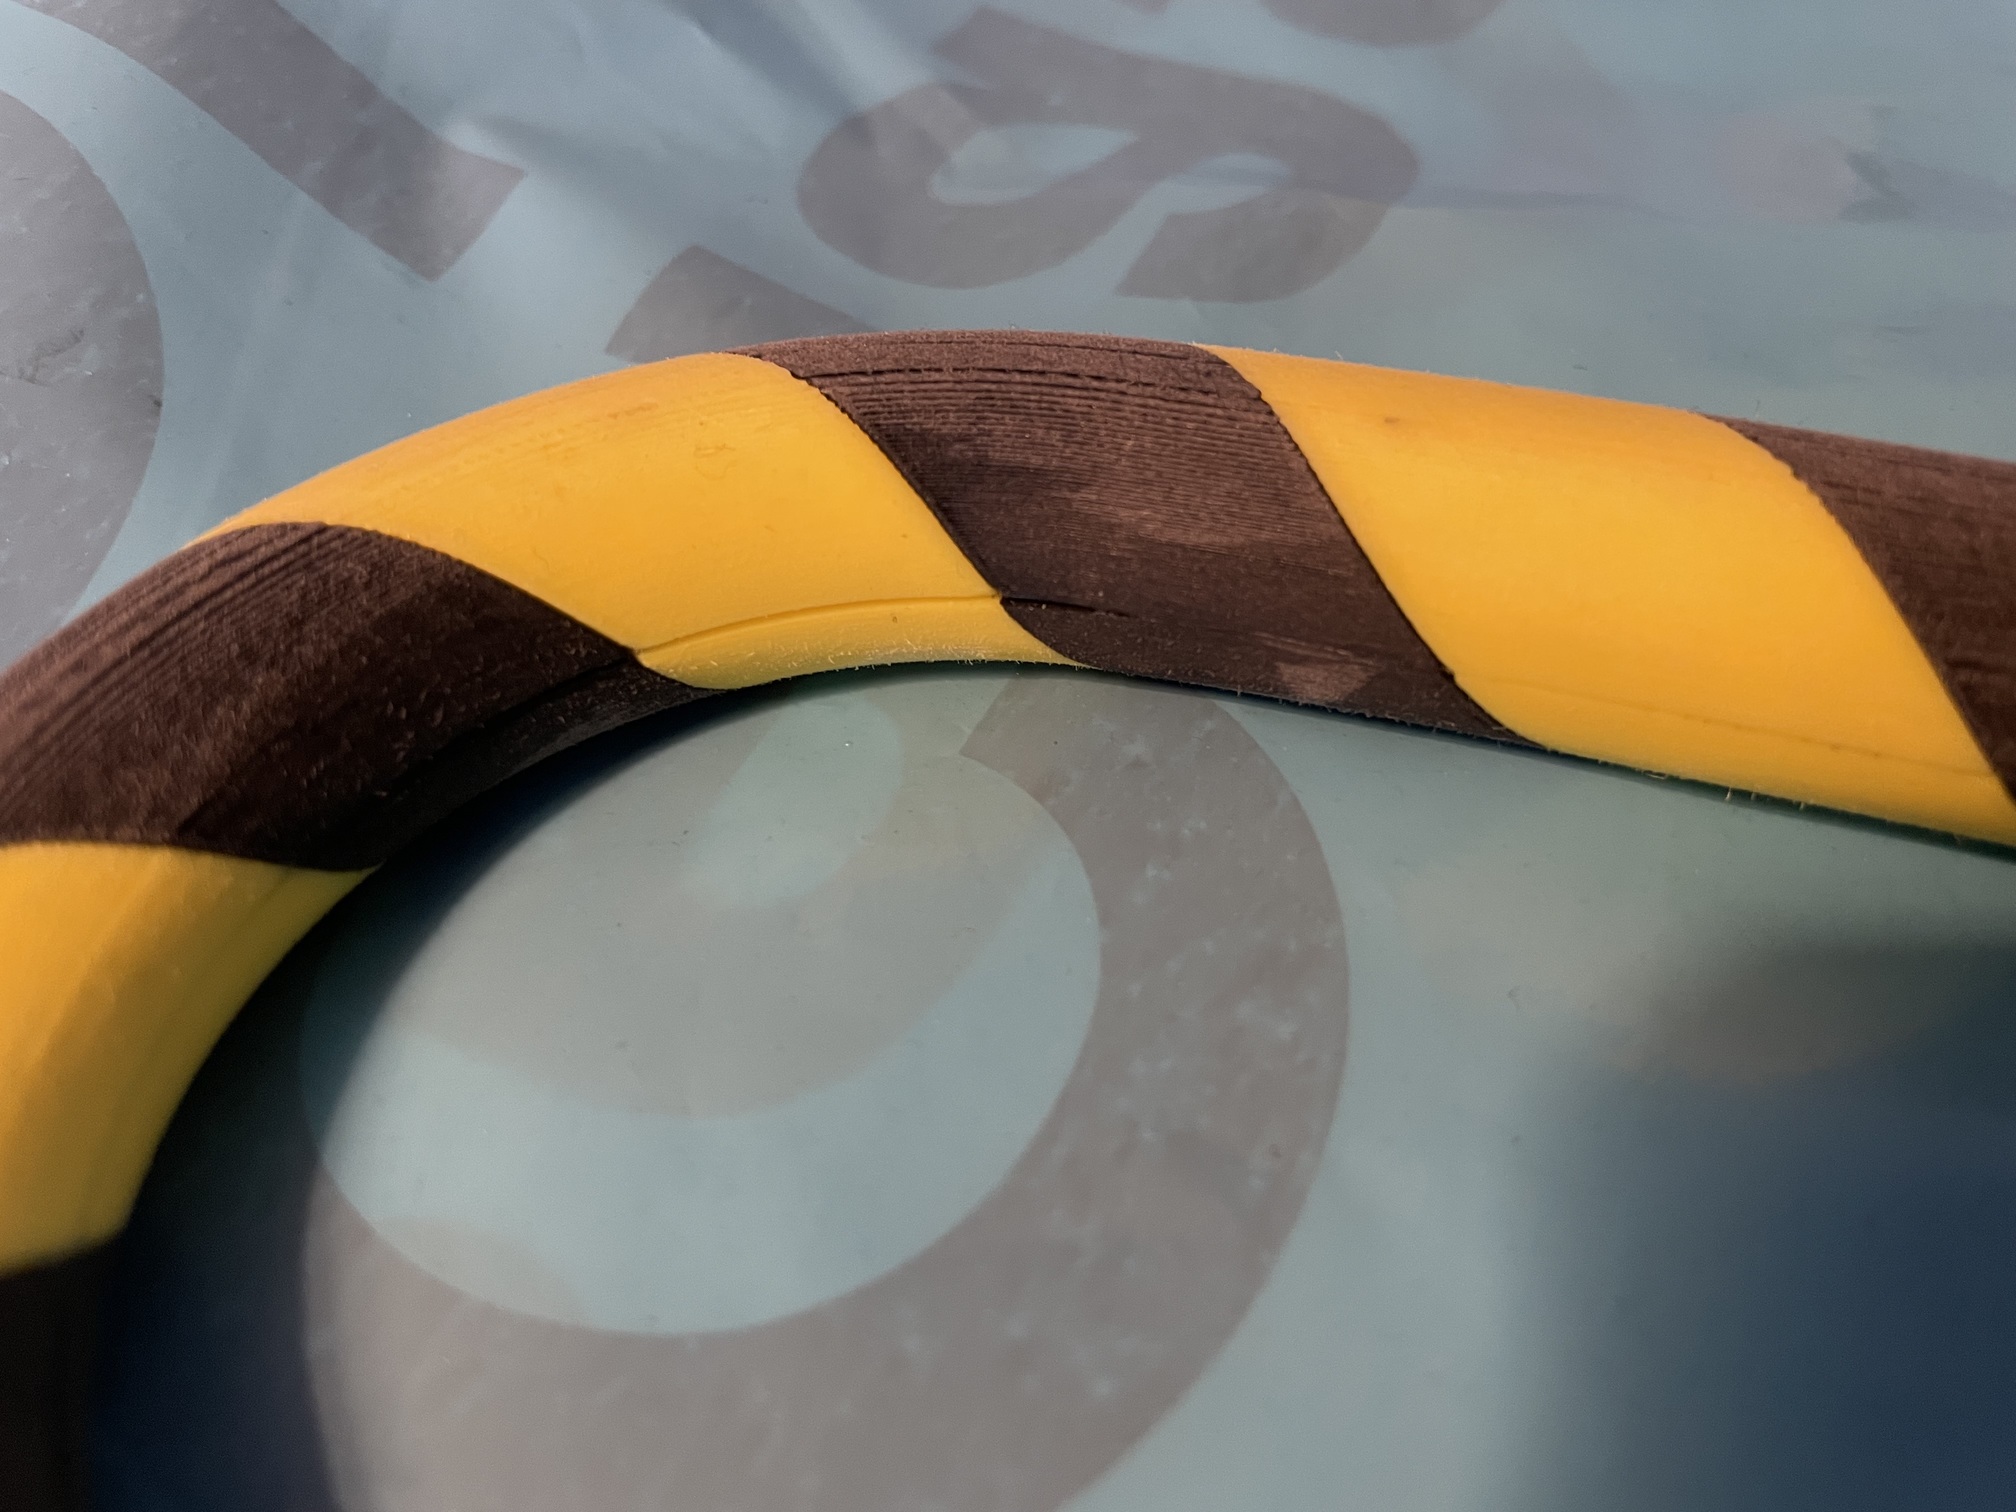
Still, it’s starting to look the part… It’s a bit stiff even though it’s printed with flexible filament.
Problem with soft and flexible filament is that it can clog up the AMS (Auto Material System which allows for filament swapping during printing). This is why the filament can’t be softer than the one I’m using now.
The next version will have less material. I’m running a print for a handle with 16mm diameter (this one is 18mm) and a 11mm channel (this one is 10mm).
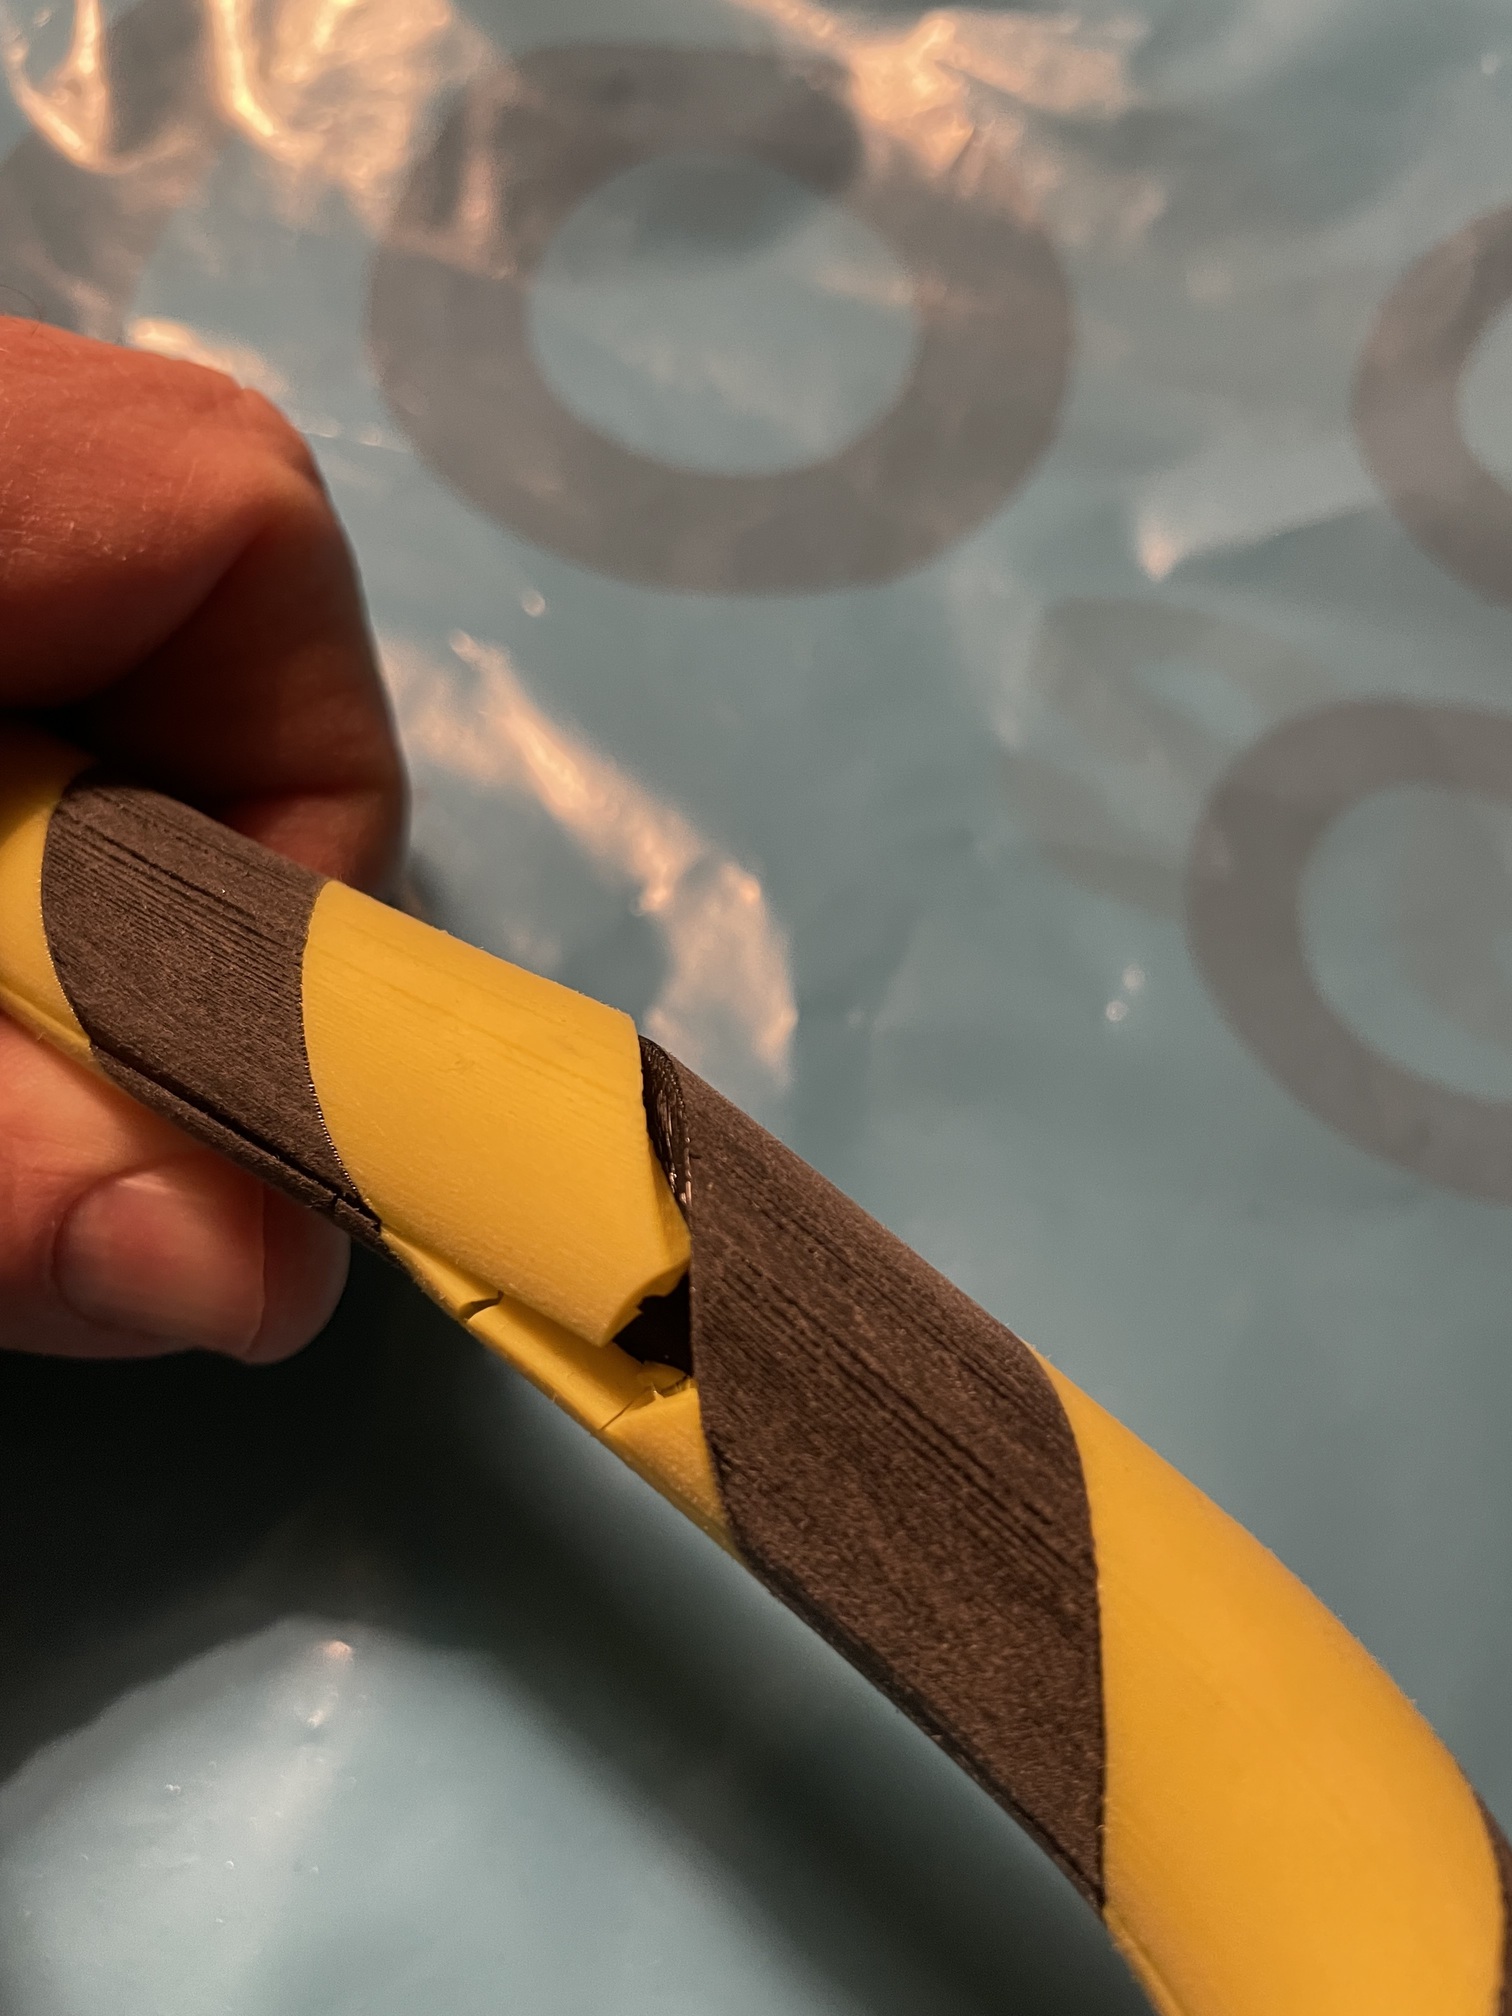
How much did you eject with it?