I am doing a Battletech Campaign, inspired by @Bogusheadbox’s Battletech AARs and discussions, until I get bored. If you are interested, please join us over at the main thread for discussions, strategy and tactics:
Mission #4: Frankel’s return to service the lazy sod - here;
Mission #5: Let’s get those ammo containers off of the centre torso (CT) - here;
Mission #6: Got Milk? - here;
Mission #7: Sit there and try to look menacing - here;
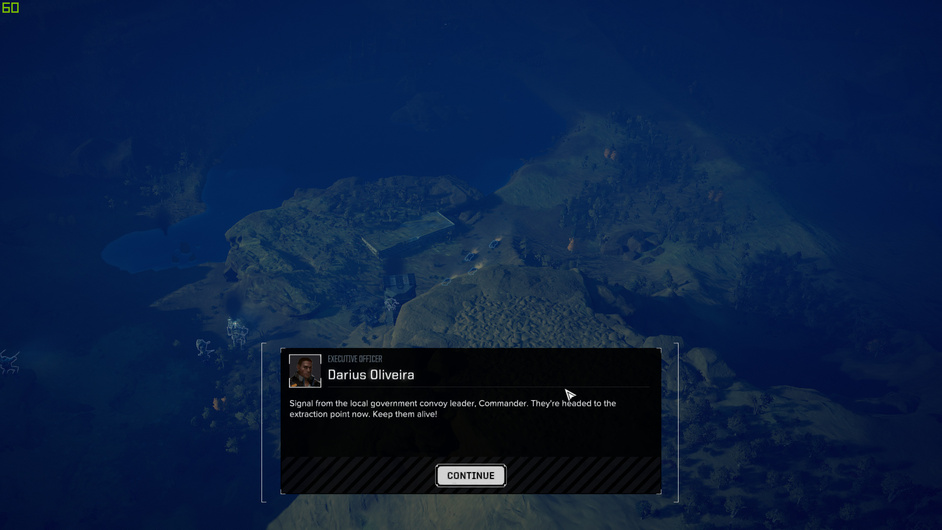
Mission #8: Protect the Conv… No, wait! Get back here! - here;
Mission #9: Mistakes were made. - here;
Mission #10: Gettin’ the Rookie time in the 'pit. - here;
Mission #11-#16: The Churn. - here;
Mission #4: Frankel’s return to service the lazy sod.
So let me try an AAR, seeing as @Bogusheadbox is so darn good at them 'en all!
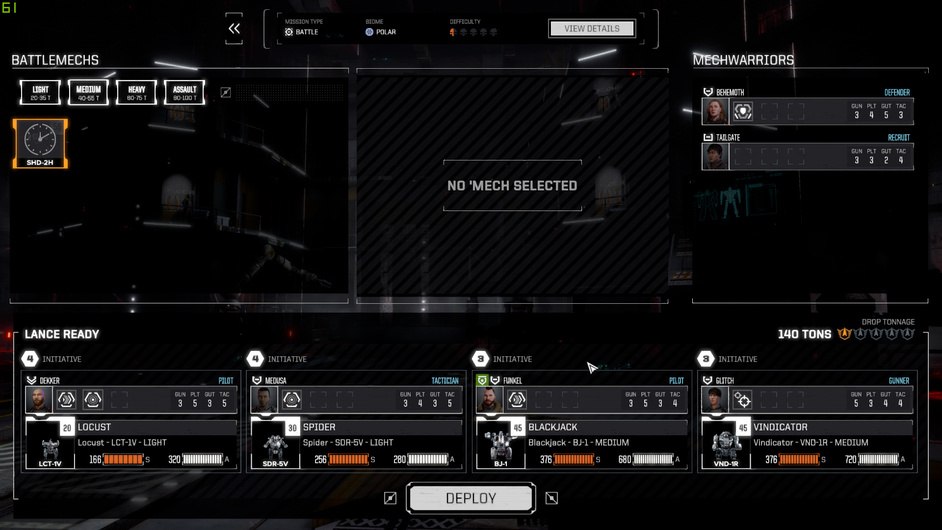
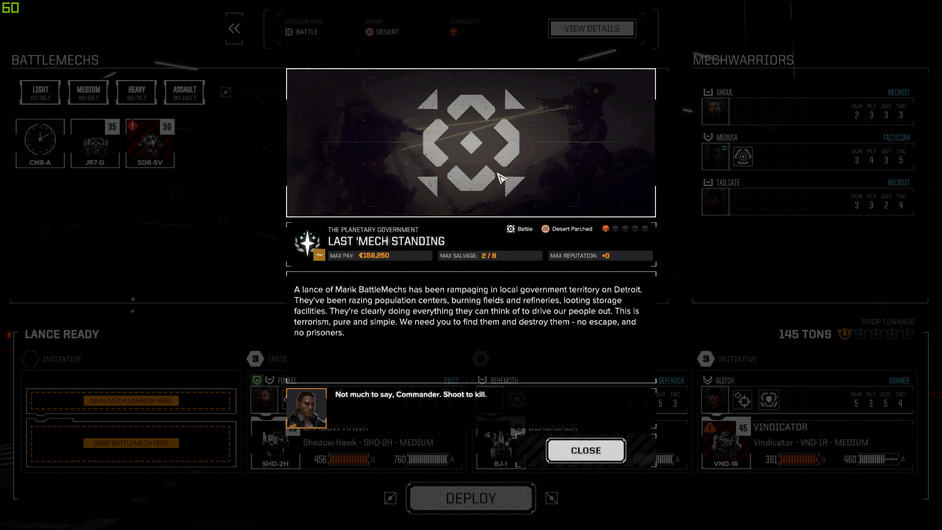
My mission is to destroy a pirate battle lance that is annoying some people in the Detroit system. Seems straight forward and shouldn’t get me killed … and I don’t have much of a pick beyond 1/2 skull difficulty missions. I’m not near good enough yet. Plus, upon selecting this mission I did not realize that it was in a different system so the contract price ends up bled for 1/3 of its value for gas ![]()
Frankel, my character in the campaign, is back in action after some unfortunate rolls my the RNG engine. Stupid engine.

So, tactically, please let me know if you seem me doing something or foolish. 'Cause other wise I ain’t gonna learn :-).
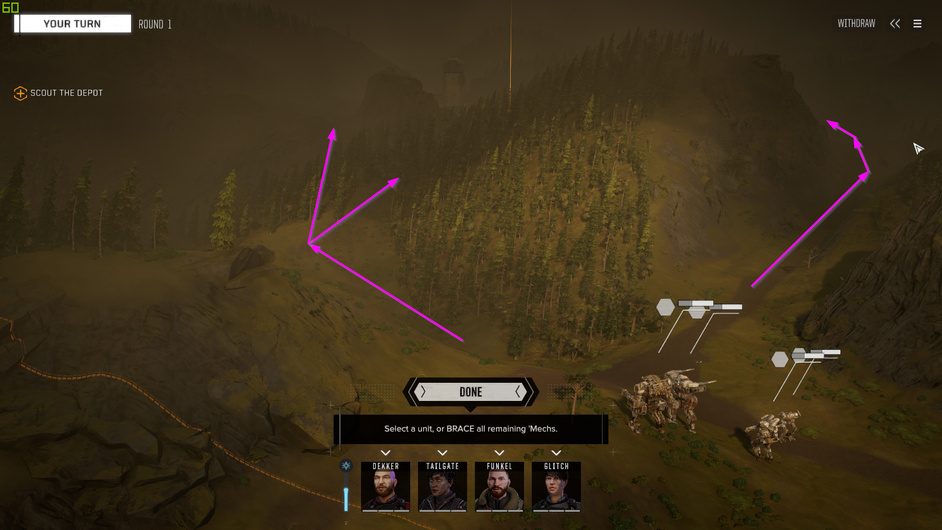
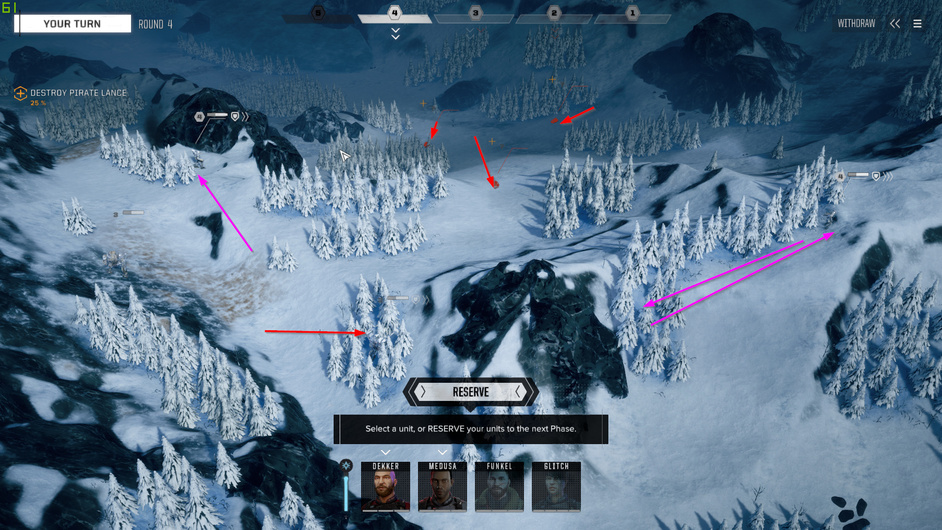
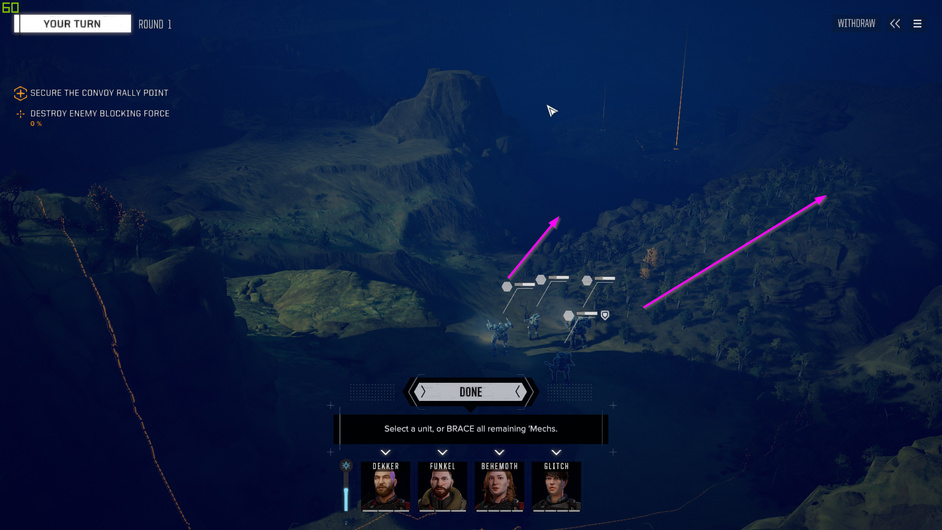
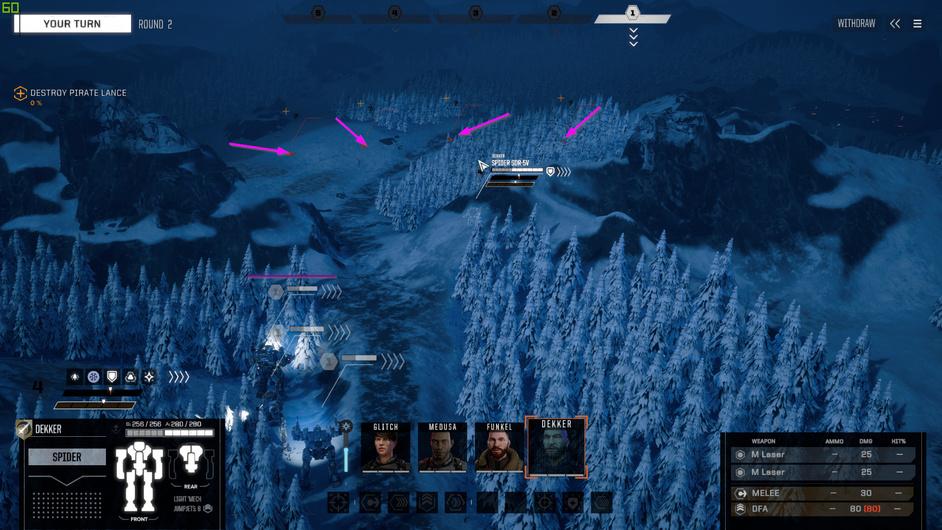
My first step is to send my light mech up the road and then off to the left. I am hoping that this will reveal anyone on the plain in the valley below but all I get are sensor hits. That’s not bad but I was hoping for more intel.

So I move up the rest of the lance behind the cover of the trees and behind the ridge, out of sight of the valley.

Next I take a look to see where Captain Obvious down there in the valley can see my scout if I move up. I want to get some good intel on what is in the valley so I push my recce unit up and put it in the cover of trees - hopefully deep enough that during any enemy movement turns either the cover or evasion will protect me. I am also hoping that it gets me an id on that vechile so I can plan accordingly.


That draws out some additional sensor contacts but I don’t get anything on Captain Obvious. My plan now is going to be to reserve the remaining mechs in my turn and see if the enemy either commits on my scout or at least helps define my response.
After they move up, the one on the right is threatening my scout but none of the others made a move that I feel I should react to. Instead I creep them all forward to the purple line in anticipation of action next turn.
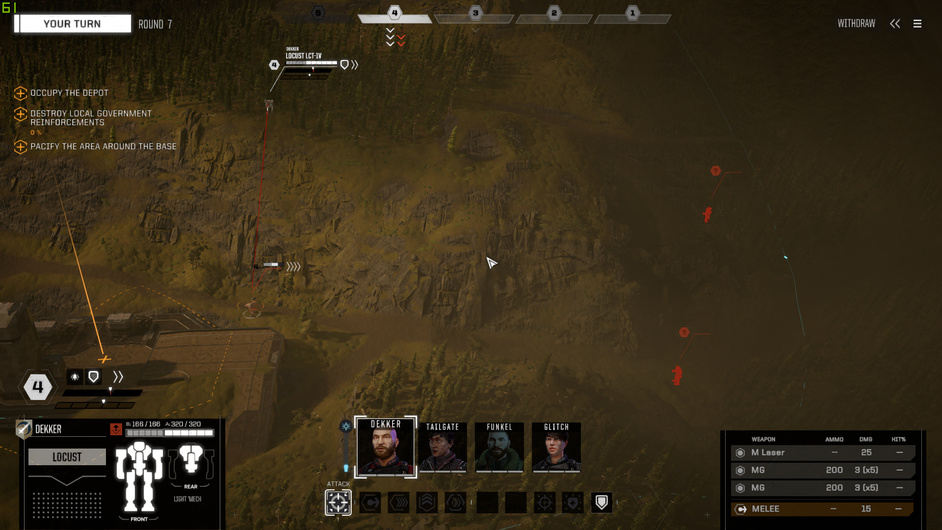
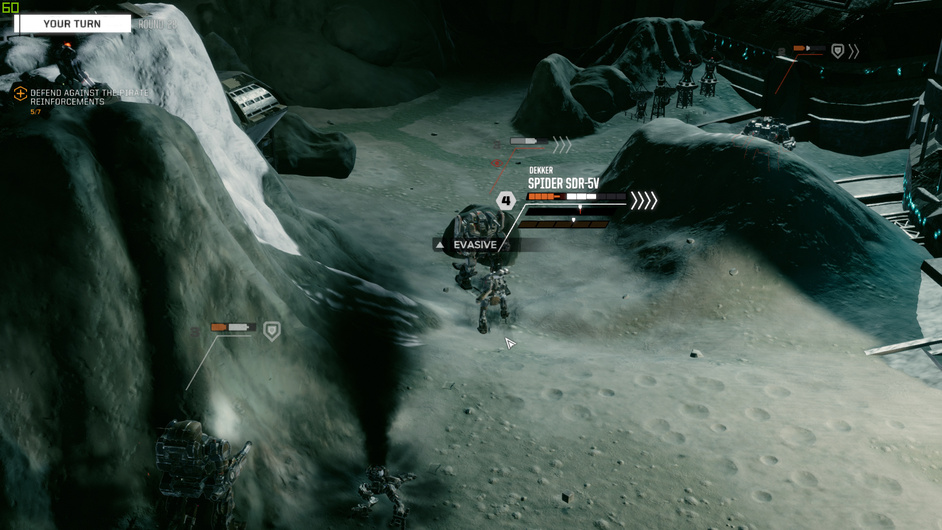
Scout is first so I take a look at how the enemy vehicle might be able to see me.

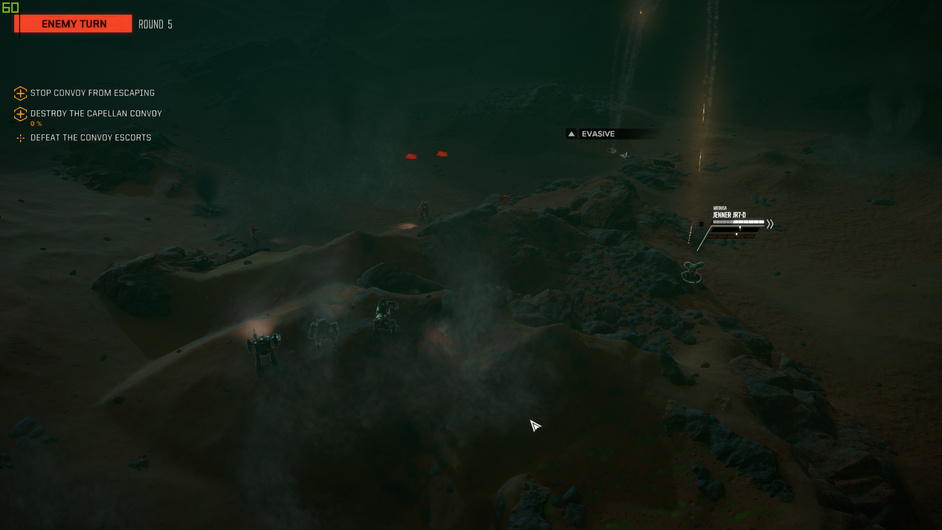
I can’t retreat so instead I take advantage of a small hill to my right to provide some shelter, cover and evasion. The light vehicle stalking me does’t come over the hill or around to the right so my scout is protected from it.

The others, though, move in for some pot shots, at what is likely only a sensor contact, after I opt to wait and let my main force take the last move. No significant damage.

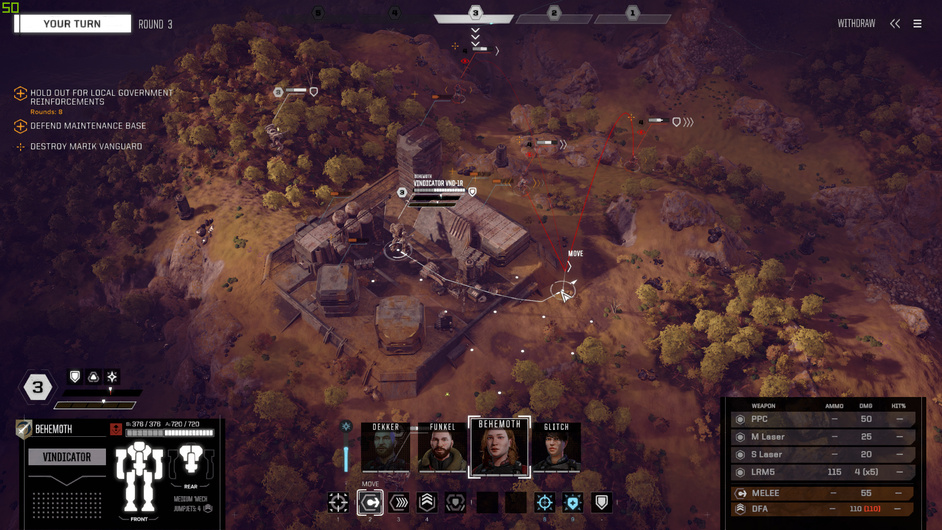
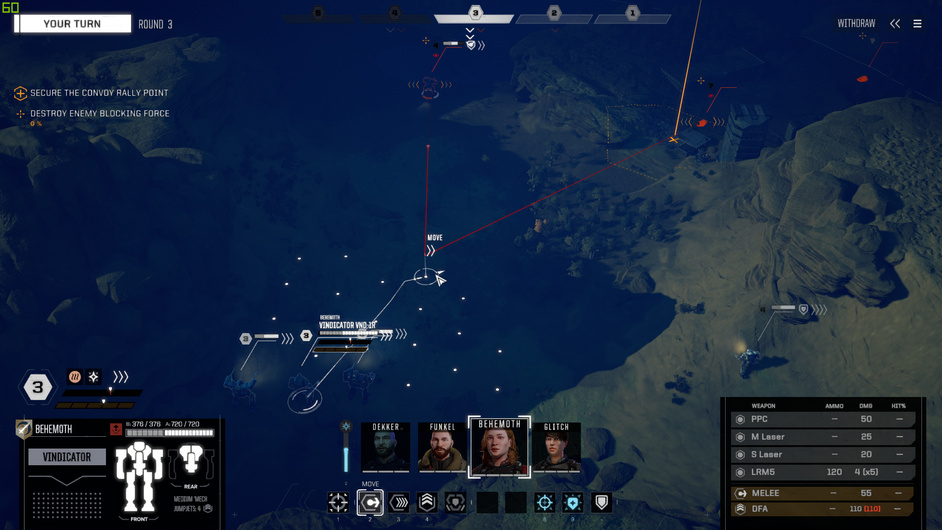
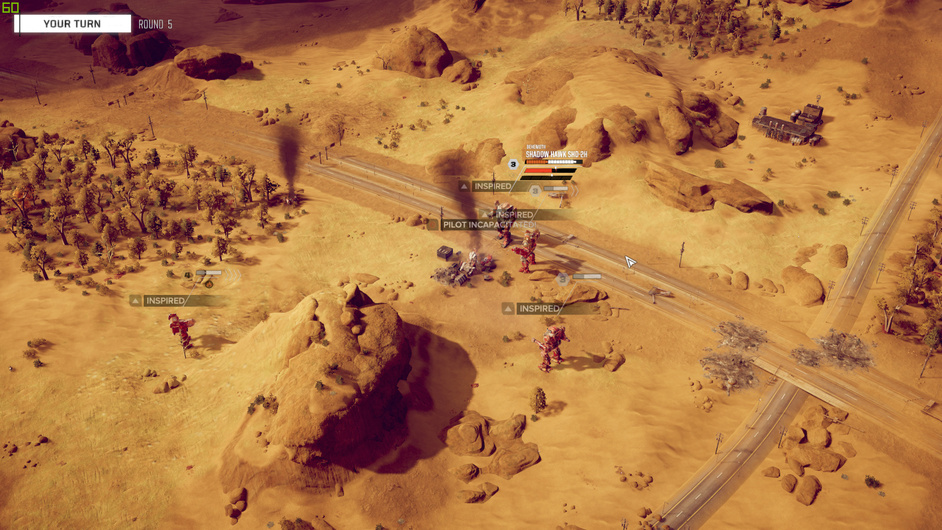
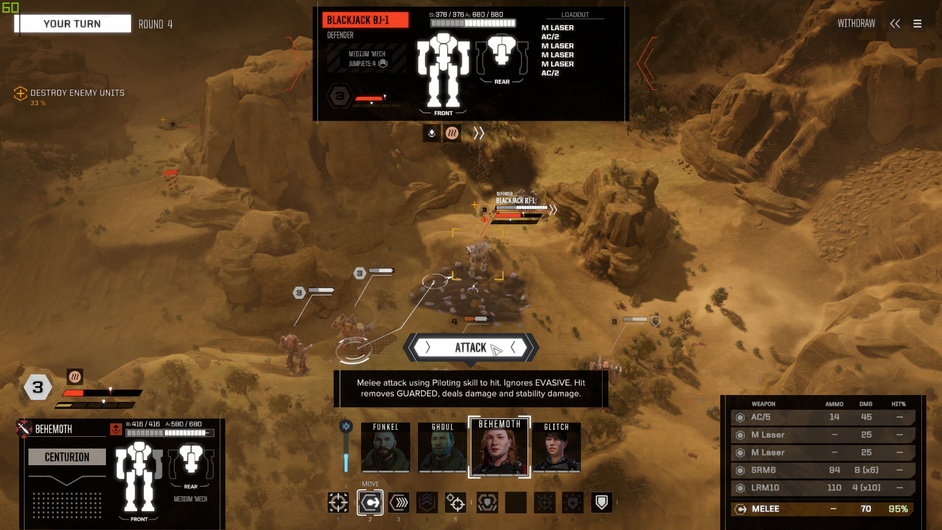
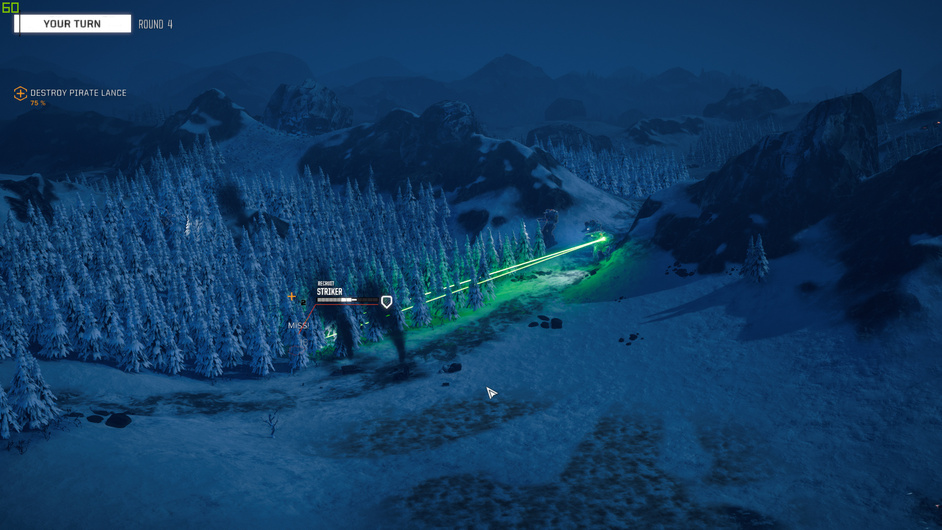
Last move of this turn. Now it is time to move my main assault force up to take on those vehicles on the left. Each mech will pick one and fire as many non-ammo using weapons as possible (at this point I am not sure if I need to reload these weapons back at base so I am deciding to be conservative with the ammo to hopefully save expenses - but after reading @Bogusheadbox’s responses above (after the mission) I shouldn’t have bothered).
Bam.
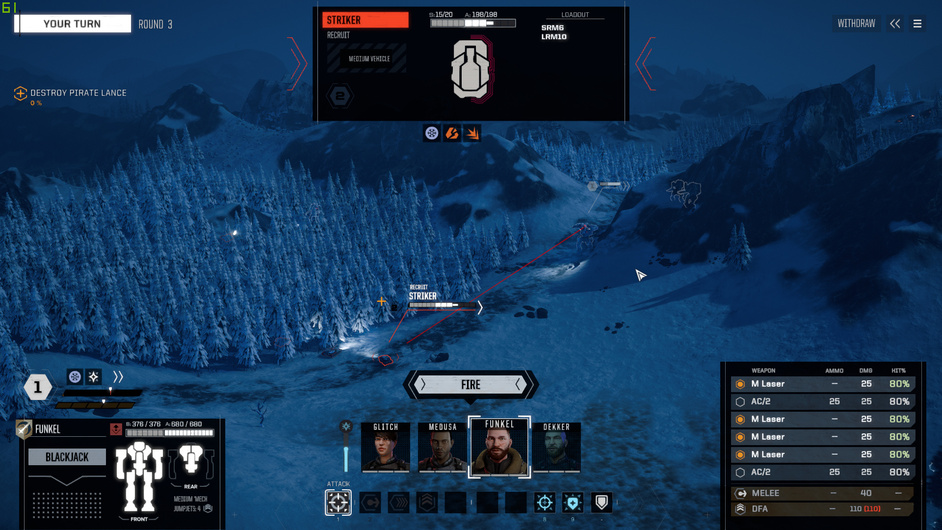
Bam.

Bam? The arrow shows where my Scout is (base of the arrow) and where the light vehicle is (pointy end of the arrow).
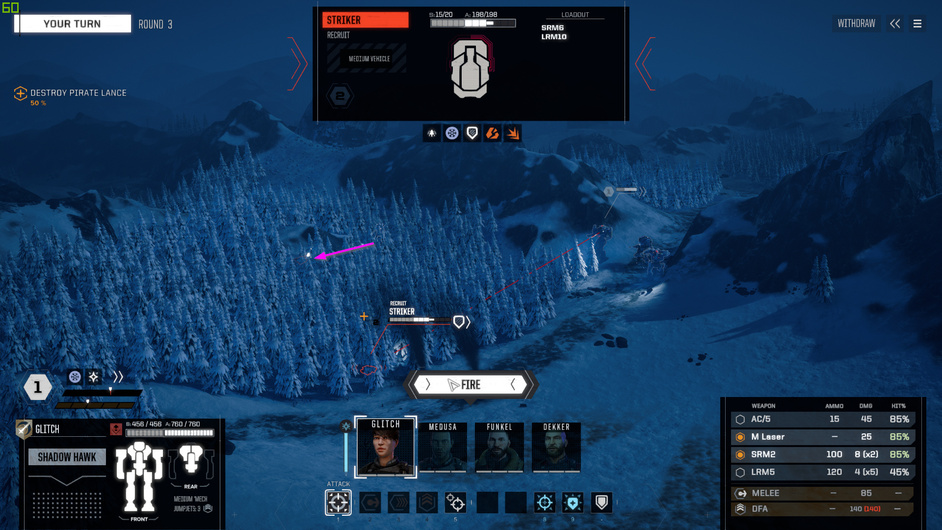
I only damage the third vehicle. I am pretty sure I get to go before it next turn but that could cost me some damage. Luckily the mechs in the main assault force have some evasion to use.
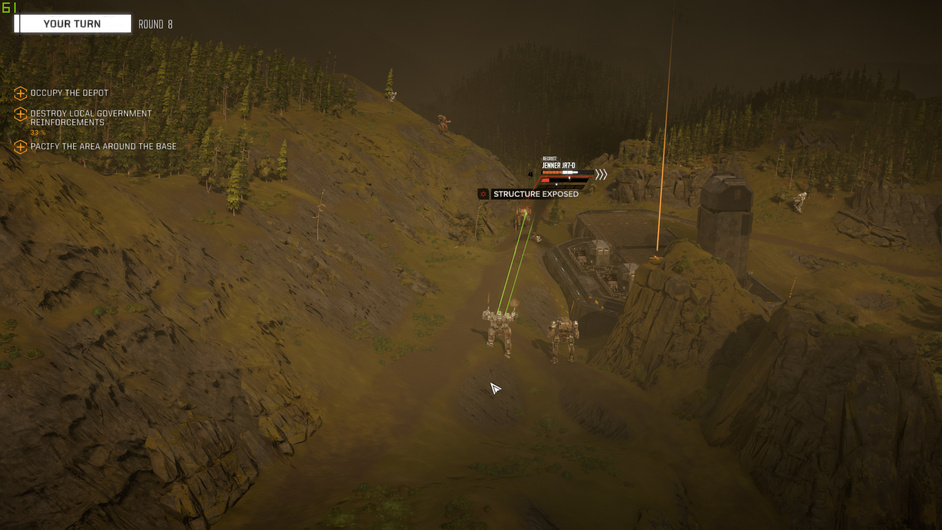
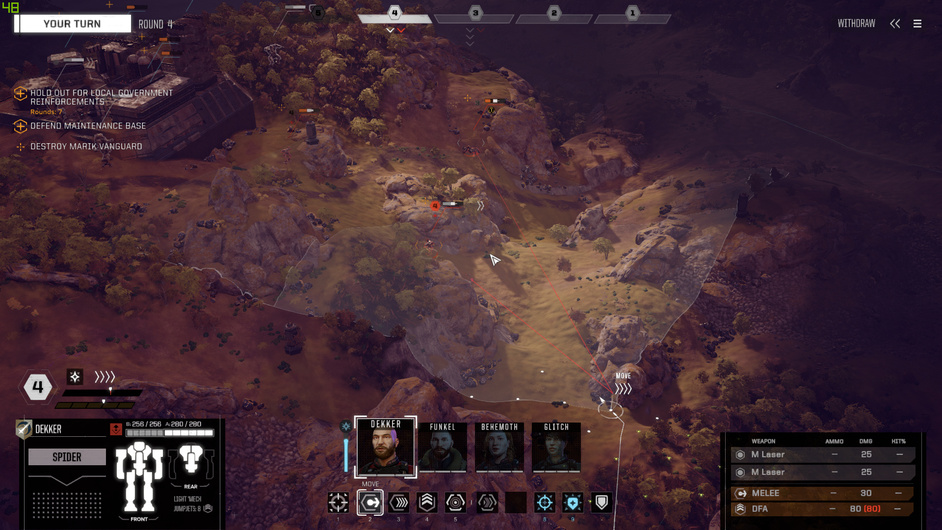
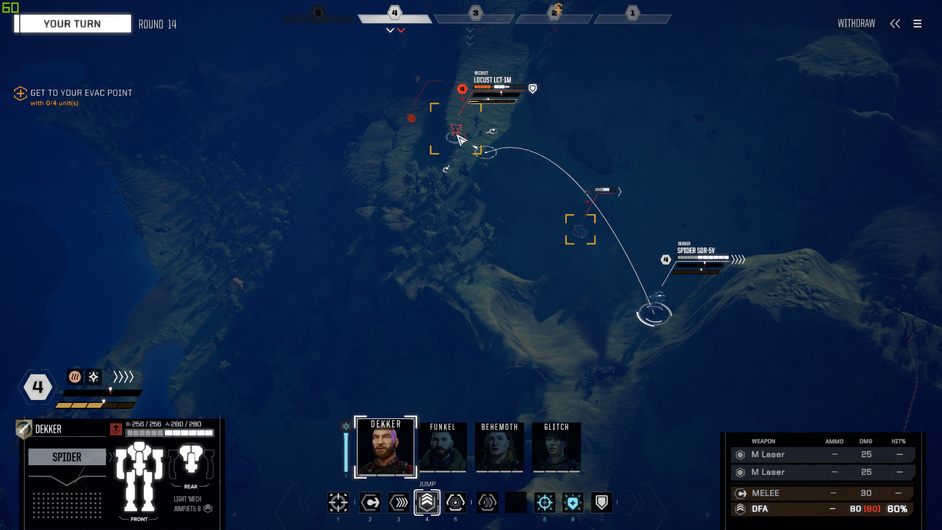
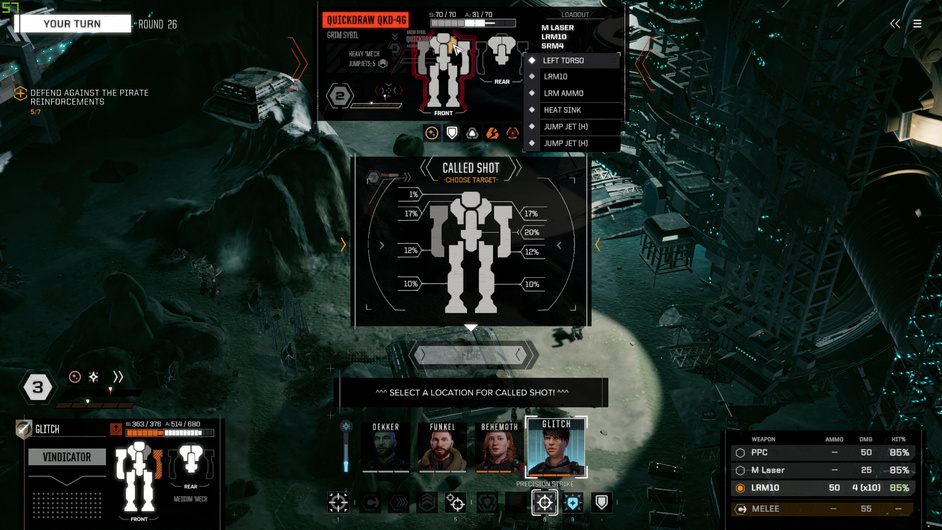
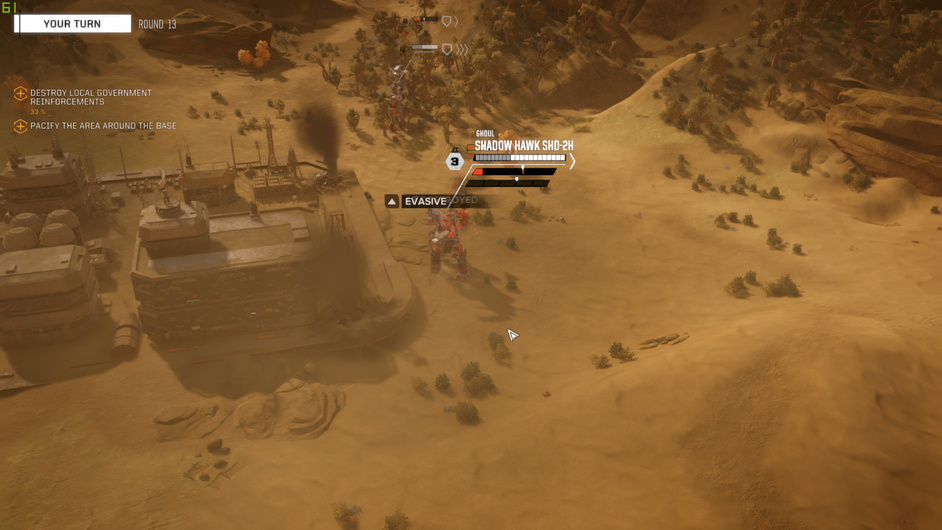
Next turn and my Scout is at the top of the list. I have the option of stopping on it (I picture a little VW micro-bus and it’s lying diesel emissions label) but I am hesitant to do that because I am not sure it will result in a straight out kill - and I am trying my best to not take damage during this simple fight. Instead I opt for a move past the light vehicle and attack if from behind at a little distance. I am pretty sure that I can only get into vehicle-to-foot combat if I click on the target during my move command and that I can’t stomp it if I try to maneuver behind it and stop after my move.
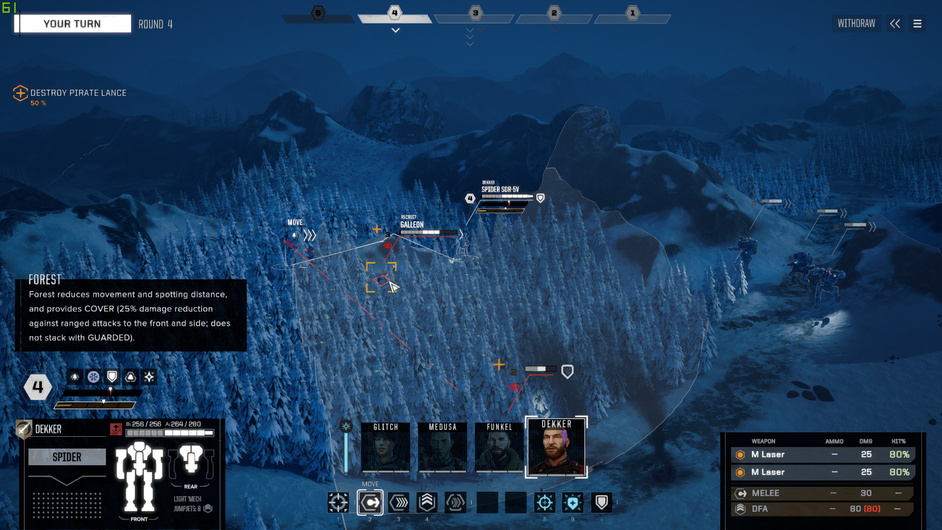
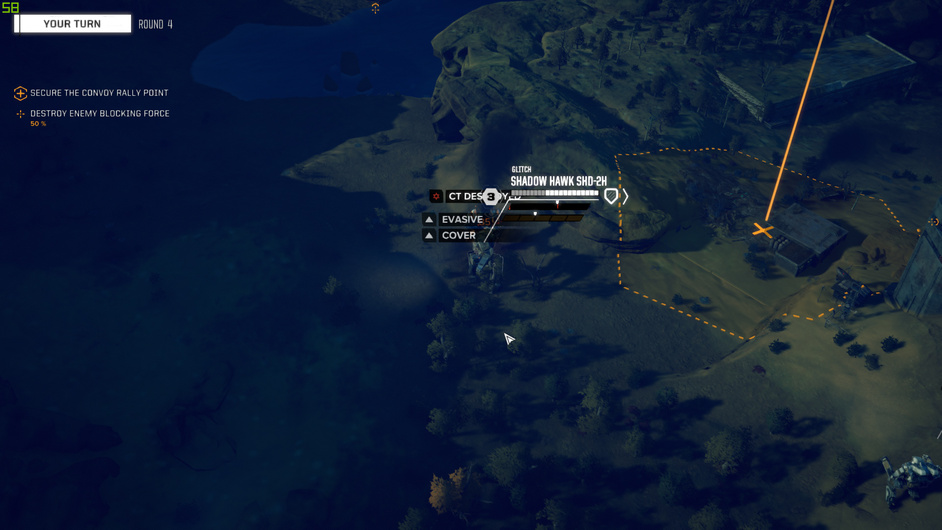
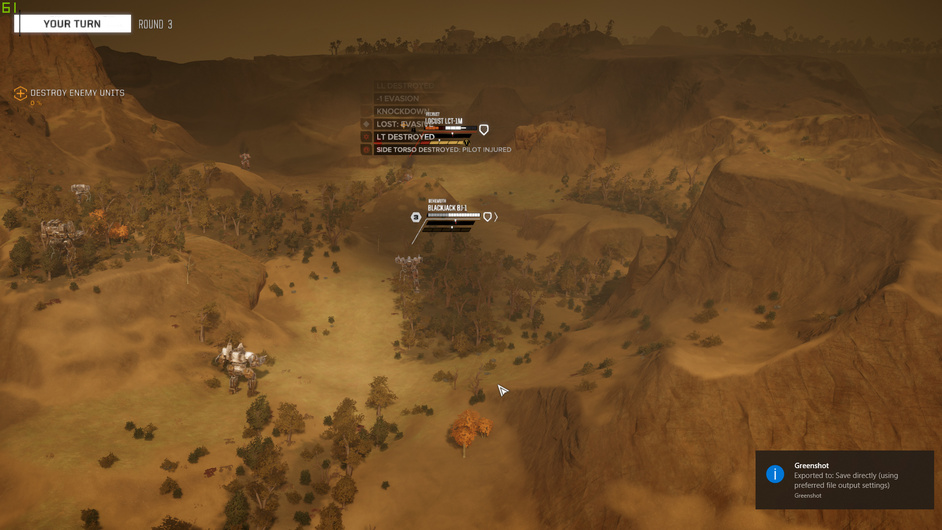
The two medium lasers suffice. Now it is on to the cleanup. And the first two of these three mechs are unable to KO the tree hugging enemy …

And honestly I am wondering if it was because I was taking screenshots (with Greenshot, BTW) while the action was happening (as Greenshot was alt-tabing me out so I could mark up the shot with arrows if I wanted). Probably just the RNG engine being itself. Number 3 mech was able to finish it off before it could do damage.
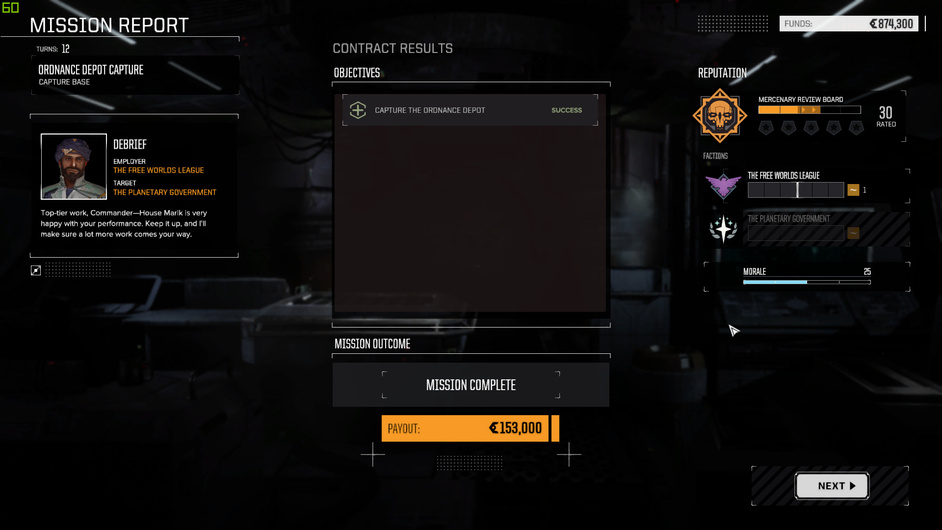
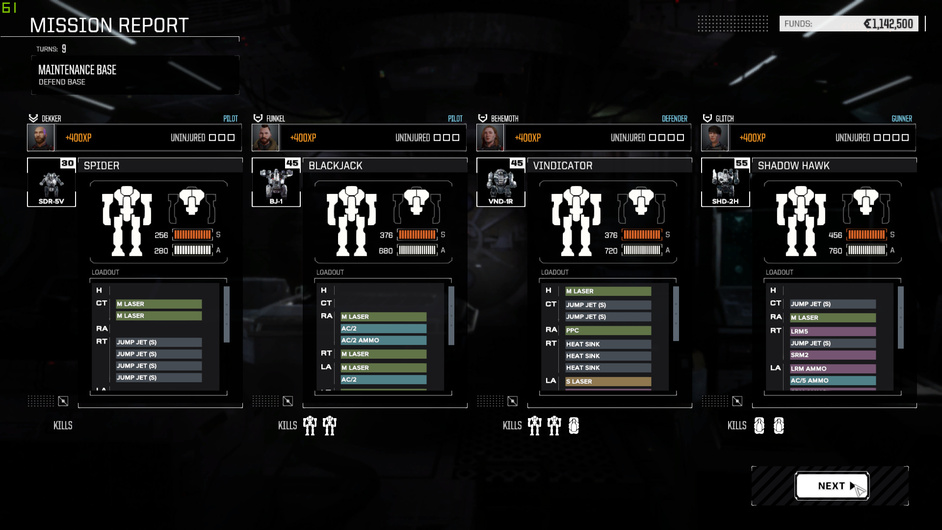
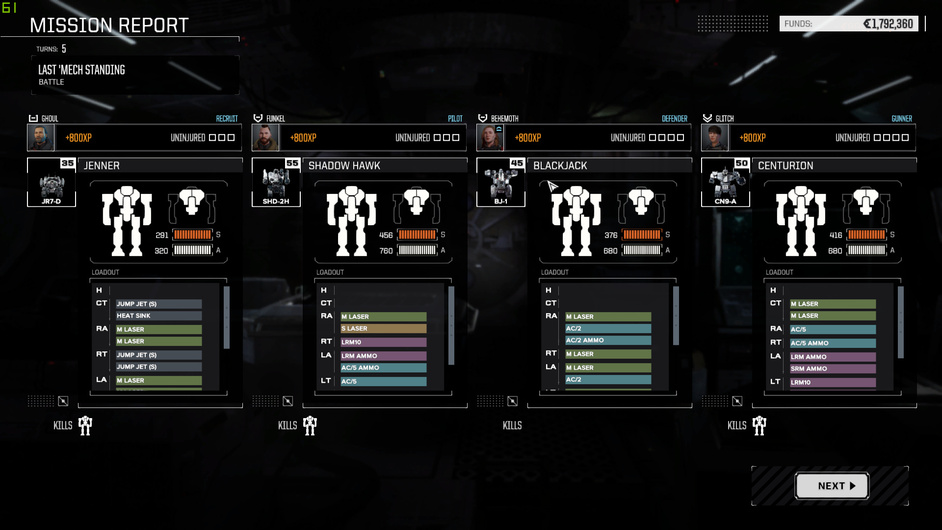
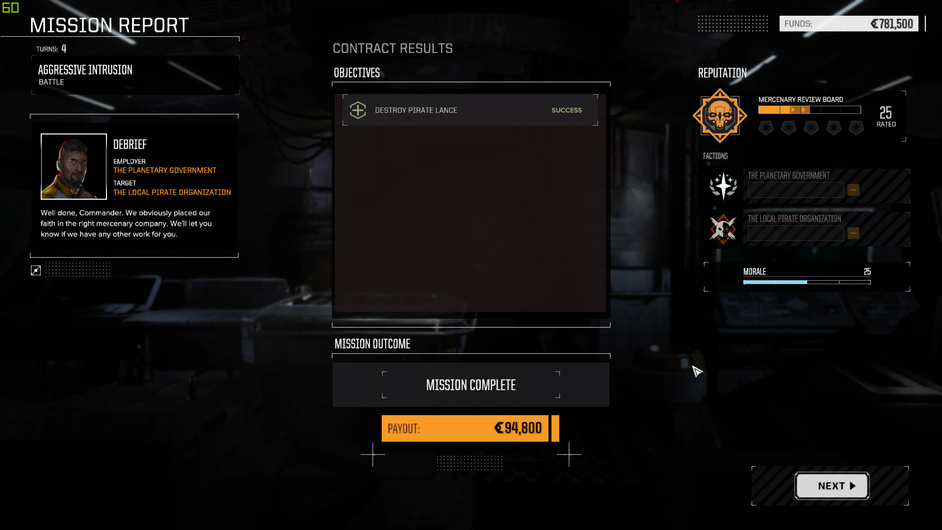
End of mission #4. Not a lot of cash but it’s something.
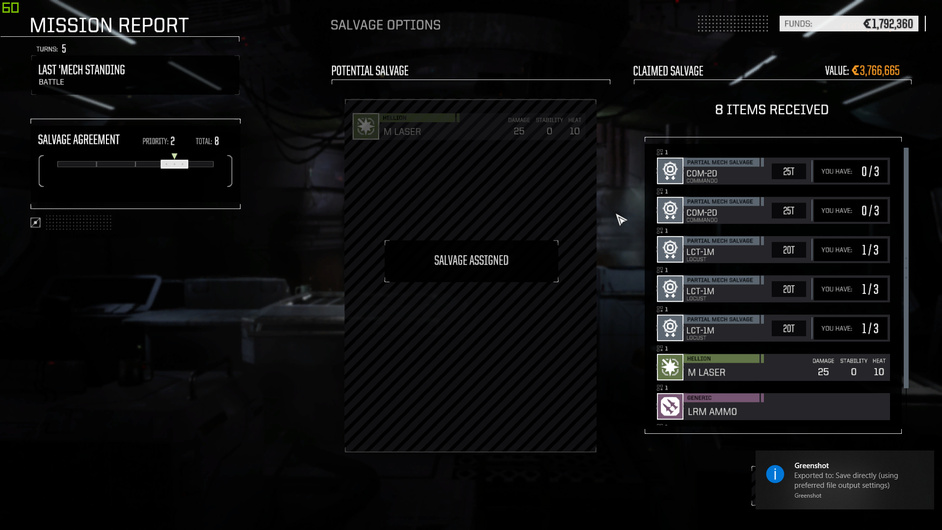
My big worry here is that I have no idea what I should be selecting in the salvage screen.

I am usually hoping something important stands out otherwise I am just guessing ![]() but I think that in this case, there is not a lot to choose from. I need to look at what I have in stock - which is something that I wish this screen would allow me to do. End the end, it’s a mixed bag of parts.
but I think that in this case, there is not a lot to choose from. I need to look at what I have in stock - which is something that I wish this screen would allow me to do. End the end, it’s a mixed bag of parts.

Fin.