Mission #11-#16: The Churn.
I am doing a Battletech Campaign, inspired by @Bogusheadbox’s Battletech AARs and discussions, until I get bored. If you are interested, please join us over at the main thread for discussions, strategy and tactics:
Mission #4: Frankel’s return to service the lazy sod - here;
Mission #5: Let’s get those ammo containers off of the centre torso (CT) - here;
Mission #6: Got Milk? - here;
Mission #7: Sit there and try to look menacing - here;
Mission #8: Protect the Conv… No, wait! Get back here! - here;
Mission #9: Mistakes were made. - here;
Mission #10: Gettin’ the Rookie time in the 'pit. - here;
Mission #11-#16: The Churn. - here;
Mission 11-16 AAR(s)
Being a little bummed out about the Syfy dropping the expanse, I decided to churn through a few missions that were the bridge between me and the next story mission. I could have just jumped the few systems to the target but I thought that it might be a good idea to get my new scout rookie some additional experience (ie: skills upgrading).
The plan was simple. Find a mission that would take me to the next system in the chain to cover the travel expenses, play with some mech configurations on the way, and churn through any missions that I thought I could handle before repeating the process to the next system.
Mission 11: Convoy Ambush
Simple enough but it did teach me a lesson to not underestimate the actual convoy itself.

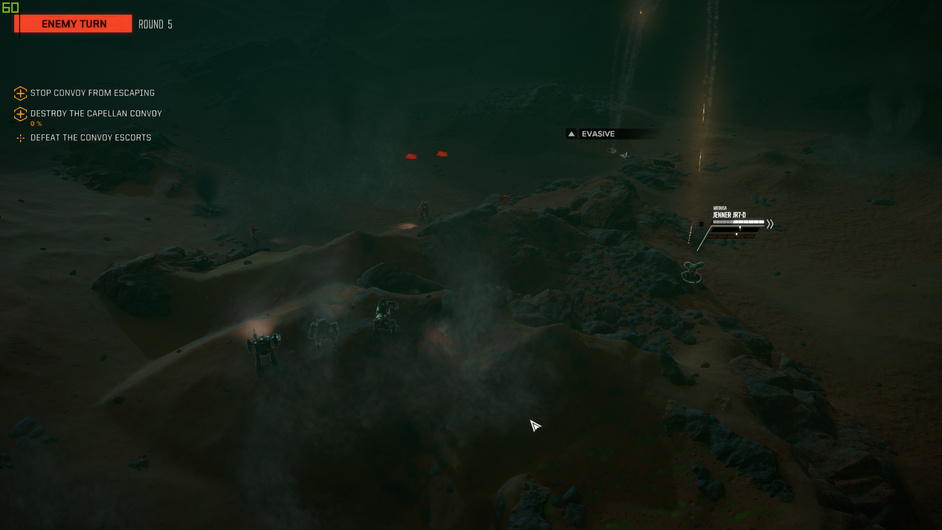
Convoy was spotted travelling along a valley floor. The ridge provided rough terrain but also an opportunity to split the escorts from the convoy.

While the main force dealt with the scouts, I pushed my scout up to intercept the convoy … where he took the brunt of a number of LRM shots. It seems to me like the AI loves to pound on your scouts!
I have become convinced that always having the scouts moving (ie: generating evasion) is close to critical for keeping them alive. Remember that if one enemy can see one of your units all of the enemies with LRMs can fire on it.

I ended up moving my scout up way ahead of the convoy until the main force could piviot to engage.
Ended up with a fair but of damage on this one but it wasn’t too tough.

Mission 12: Locate and Destroy
An enemy lance is around here somewhere and we want you to root them out.

One of the brighter maps I have run into (maybe my gamma is too low?). Pretty straight forward though - scout off to the right, main force up the middle.

Nothing to write home about.

Mission 13: Clean up In Aisle 4
We engaged some pirates somewhere around here and we didn’t completely wipe them out. Can you do it for us?

Another nice map!

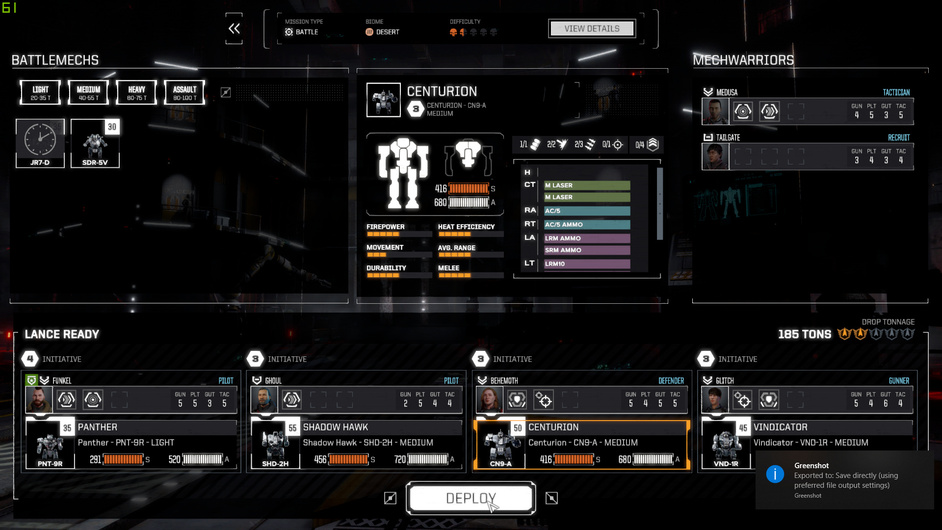
This time I am on to something different. I am trying out a skirmisher role, which as I understand it is a mech that is a somewhat close-in fighter - something that will close with the enemy and occupy them while your main force can pound on them from afar. With only 4 mechs in my lance, that means my main force drops to 2.
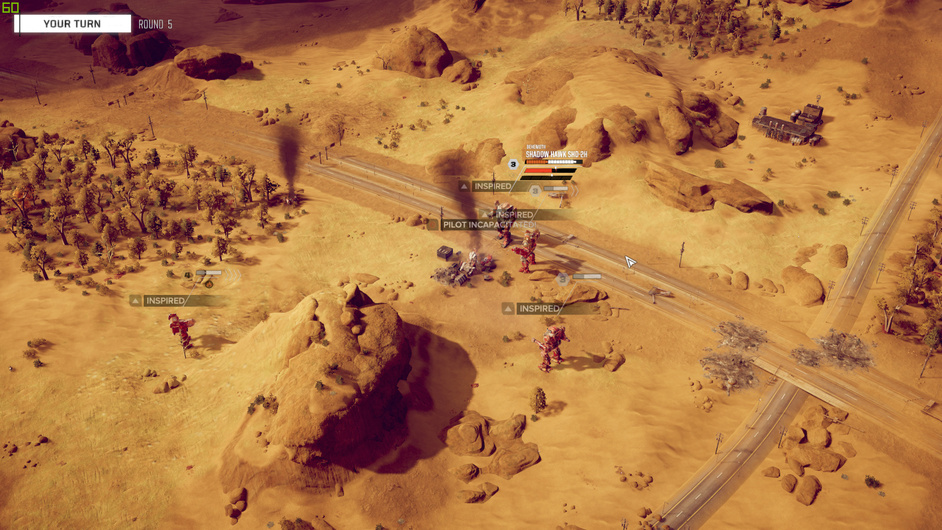
I like how everyone in the lance was inspired as the last enemy gets stomped to the ground. Everyone standing around enjoying the action ![]()

Mission 14: Vehicles Annoy me
Nothing stands out in this one other than the reinforcement of either staying out of sight until you engage or engaging in a way that ends quickly. The longer the enemy can see you the longer those LRM armed vehicles can wear you down.
Advancing on the main force…

… while the vehicles annoy be from the rear.

Leads me to a repair bill.

But there is a PPC on the field, so I can claim that as a spare.

Mission 15: Capture the Base
Ooo. Pretty.

Move in and I can’t find the enemy patrol force. I can, however, sensor lock some turrets and destroy them with my LRMs.

For a while I do this from behind some hills but then I realize that with my long range beam and auto-cannon weapons I can hit them from farther out than they can hit me. And, their patrol has not returned yet so I have complete freedom to do this from range.
By the time that their patrol does show up I am free to use the base as a center to maneuver around.

And I can move up to smash 'em once I whittle them down.
No damage. Movin’ on.

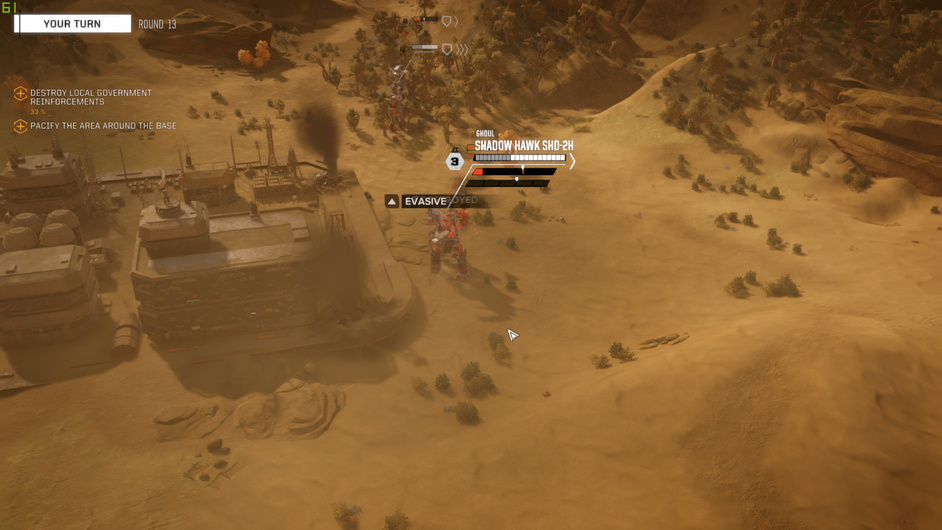
Mission 16: Moar Pirates!
Steady diet of pirates in these systems. Must be a terrible place to live. I wouldn’t want to retire here.

Ghoul, the replacement Scout is starting to fulfill a role of skirmisher - which I think that I want Evasion and Bulwark on (Evasion because he can move and generate lots of … evasion … and Bulwark because I think it leads to a good Melee skill in the second tier? Could be wrong).
Turns into a bit of a slug-fest as I am facing more medium class mechs. I get some lucky hits on the first bandit.

We fight it out around this rough terrain patch.
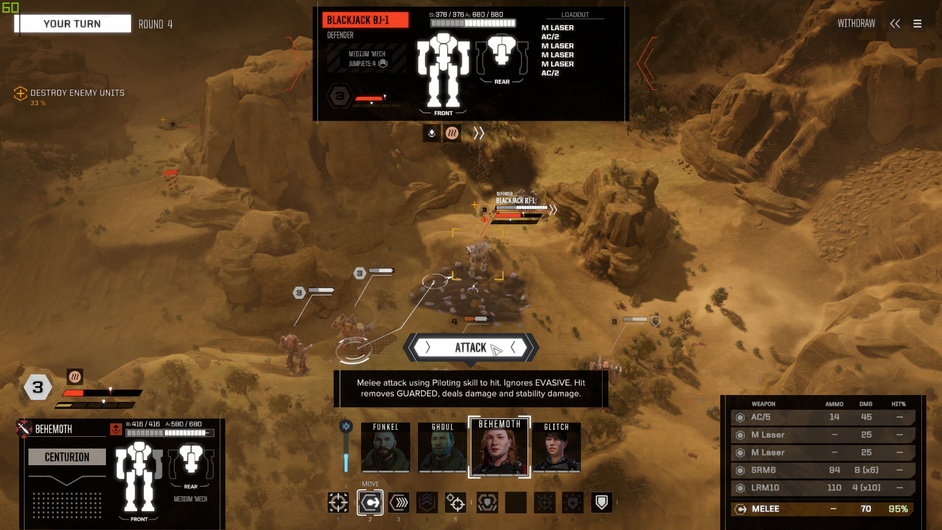
And I am not liking the enemy Blackjack. Too many weapons it can bring to bear. I ended up taking mine out of the lance rotation in favour if a Centurion but whenever I face them they end up doing some nice damage on me.

Lesson from this mission is that Heat damage translates into repair bills. I thought that I could push it a little but either I pushed it too much or hitting the ‘Overheat’ band on the heat tape is a no-go-unless-you-have-to place.

Not too bad though.
Fin